
Insert Database Record
Creating an insert record form with Wappler is an easy task as Wappler generates the form for you. The first thing you need to do is to create a server action, so open the Server Connect panel: Then,
Step 1
Section titled “Step 1”Creating an insert record form with Wappler is an easy task as Wappler generates the form for you.
The first thing you need to do is to create a server action, so open the Server Connect panel:
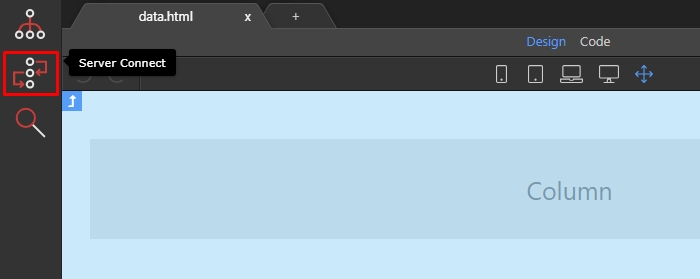
Then, create a new Server Action:
Section titled “Then, create a new Server Action:”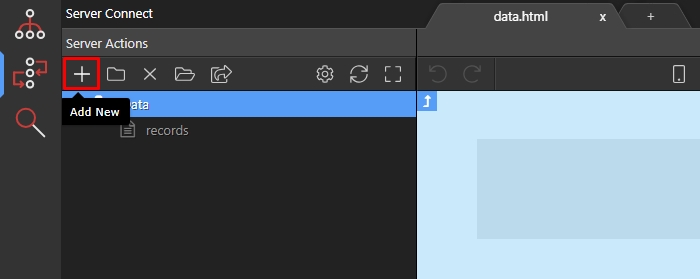
We call it “Insert”:
Section titled “We call it “Insert”:”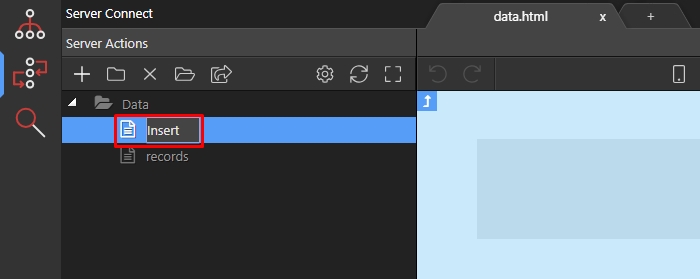
Then right click steps under Action Steps:
Section titled “Then right click steps under Action Steps:”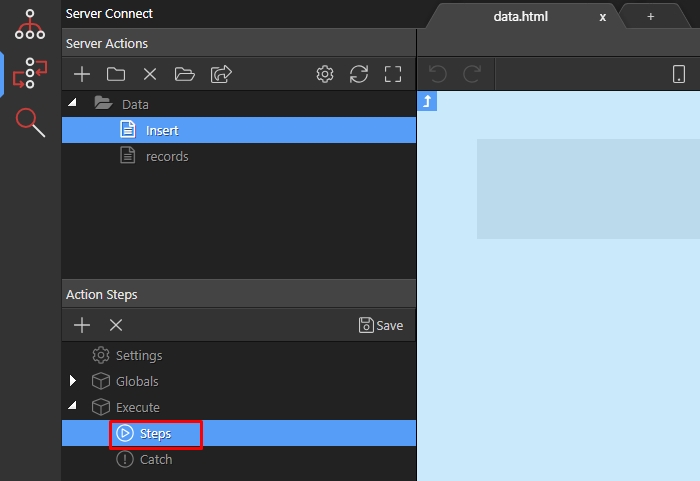
Open Database Actions:
Section titled “Open Database Actions:”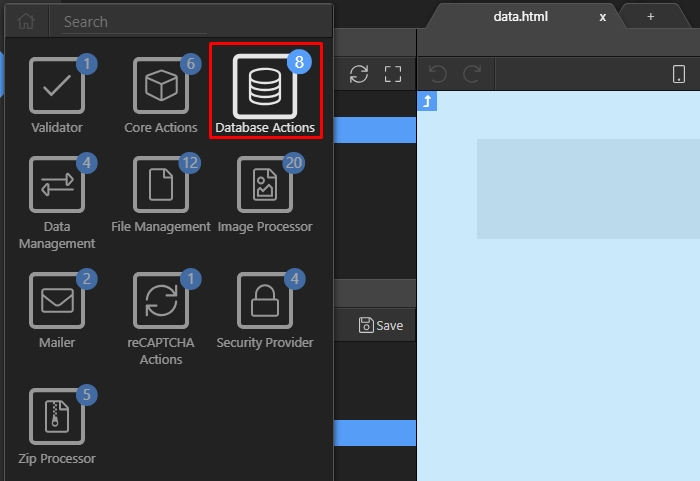
And add Database Connection:
Section titled “And add Database Connection:”
Load your database connection, or setup a new one if you haven’t done this yet:
Section titled “Load your database connection, or setup a new one if you haven’t done this yet:”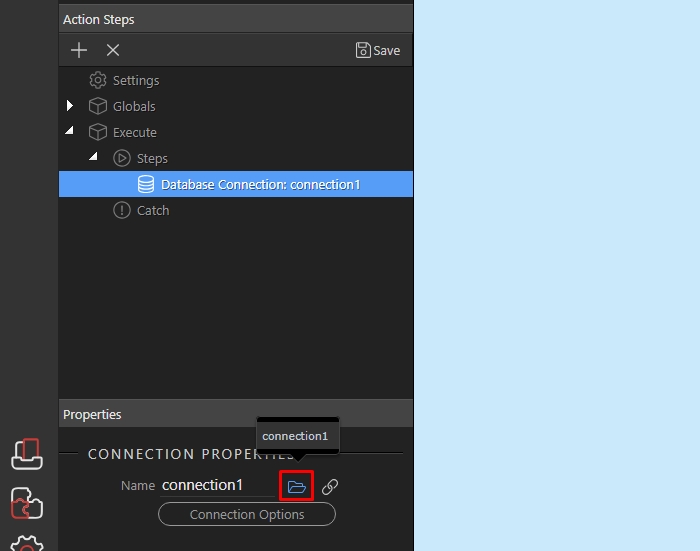
Then right click the database connection step:
Section titled “Then right click the database connection step:”
Open Database Actions:
Section titled “Open Database Actions:”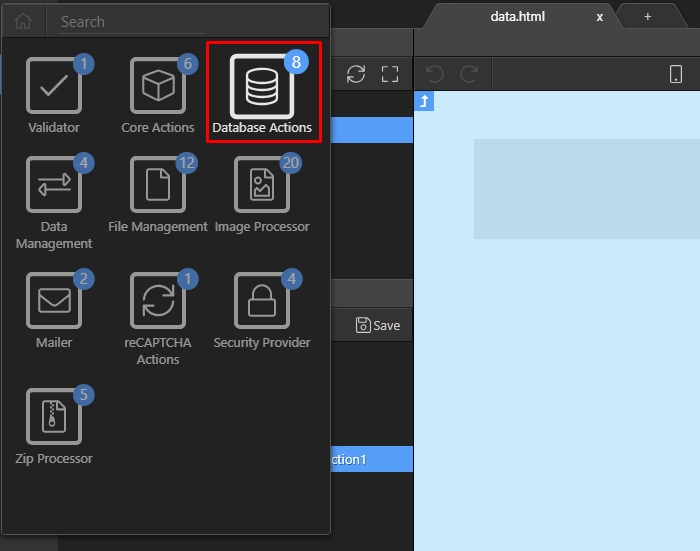
Add Database Insert:
Section titled “Add Database Insert:”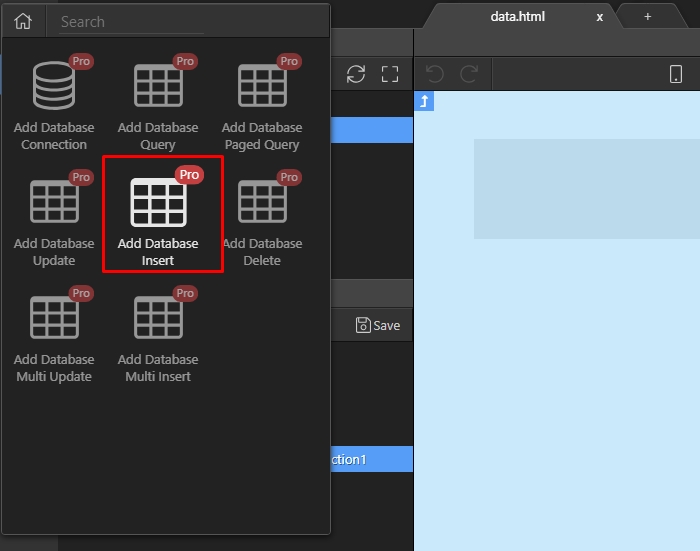
Click the Insert Options button, in order to setup your database insert action:
Section titled “Click the Insert Options button, in order to setup your database insert action:”
Select the database table, where you are going to insert records:
Section titled “Select the database table, where you are going to insert records:”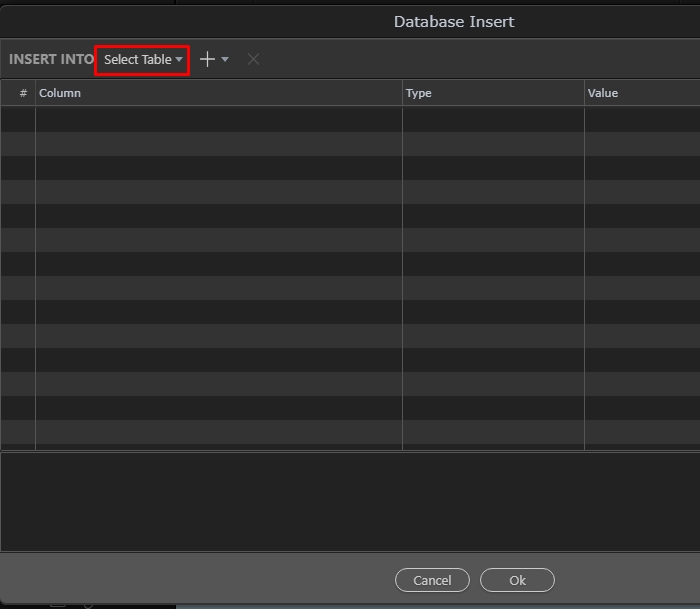
Step 13
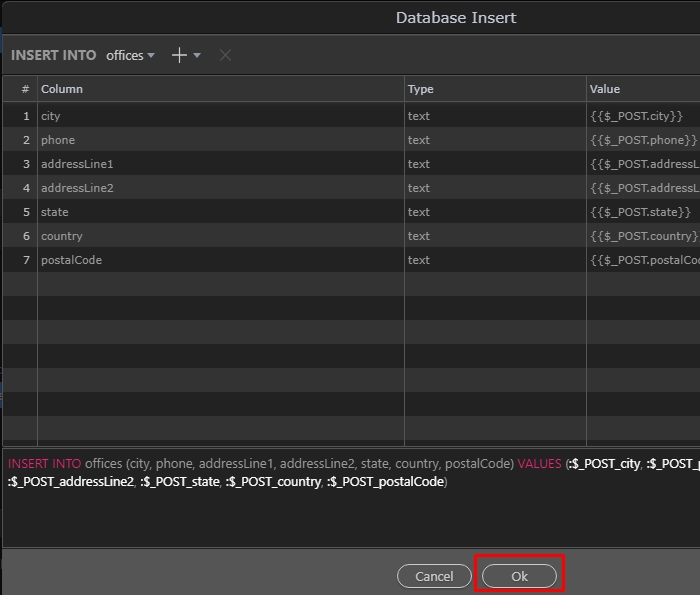
Section titled “Step 13”All of the database table columns are added. An input field will be generated for each of the column in the Insert Step. If you don’t want to generate an input field for any of the columns, just select it and click the Delete icon in order to remove it from the list.
Click Ok when you are done:
Save your server action!
Section titled “Save your server action!”
Step 15
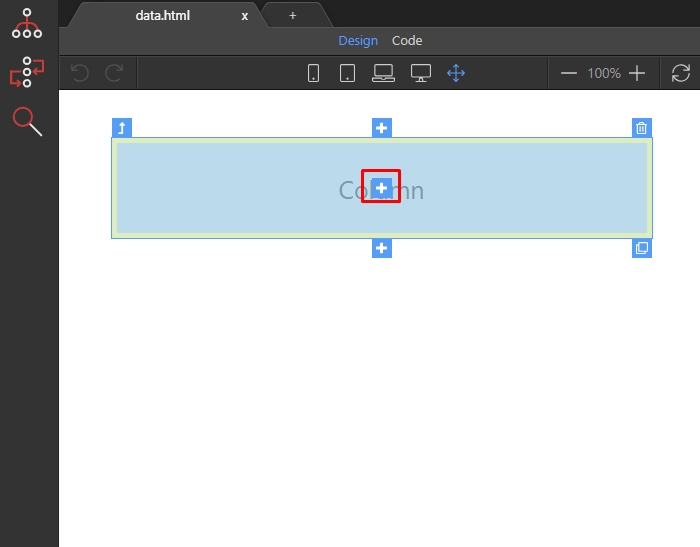
Section titled “Step 15”The back-end part of the Database Insert is done. Now let’s generate the form. We want to insert it in a Bootstrap 4 Column, so we select the Insert Inside button:
Open the Generators category:
Section titled “Open the Generators category:”
Select Bootstrap 4 Form Generator:
Section titled “Select Bootstrap 4 Form Generator:”
In the Form Generator window click the select button:
Section titled “In the Form Generator window click the select button:”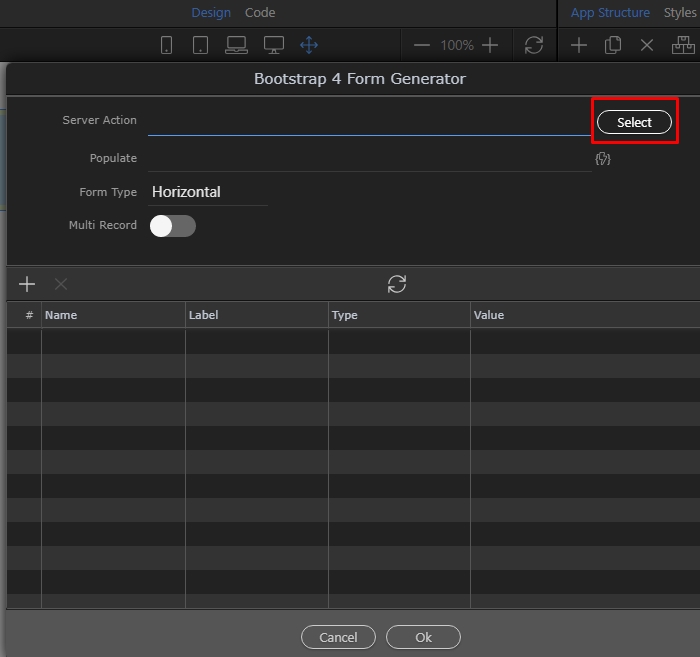
And select your Insert Server Action, the one containing the Insert Step:
Section titled “And select your Insert Server Action, the one containing the Insert Step:”
Step 20
Section titled “Step 20”You can see a list of the form fields which will be included in the form. Select the form layout - horizontal, vertical or inline:
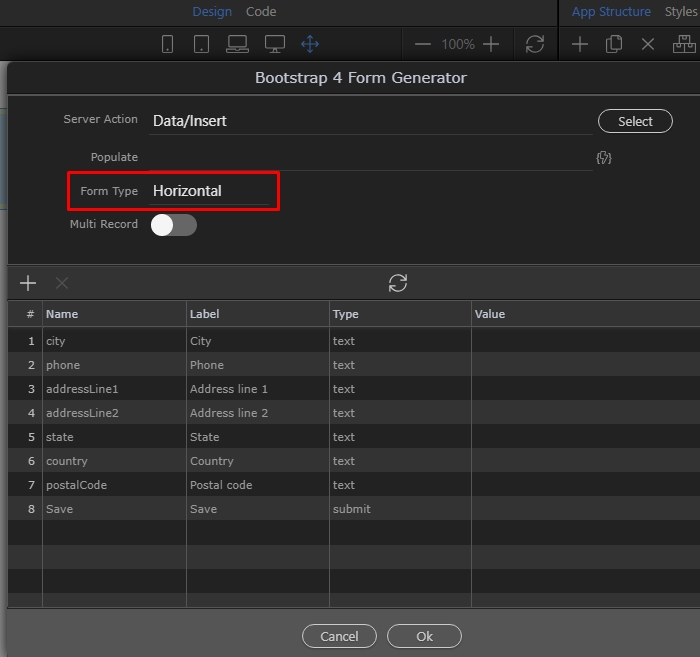
Step 21
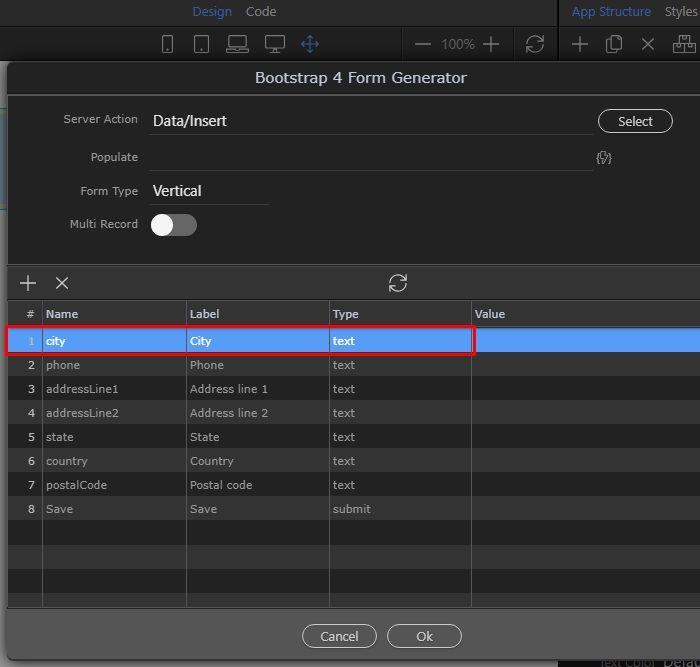
Section titled “Step 21”You can change the Name, Label and Type for each of the fields in your form by double clicking any of these properties:
The type drop-down holds all of the available form field types:
Section titled “The type drop-down holds all of the available form field types:”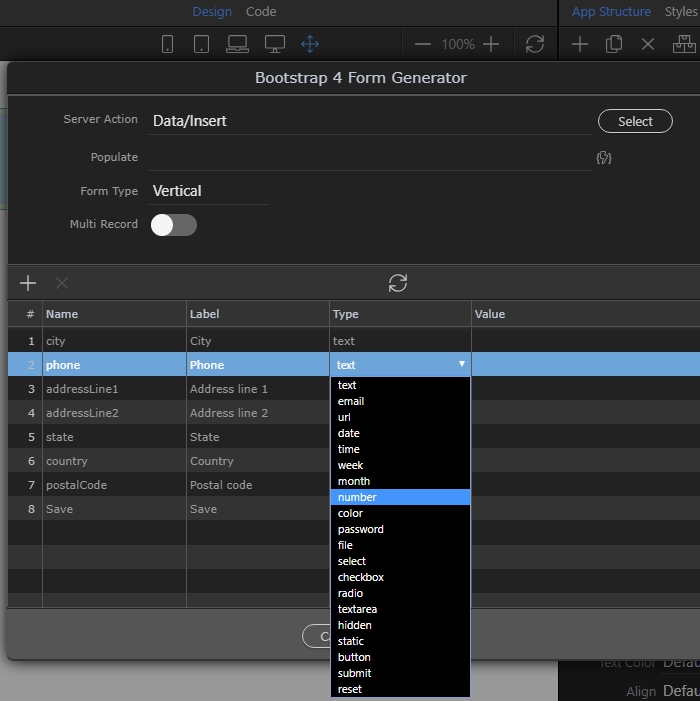
You can add a new form input, by clicking the Add button:
Section titled “You can add a new form input, by clicking the Add button:”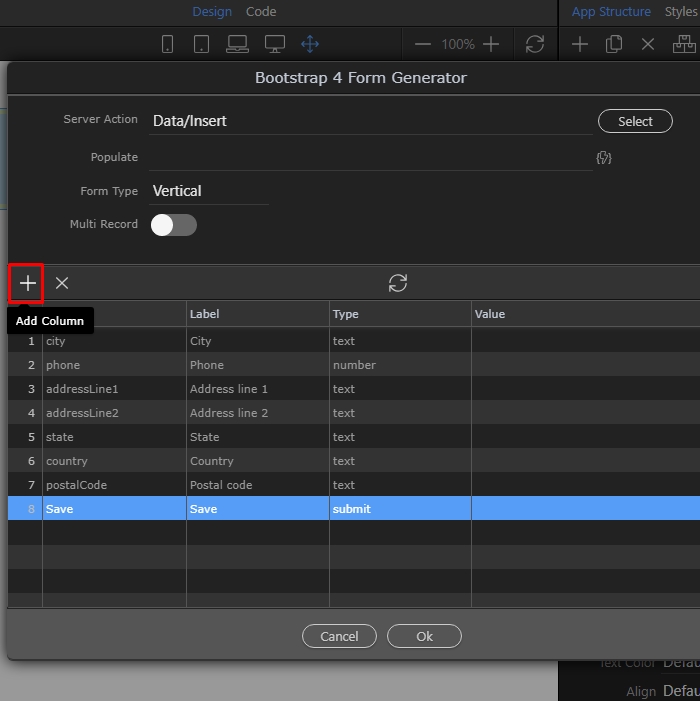
Customize the added input. In our example we add a Cancel button, which resets the form:
Section titled “Customize the added input. In our example we add a Cancel button, which resets the form:”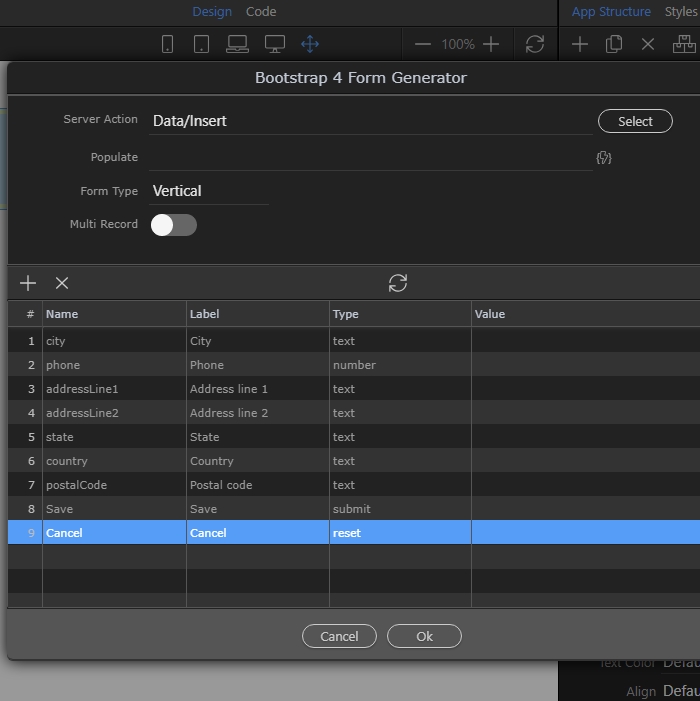
Click Ok in order to place the form on the page:
Section titled “Click Ok in order to place the form on the page:”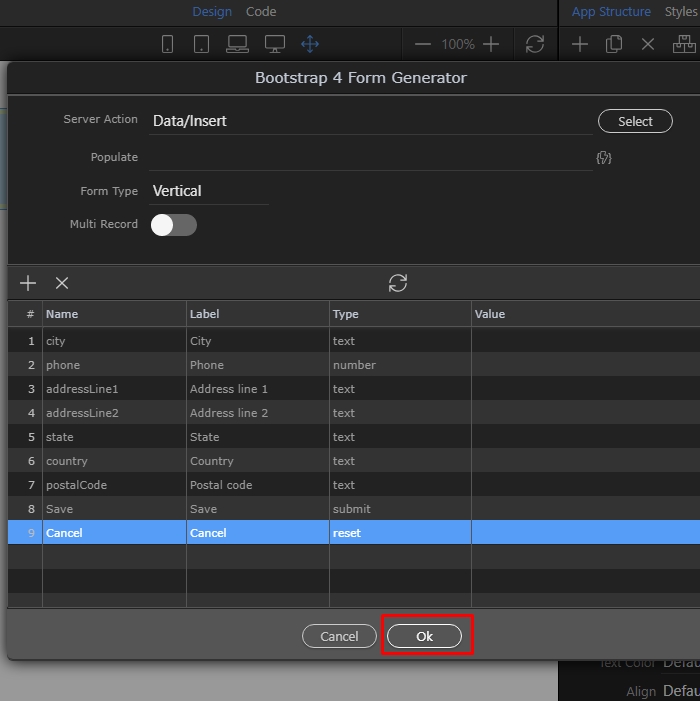
And here is the form in Design View:
Section titled “And here is the form in Design View:”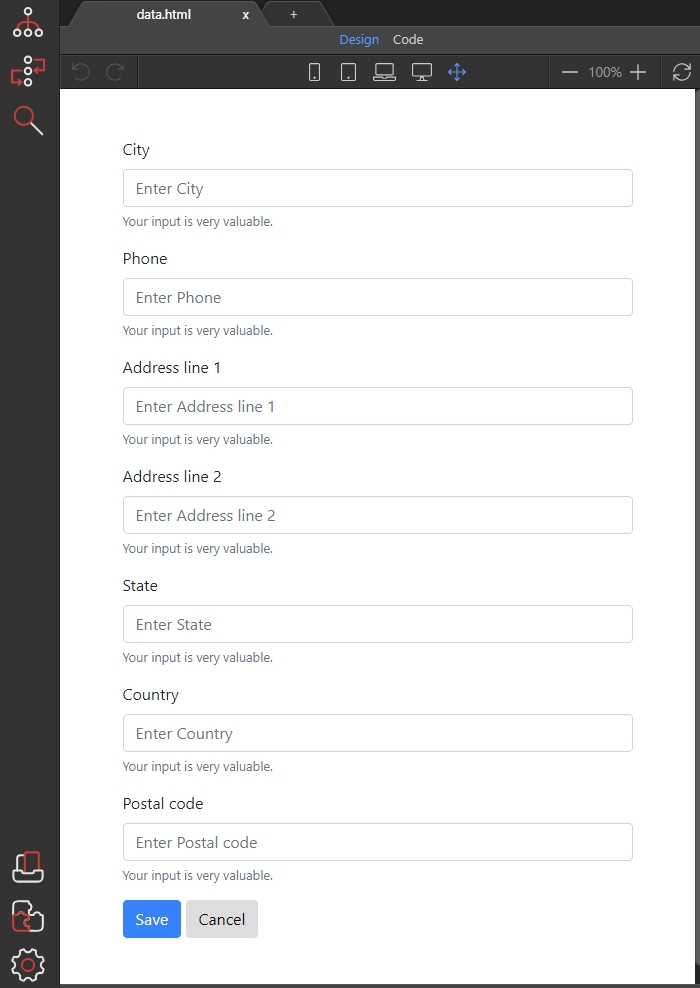
Step 27
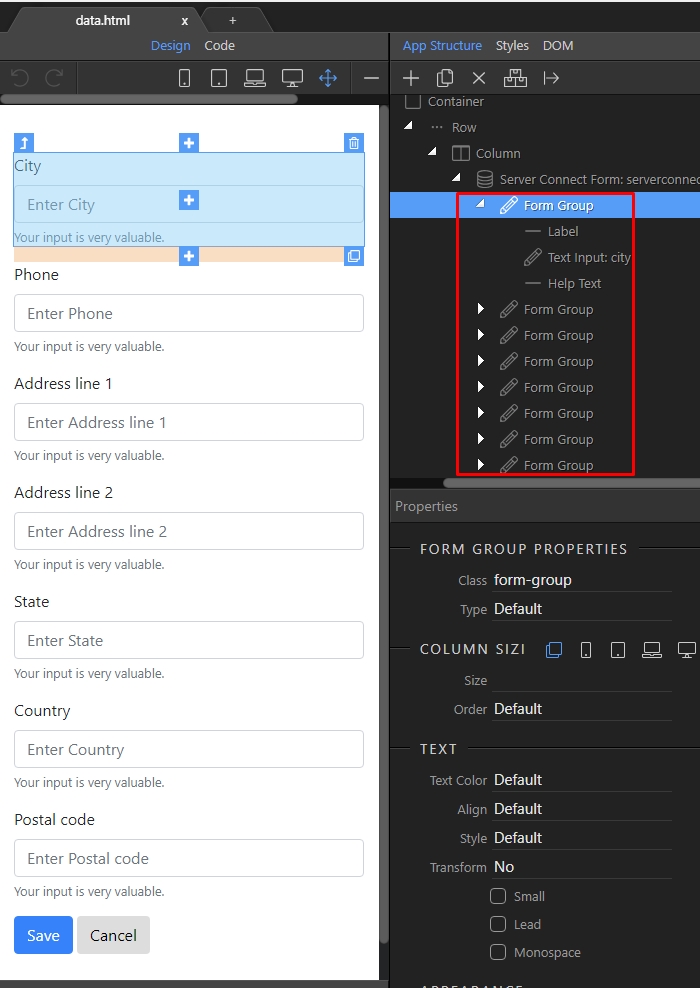
Section titled “Step 27”You can customize each of the form groups and fields settings in the Properties Inspector. Edit or remove the labels, placeholders or help texts for each field:
Step 28
Section titled “Step 28”We will show you how to clear the form fields, after the form has been successfully submitted. Select the form in App structure (1) and add new dynamic event (2):

Select Server Connect:
Section titled “Select Server Connect:”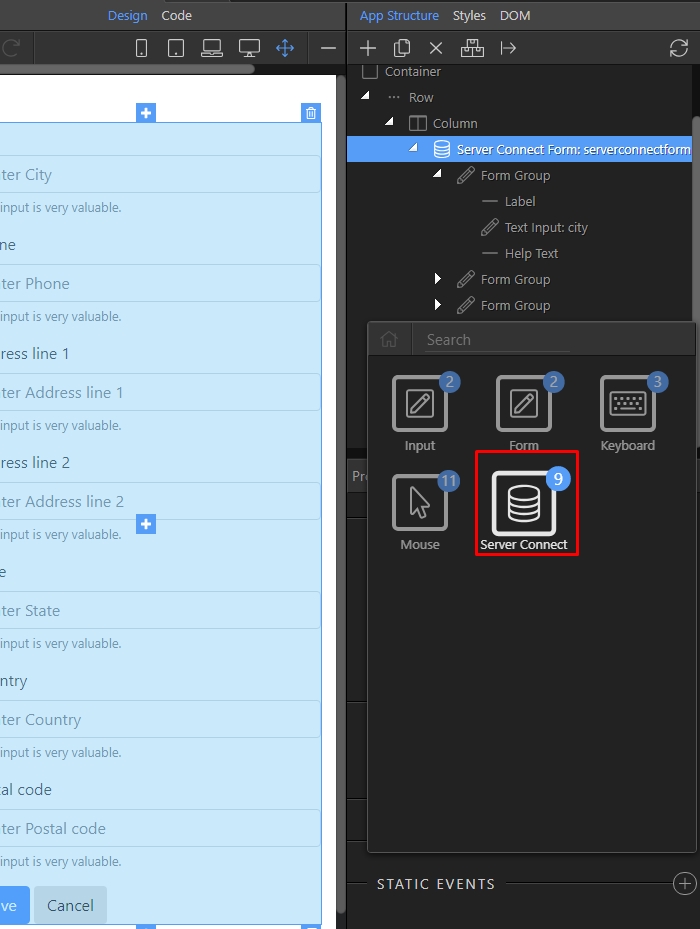
And then select the success event:
Section titled “And then select the success event:”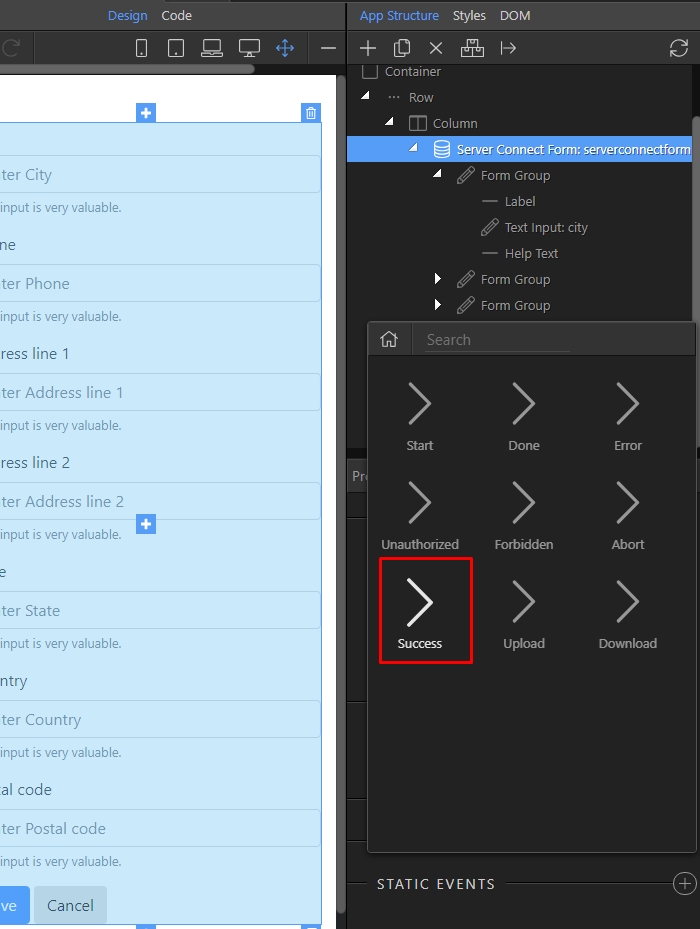
Click the dynamic event picker, in order to select what needs to be done on success:
Section titled “Click the dynamic event picker, in order to select what needs to be done on success:”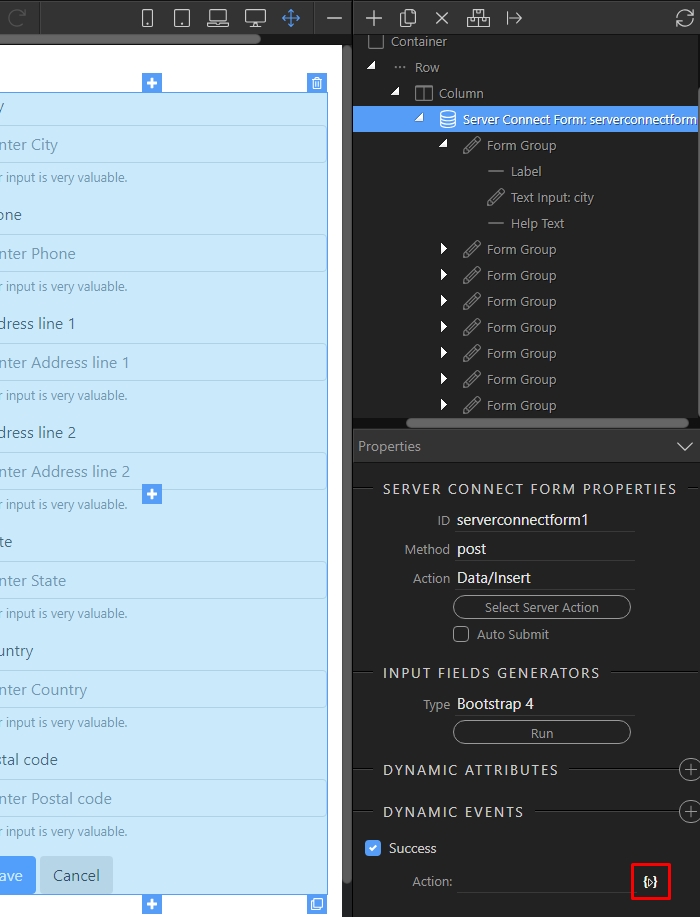
Under your form select Reset and click the select button:
Section titled “Under your form select Reset and click the select button:”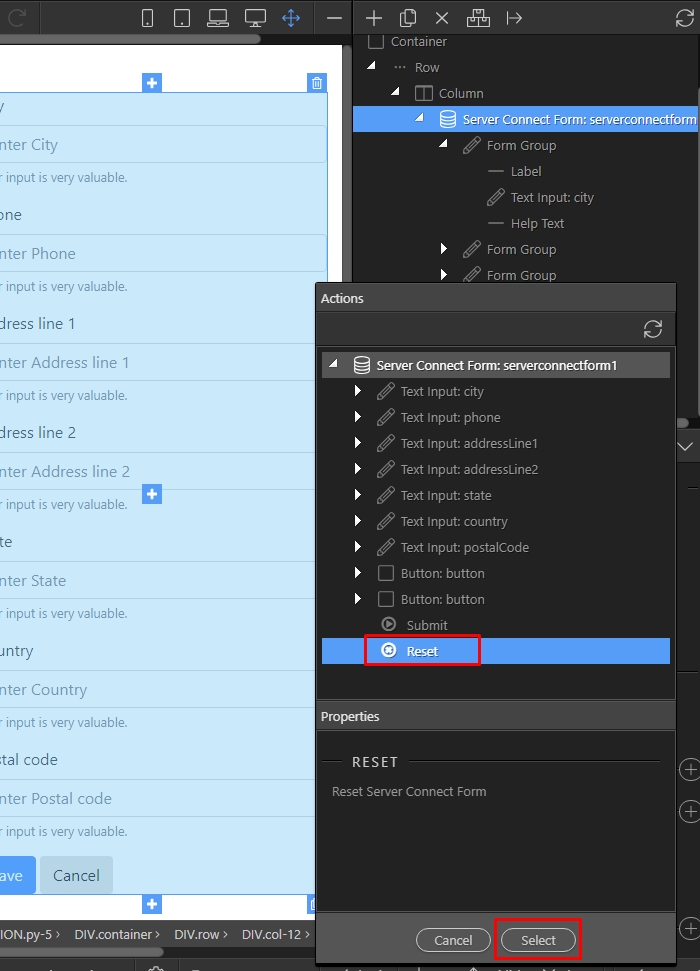
Step 33
Section titled “Step 33”And you are done. As soon as the submit button is clicked and the data has been submitted to your database, your form fields will be cleared.