Using Font Awesome
Wappler offers support for Font Awesome 4 and Font Awesome 5. In this tutorial you will learn how to add and use Font Awesome on your pages. Adding the Font Awe
Wappler offers support for Font Awesome 4 and Font Awesome 5.
In this tutorial you will learn how to add and use Font Awesome on your pages.
Adding the Font Awesome framework
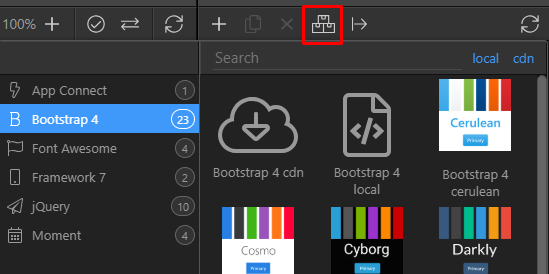
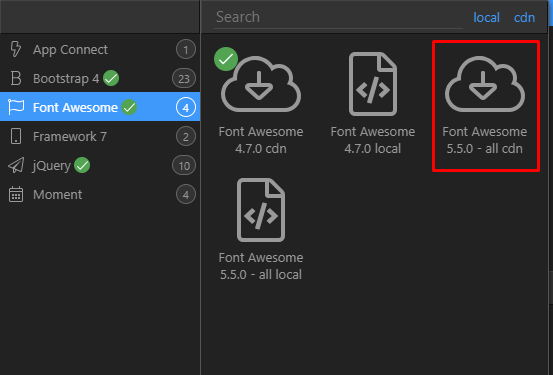
Section titled “Adding the Font Awesome framework”Font Awesome is available as framework to insert in the standard Add Framework menu:
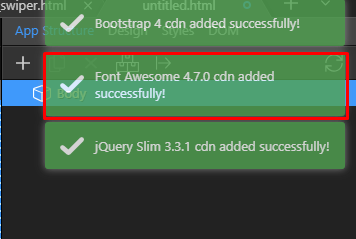
It is also auto included when you choose the other frameworks like Bootstrap 4:
But you can also add it manually:
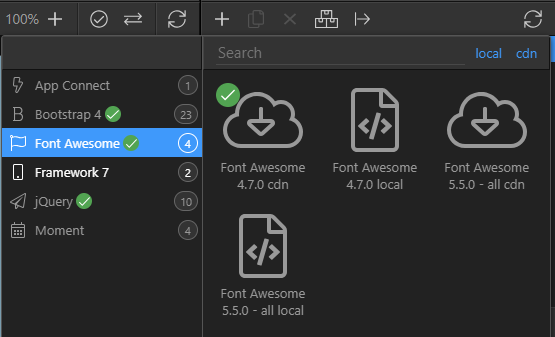
The green checks indicate the included version, so switching from Font Awesome 4 to version 5, is just a single click away:
There’s a built-in converter that will magically translate all Font Awesome 4 codes to the new version 5!
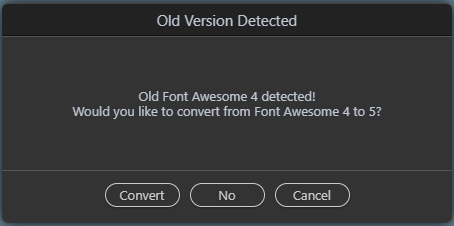
Making the transition really easy to the latest version!
The Font Awesome Icon Inspector
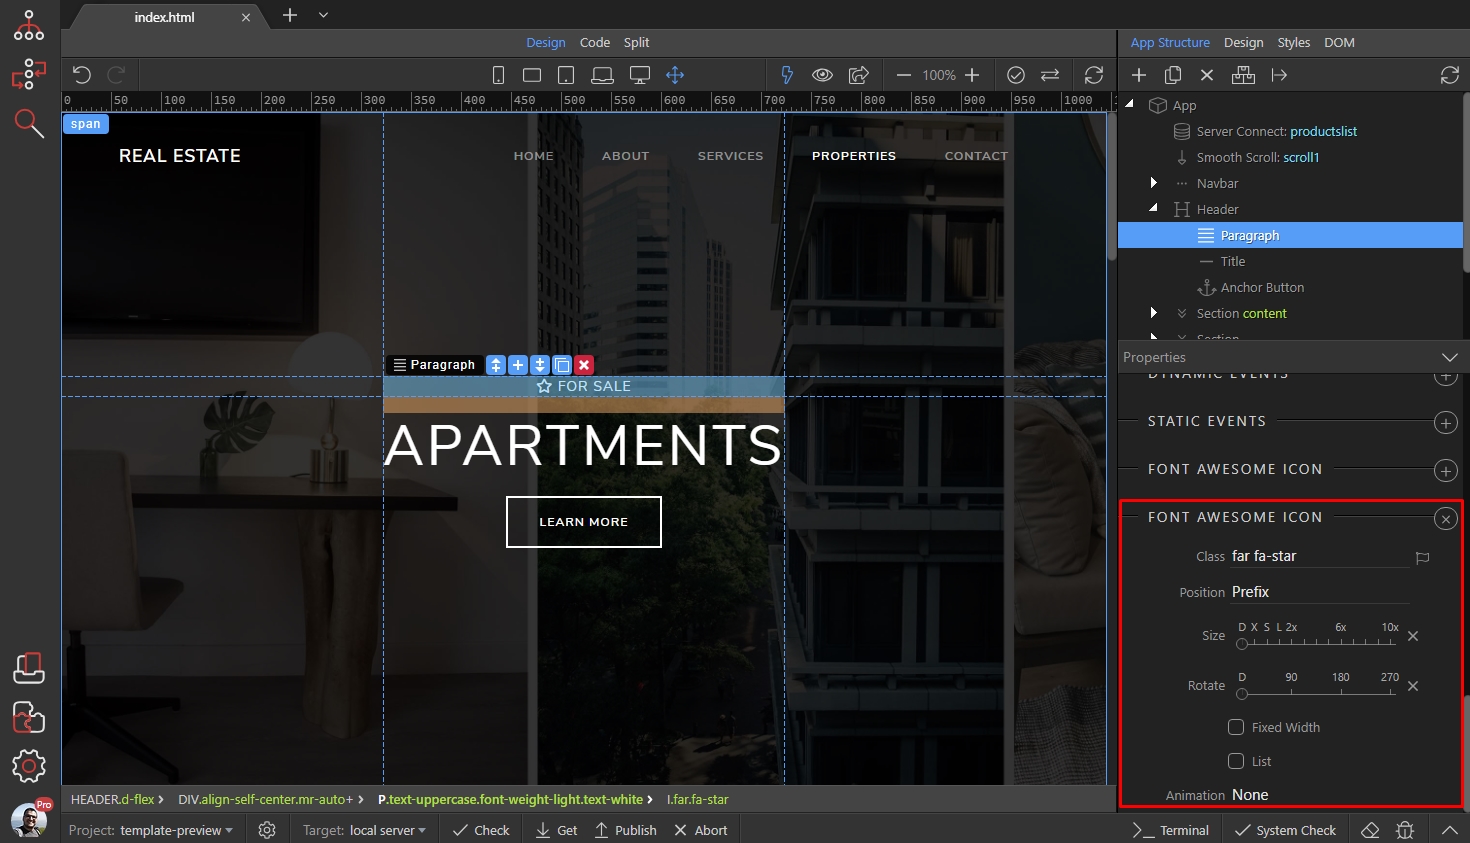
Section titled “The Font Awesome Icon Inspector”Once added on the page you will be able to inspect the existing icons by just choosing an element and scrolling down the property panel:
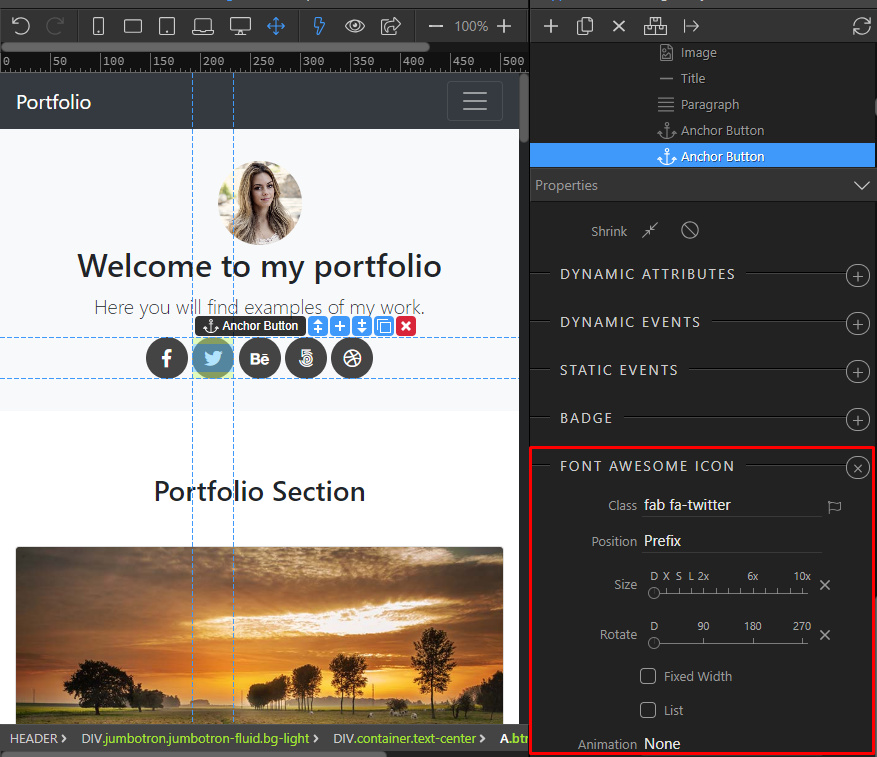
There you will see the new Font Awesome icon properties.
Brand New Icons Picker
Section titled “Brand New Icons Picker”And picking a new icon has never being easier with the brand new icon picker:
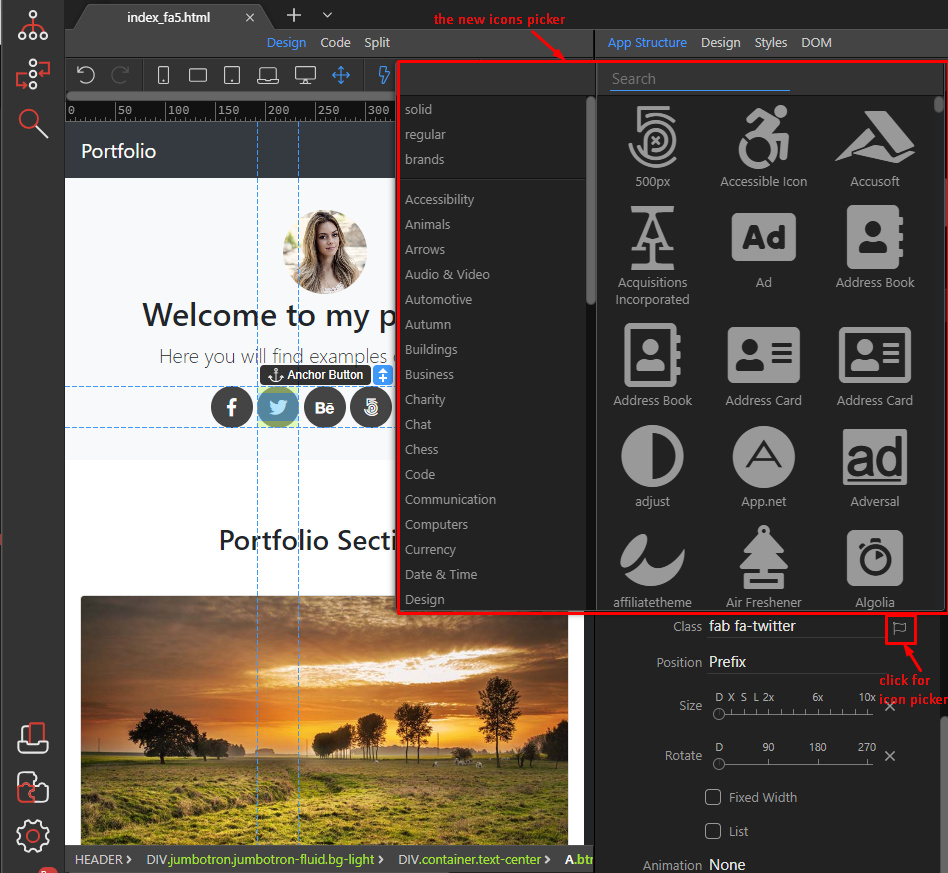
There you can do quick search, toggle styles or categories you want to see and just click the icon you want to pick it.
it will be automatically selected in the properties and added to your page.
Adding New Icon
Section titled “Adding New Icon”Many of the existing Bootstrap 4 elements now have ability to be extended with Font Awesome icons.
So choose any title, paragraph, button, links, list items, navigation items etc and just scroll down in its property panel till the end to see:

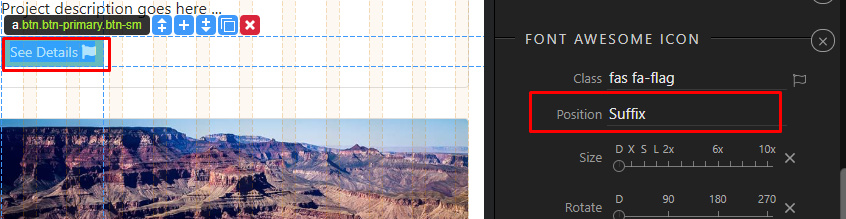
Default position of new icons is as suffix:
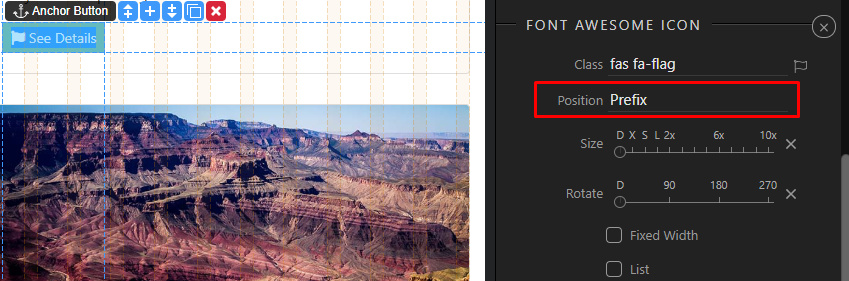
But you can easily change that to put the icon in front:
You can also add font awesome inline, using the inline inspector. Just double click where you want to add it, and place your cursor there:
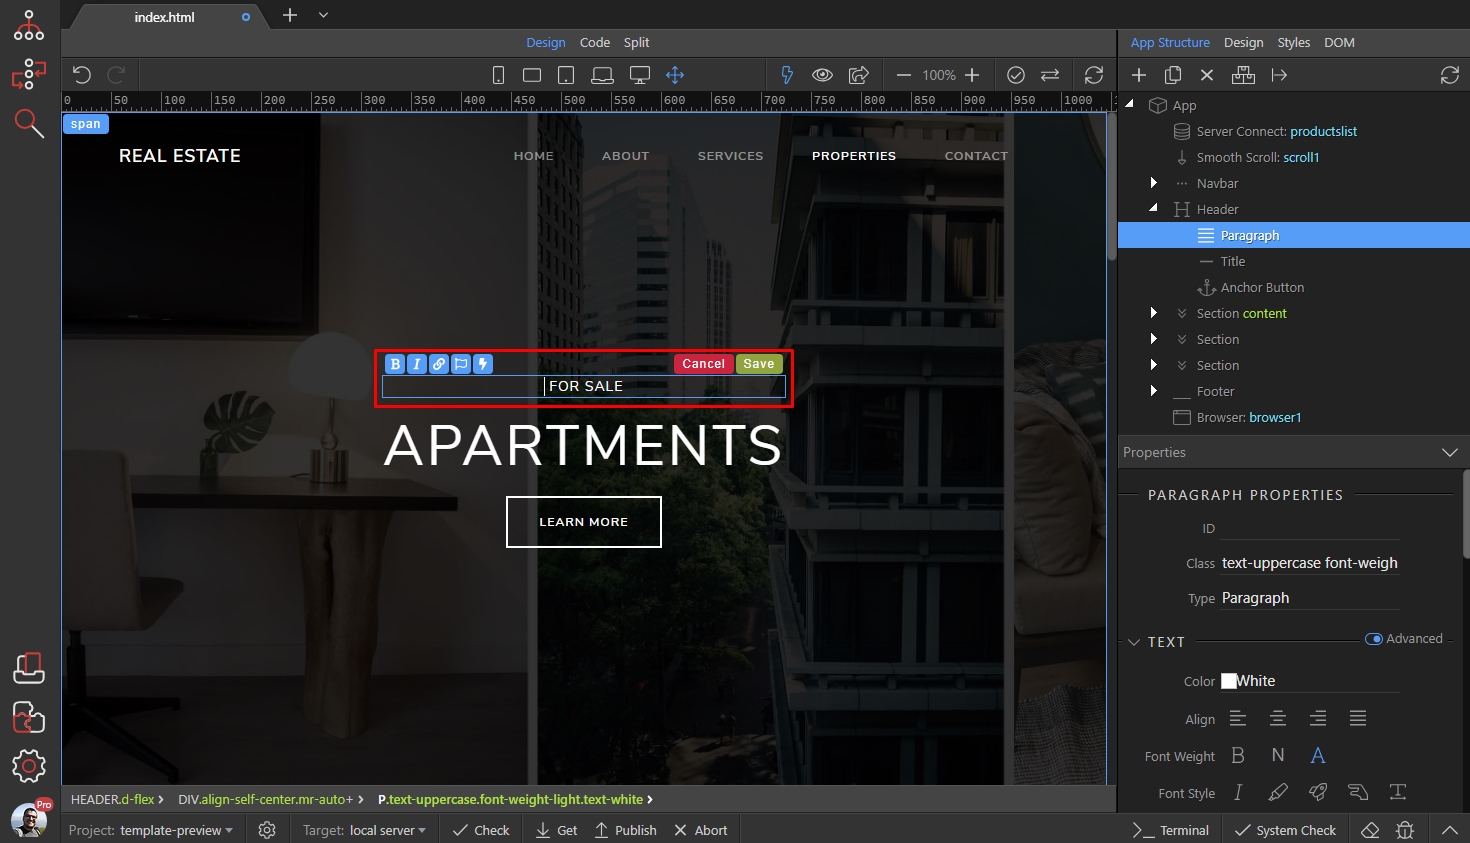
Then click the Font Awesome icon in the inline toolbar:

Select your icon from the icons picker:
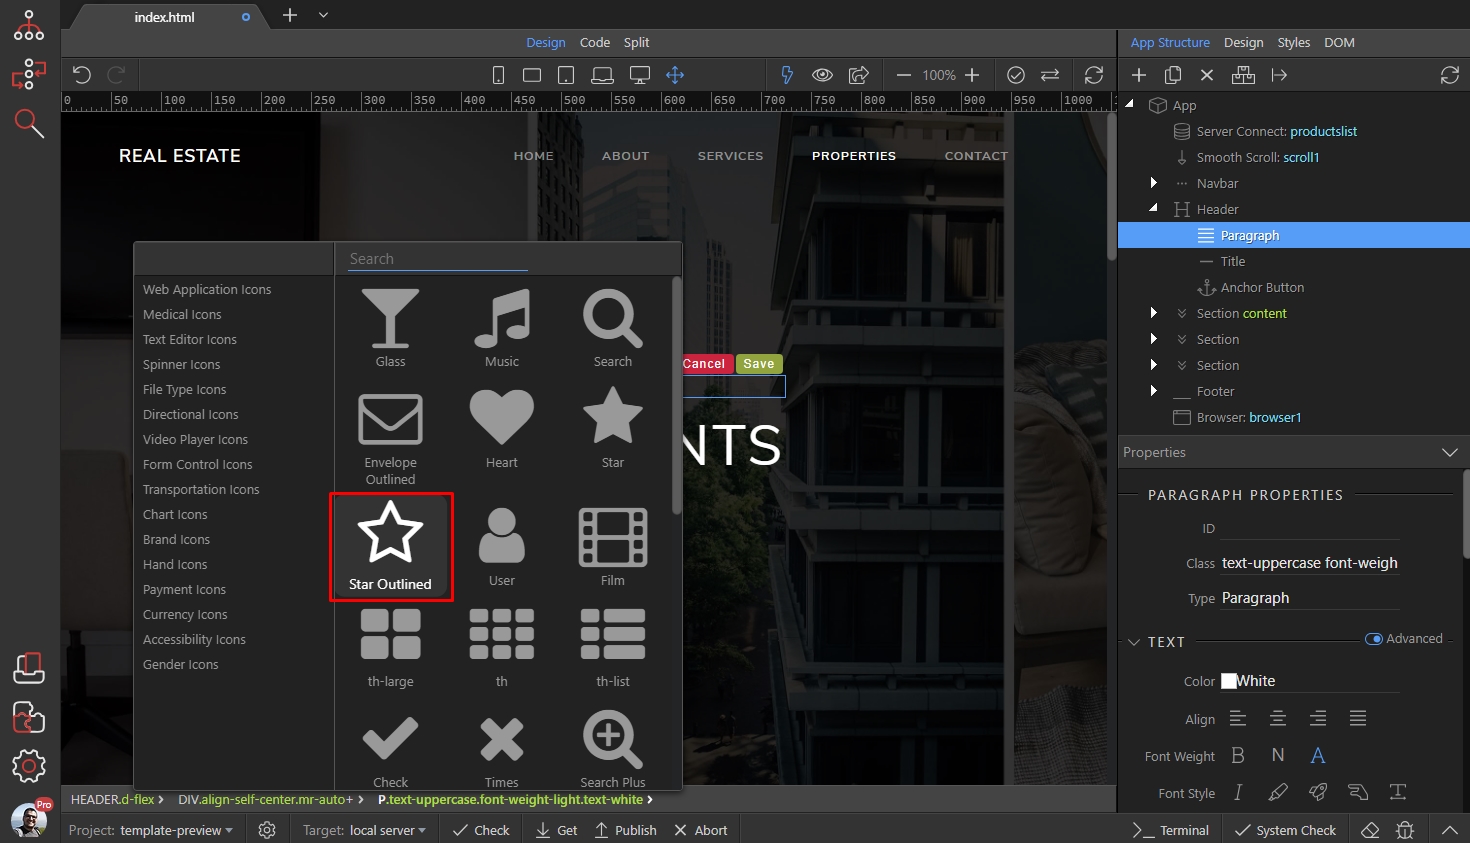
And you can see the results:

You can always change the icon or its properties like size and rotation using the properties inspector: