Setting Up a Mobile Project with Capacitor
Intro Capacitor is an open source project that runs modern Web Apps natively on iOS, Android, Electron, and Web while providing a powerful and easy-to-use inter
Capacitor is an open source project that runs modern Web Apps natively on iOS, Android, Electron, and Web while providing a powerful and easy-to-use interface for accessing native SDKs and native APIs on each platform. As an alternative to Cordova, Capacitor delivers the same cross-platform benefits, but with a more modern approach to app development, taking advantage of the latest Web APIs and native platform capabilities.
It might be helpful to think of Capacitor as a powerful new browser for modern Web Apps that unlocks the full native functionality of each platform through consistent cross-platform APIs. Using Capacitor, developers can build one app and target one set of APIs regardless of the platform the app is running on, as opposed to managing multiple APIs for each target platform.
This means that, for example, accessing the Camera uses the same code on iOS/Android as it does on Electron and on the web. This makes it easy to build one web app that runs natively on mobile, desktop, and the web.
At the end of the day, Capacitor apps are native apps. They can incorporate native UI controls and access any native SDK or API available on the platform. But unlike more traditional native apps, Capacitor apps will likely have the bulk of the app running in an embedded WebView control that unlocks desired cross-platform benefits and efficiencies.
Learn more at:
Mobile Project Setup
Section titled “Mobile Project Setup”Wappler makes it easy to build mobile apps using Capacitor, with just a few clicks. The first thing we need to do is to create a mobile project, based on Capacitor.
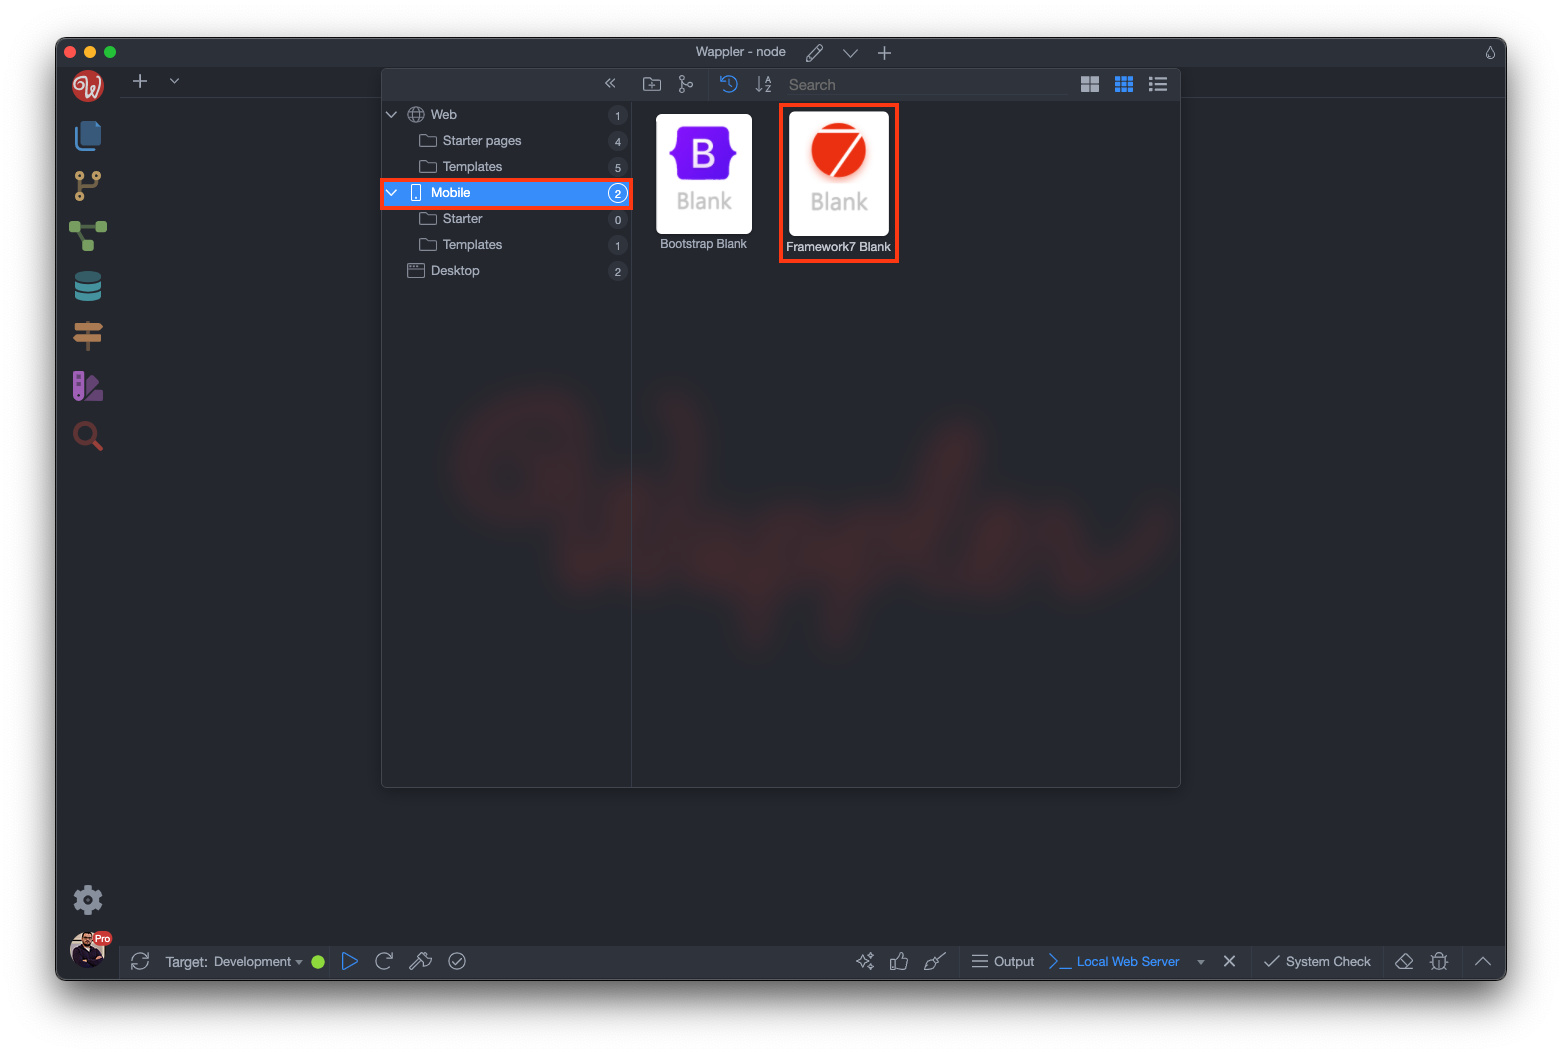
Click the new project button:

Select Mobile and select one of the available frameworks - Bootstrap or Framework 7. For this example we select Framework 7:
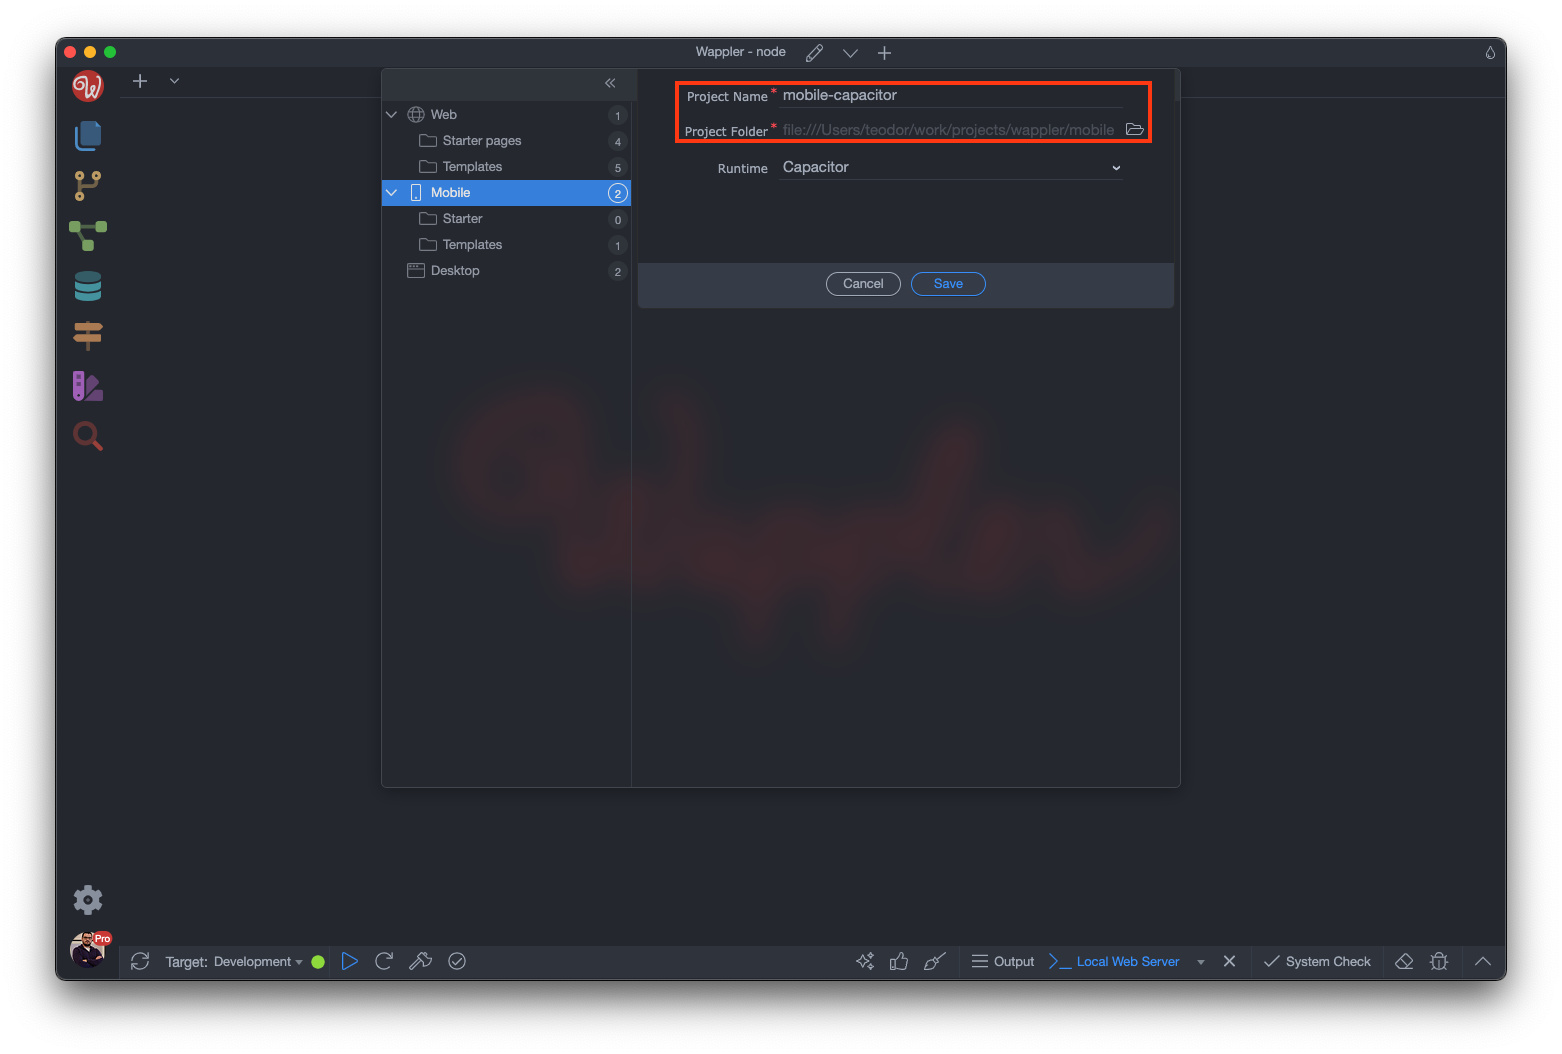
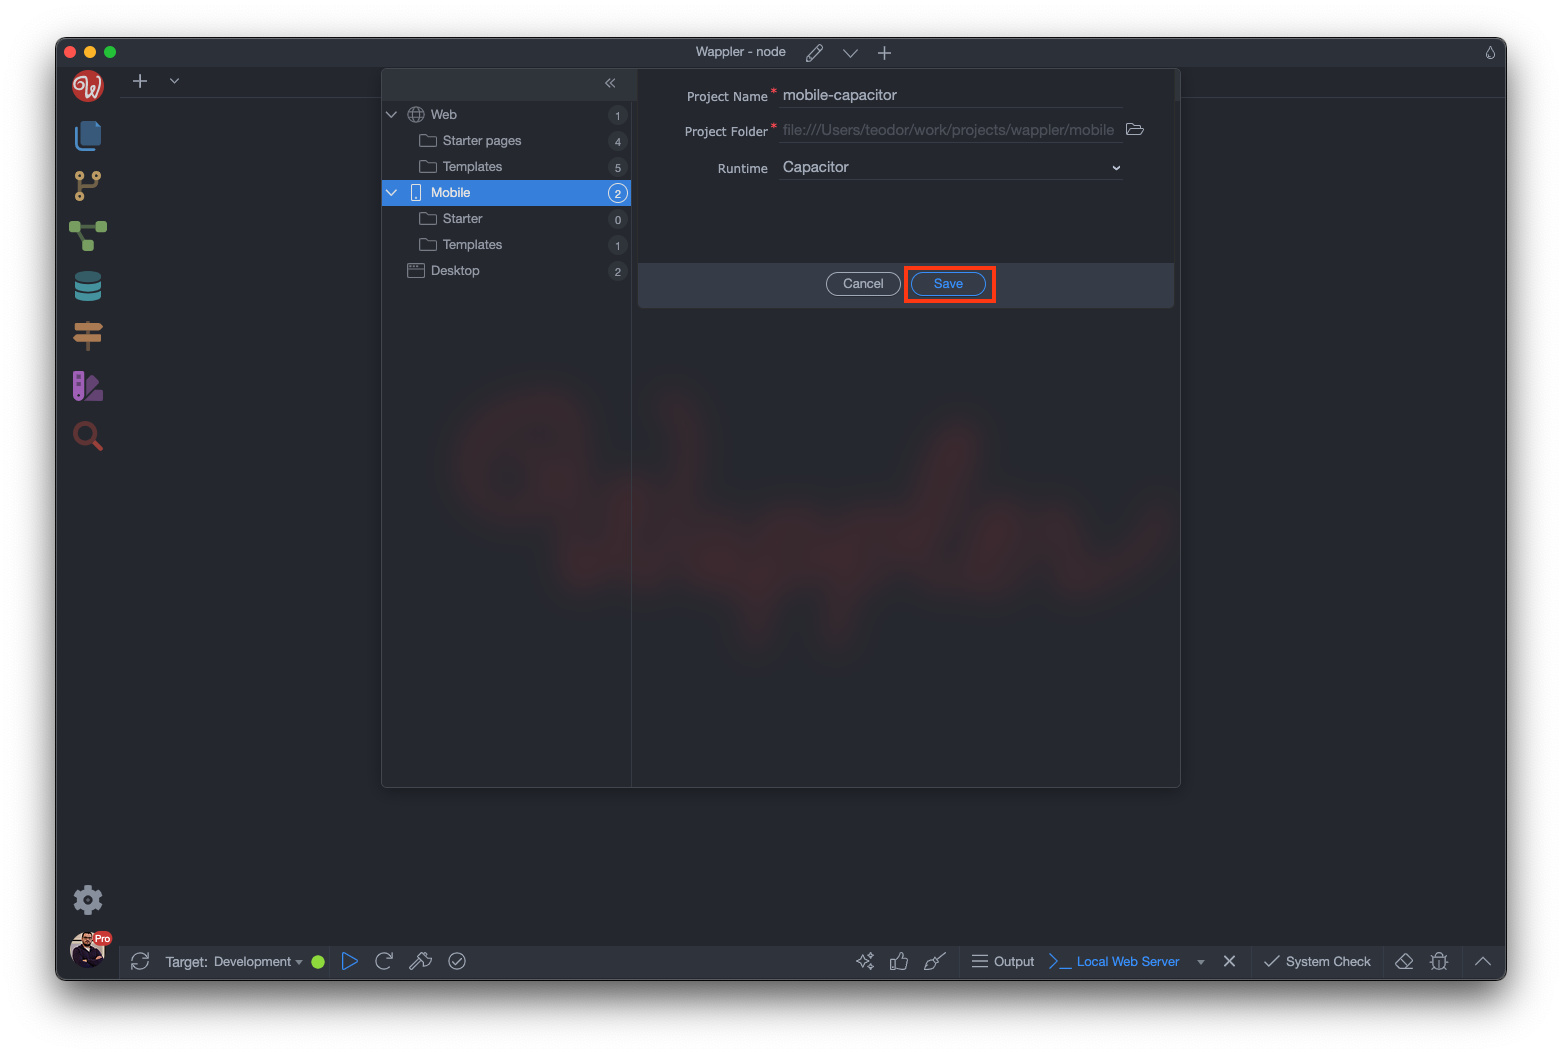
Add a name for your mobile project and select a folder for it:
Then make sure to select Capacitor in the Runtime dropdown:
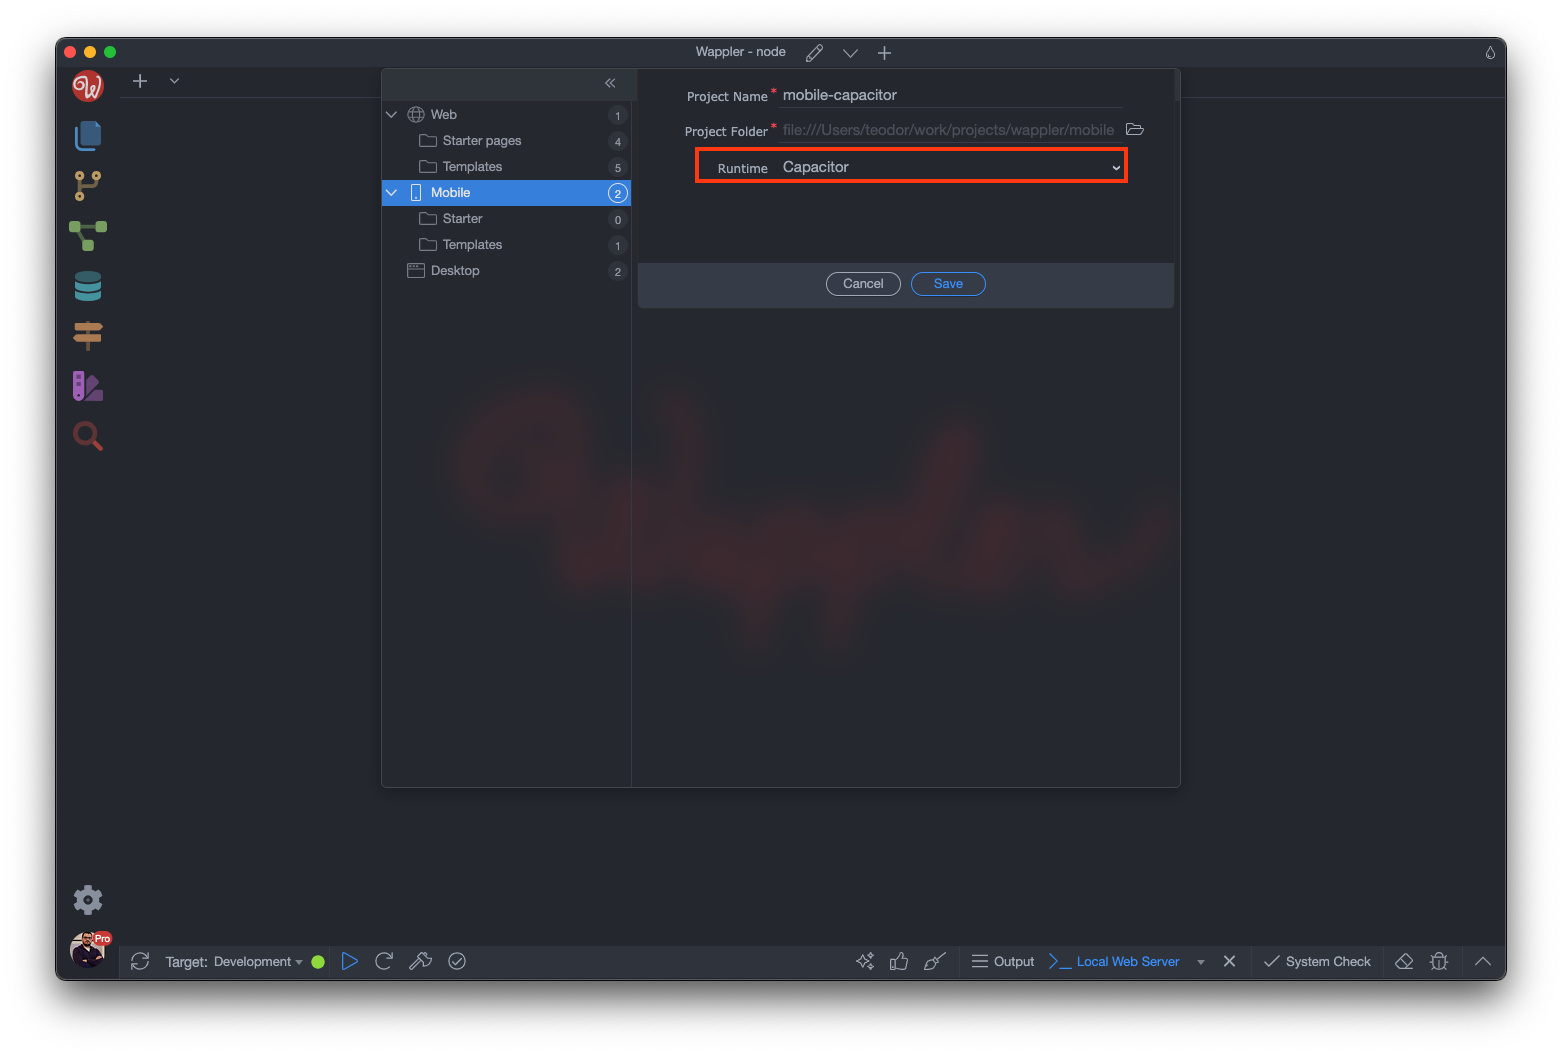
Click Save:
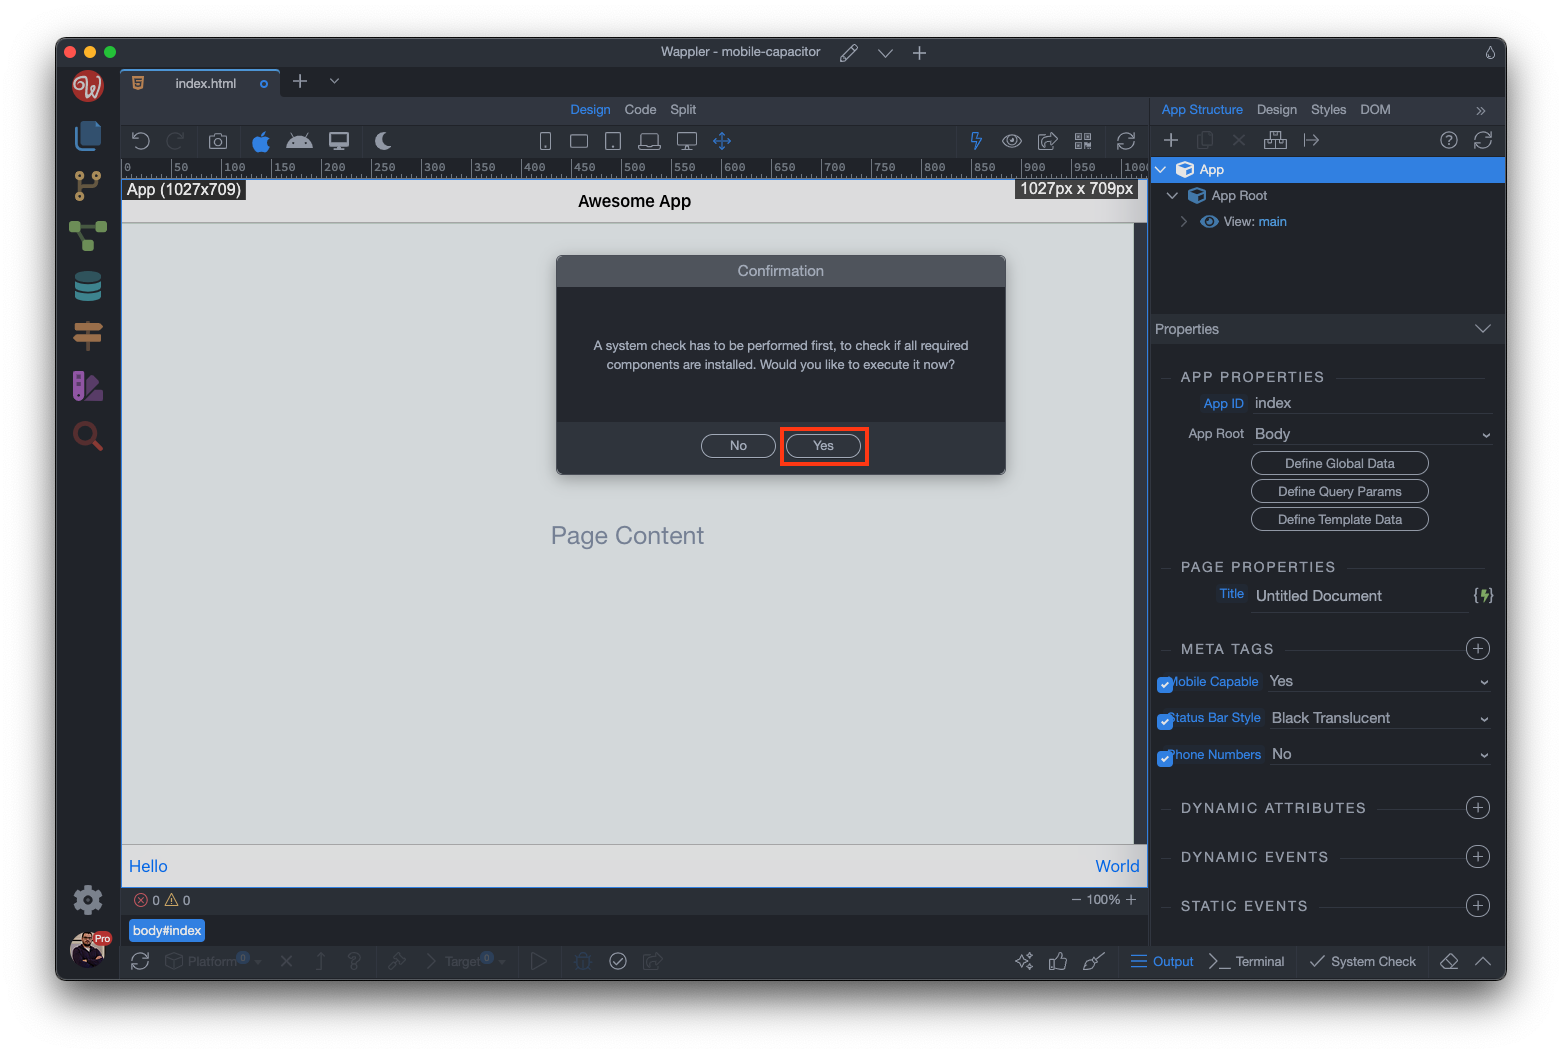
Your project has been created. A system check prompt will appear, click Yes in order to perform a system check:
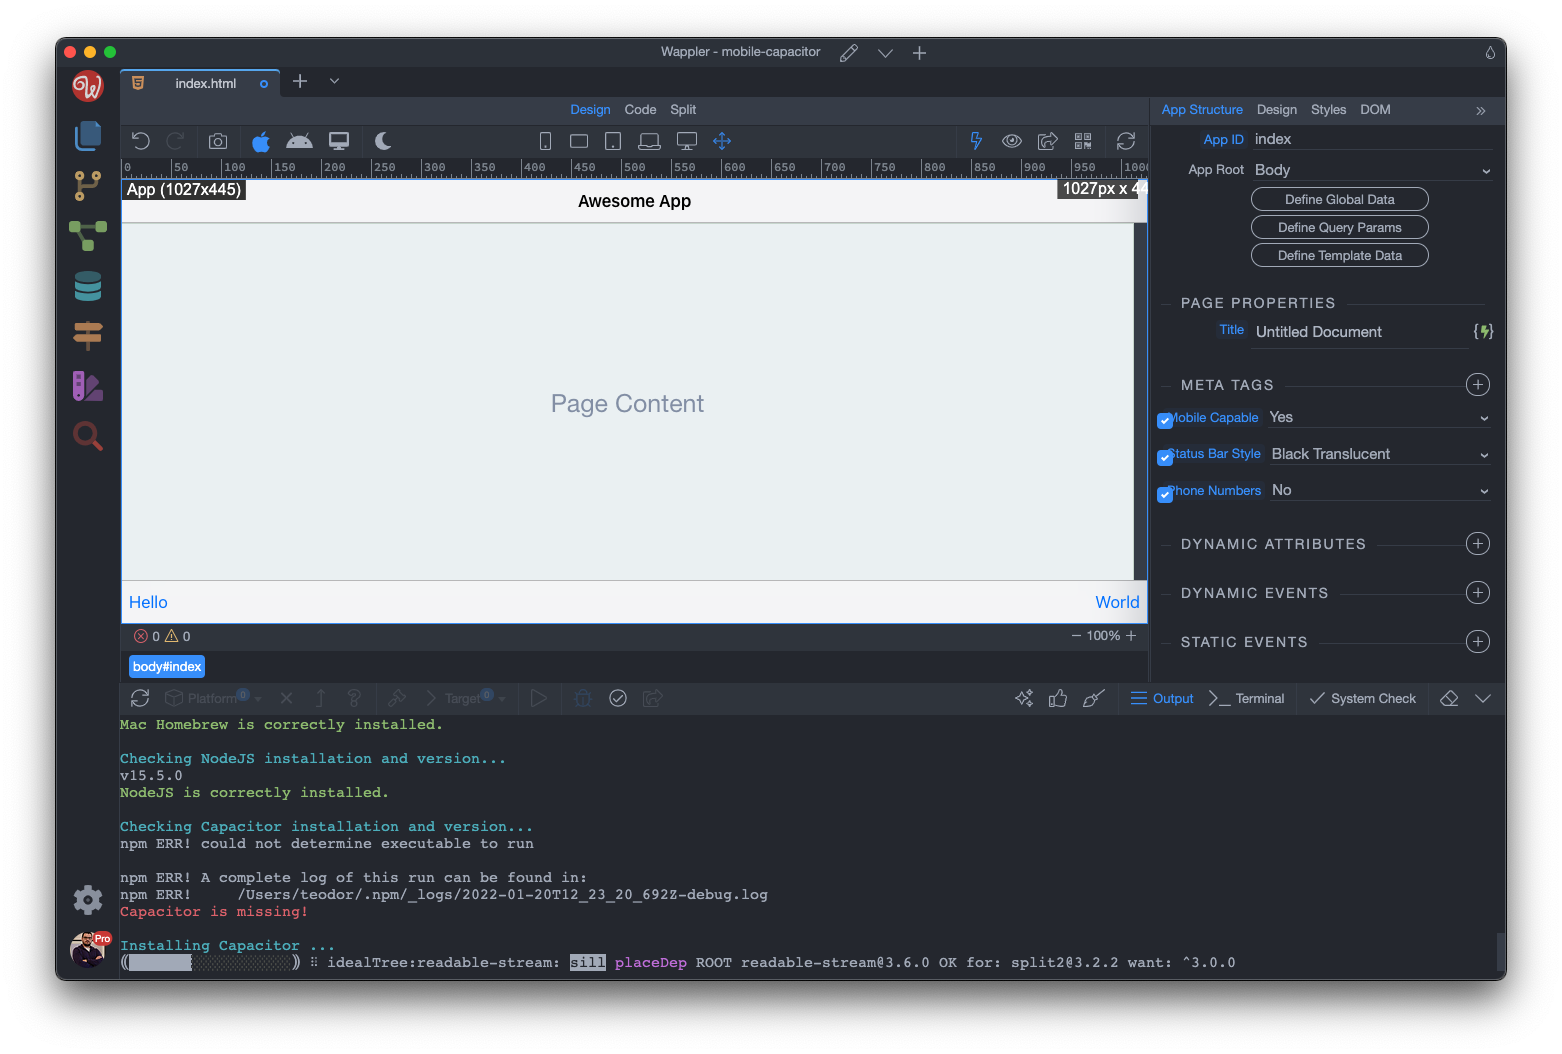
The required components will be installed. You can check the progress in the terminal at the bottom of the screen. A success notification will appear once the required components are installed:
Adding a Mobile Platform
Section titled “Adding a Mobile Platform”After the project is set up, we can install the mobile platform(s) which we want to use - Android and iOS. For building iOS apps, you need a mac computer with xCode installed. For Android apps you need Android Studio installed.
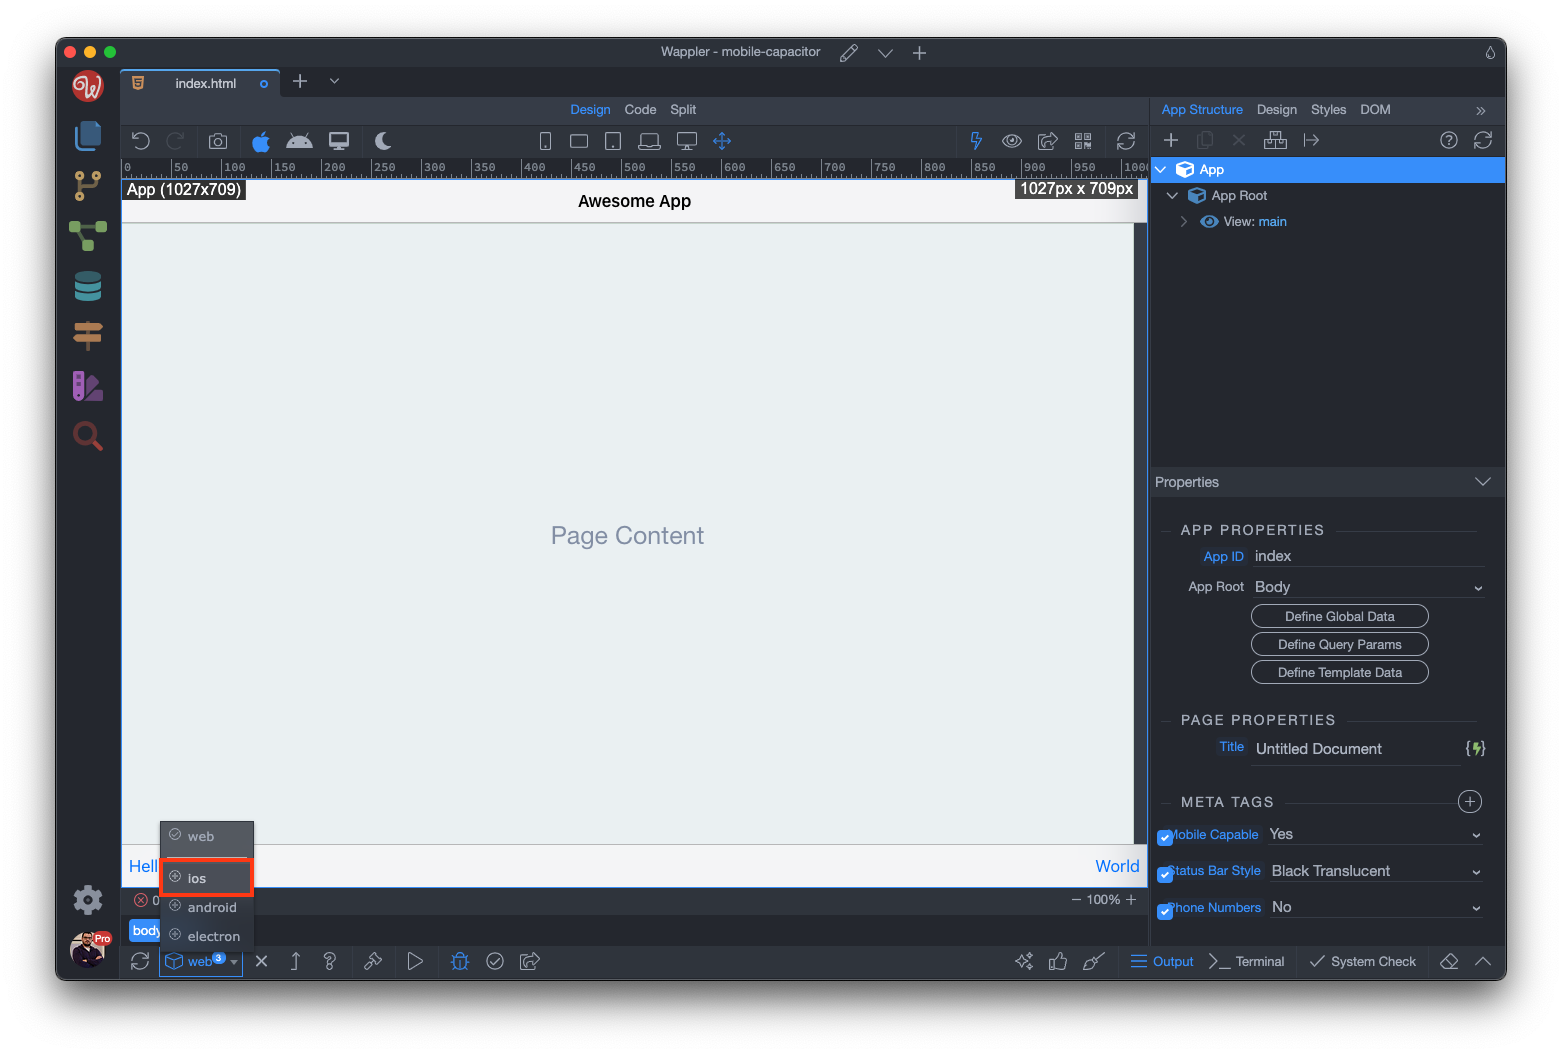
Open the Platforms menu:
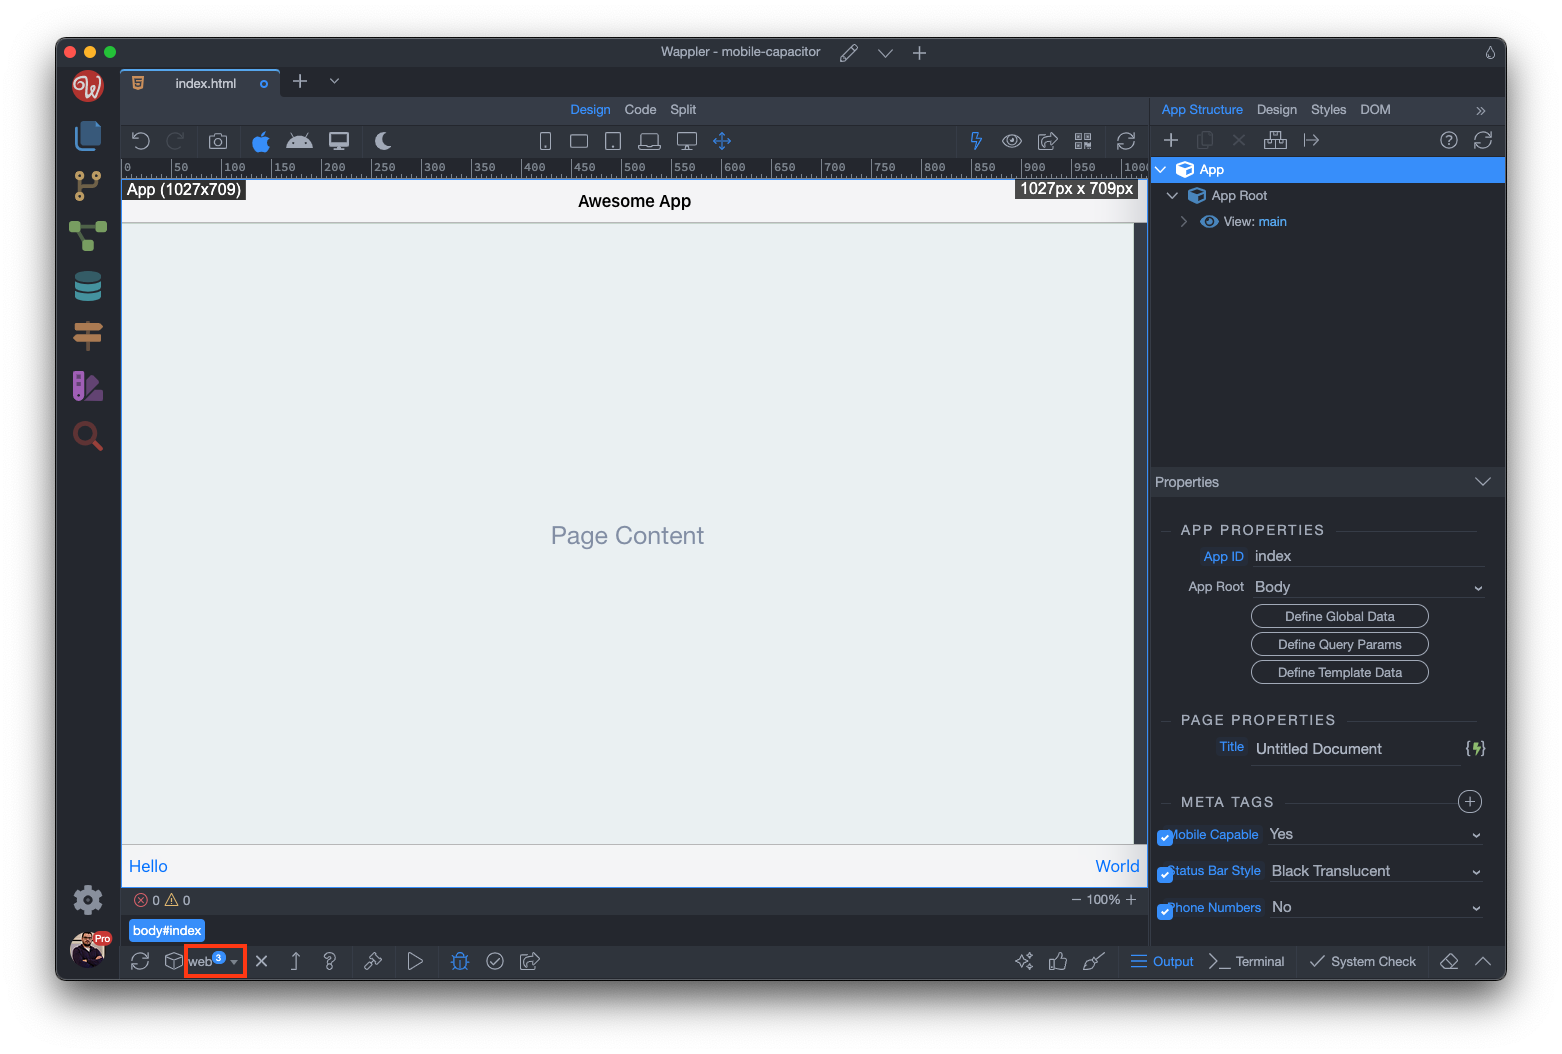
And select the Platform you need:
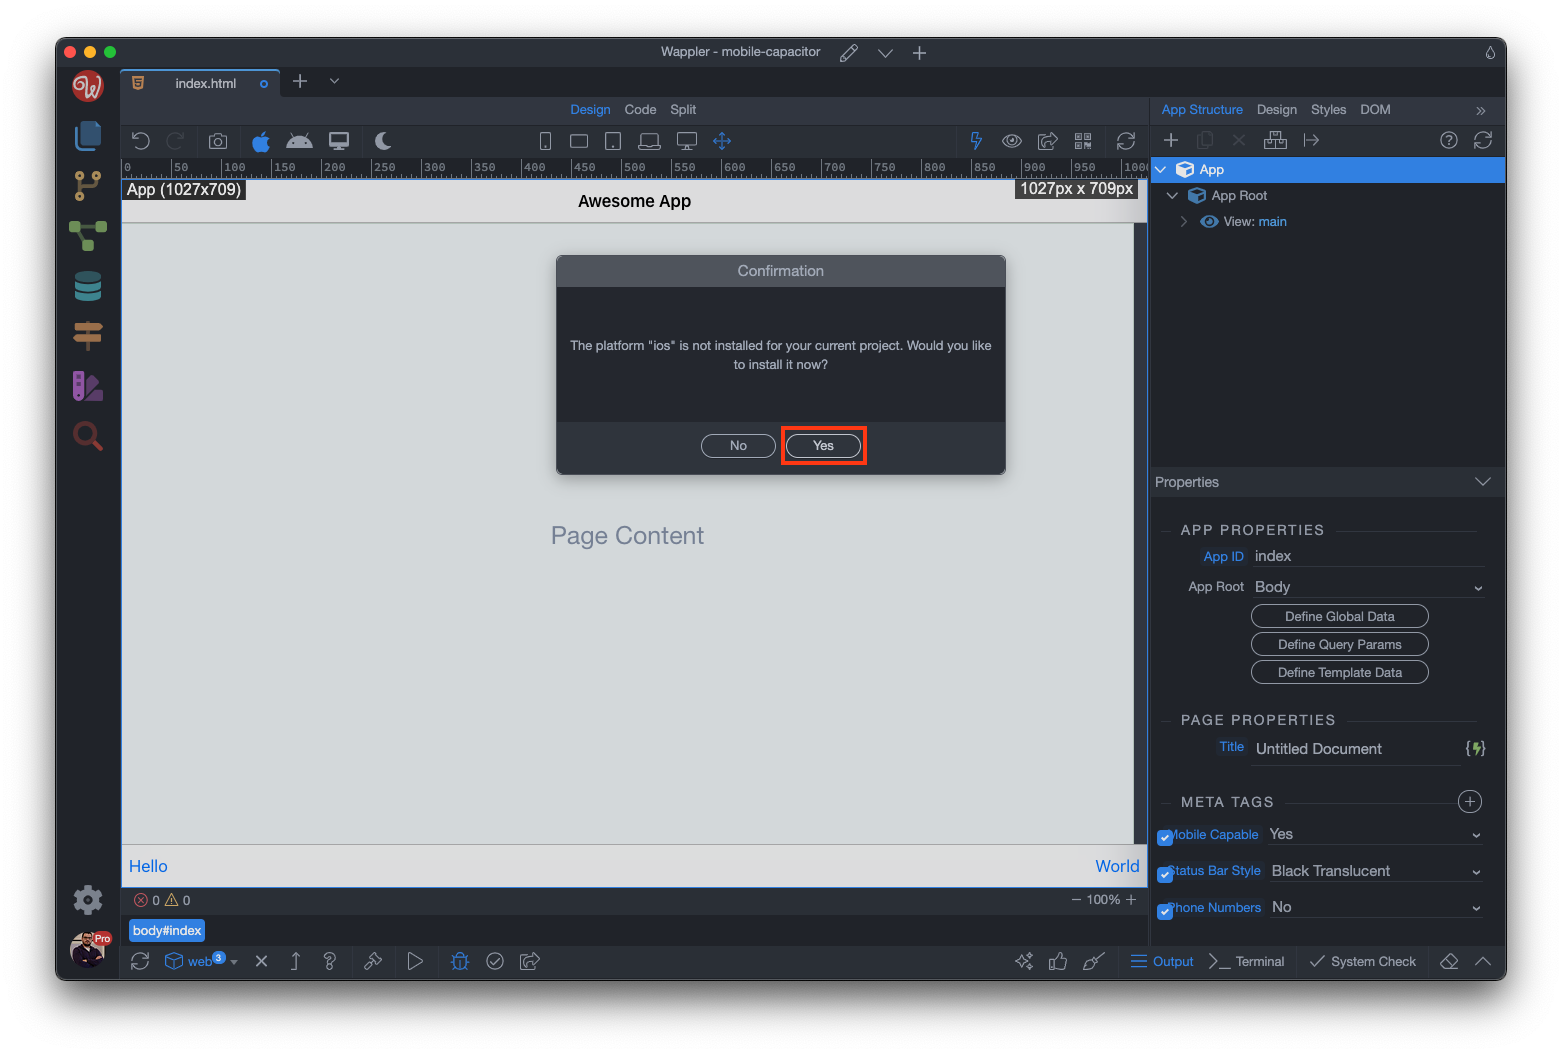
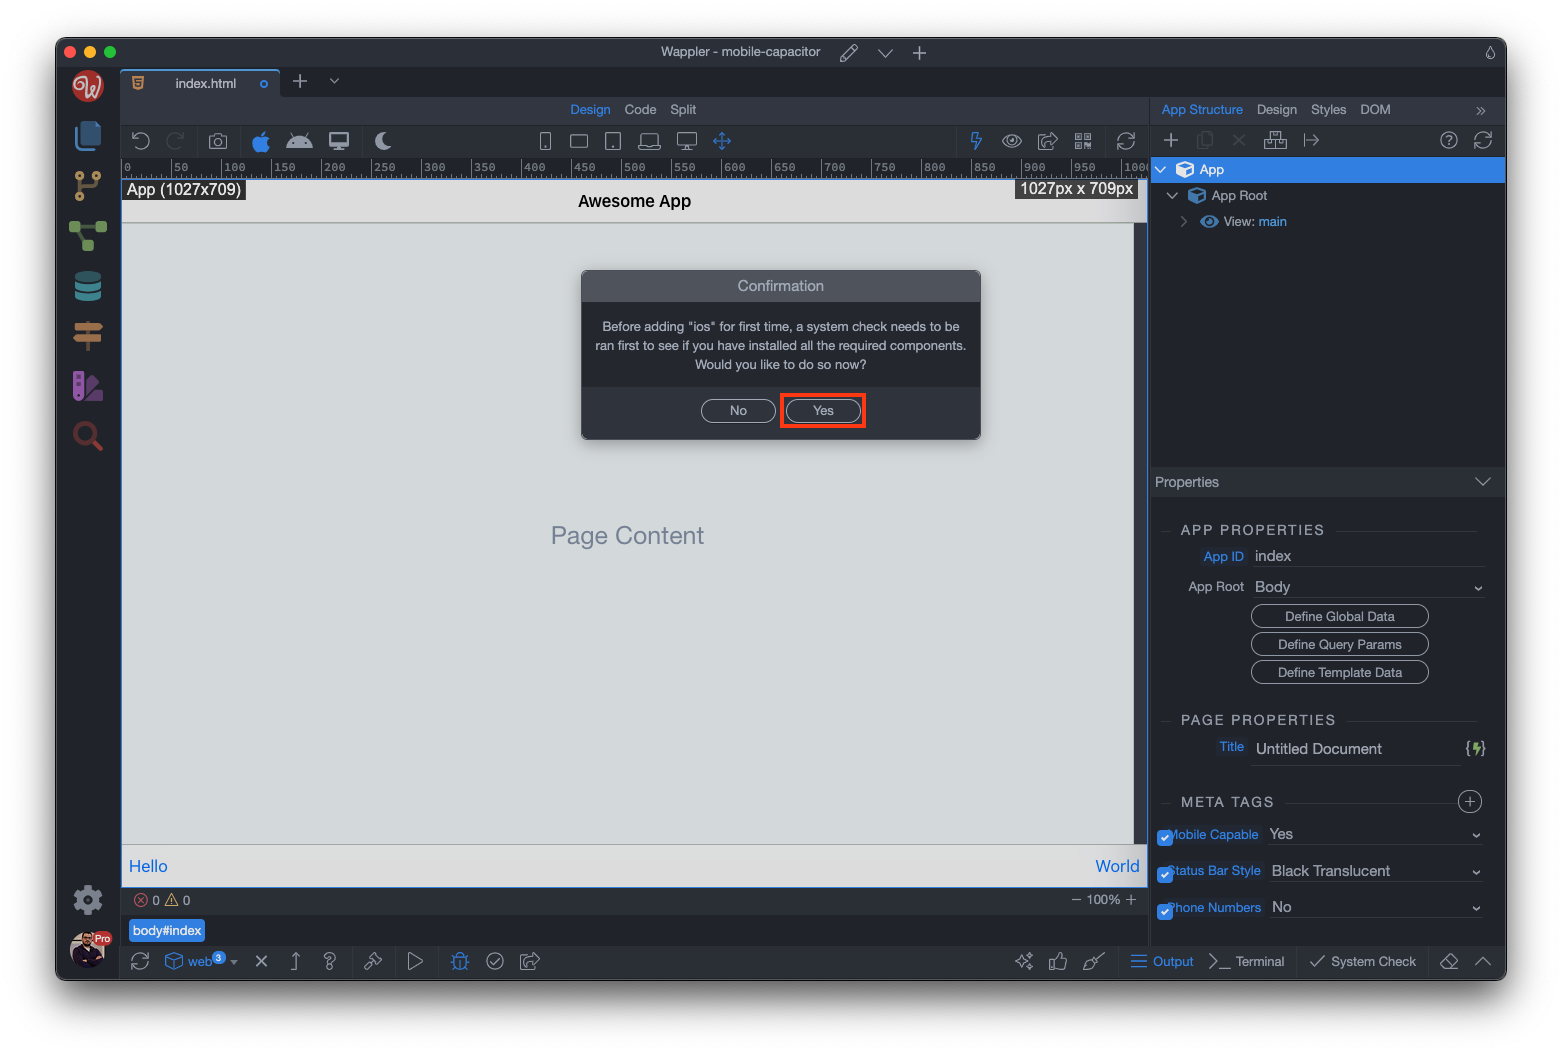
A platform installation and a system check prompts will appear - click yes in both dialogs to install the selected platform in your project:
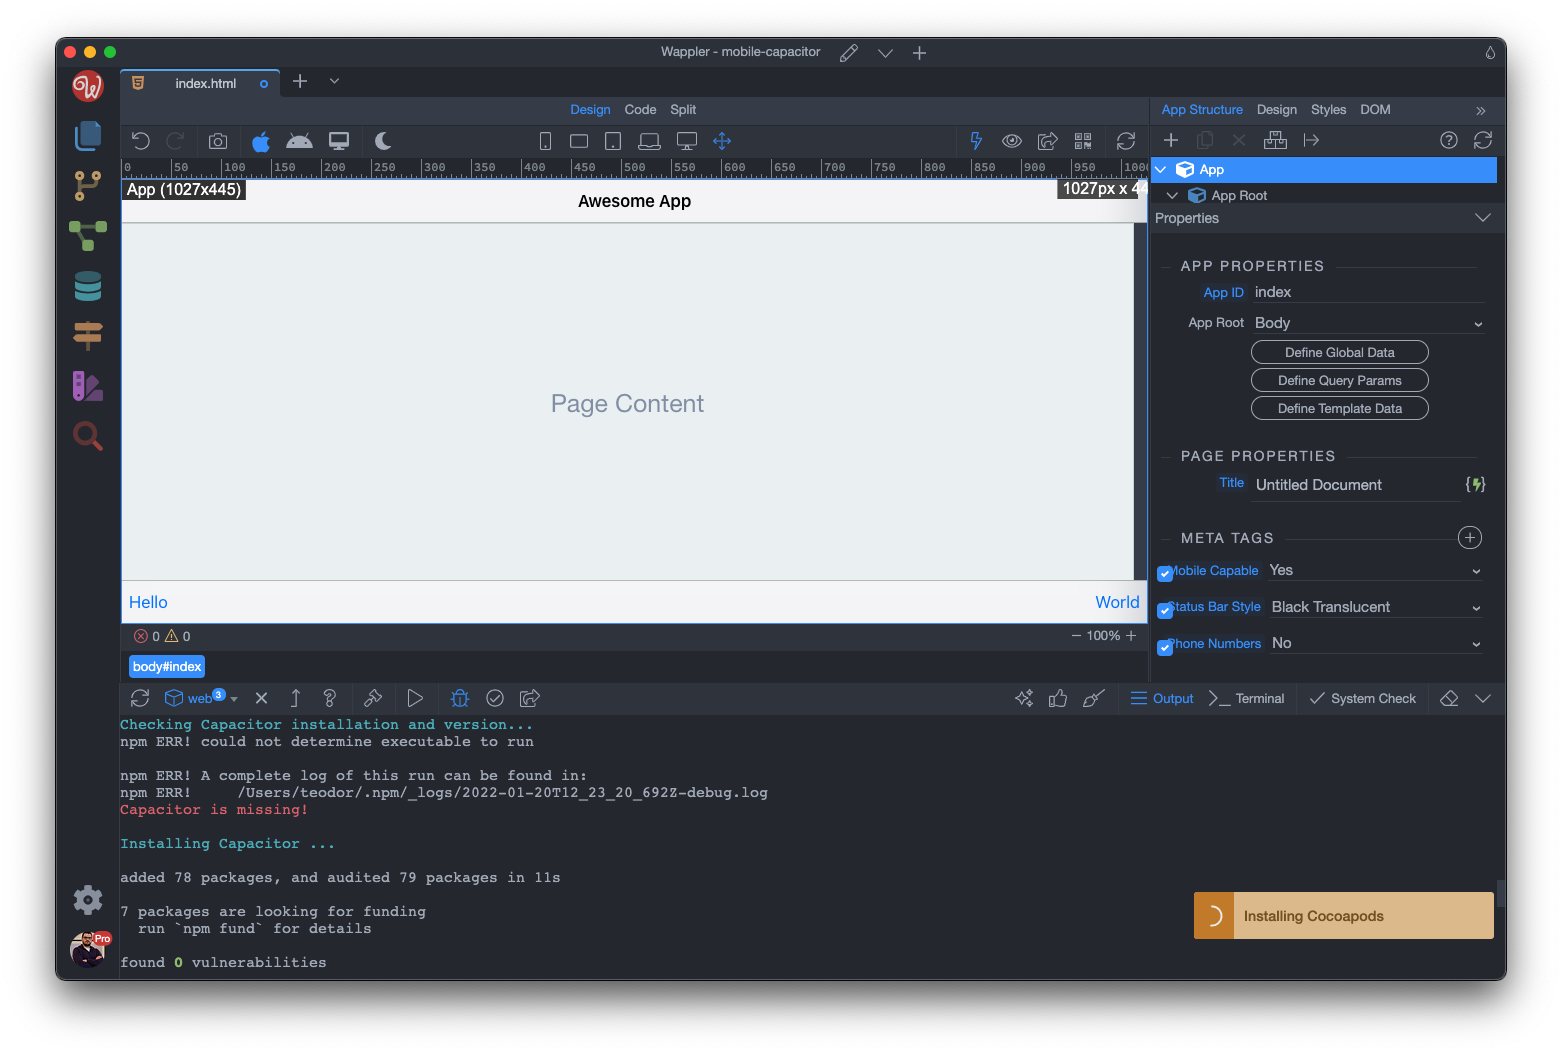
You can check the progress in the bottom panel. A success message will appear when all the required components are installed and the platform is added to your project:
Android Requirements
Section titled “Android Requirements”As of 20 Jan, 2022 Capacitor does not support the Android SDK 32, which is installed by default with Android Studio.
Android SDK 31
Section titled “Android SDK 31”You need to do is to install Android SDK 31.
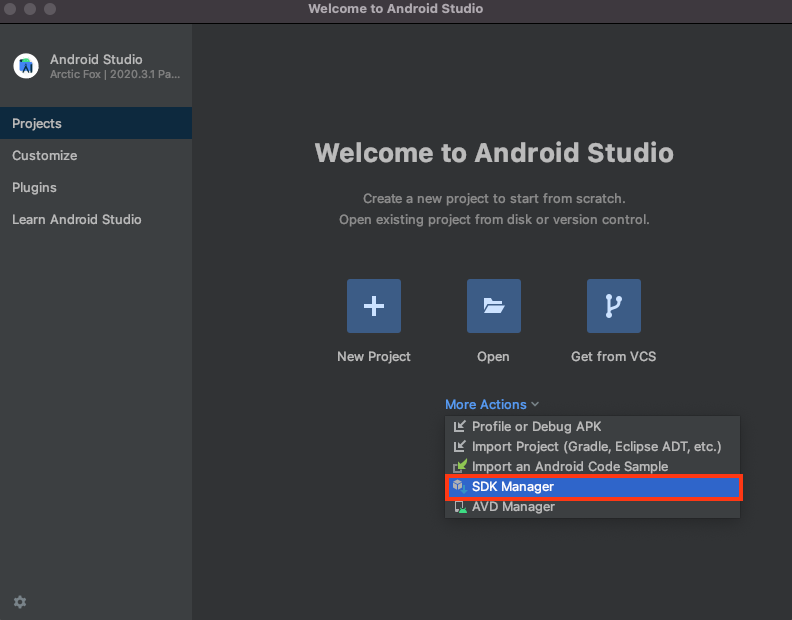
Open Android Studio and select More Actions:

Open the SDK Manager:
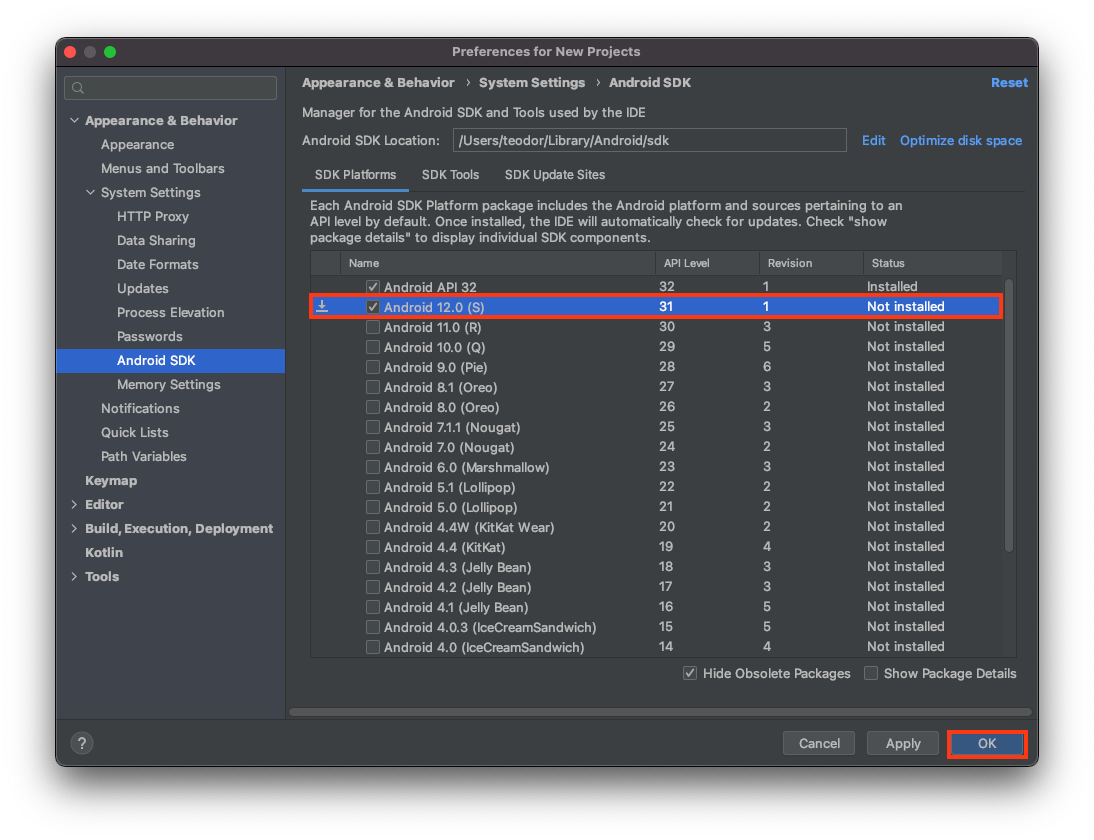
Select Android SDK 31 (Android 12) and click OK:
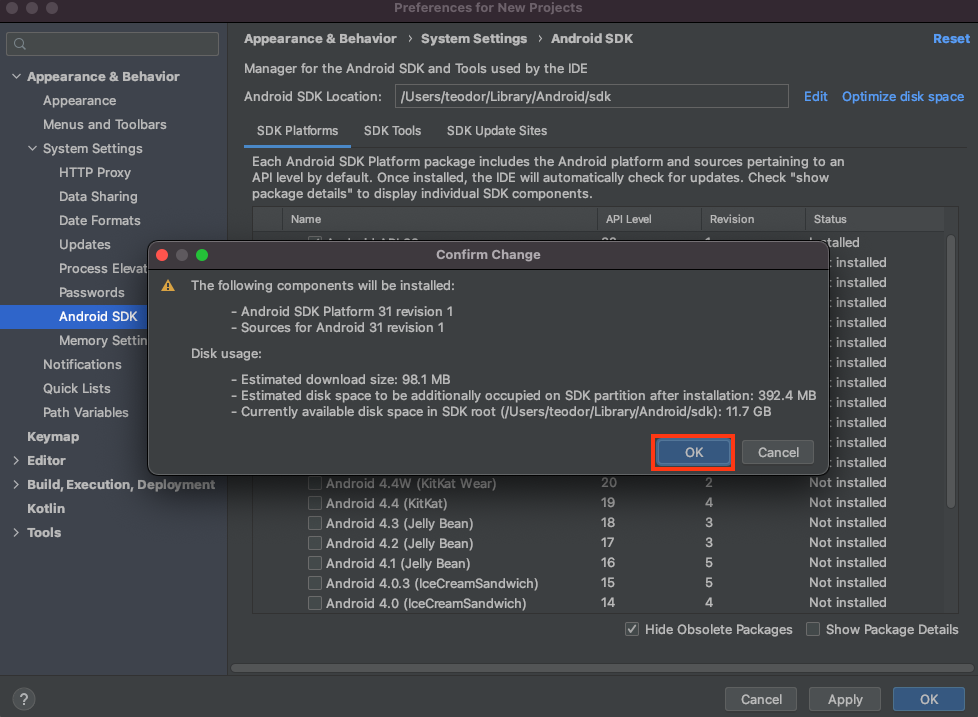
Confirm the download of the required components:
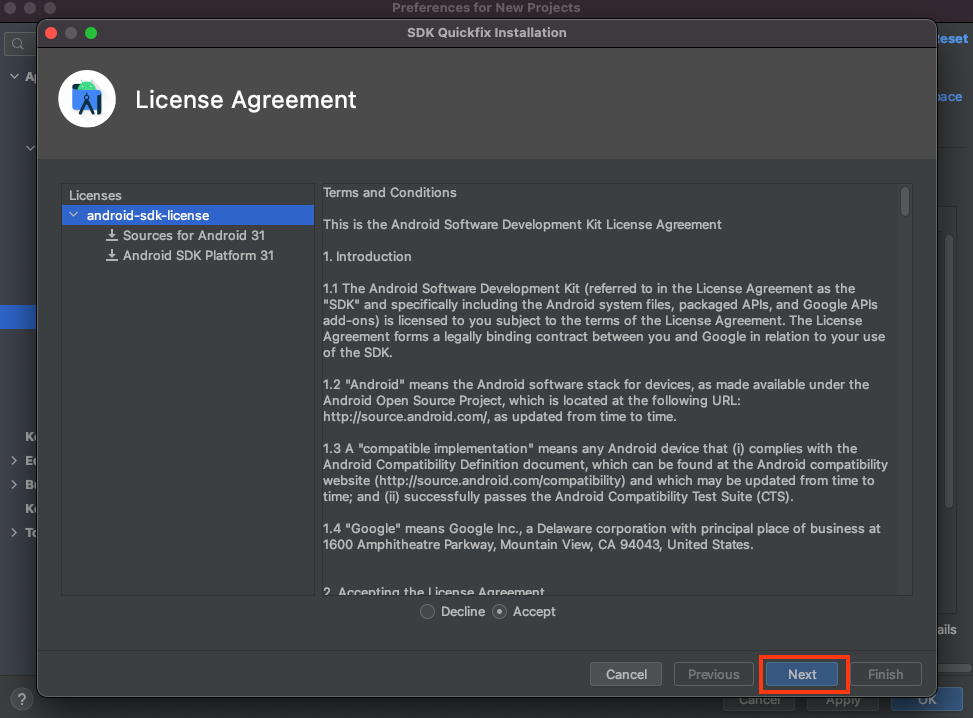
Agree with the License Terms and click Next:
You can see the progress of the installer:
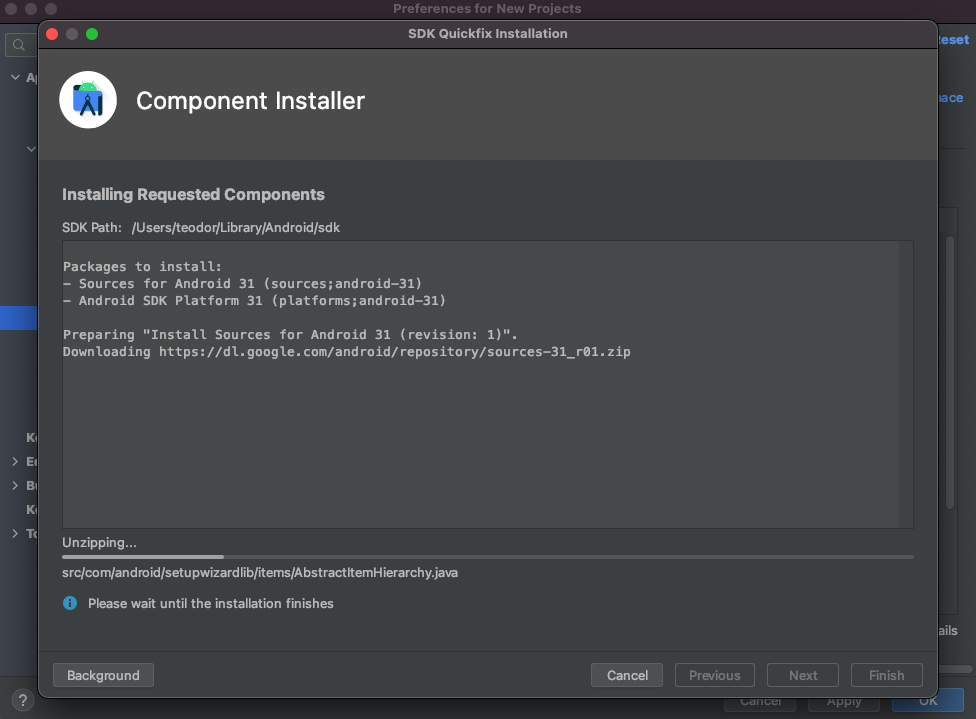
Once it’s finished, click the Finish button and you are done. Android SDK 31 is now installed.
Android Emulator Setup
Section titled “Android Emulator Setup”Now as we have Android SDK 31 installed, we need to setup an emulator using it.
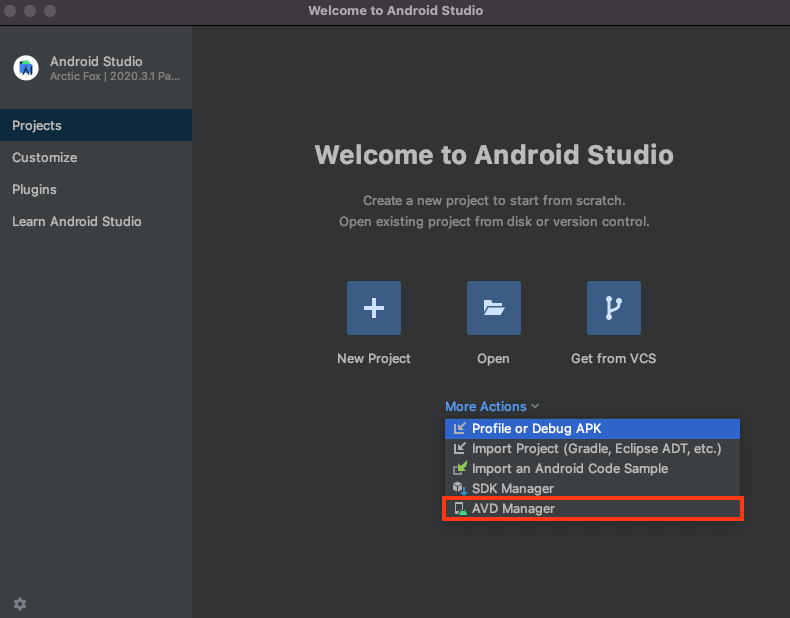
Open Android Studio and click More Actions, then select AVD Manager:
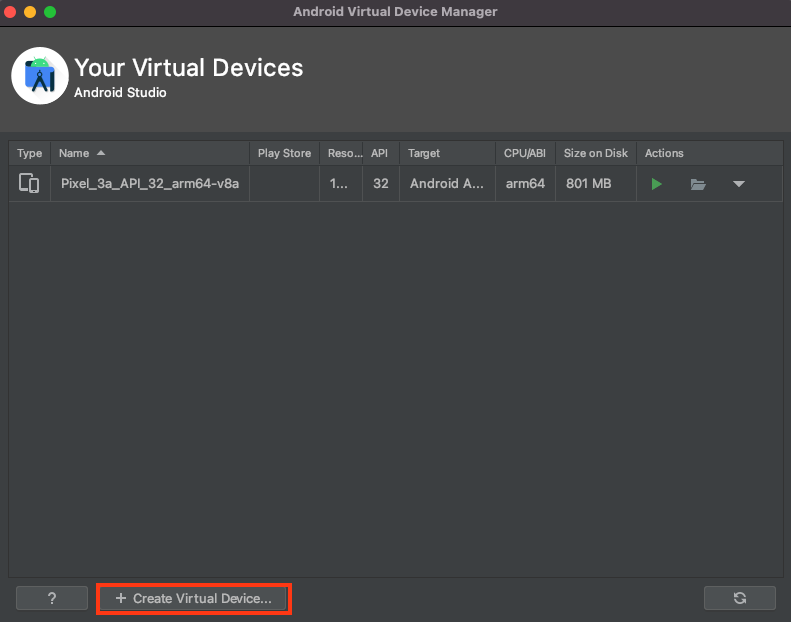
Click the Create Virtual Device button:
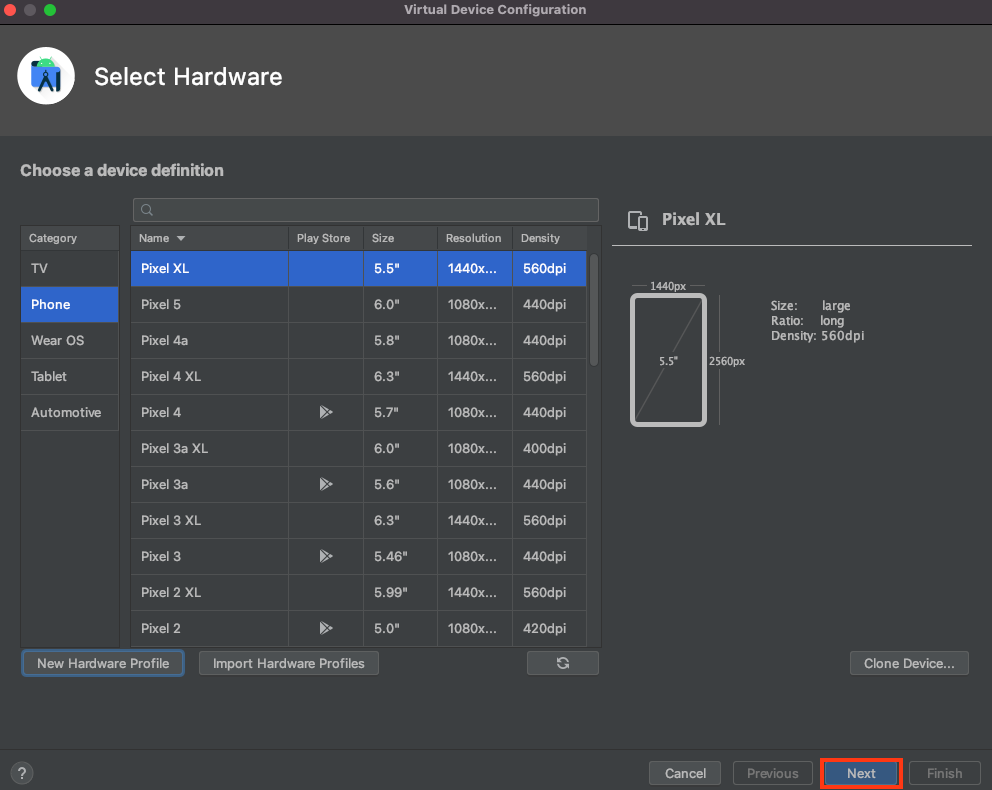
Select a device from the list, we select Pixel XL and then click Next:
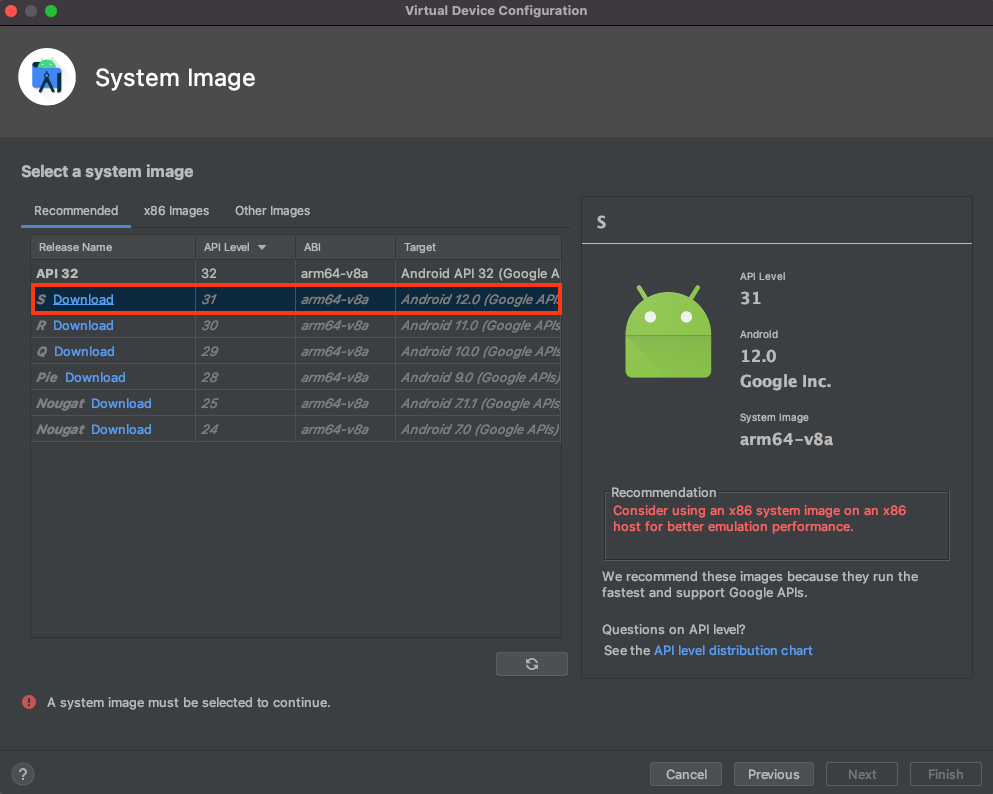
Click the download button for the SDK 31 (Android 12):
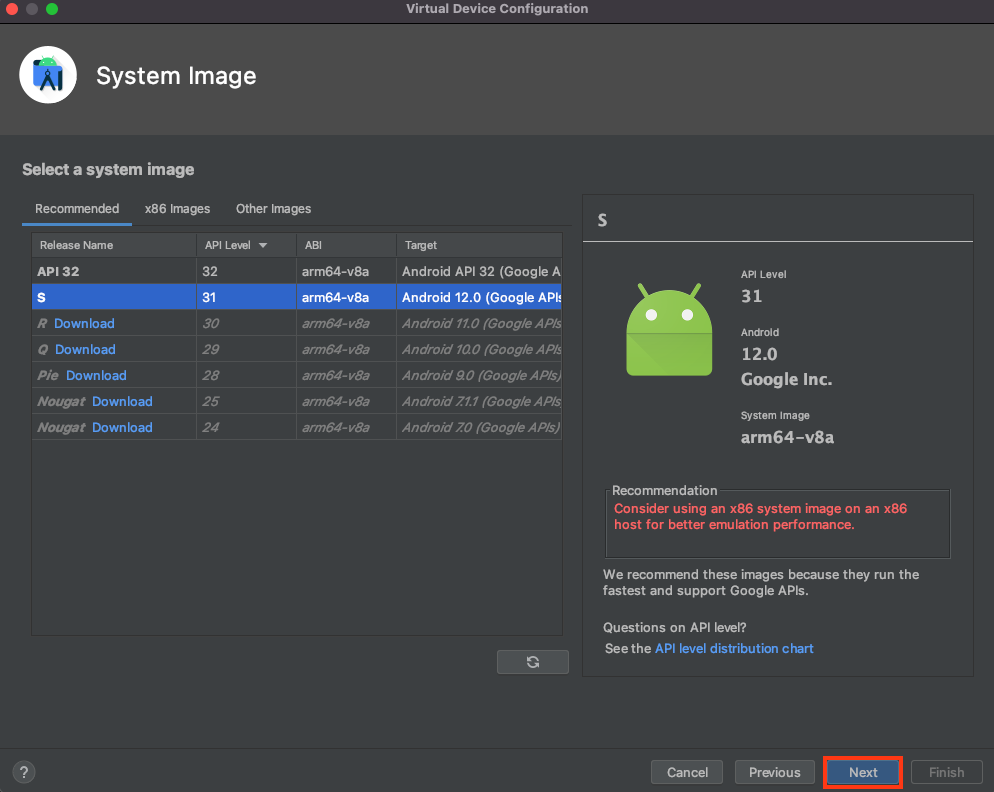
Follow the installation process. Click Next, when the emulator finishes downloading and installing:
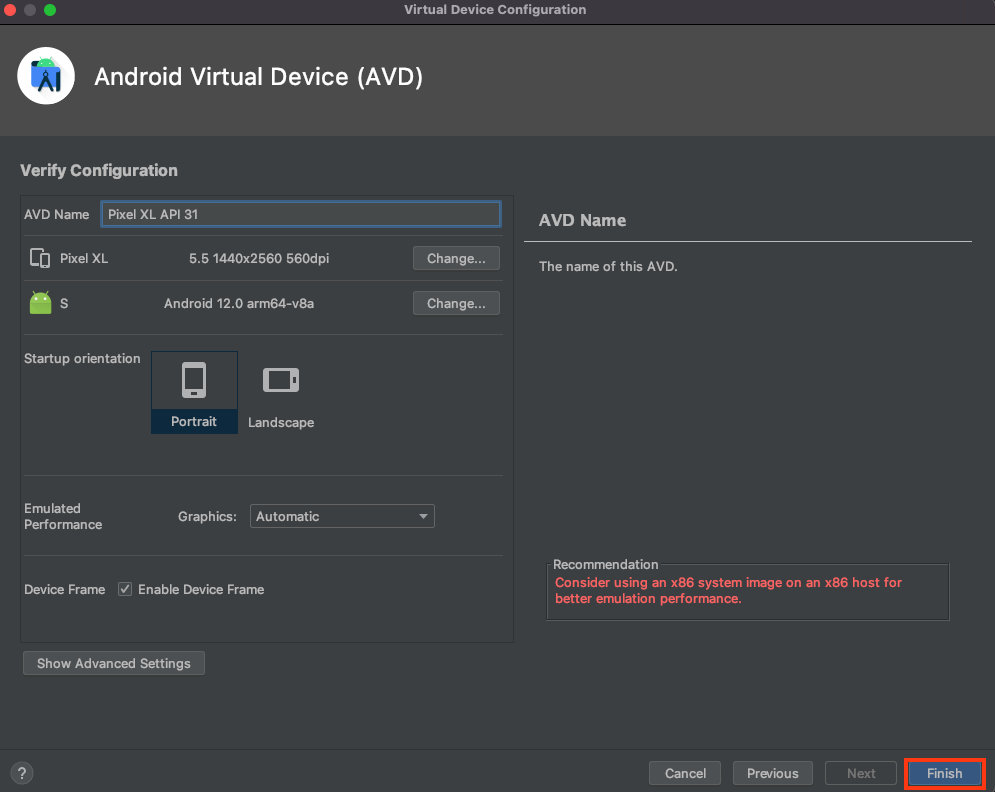
Then Click Finish:
Android SDK Command Line Tools
Section titled “Android SDK Command Line Tools”The last thing you need is to install the Android SDK Command Line Tools.
Open the SDK Manager:
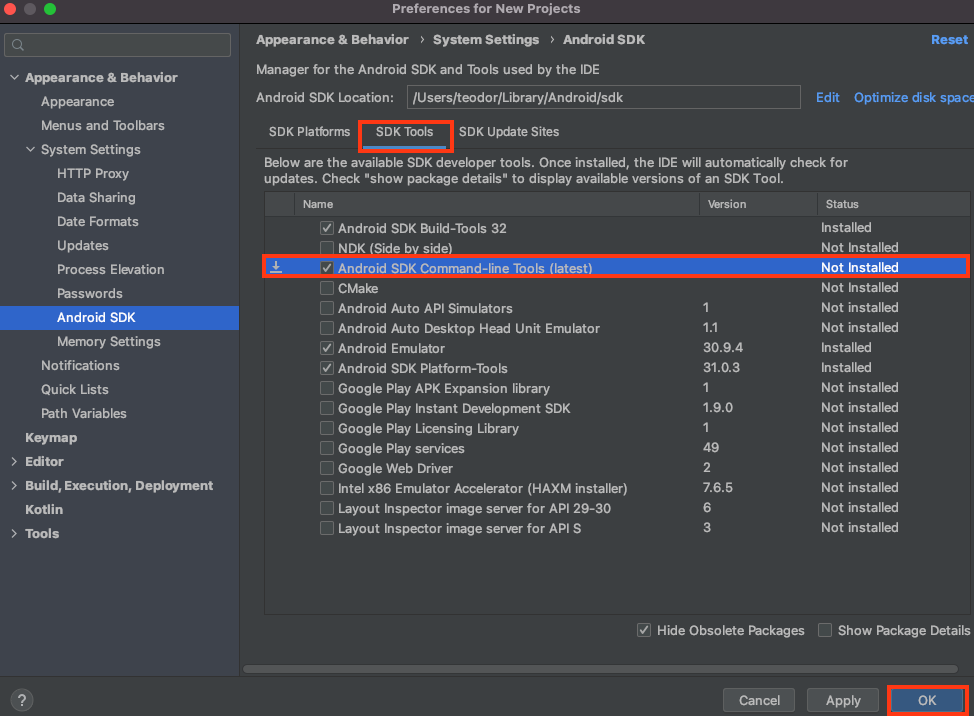
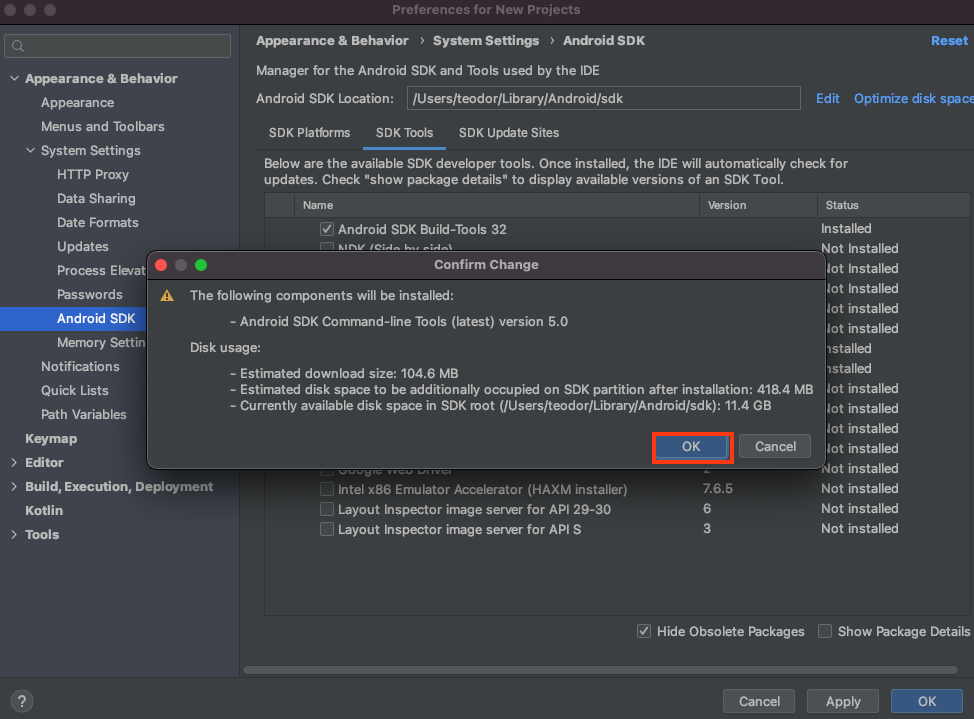
Select SDK Tools and check the Android SDK Command Line Tools. Click OK:
Confirm the download:
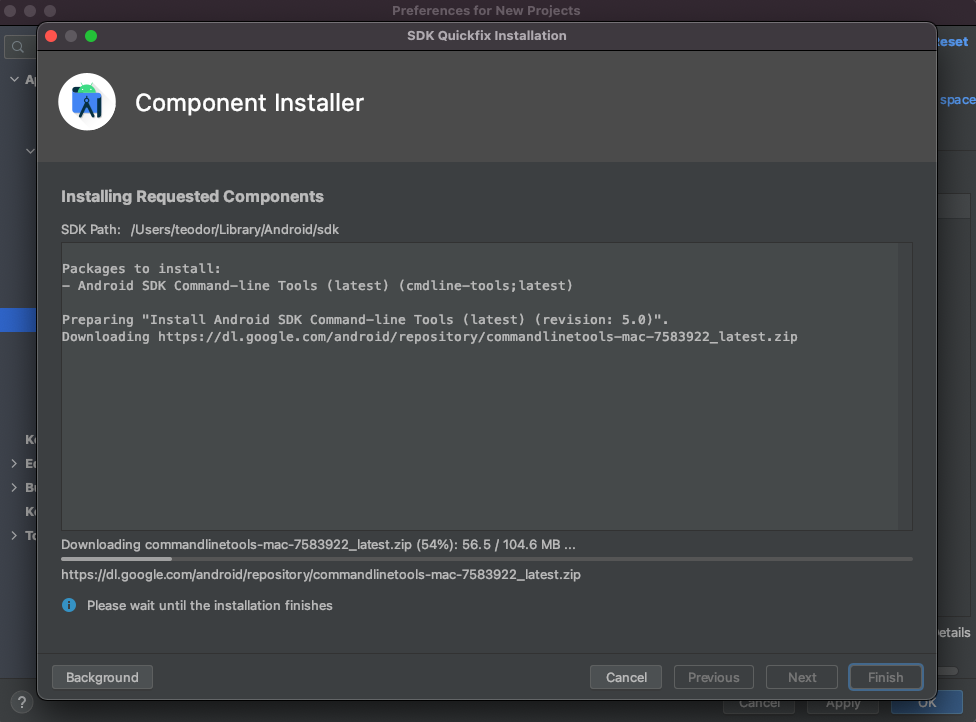
And follow the installation process. Click Finish when it’s done:
You have everything you need to add Android and use an Android Emulator in your project now.
Running Apps in Emulator
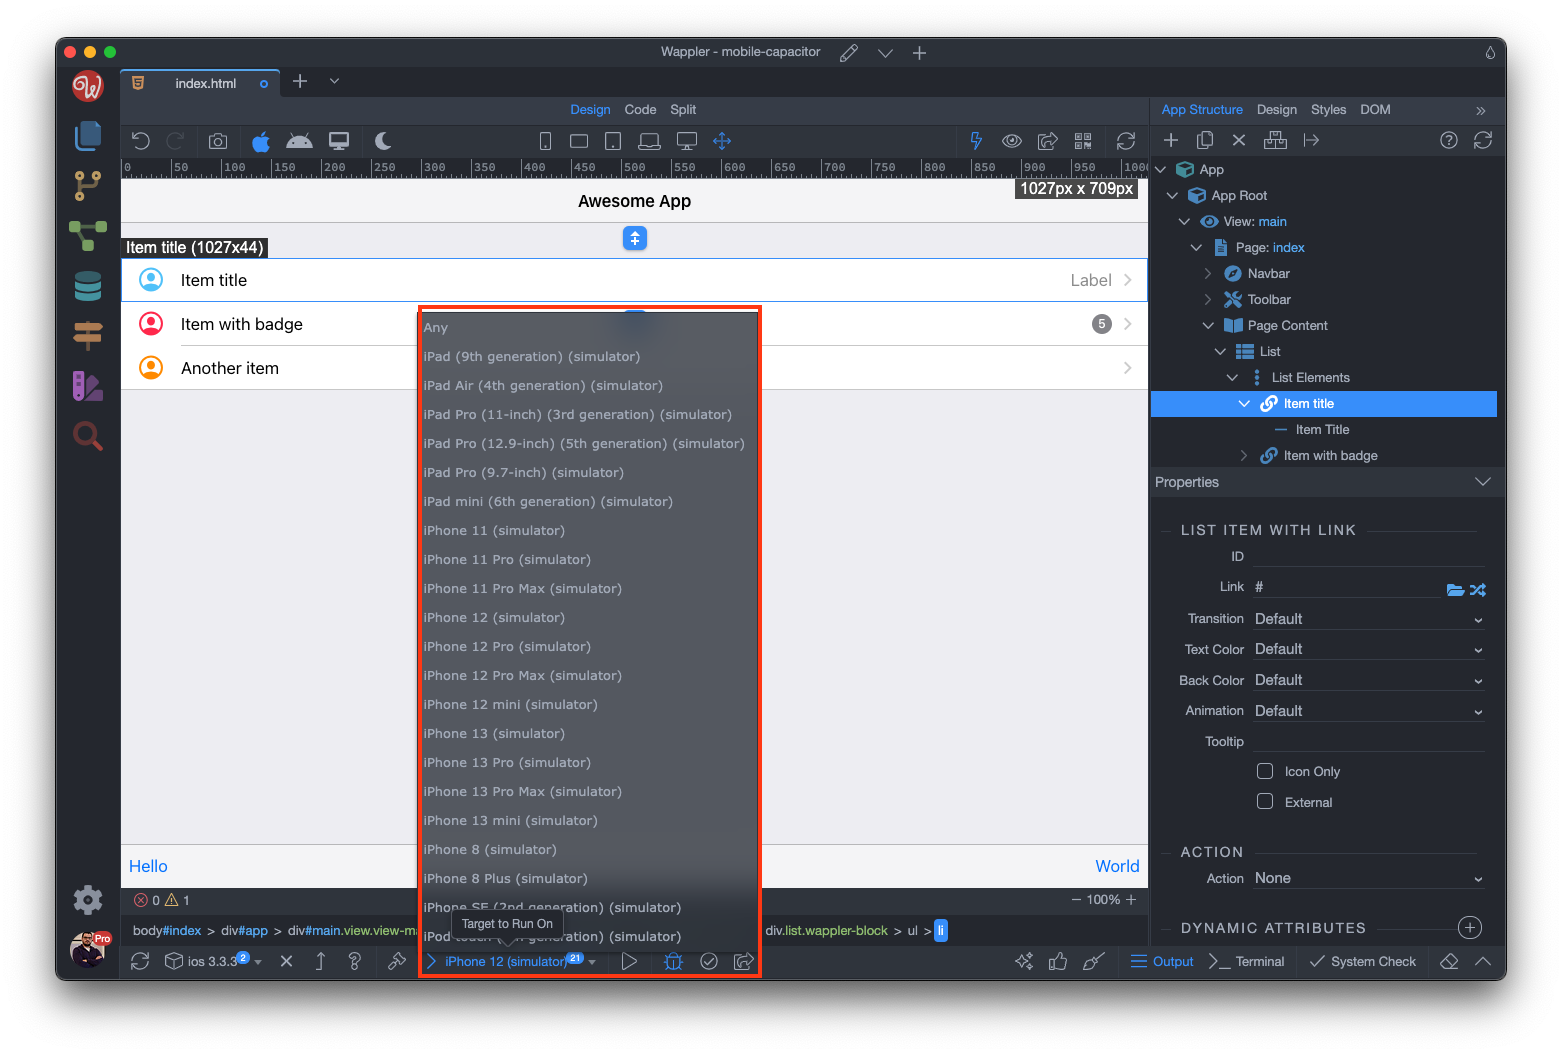
Section titled “Running Apps in Emulator”You can easily run your apps in the selected platform’s emulators. Open the emulator dropdown and select an emulator:
Then click the Run In Emulator button:
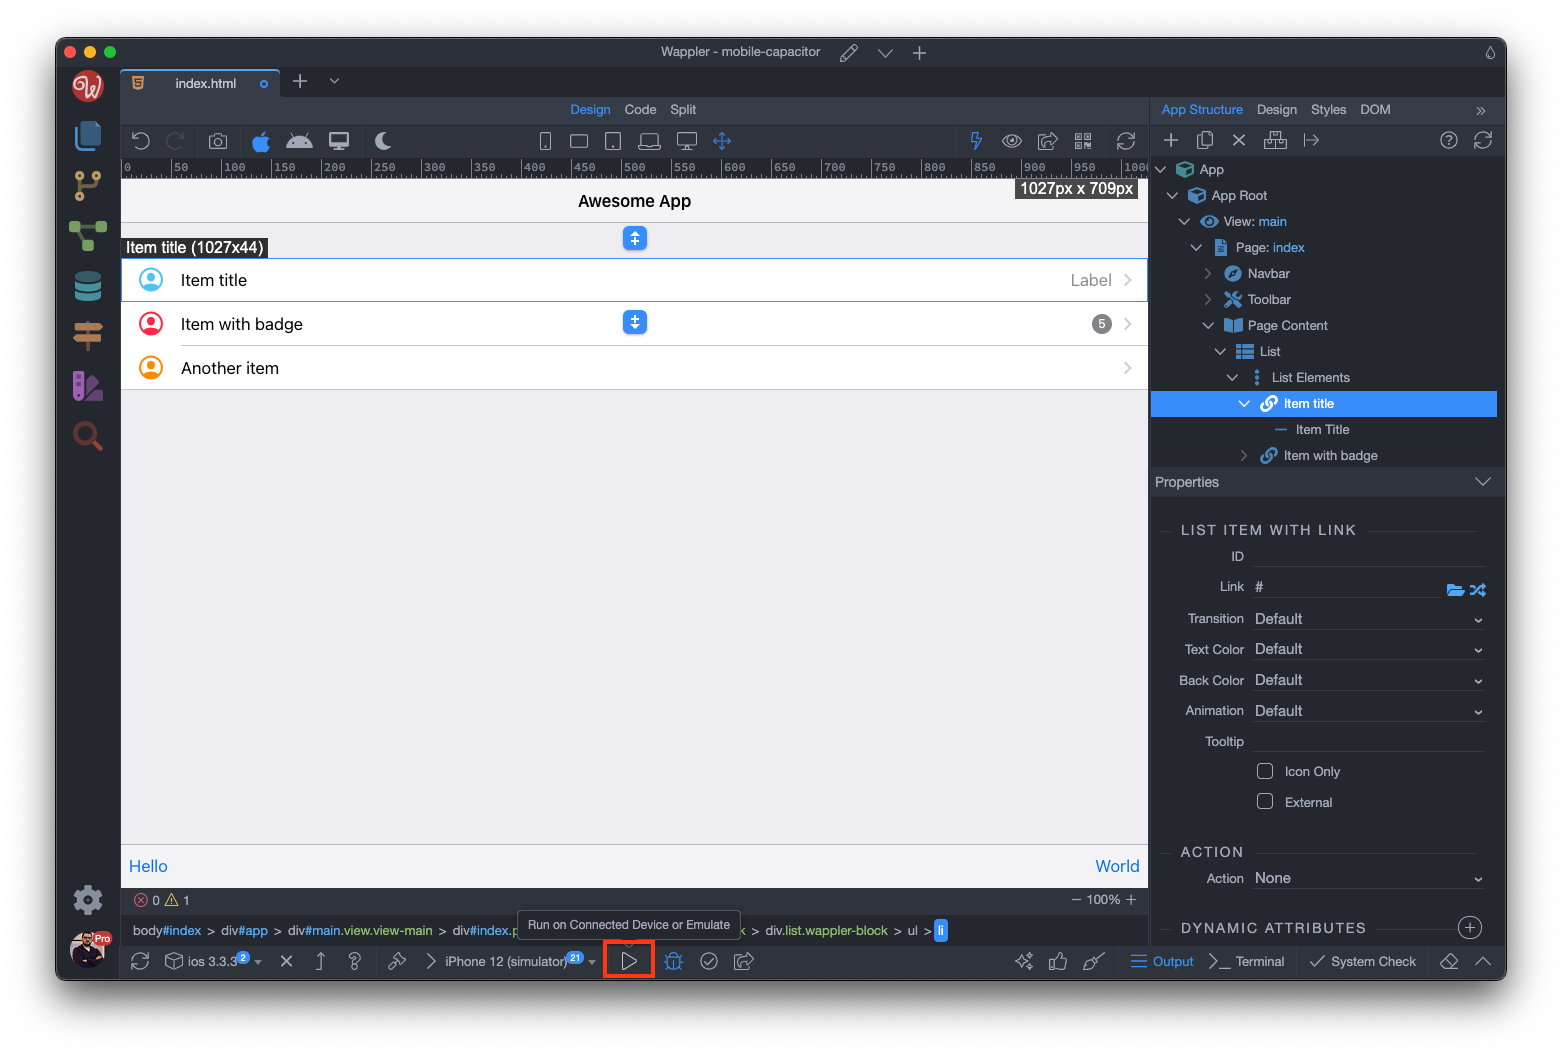
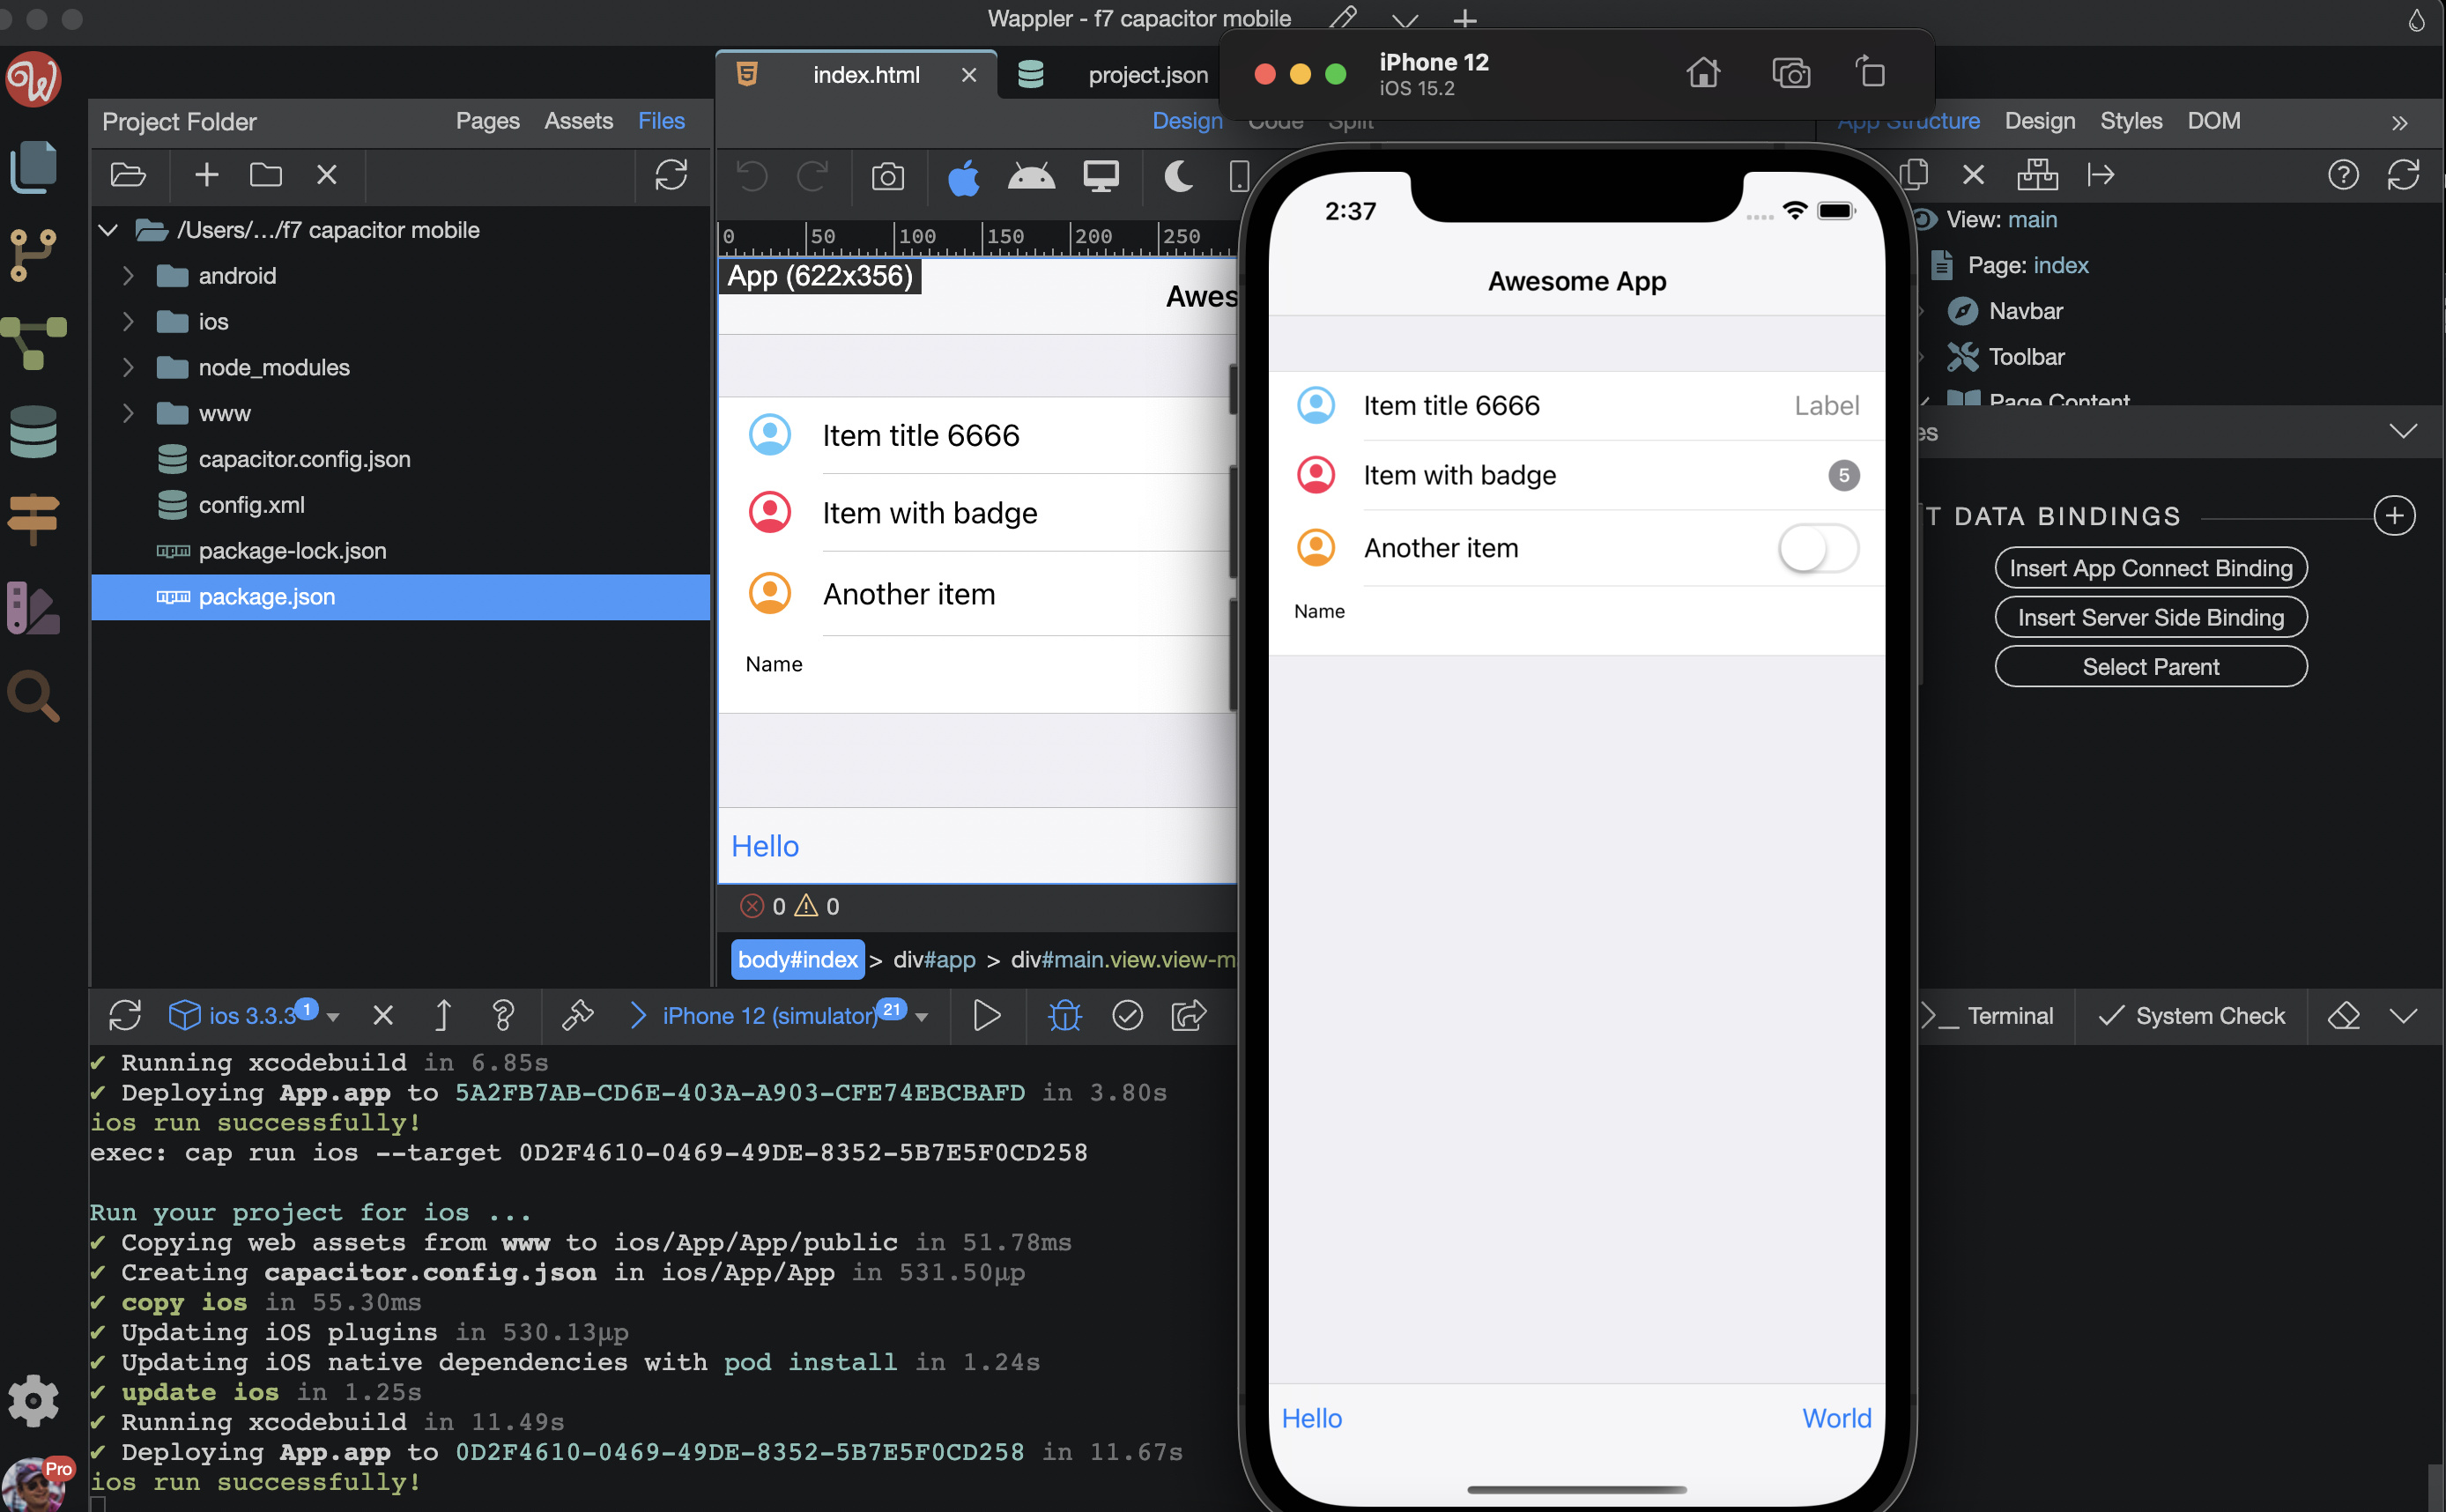
And you can see the results in the emulator: