Stripe Custom Checkout Forms
Intro You can create your own custom checkout forms for Stripe. Custom forms allow you to fully customize your checkout, branding and style of the page, while t
You can create your own custom checkout forms for Stripe. Custom forms allow you to fully customize your checkout, branding and style of the page, while the whole payment is securely handled by Stripe.
Custom forms are also useful if you want to use additional/custom fields in your checkout form such as address or other user details - which for example you can store in your database.
Stripe Component
Section titled “Stripe Component”The first thing we need to do is to add the Stripe component on the page. R
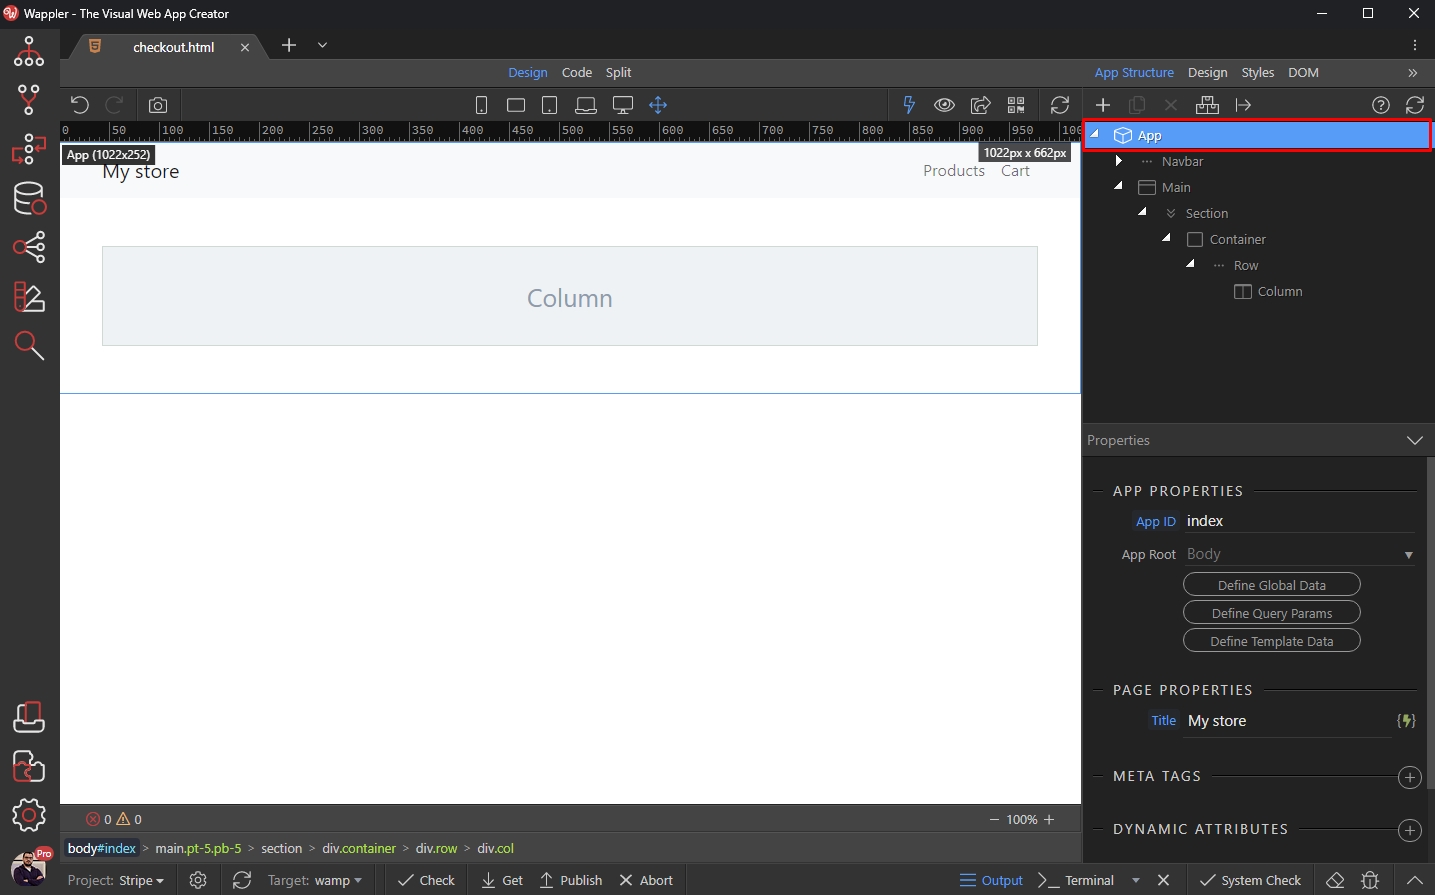
Right click App:
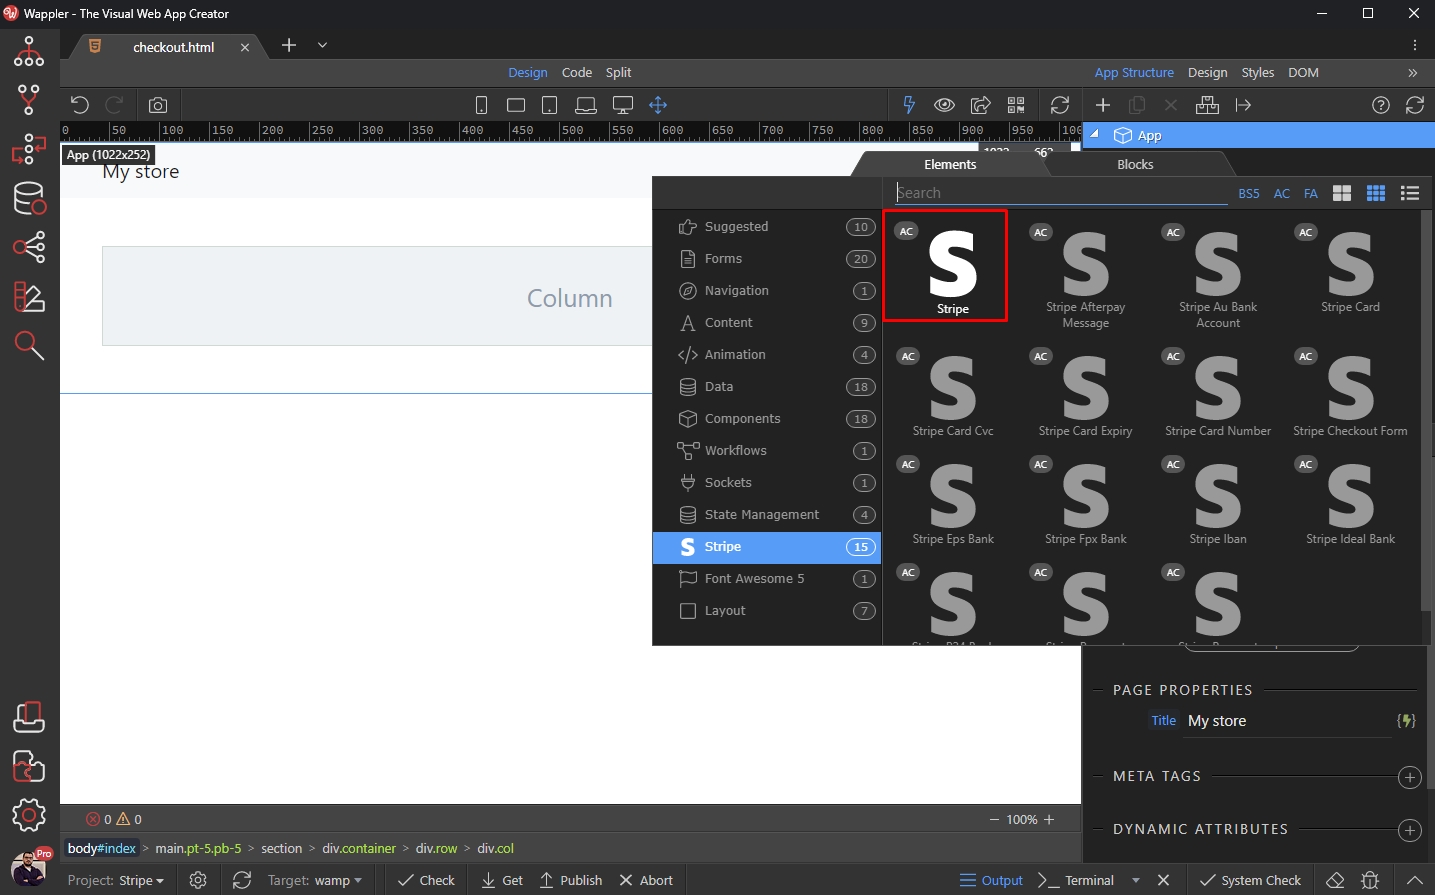
Select Stripe:
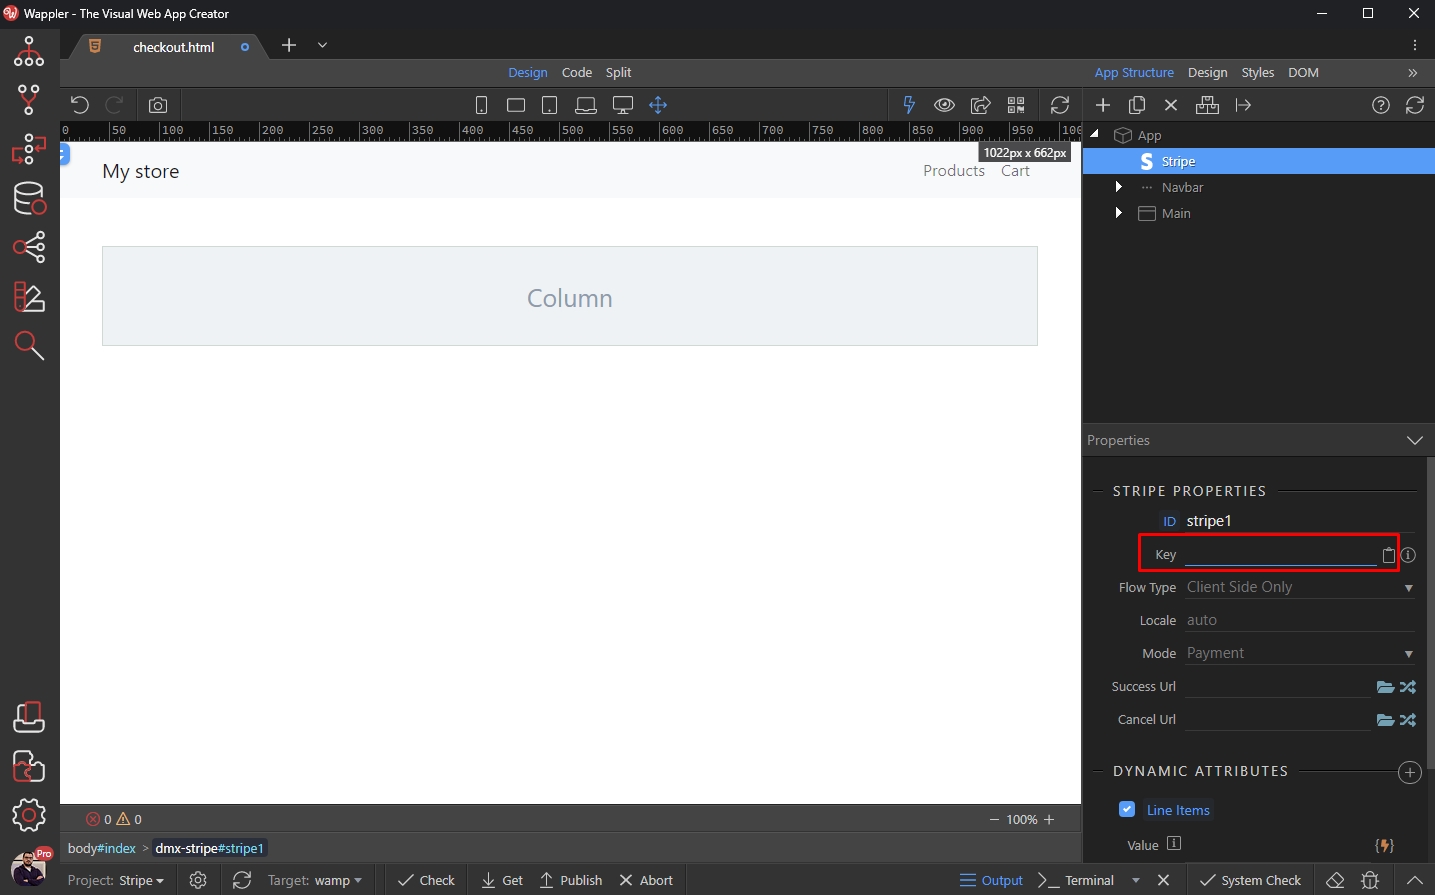
And add your publishable key, which can be found on https://dashboard.stripe.com/apikeys
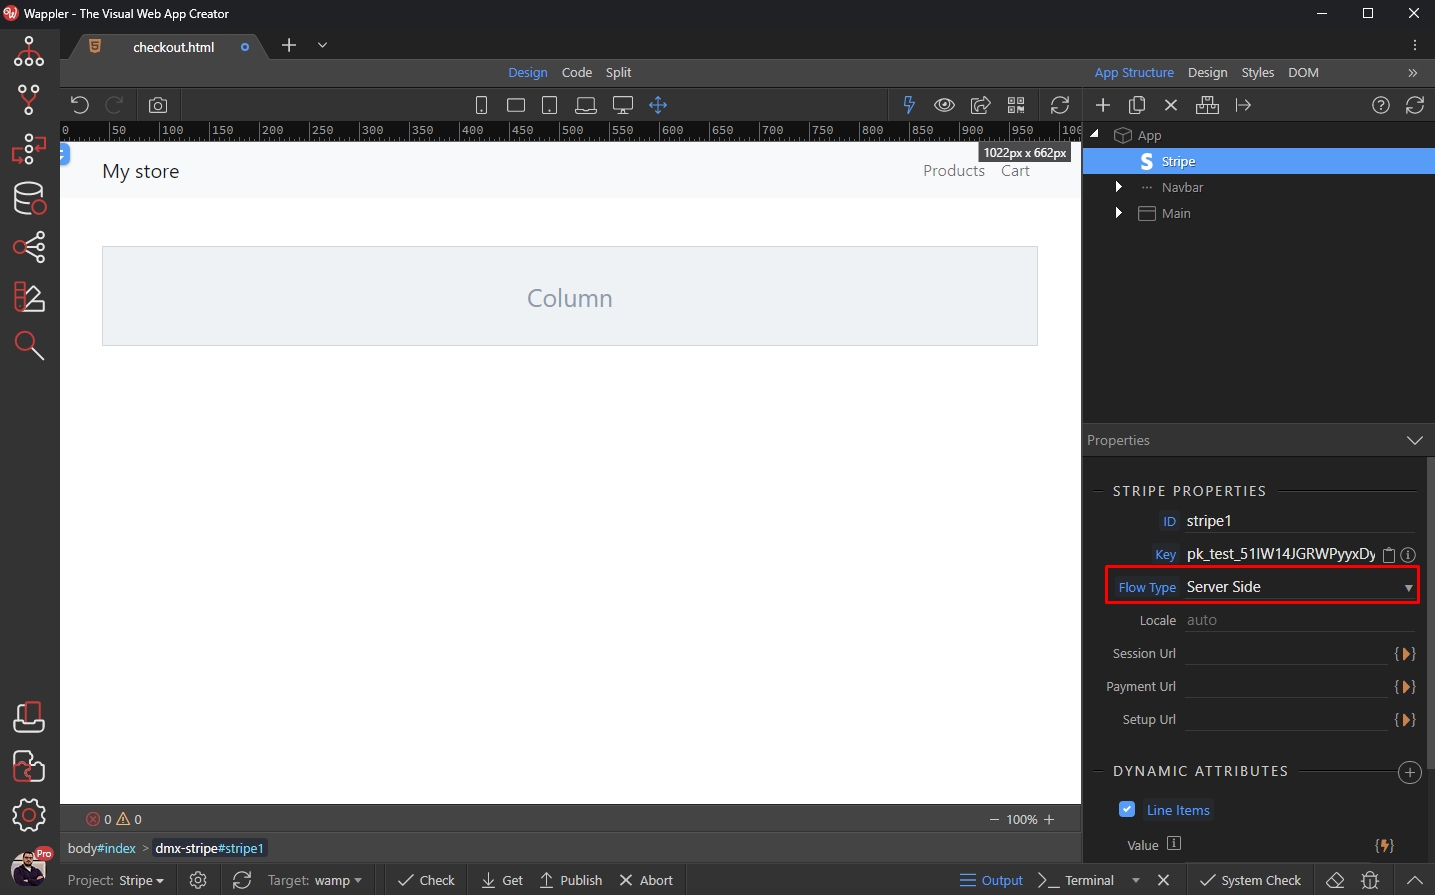
Set the Flow Type to Server Side:
Checkout Form
Section titled “Checkout Form”Now, let’s create our custom checkout form. Add a new element on your page:

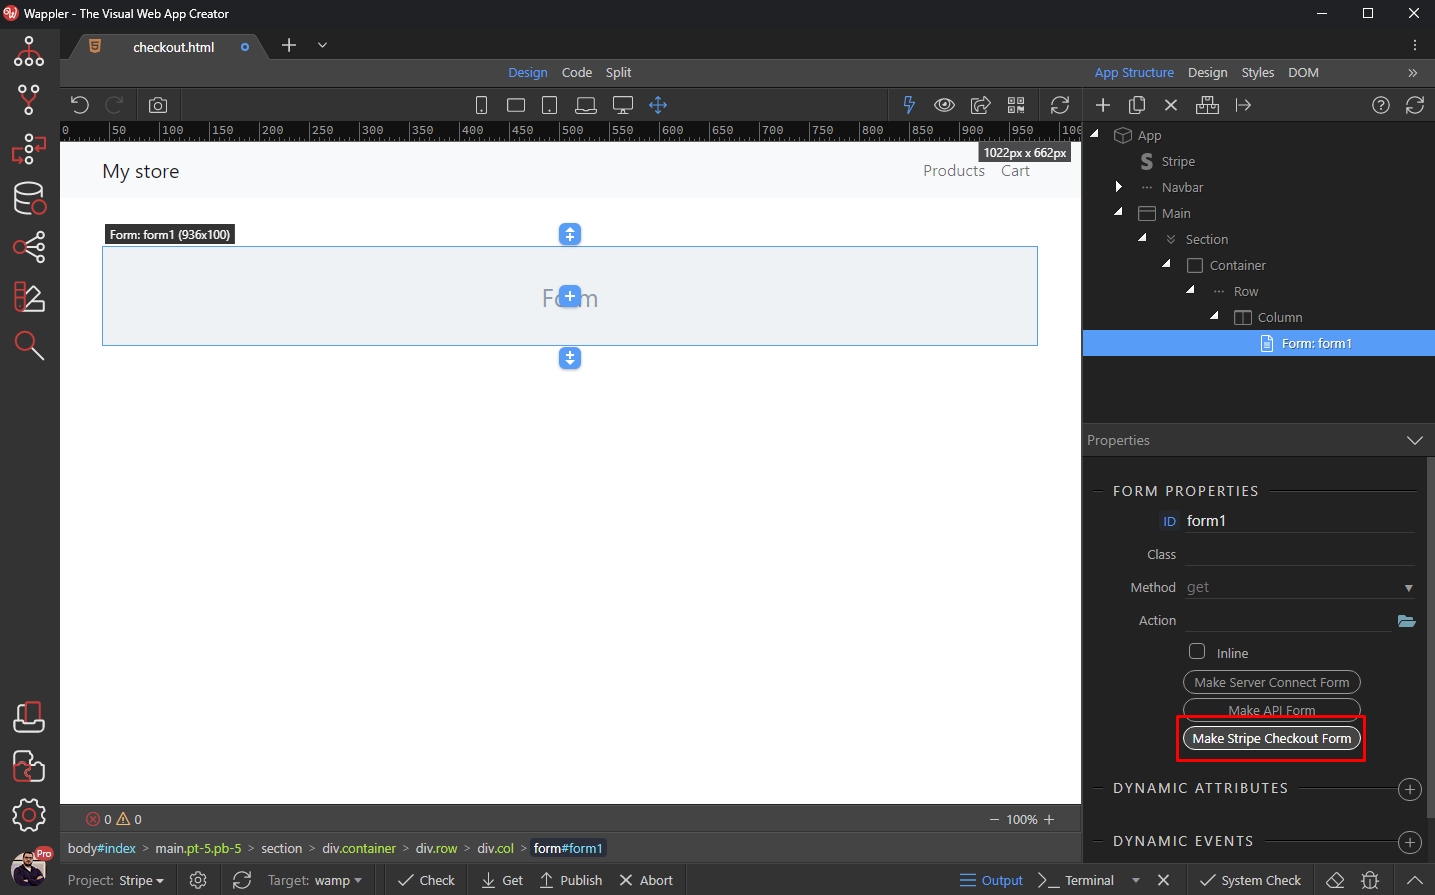
Select Form:

And click the Make Stripe Checkout Form button:
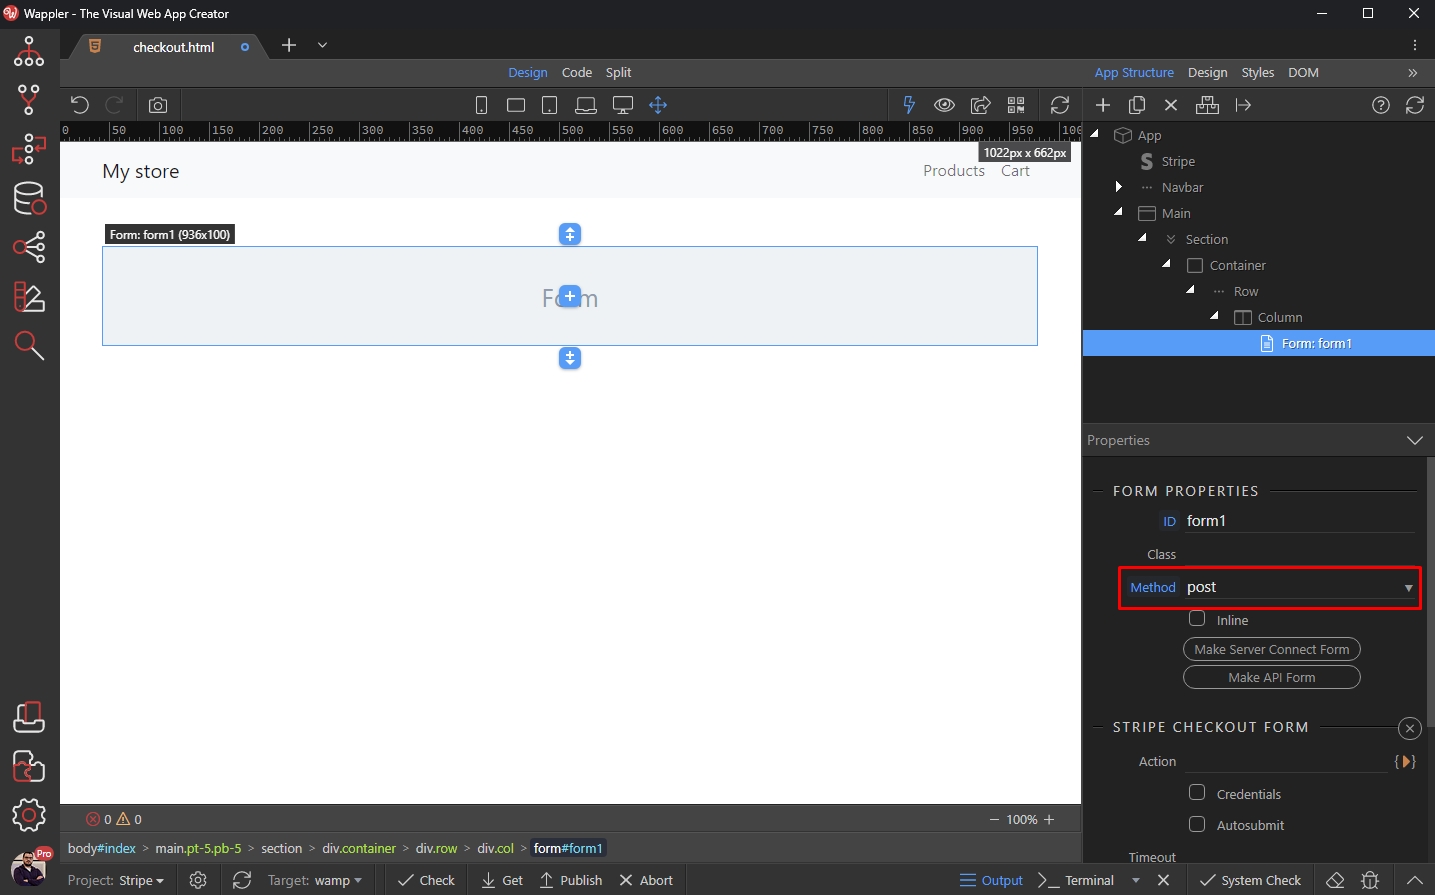
Make sure to set the Form Method to POST:
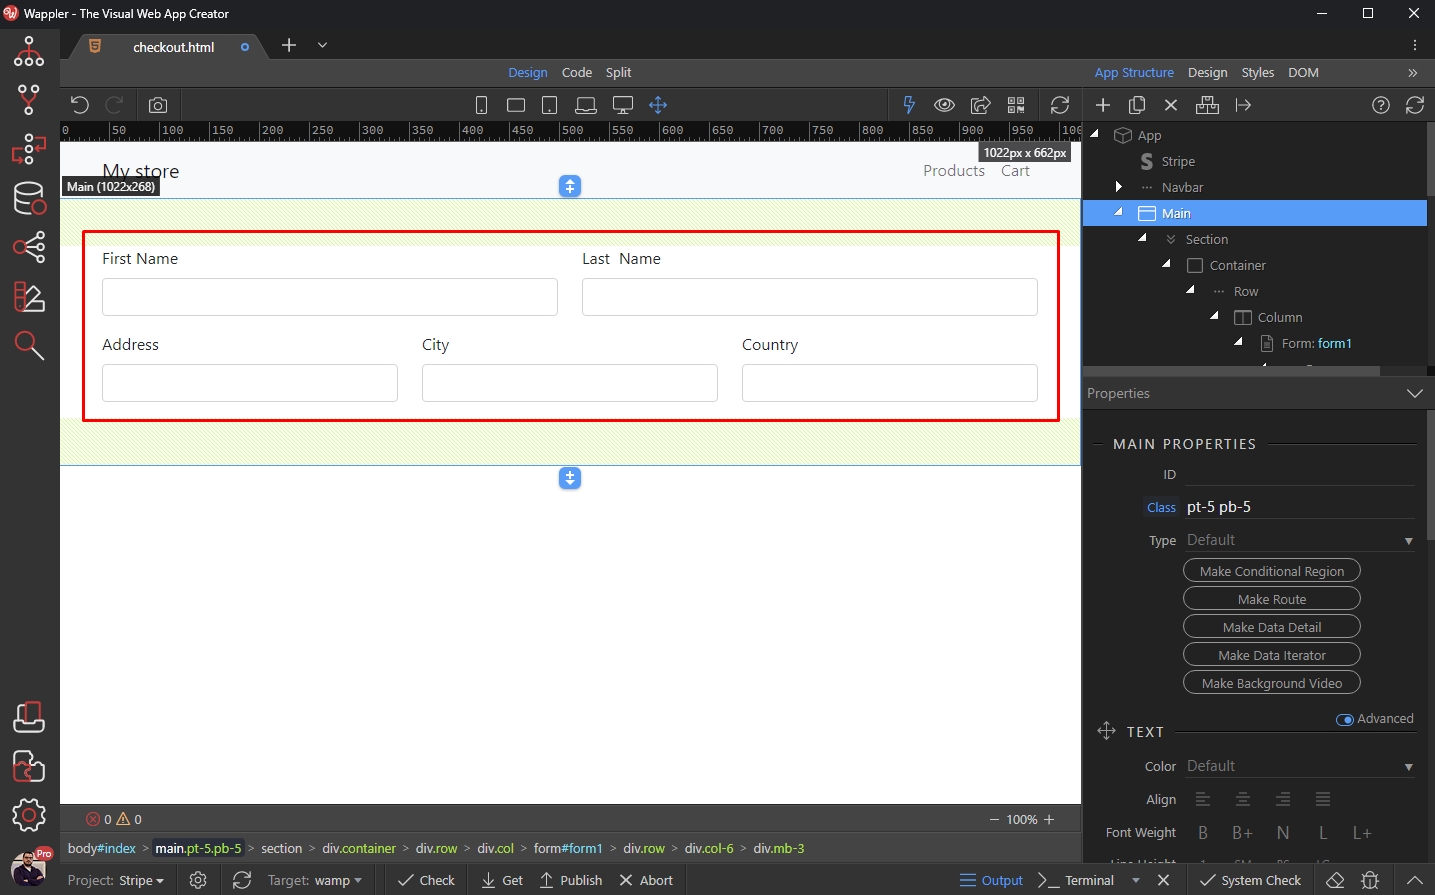
You can add any custom field you need for your form, the same way as you do for regular forms.
In our example we added a few inputs - first and last name, address, city and country. Note that these are not required - it’s just an example:
The next thing you need to do is to add a Payment Method to your form. You can add a single method, or you can let your users chose between multiple payment methods which you add in the form.
Both are explained below.
Single Payment Option
Section titled “Single Payment Option”In this example we will show you how to add a single payment method to your form - card payment.
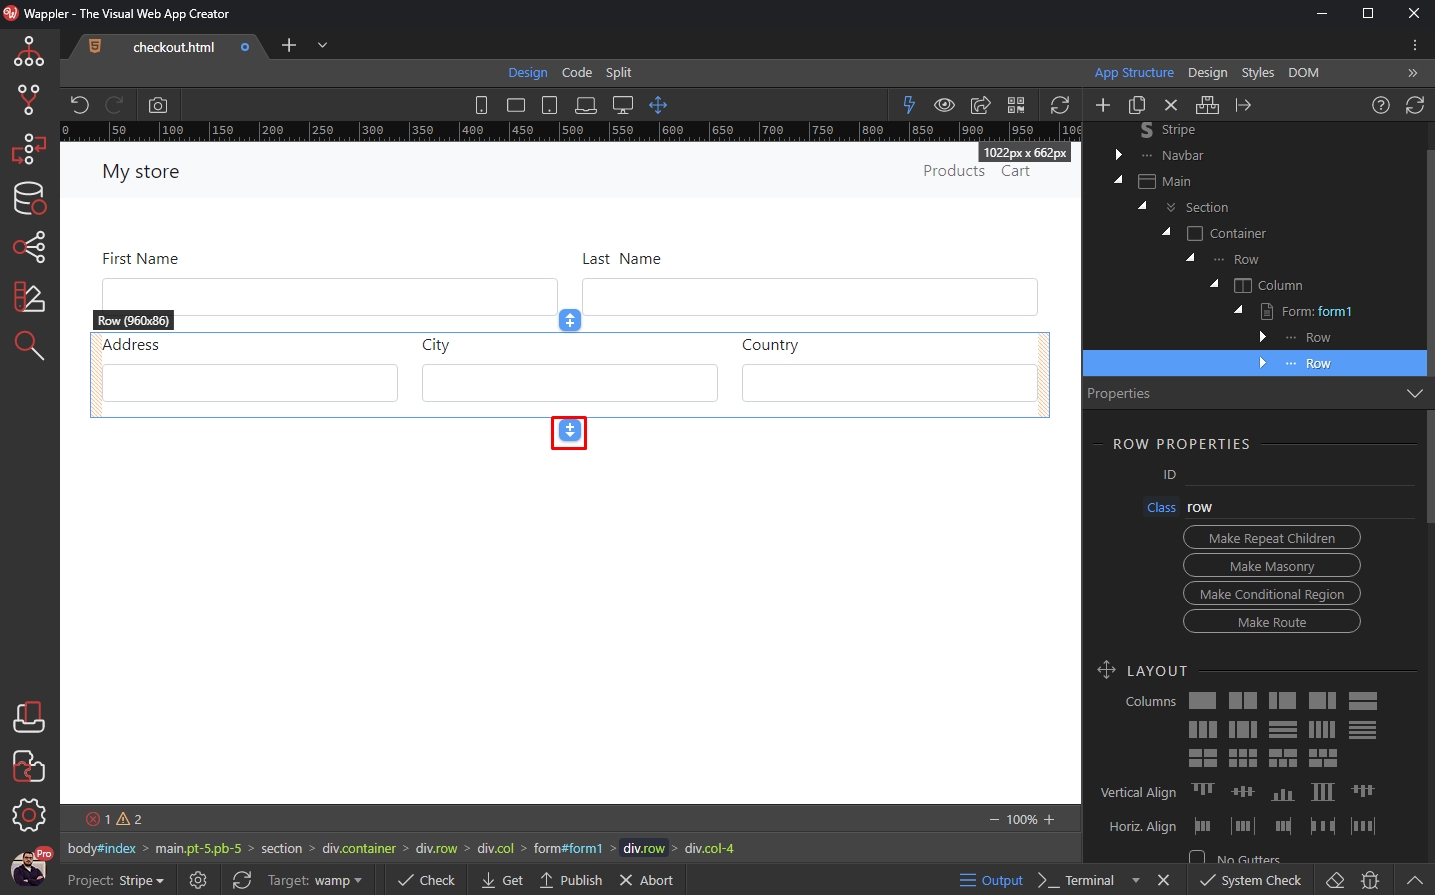
Add a new element in the form:
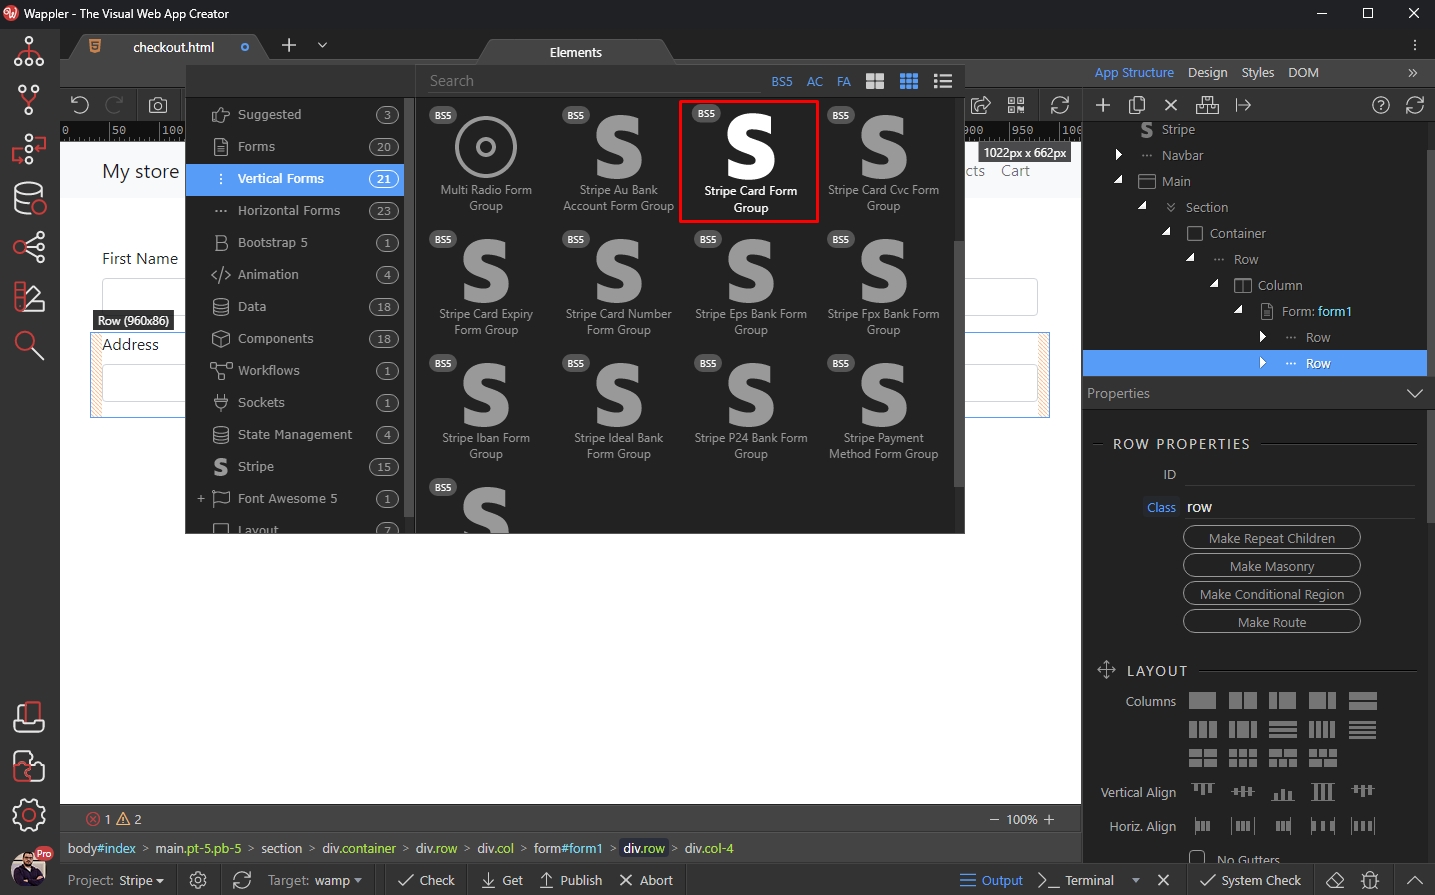
You can select the layout style of the input - horizontal or vertical (just as for any other form elements):

Then we select the Stripe Card Form Group - this will add the card payment method in our form:
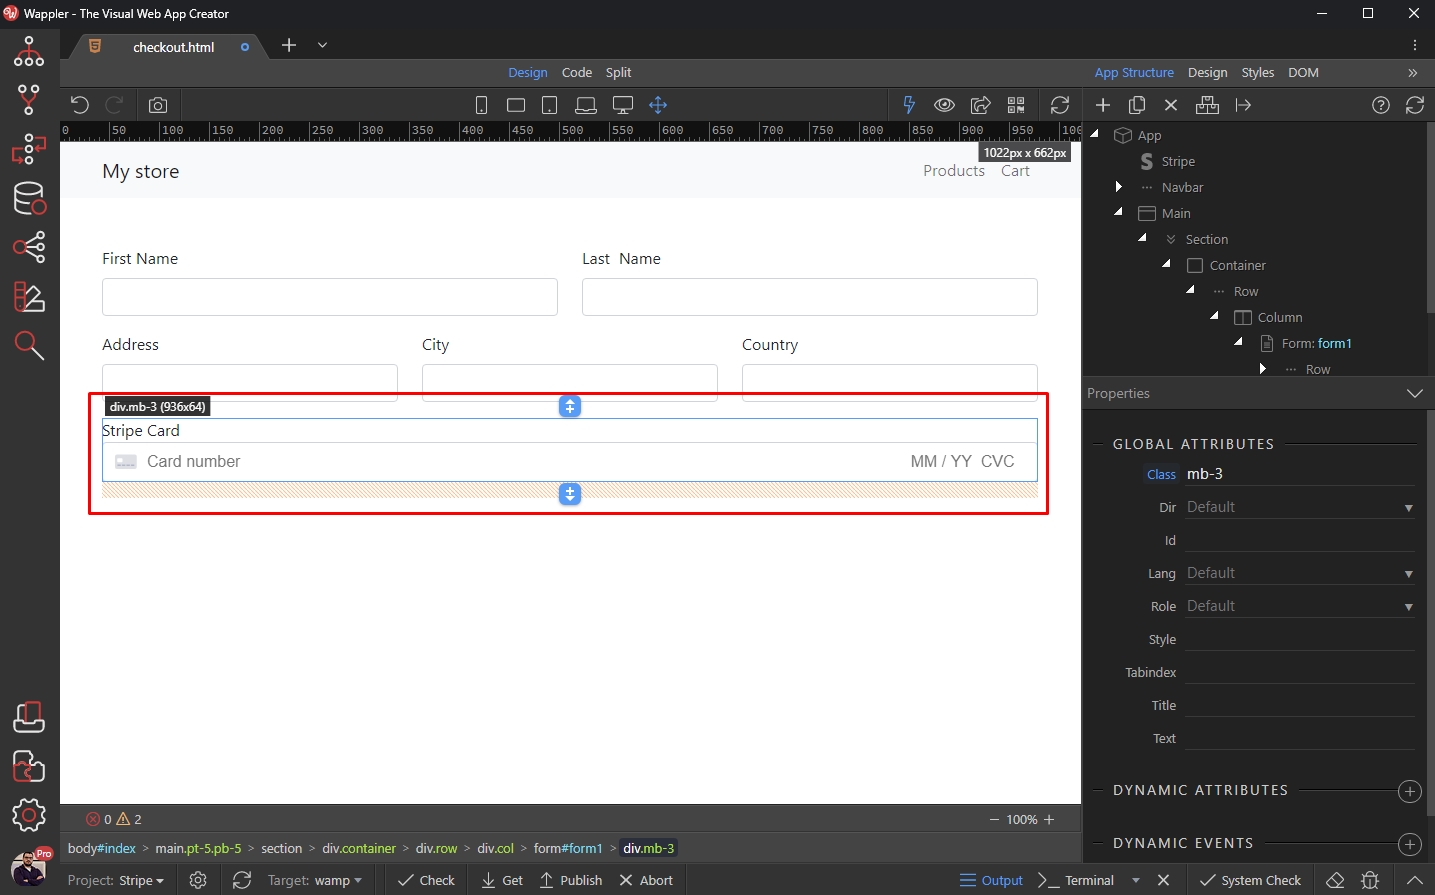
You can see it in Design View:
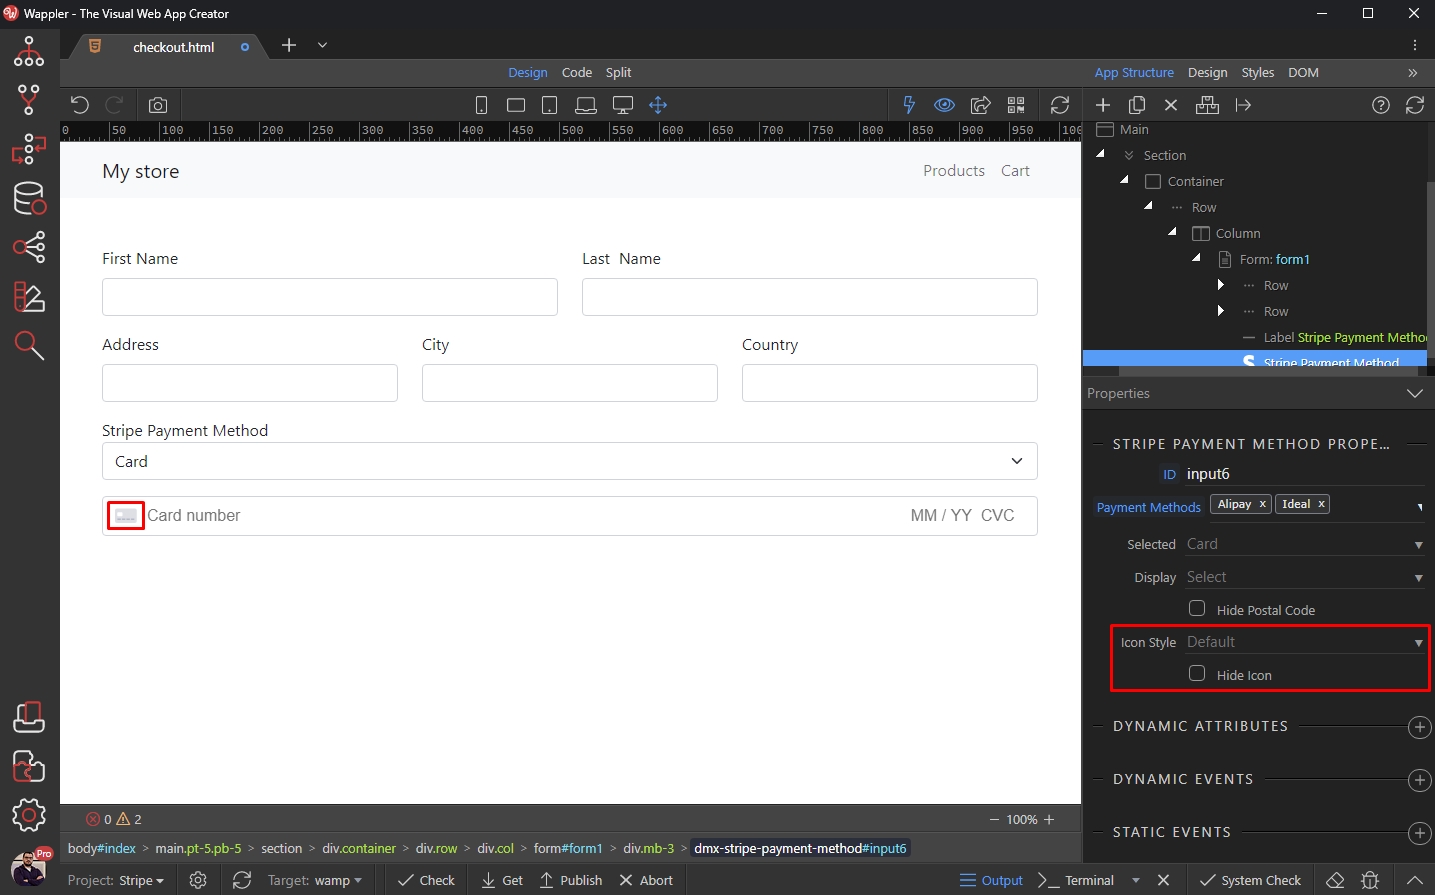
You can customize the input options:
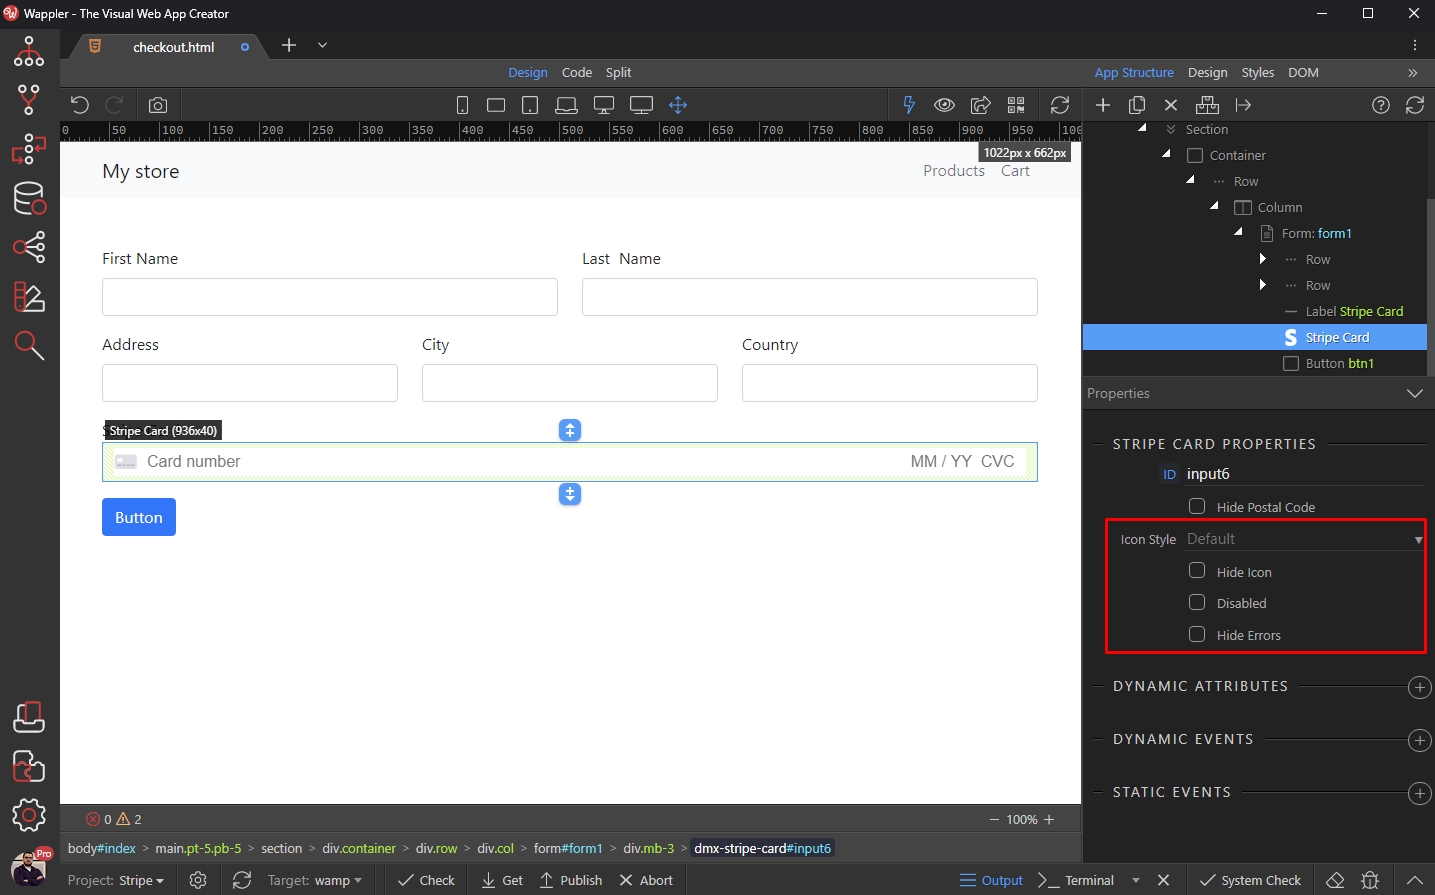
And then add a submit button to your form:

Multiple Payment Options
Section titled “Multiple Payment Options”The other option is using multiple payment methods to your form.
Add a new element in the form:
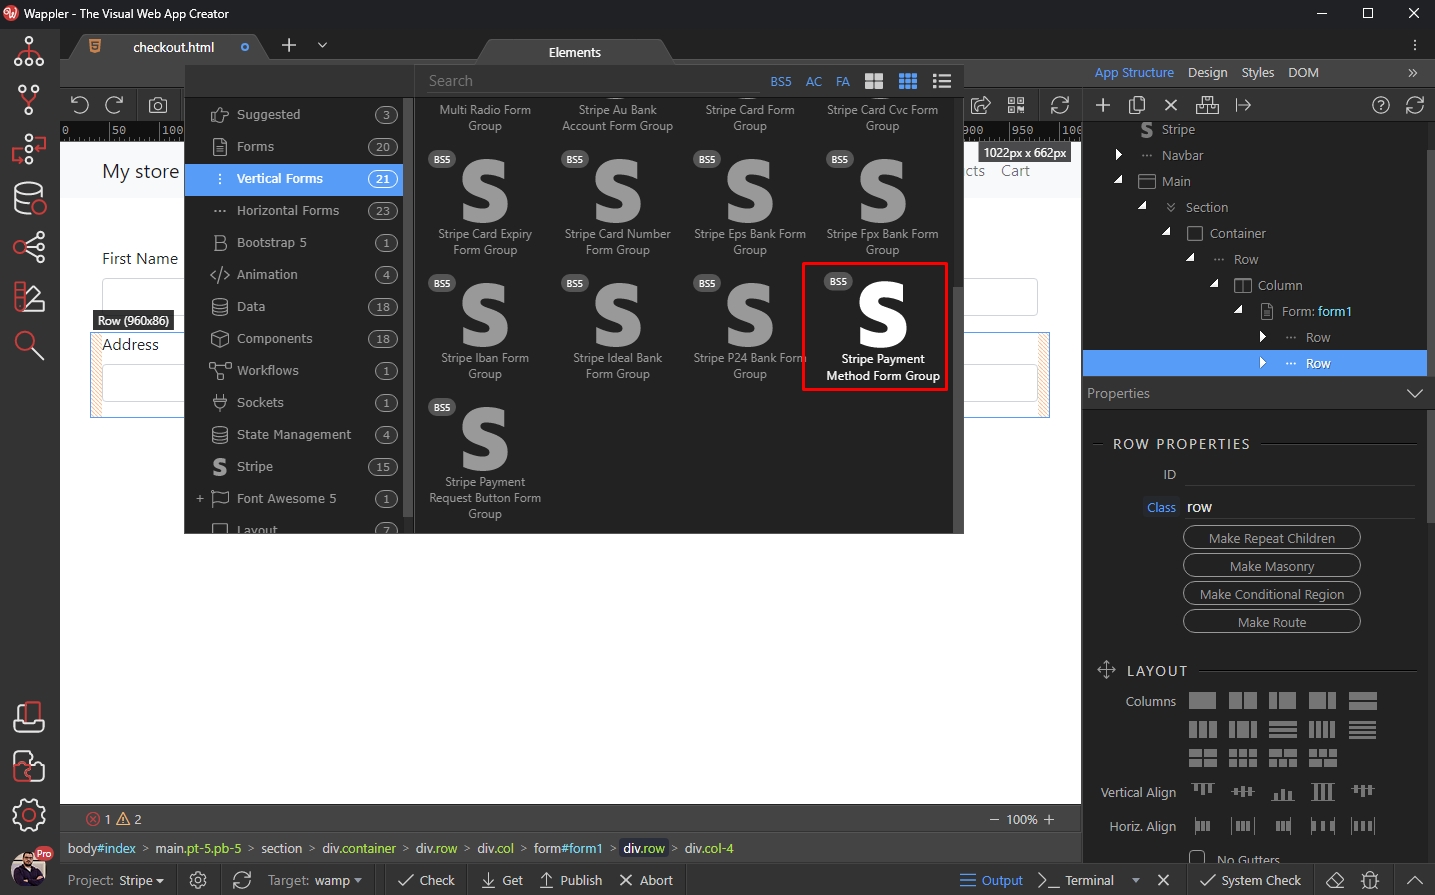
You can select the layout style of the input - horizontal or vertical (just as for any other form elements):
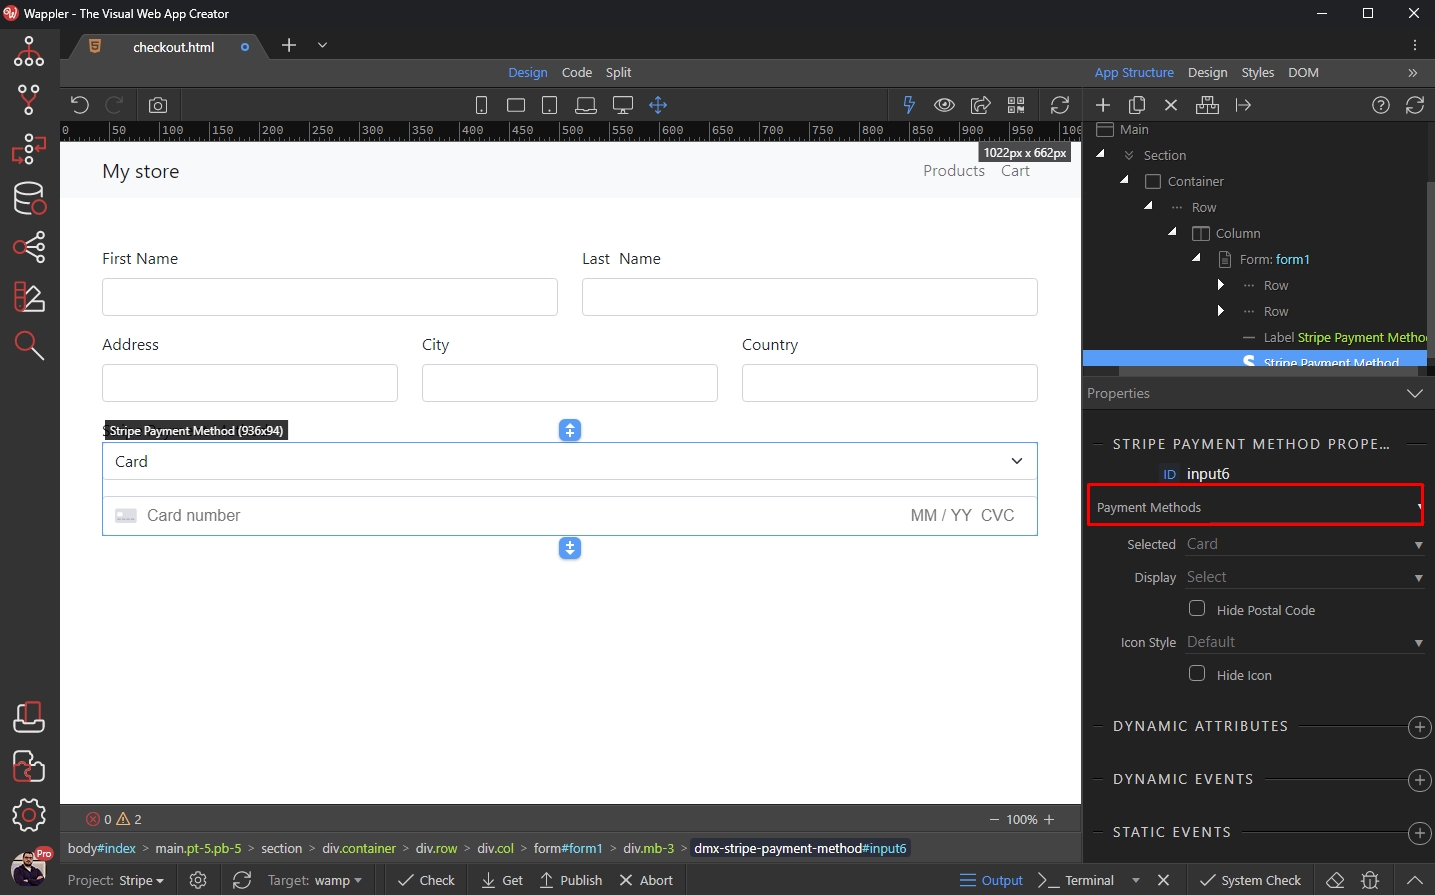
Select Stripe Payment Method Form Group:
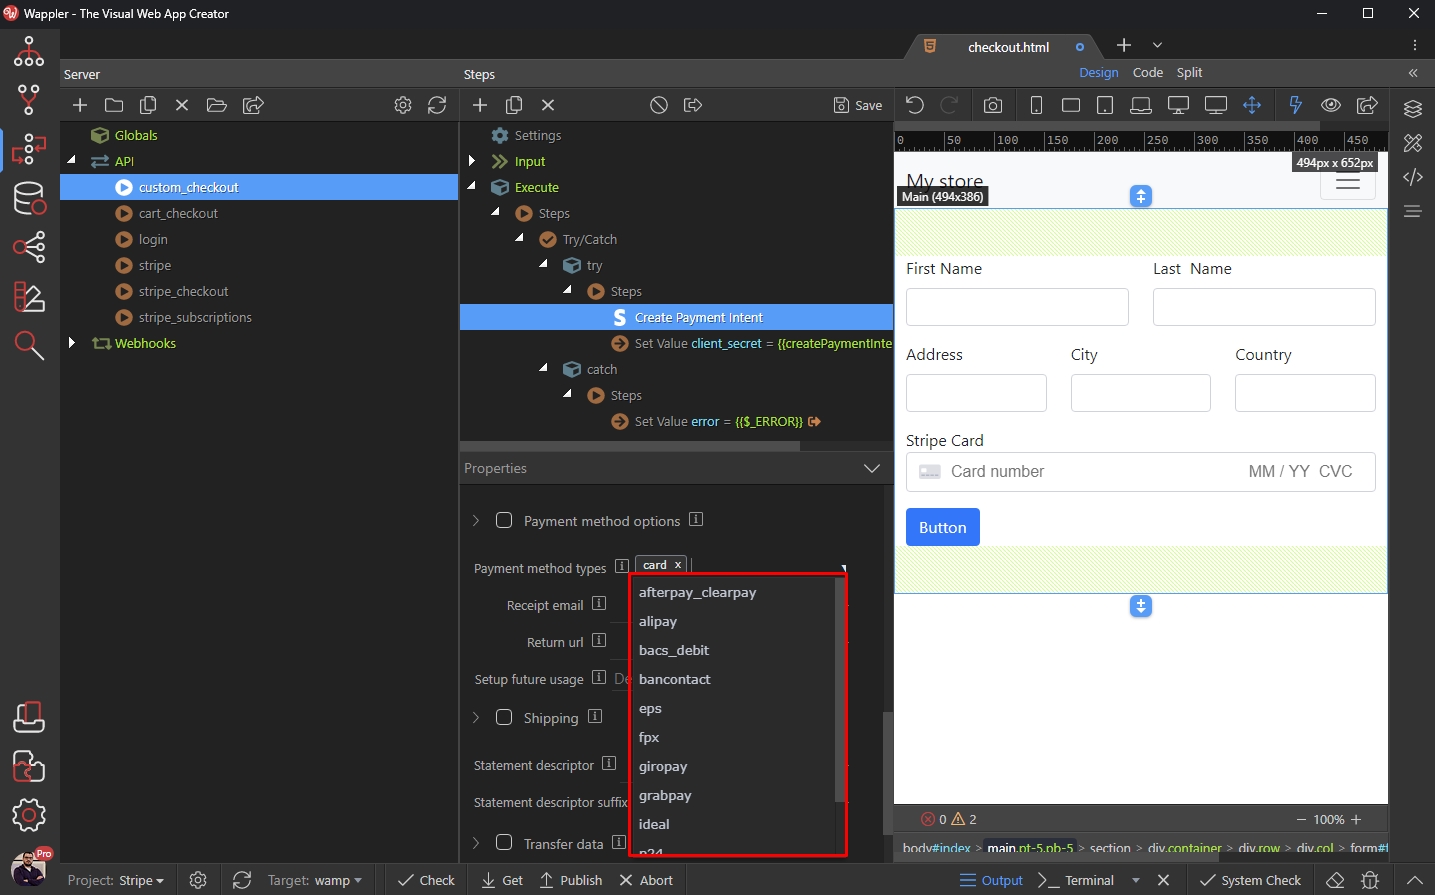
The element has been added on the page. Open the Payment Methods dropdown:
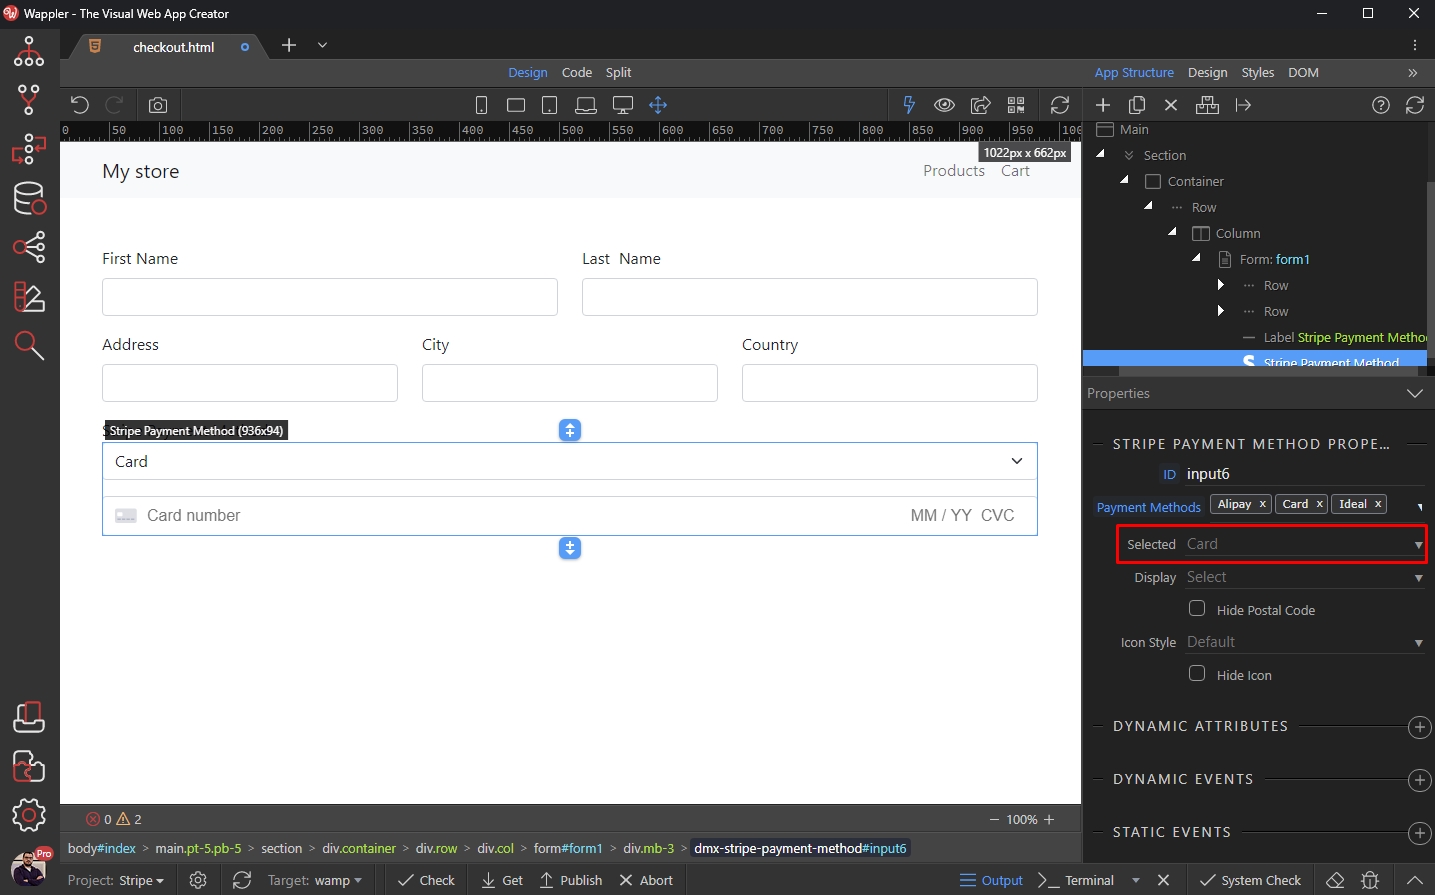
Select the Payment Methods you want to allow your users to use:

Select which payment method should be set as default in your form:
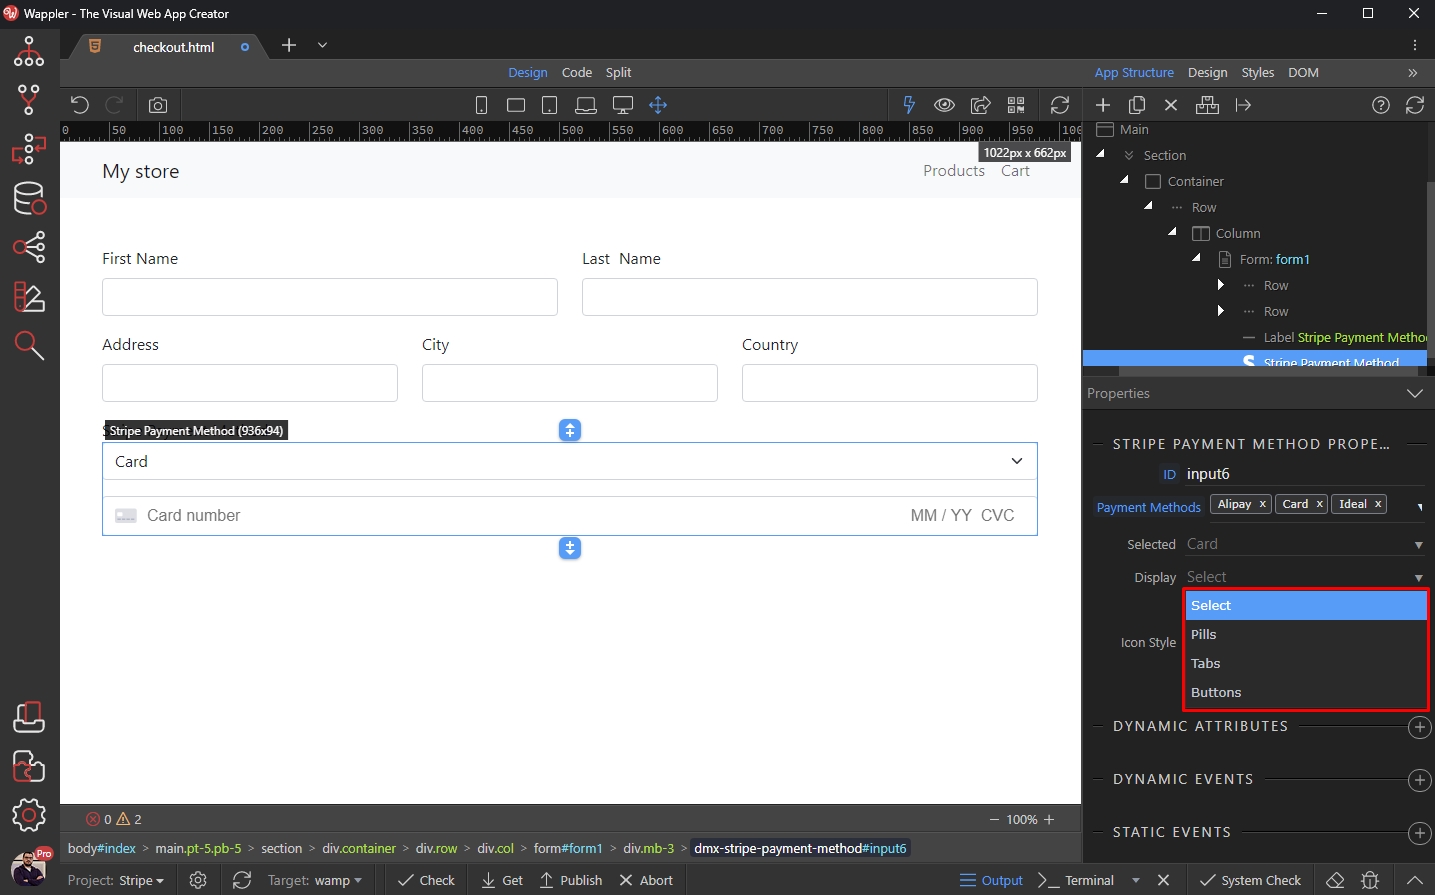
Open the Display menu:
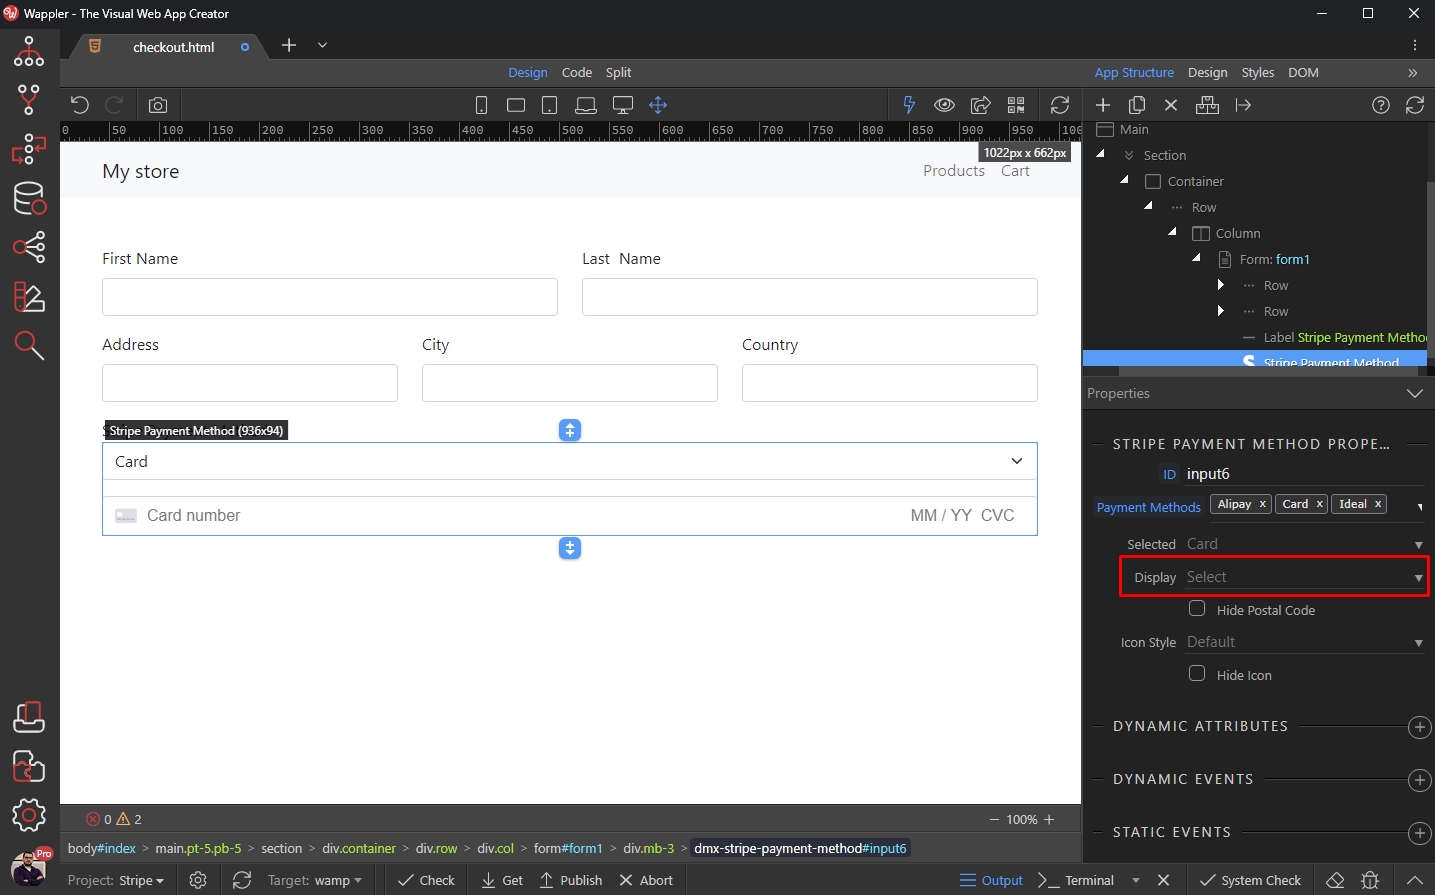
And select the layout of the payment method options - select menu, pills, tabs or buttons:
Customize the input icon options:
And then add a Submit button to the form:

Server Side
Section titled “Server Side”Now let’s setup the server side part.
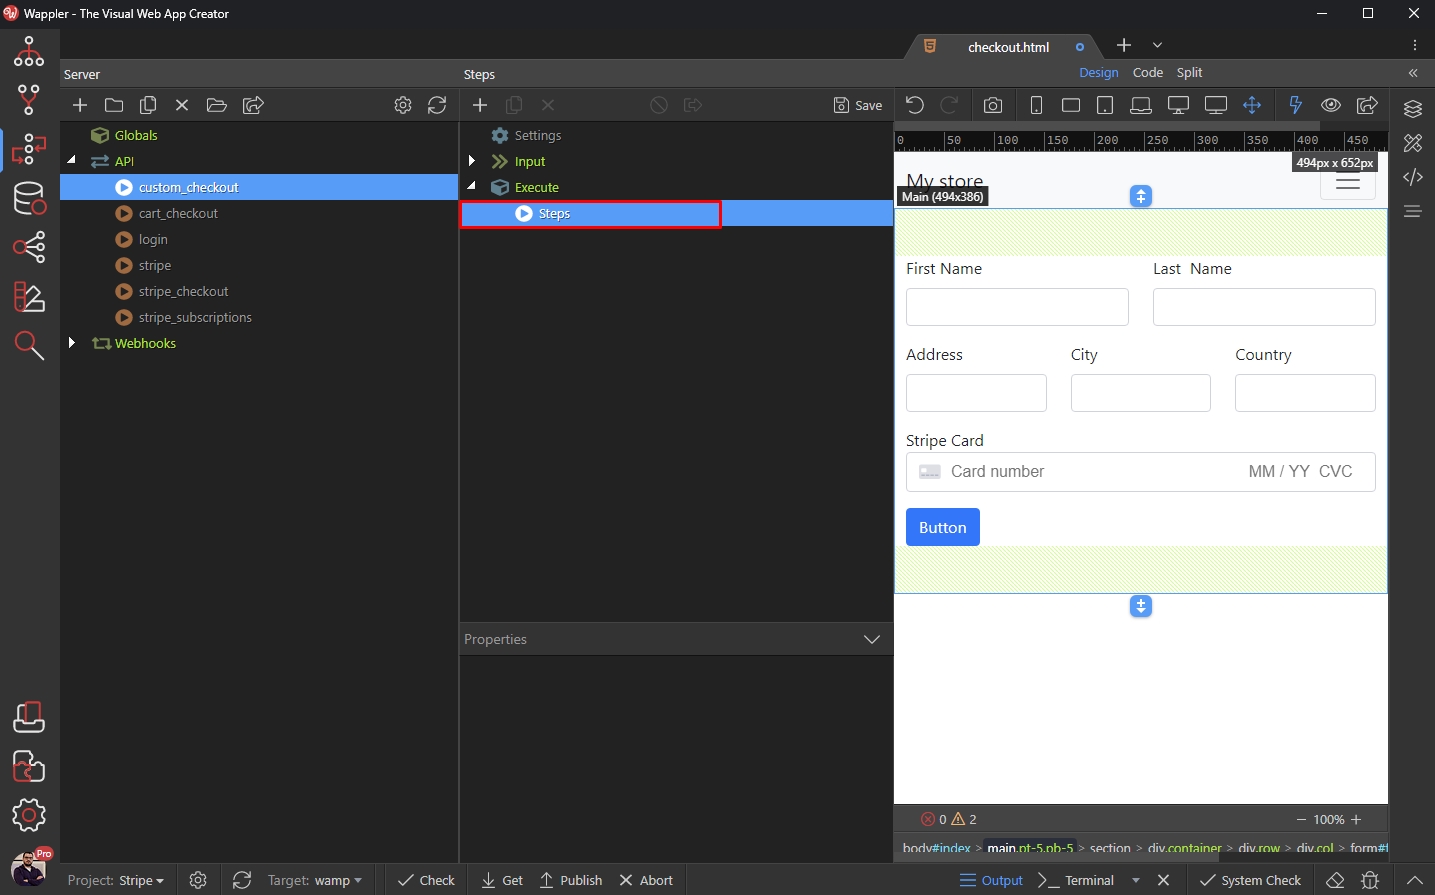
Open the Server Connect panel and add new API Action:

Right click steps:
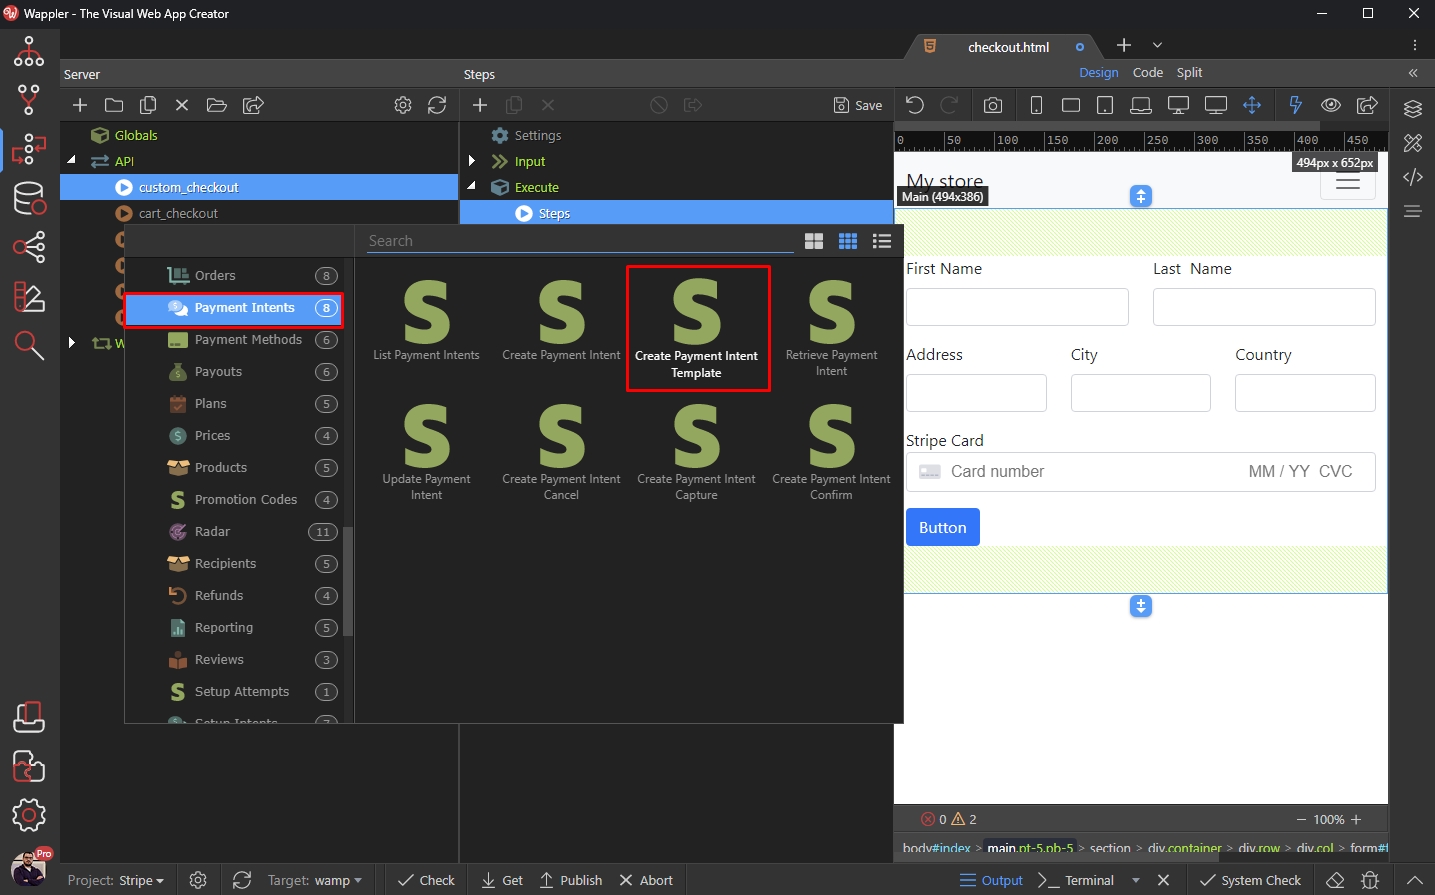
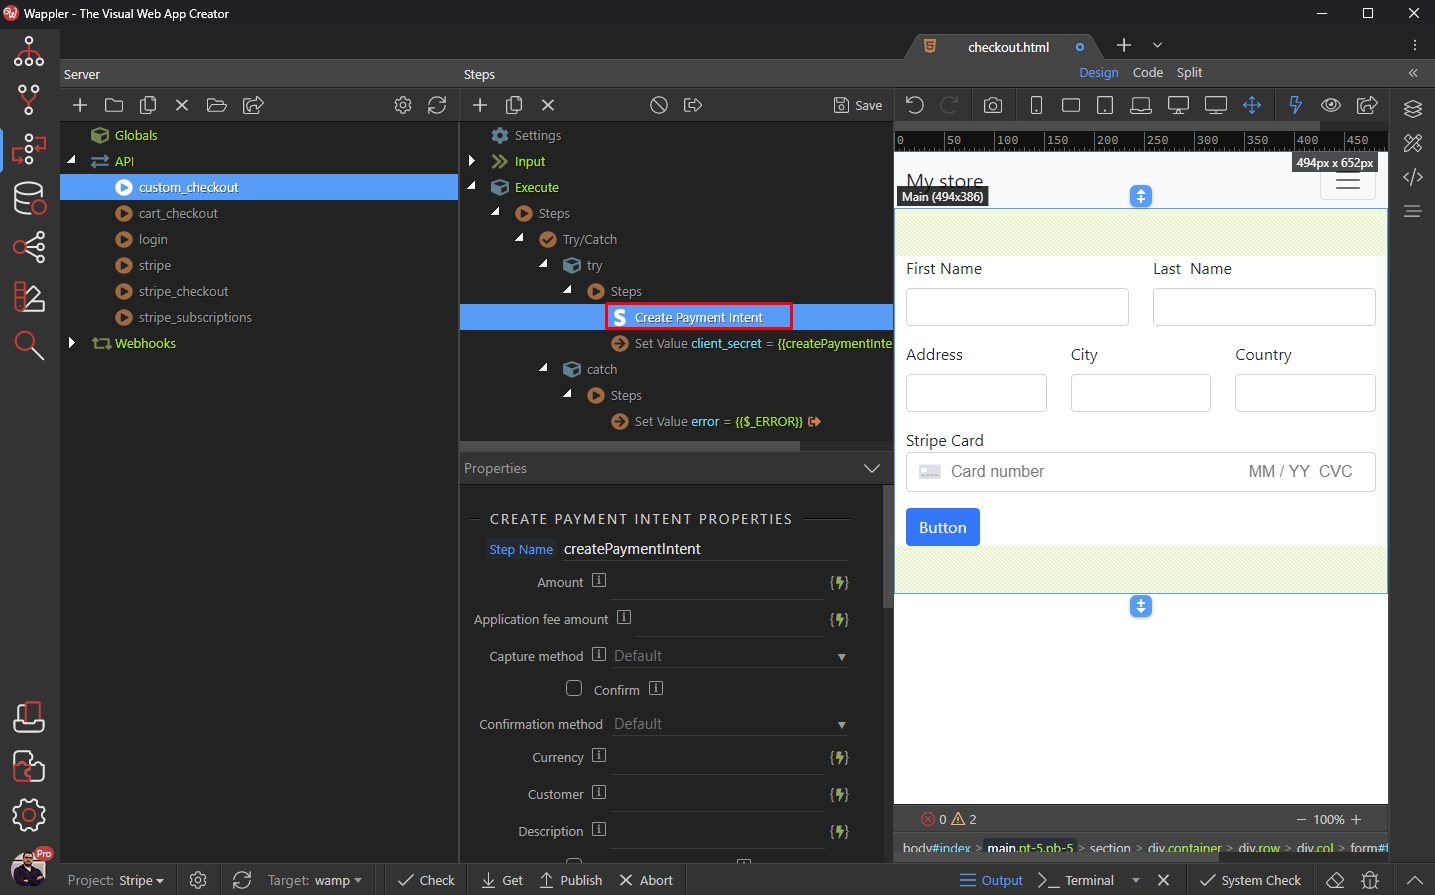
Under the Stripe Category select Payment Intents and click Create Payment Intent Template. This will add all the steps required for payment intent as well as error handling, so no need to add them manually one by one:
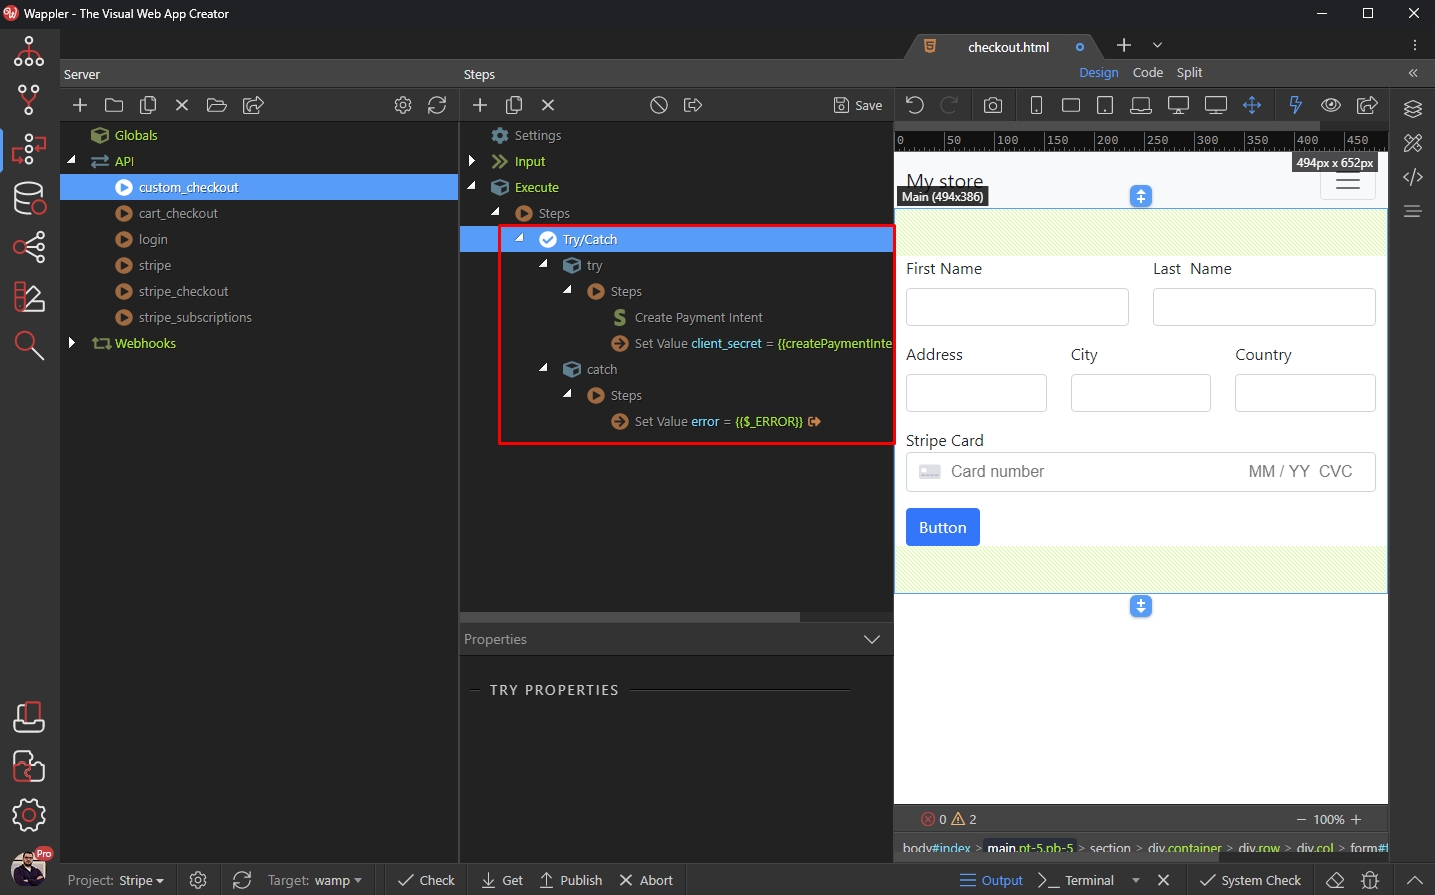
You can see the steps added:
Select the Payment Intent step:
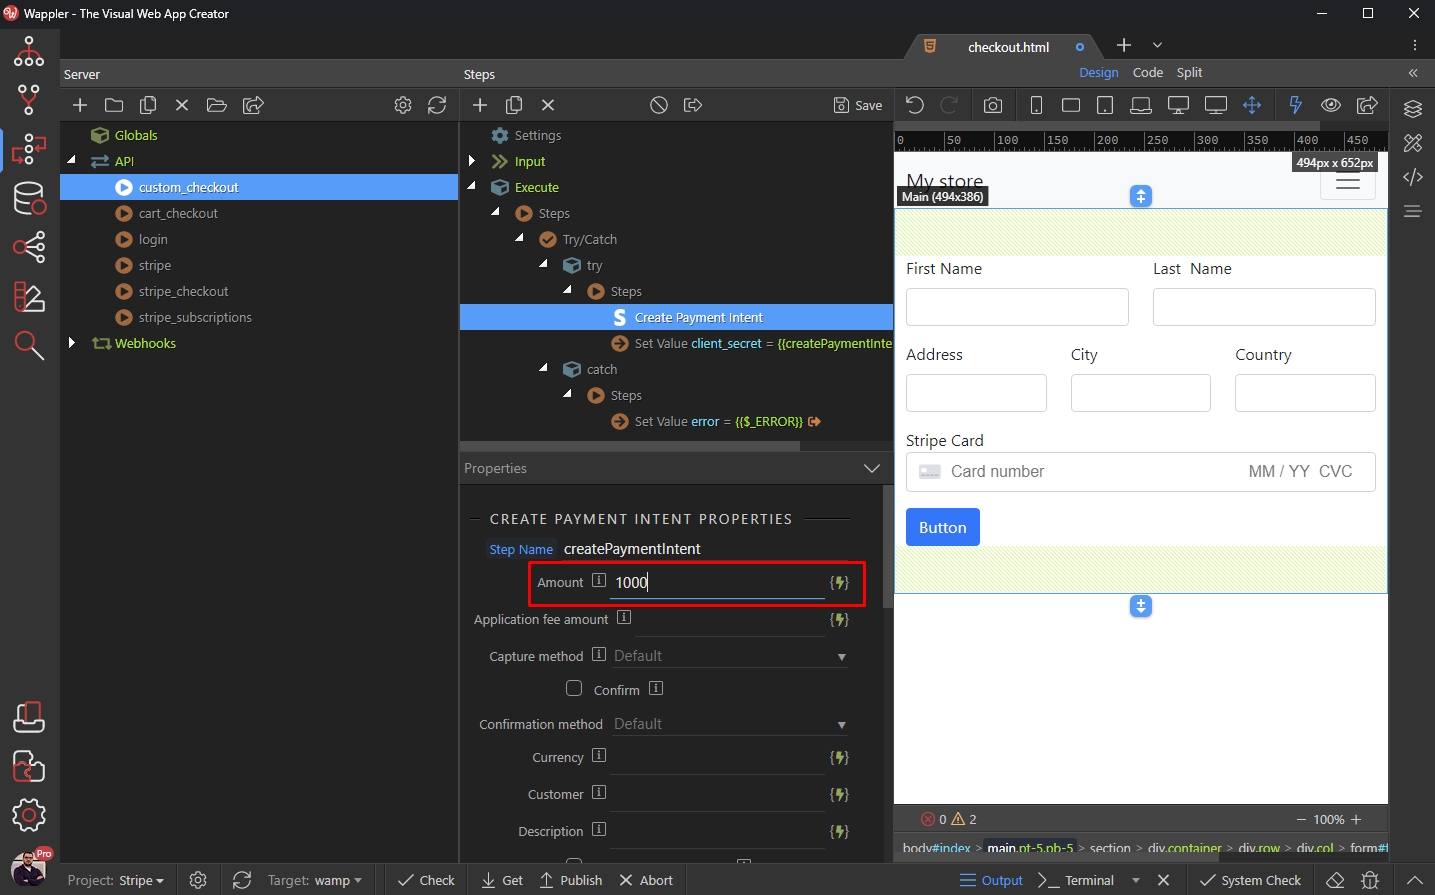
And add the amount you want to charge the customers, or select a dynamic value for it. In our example we will show how to do this using a static value.
Note that the prices used here are zero-decimal and represent the smallest currency unit. So entering 100 means 100 cents i.e. $1.00.
We enter 1000 which equals $10.00:
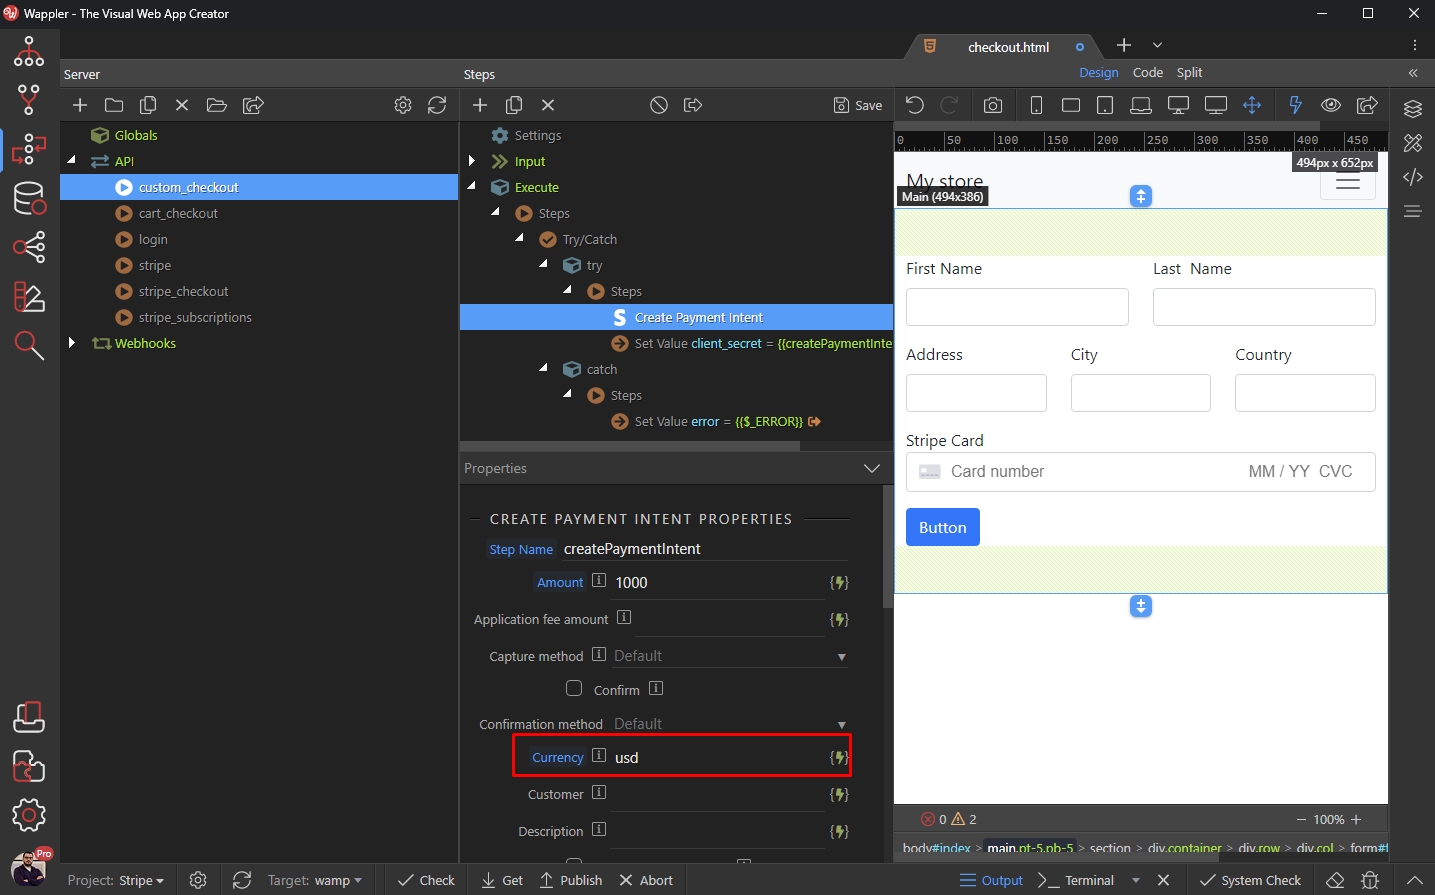
Then enter your currency - this is the 3-letter ISO code (usd, eur etc.). We add usd here :
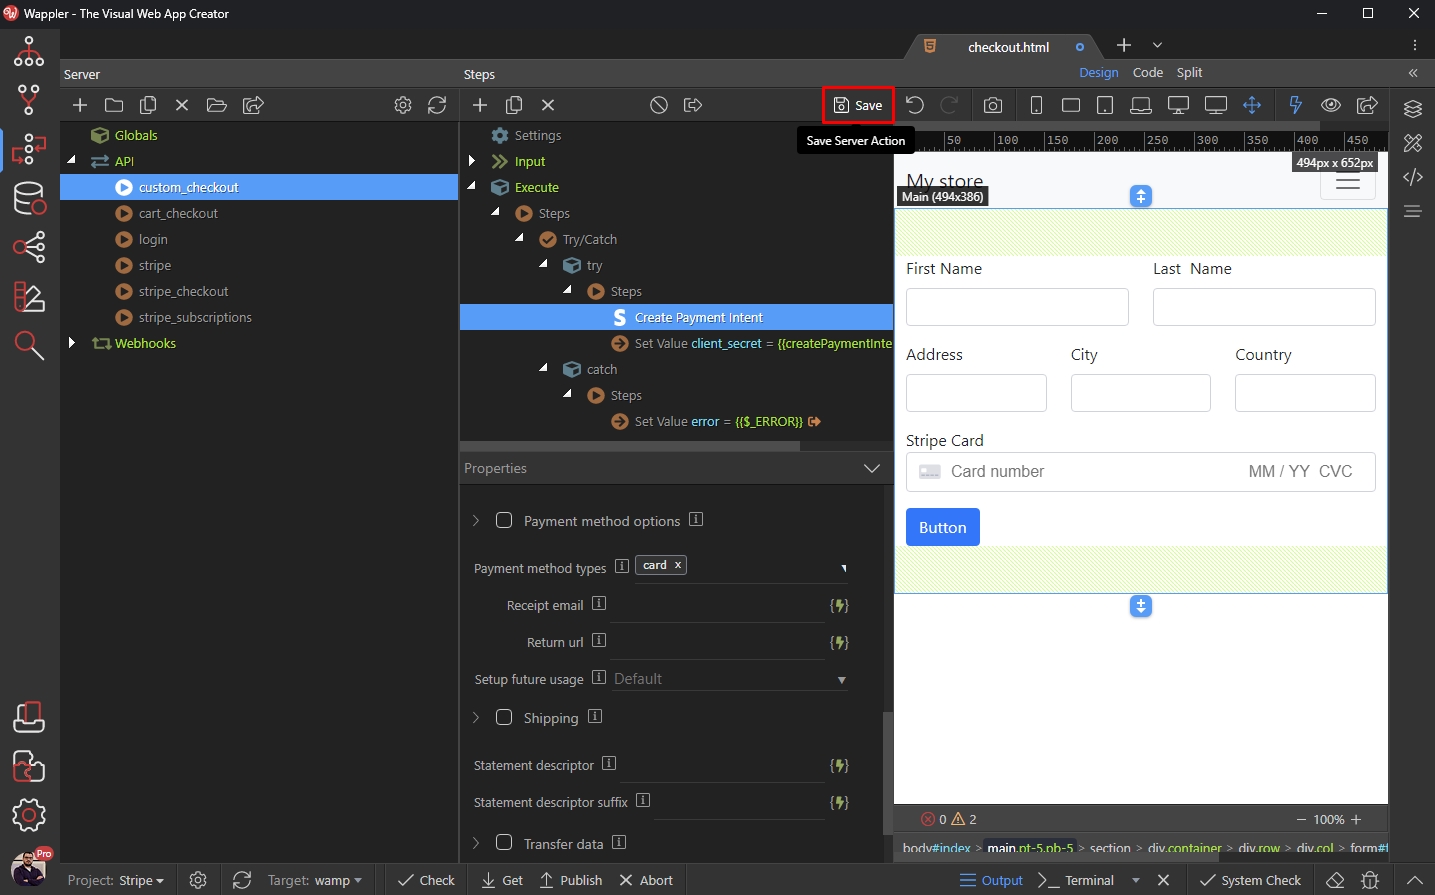
And select the Payment Methods you want to use:
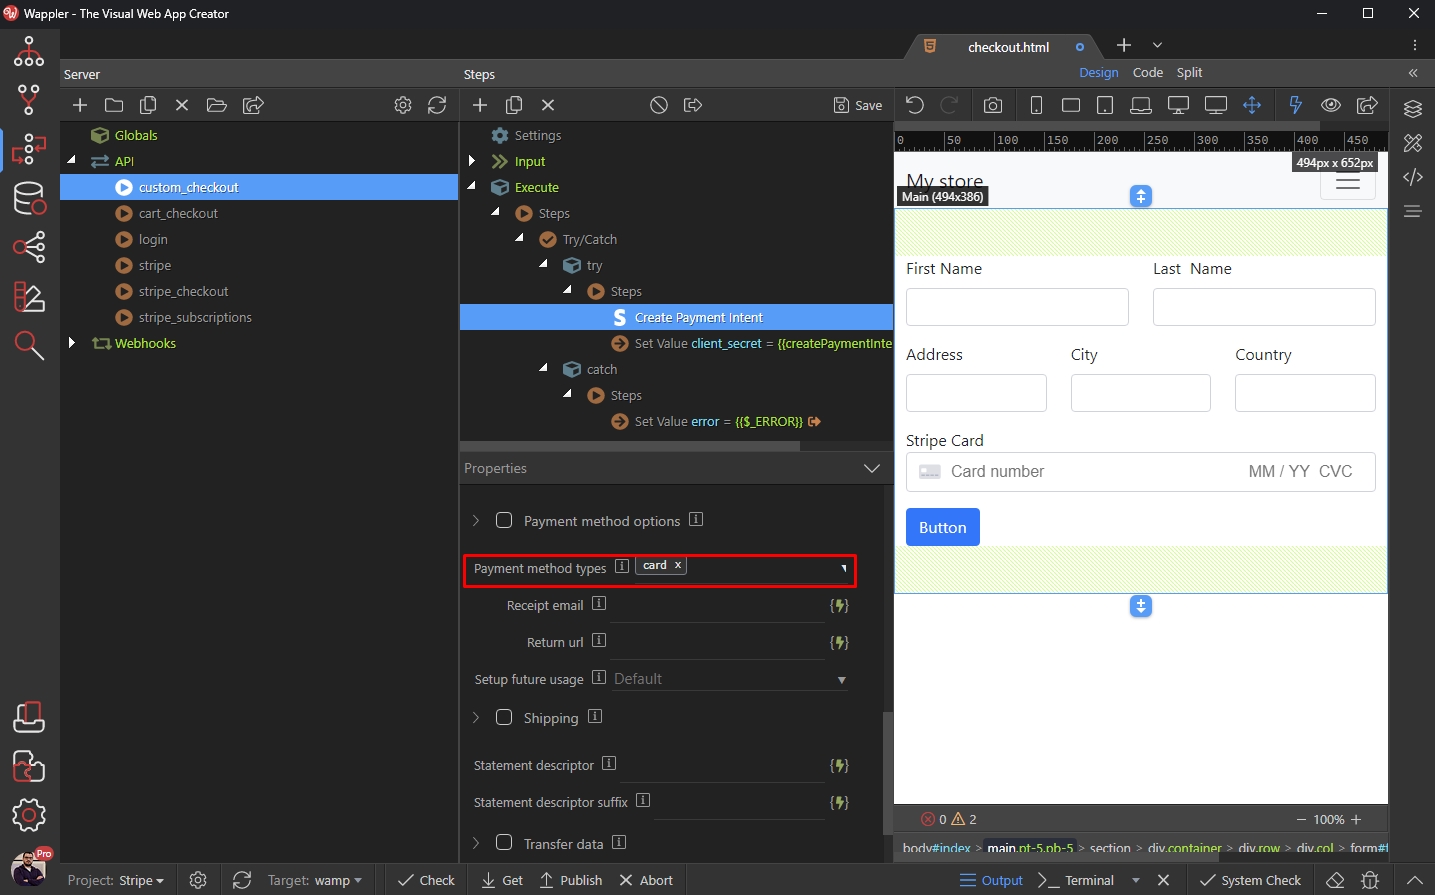
Depending on how you set up your custom form - using single or multiple payment methods, select the same one(s) here:
Save your API Action:
You can use the custom form inputs in this server action to store the user details, or do any other action you need. Just import the form inputs under Inpuit > $_POST and add the required steps in this API Acton.
Adding API Action to the Form
Section titled “Adding API Action to the Form”The last thing we need to is to add the API Action we created to our Custom Checkout Form.
Open the App Connect Panel and select your form:
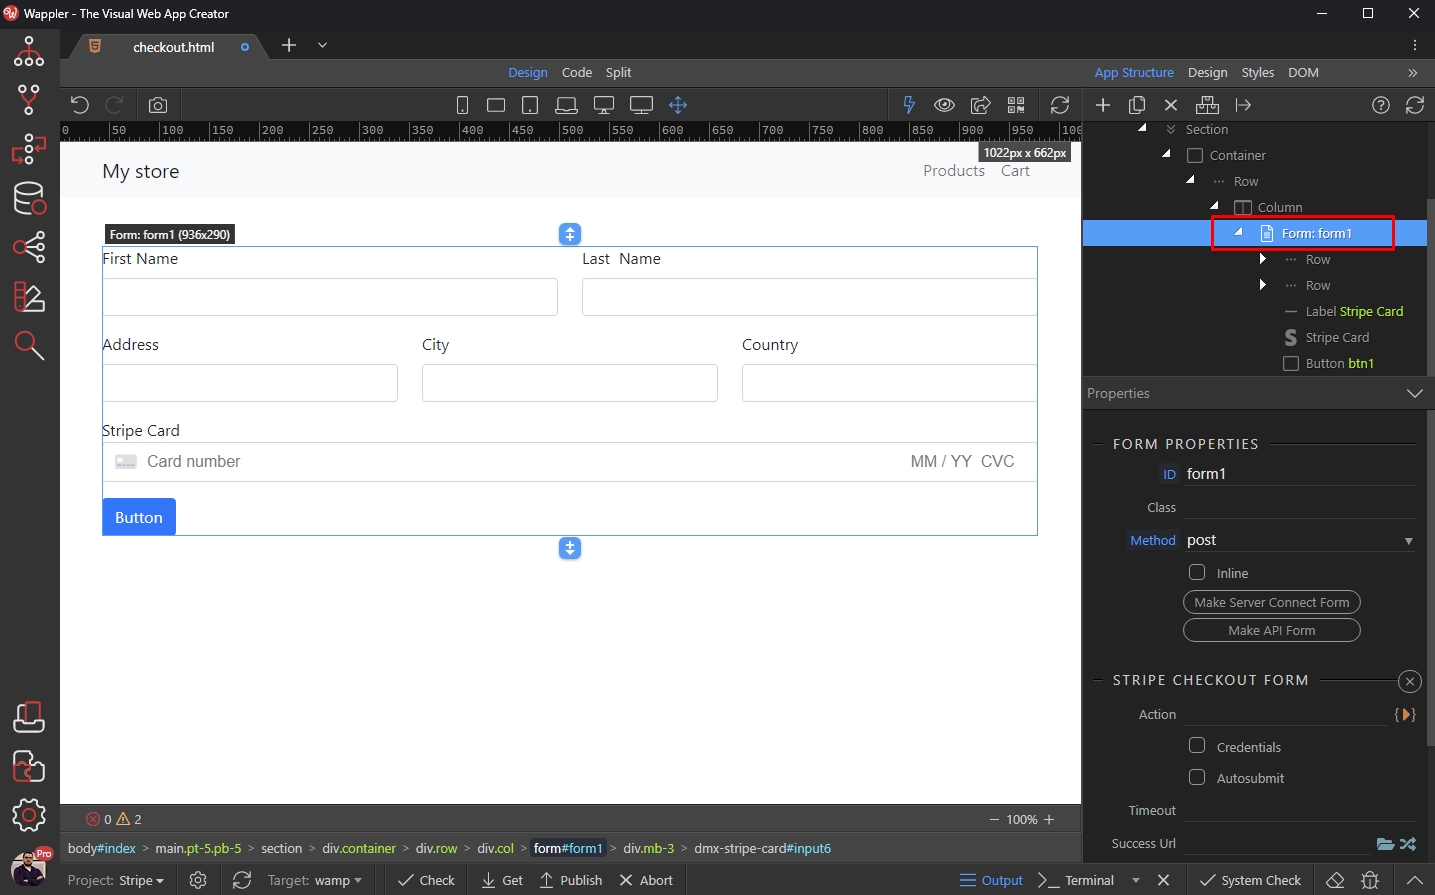
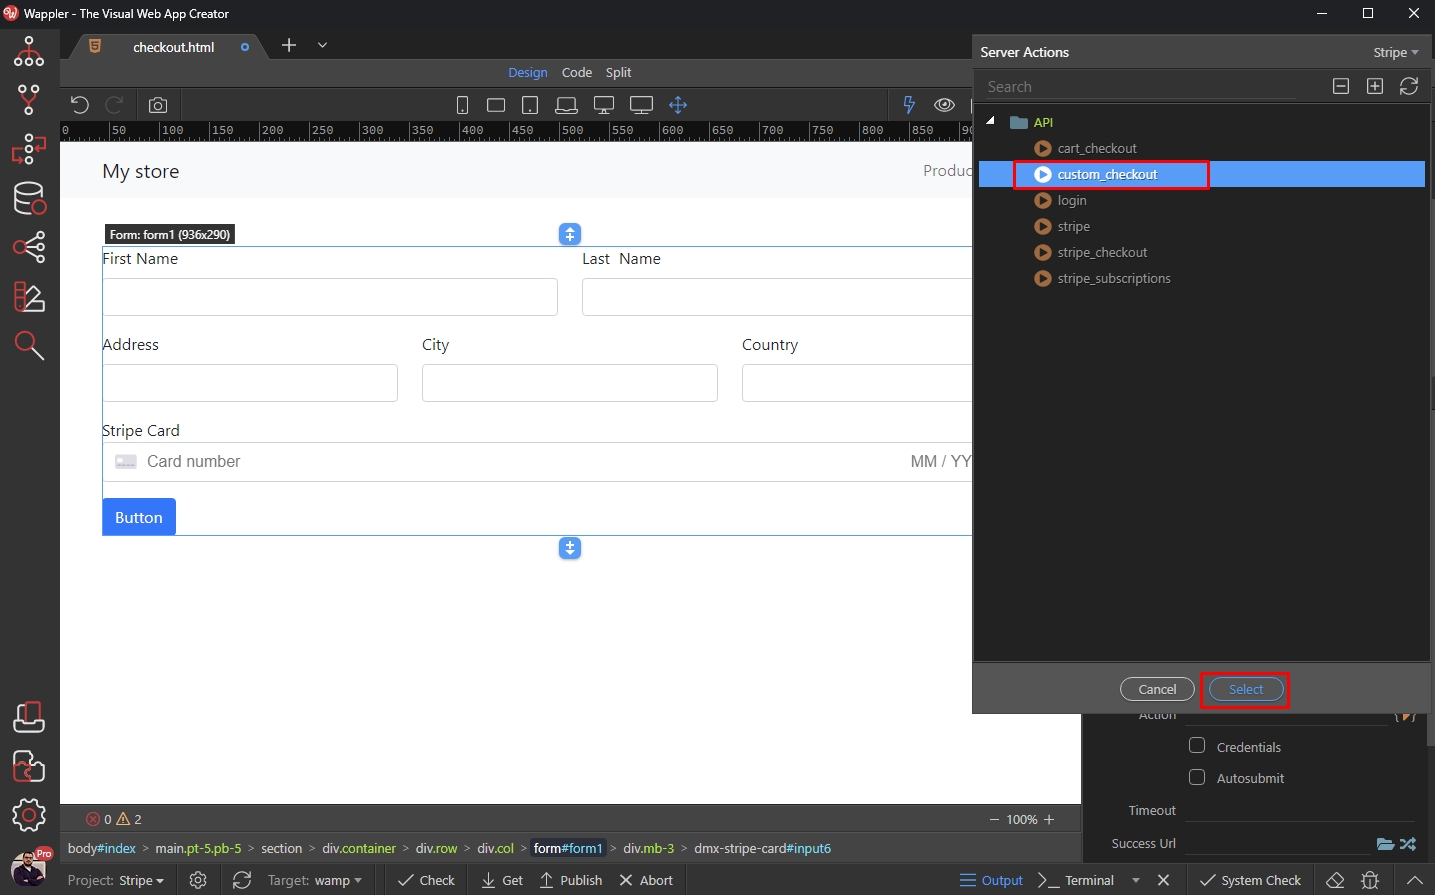
Select an Action for it:

We select the API Action we just created:
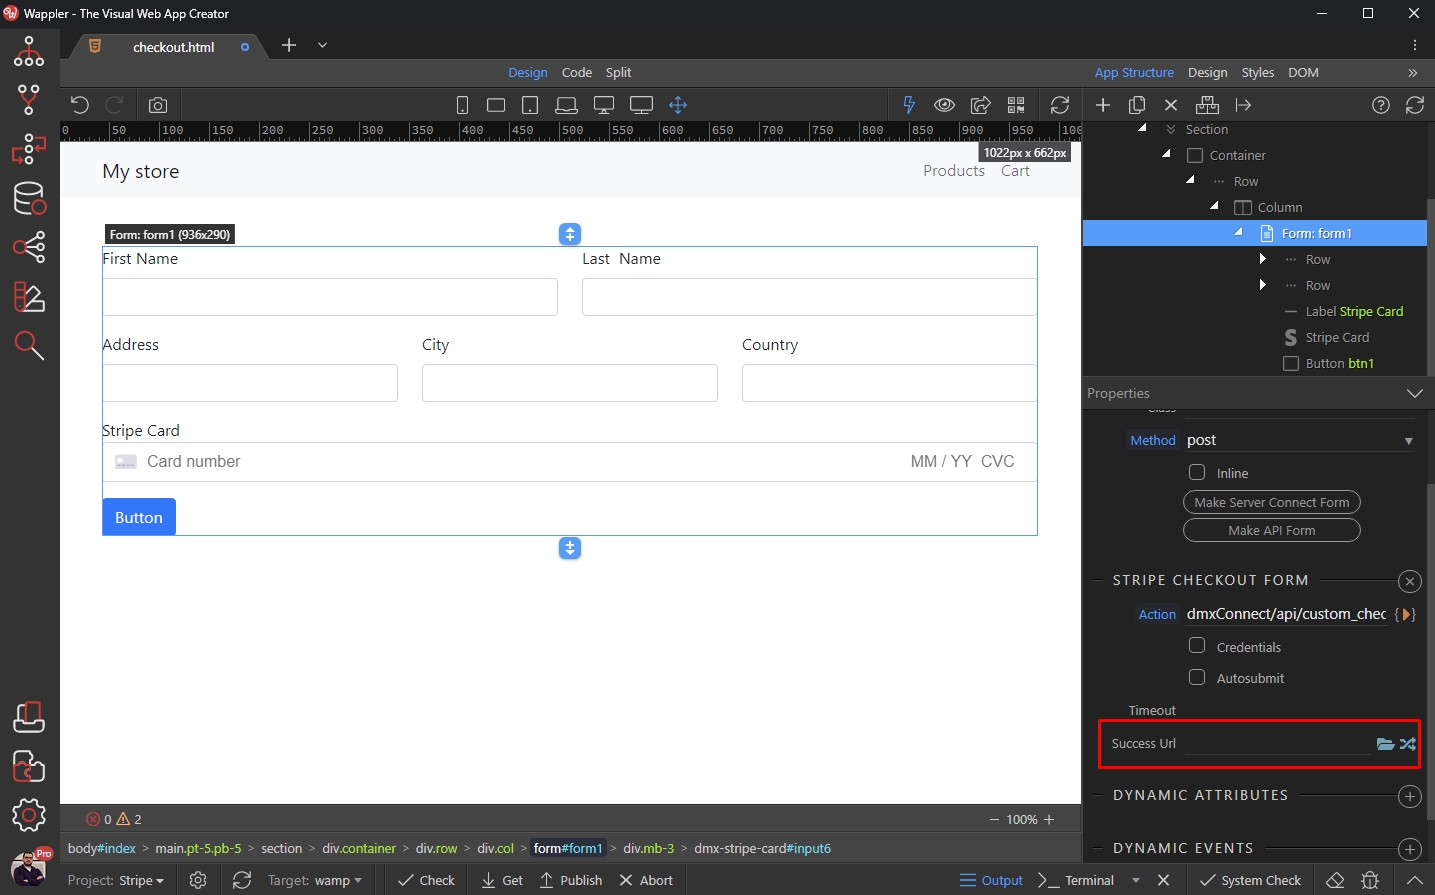
You can select a Success Url, where the users should be redirected after the payment is completed:
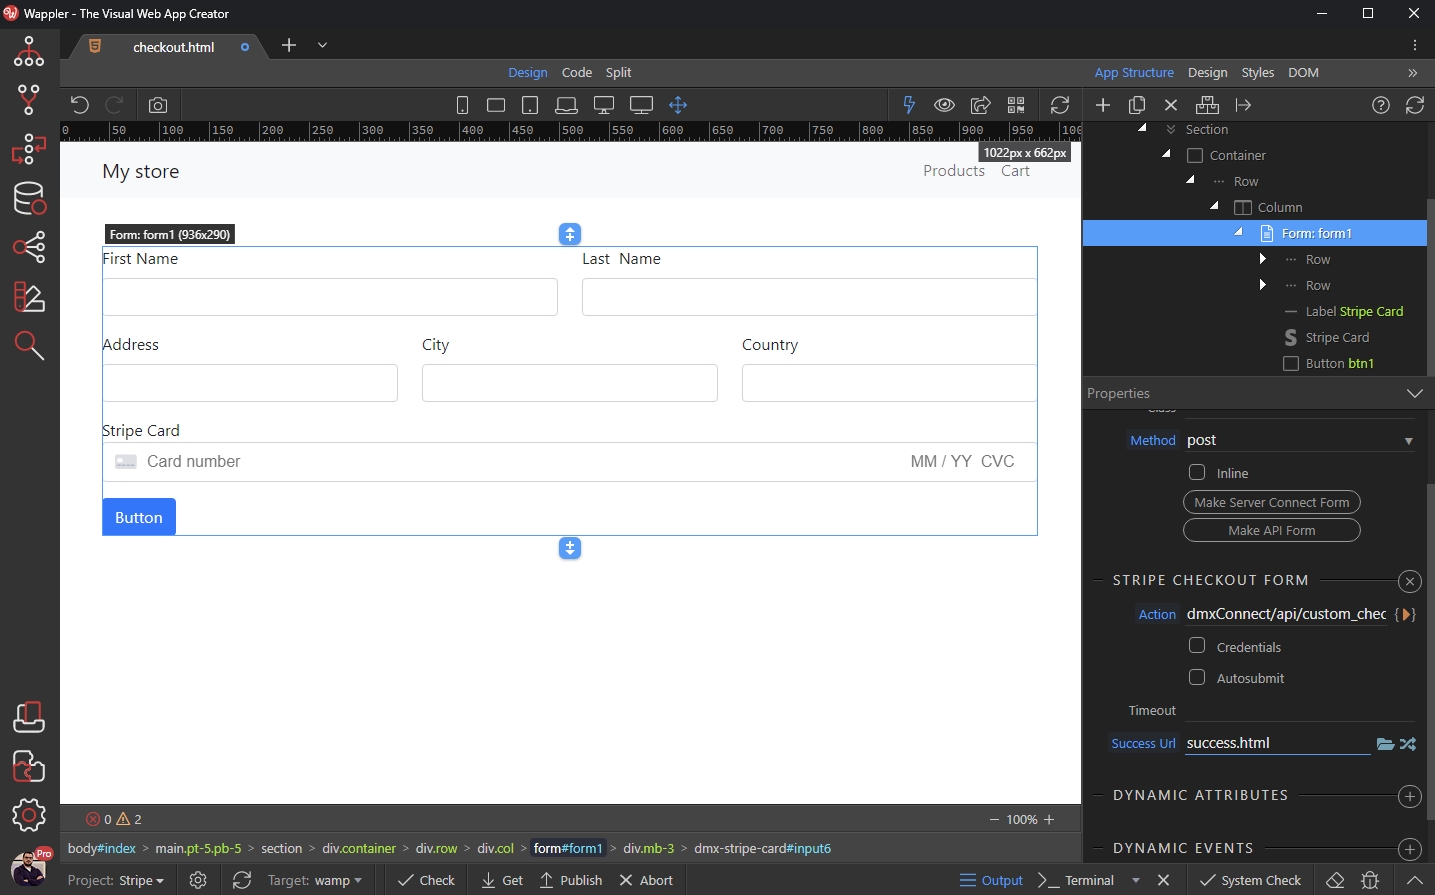
Your checkout form is done.
Error Handling
Section titled “Error Handling”You can use the Dynamic Events to show a notification, or run any other dynamic action on success or on error events.
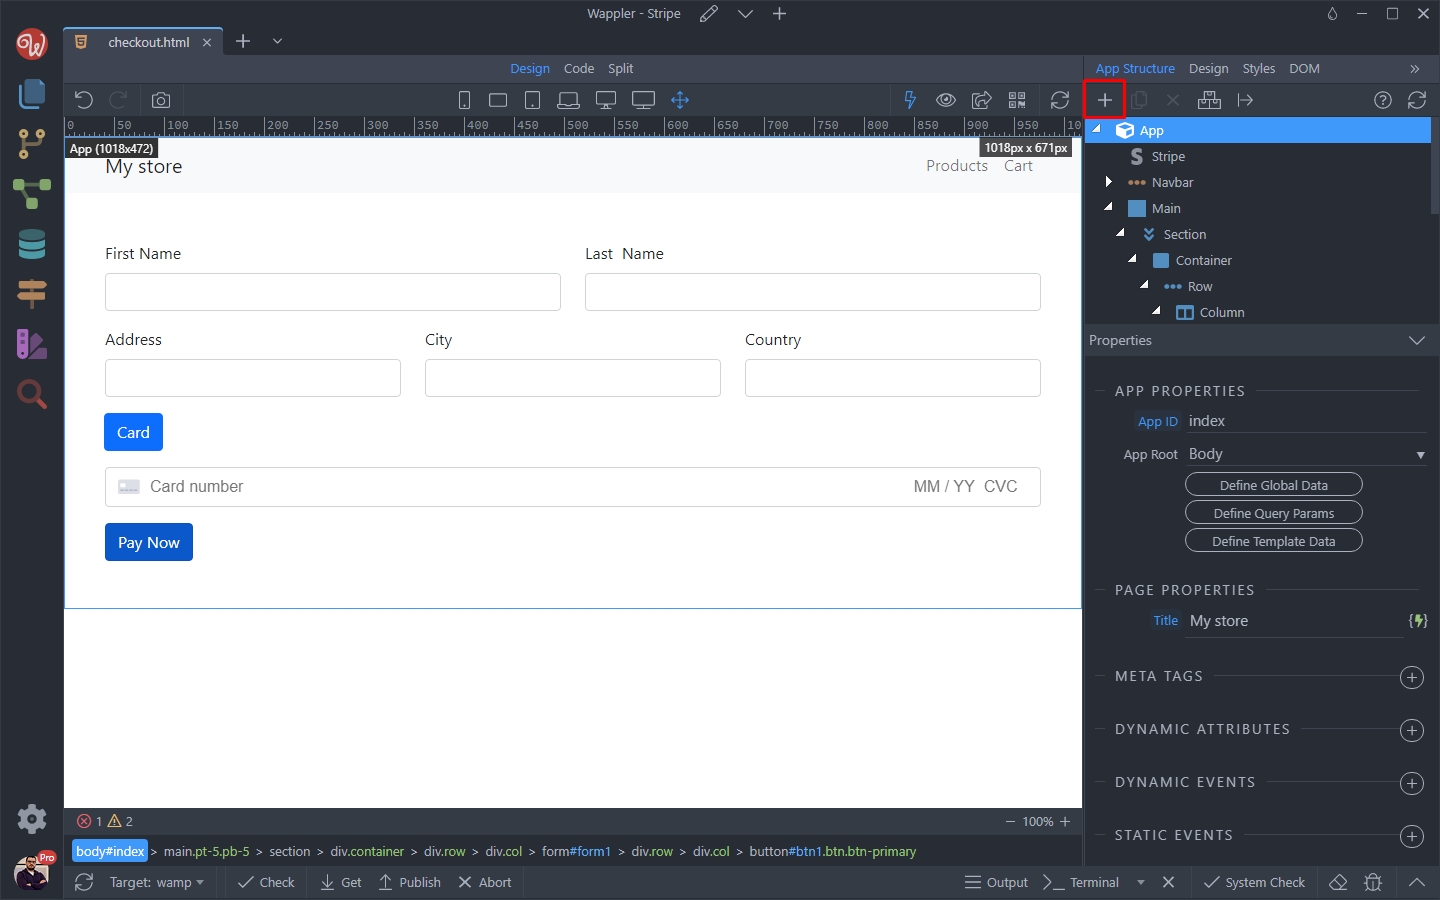
You can use the toast component to display the error messages to the users. First click the add new button in the App Structure:
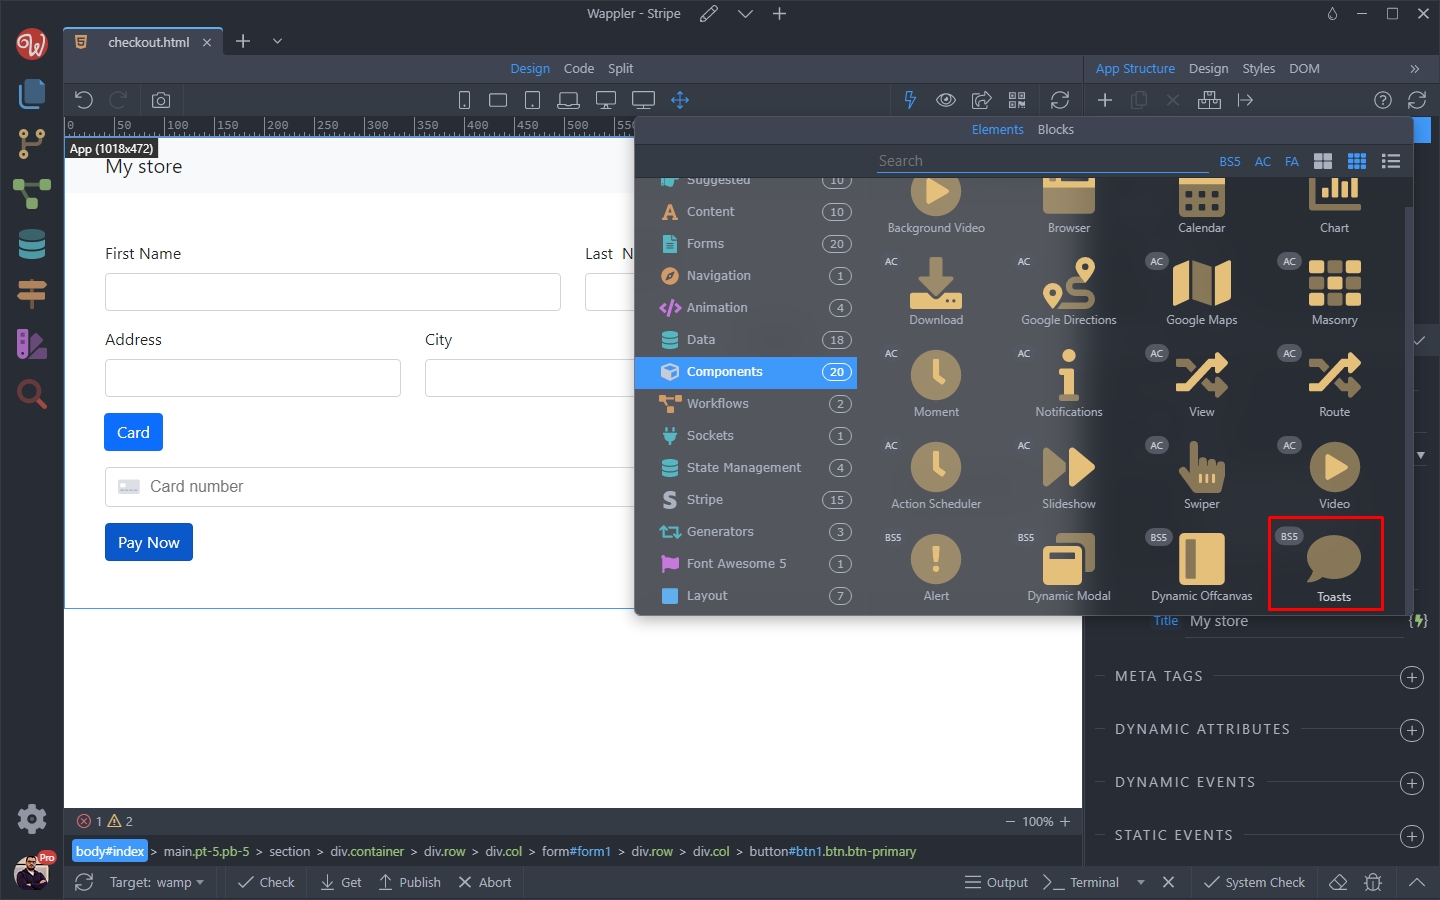
Then under components select Toasts:
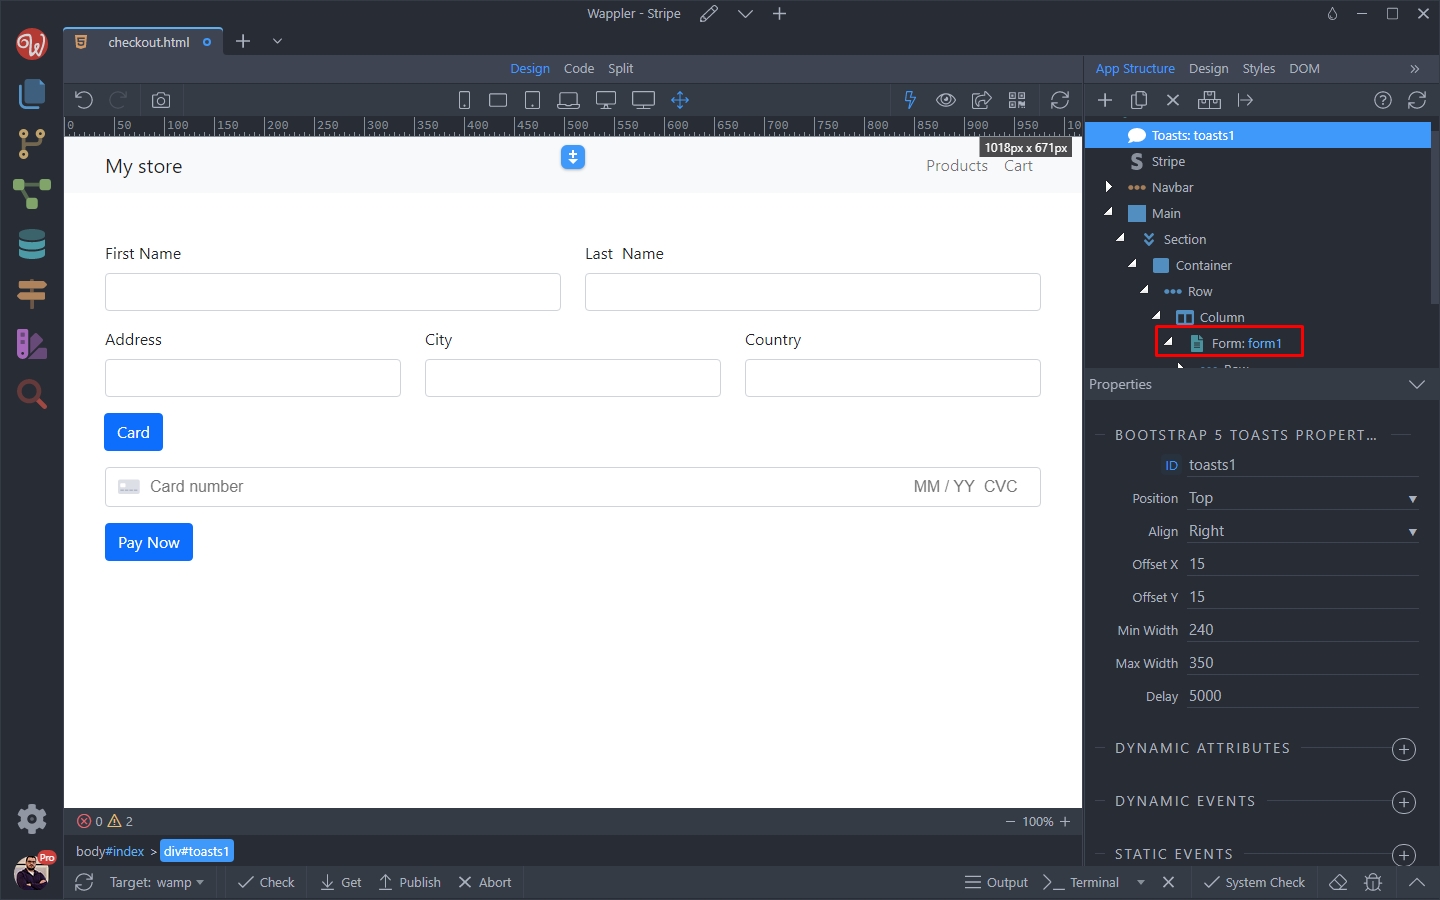
The toasts component has been added on the page. Now, select your checkout form:
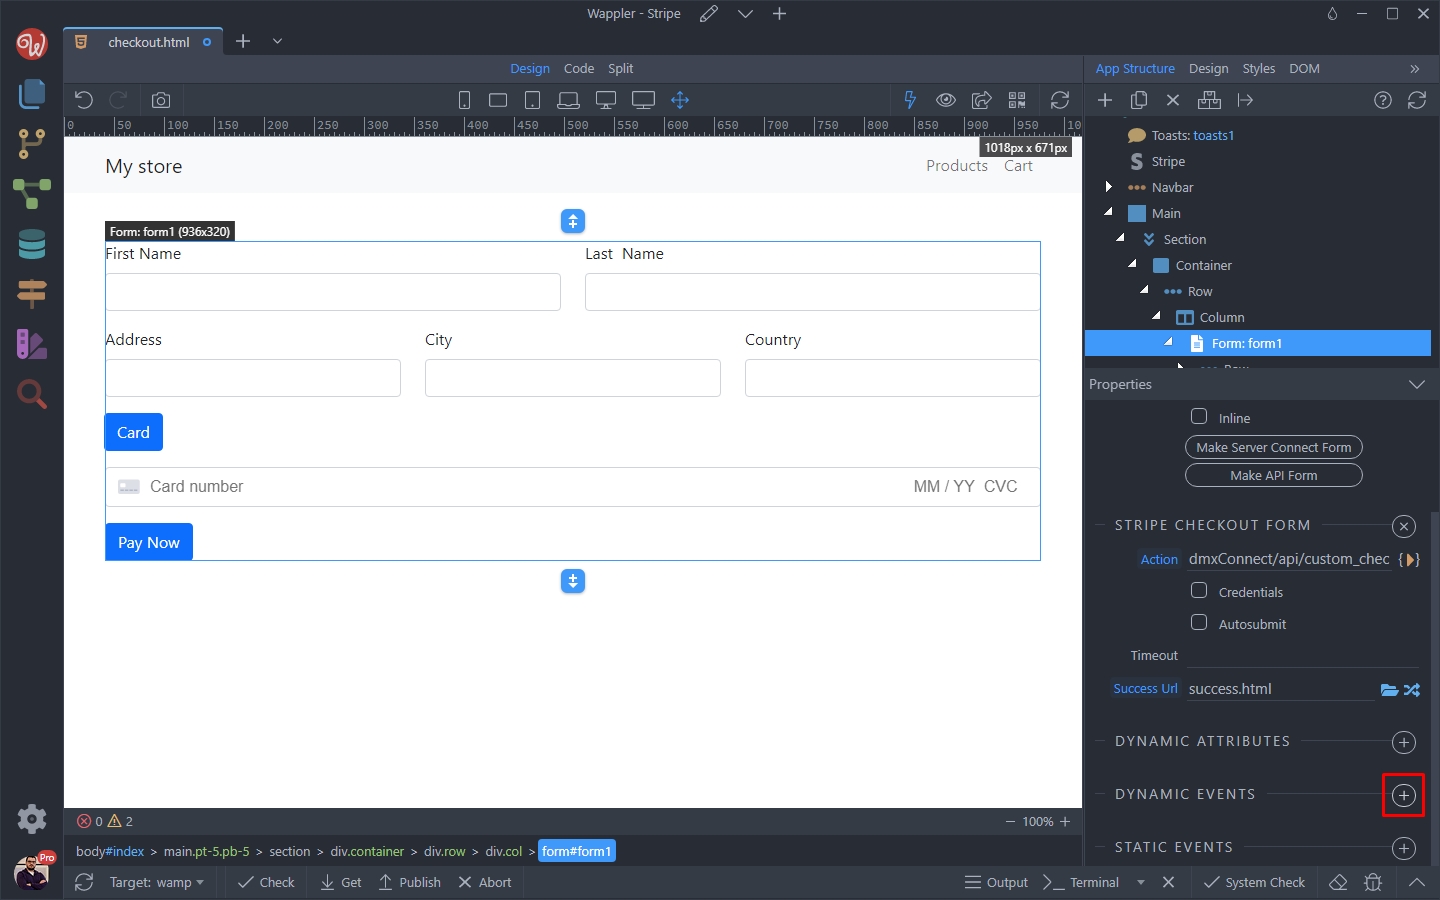
Add new dynamic event:
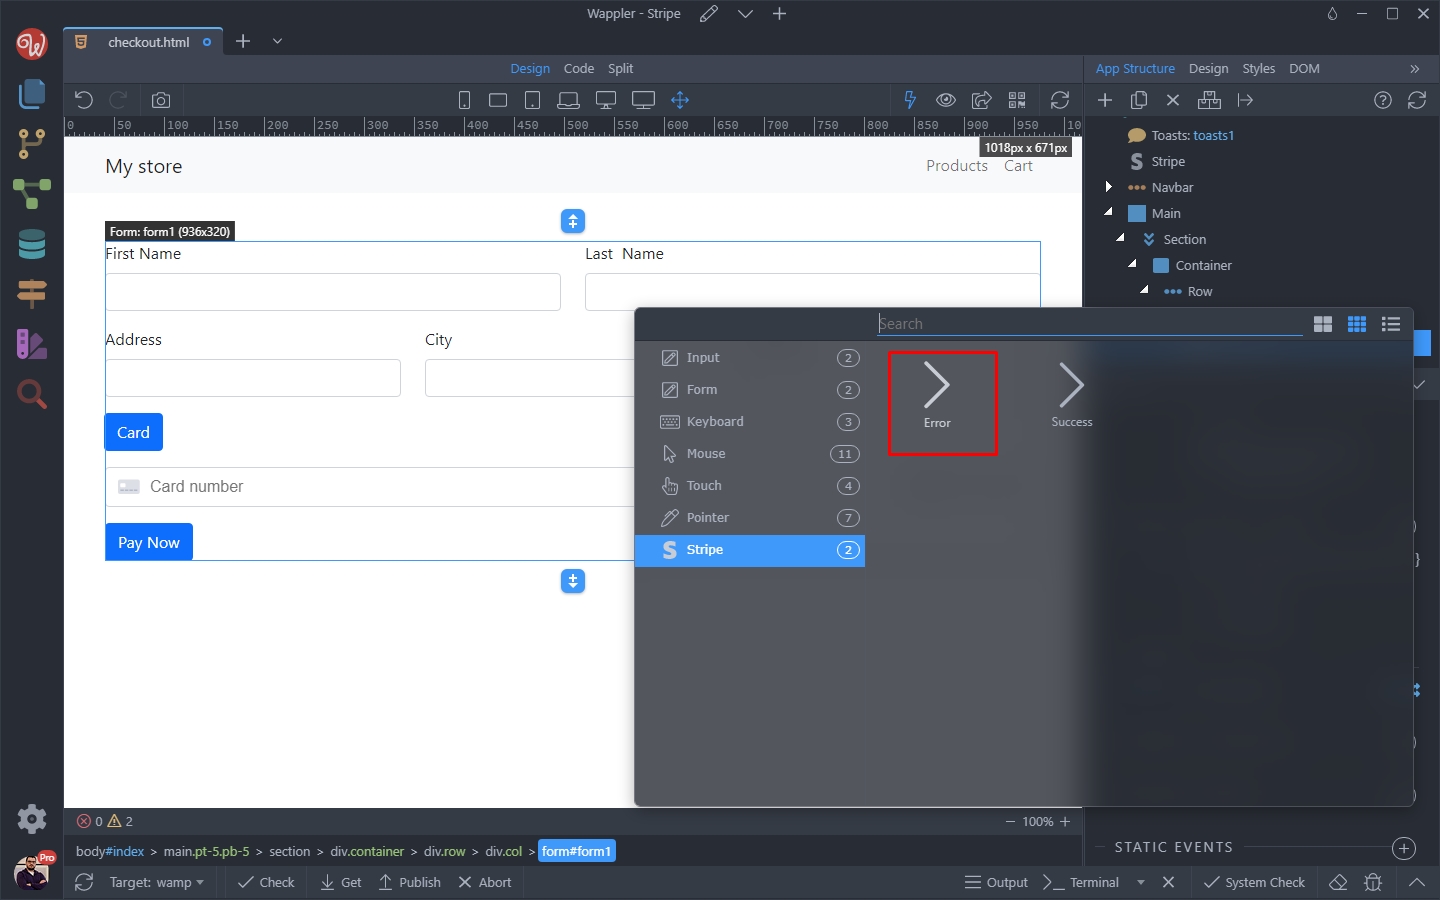
Select Stripe > Error:
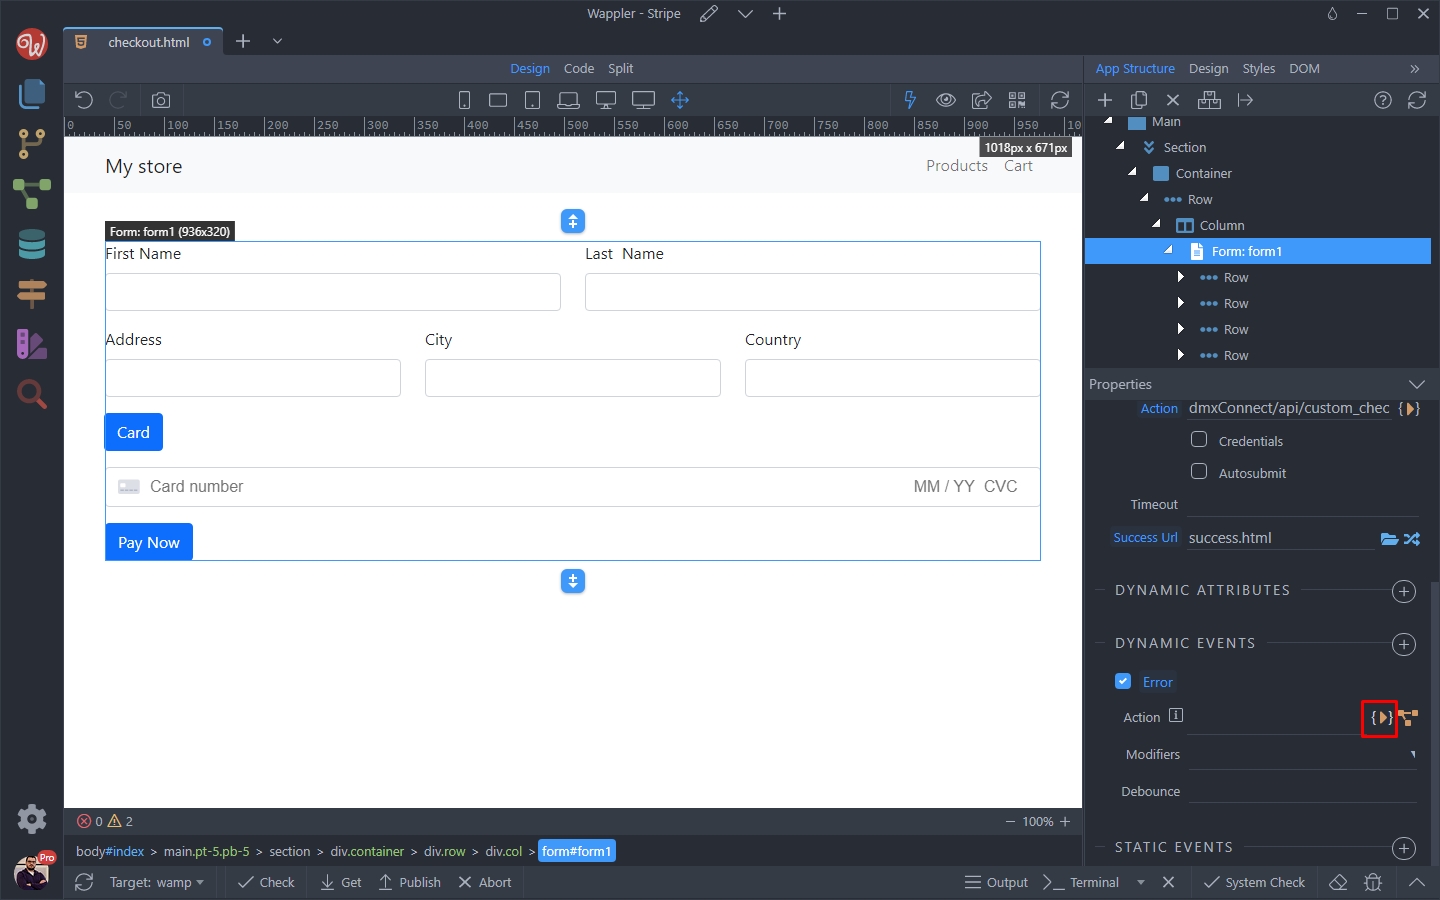
And click the dynamic action picker button:
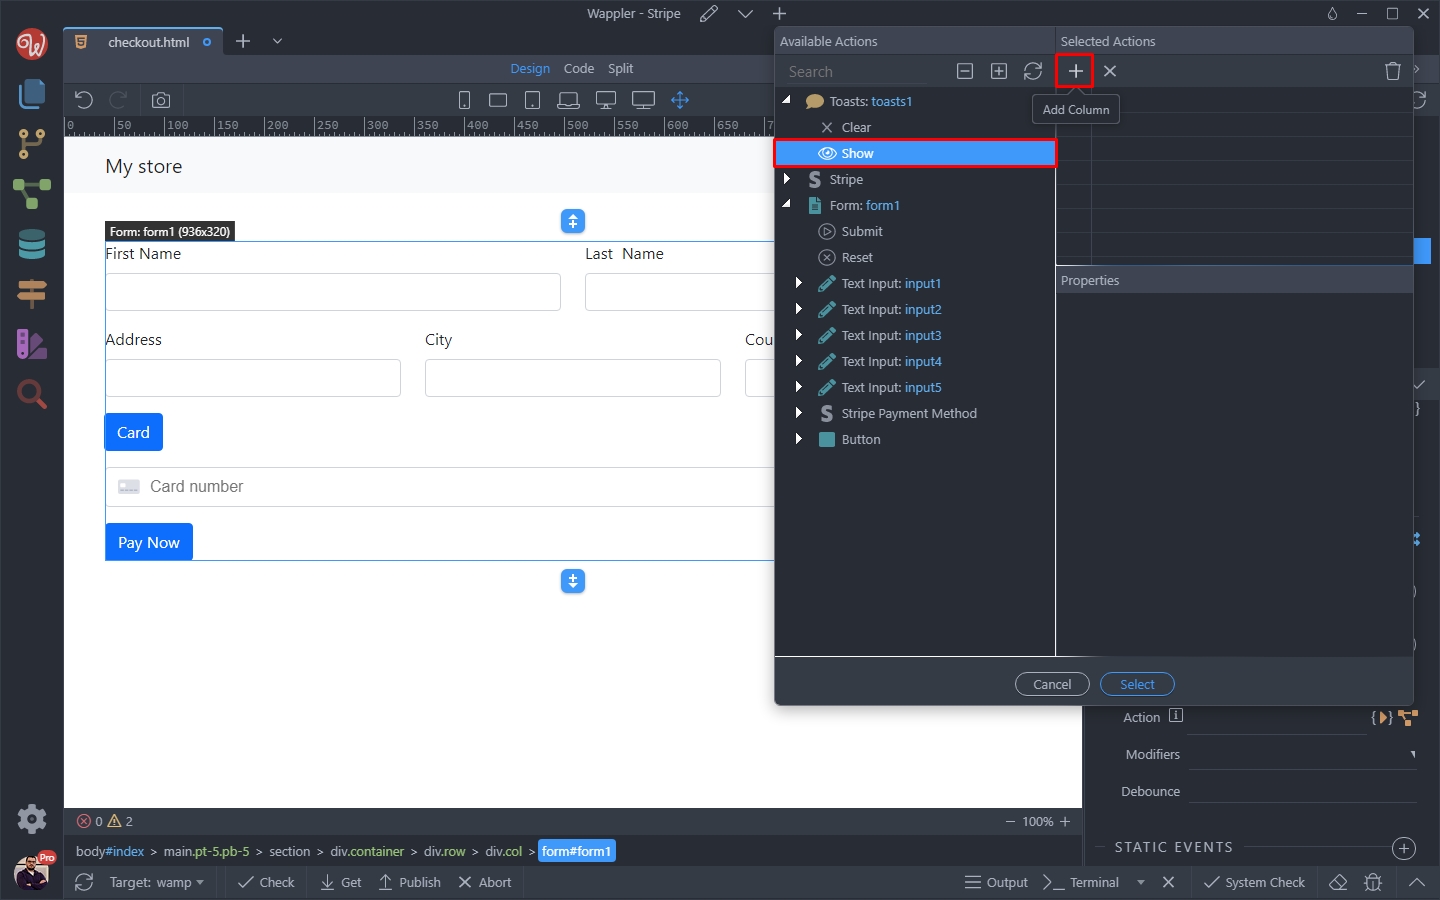
Select Toasts > Show:
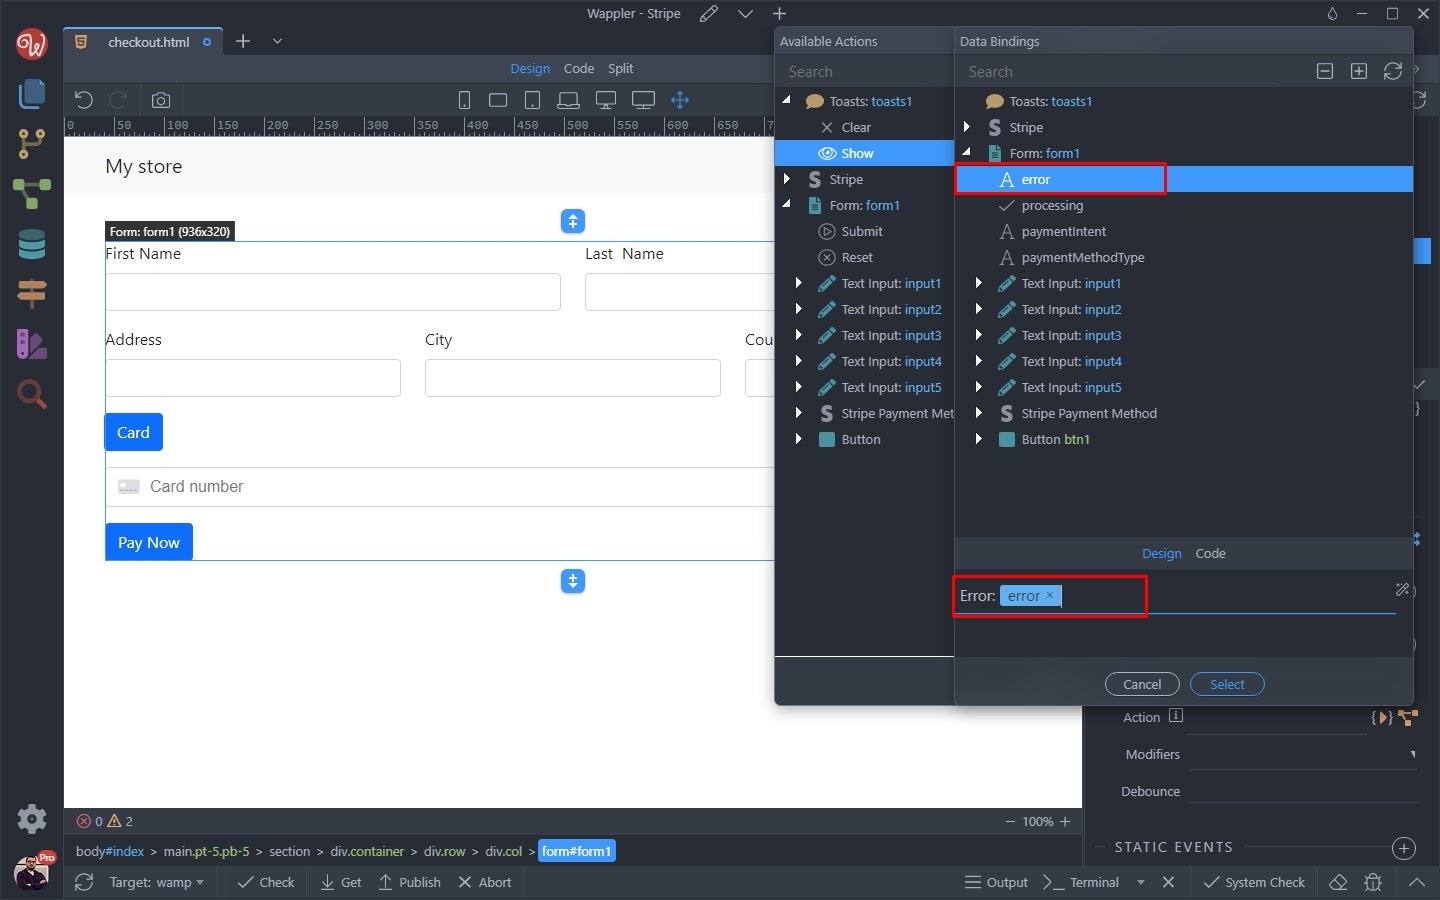
And enter the message you want to show your users. We enter Error: and click the dynamic data picker to select the error text:

Select error under the Form:
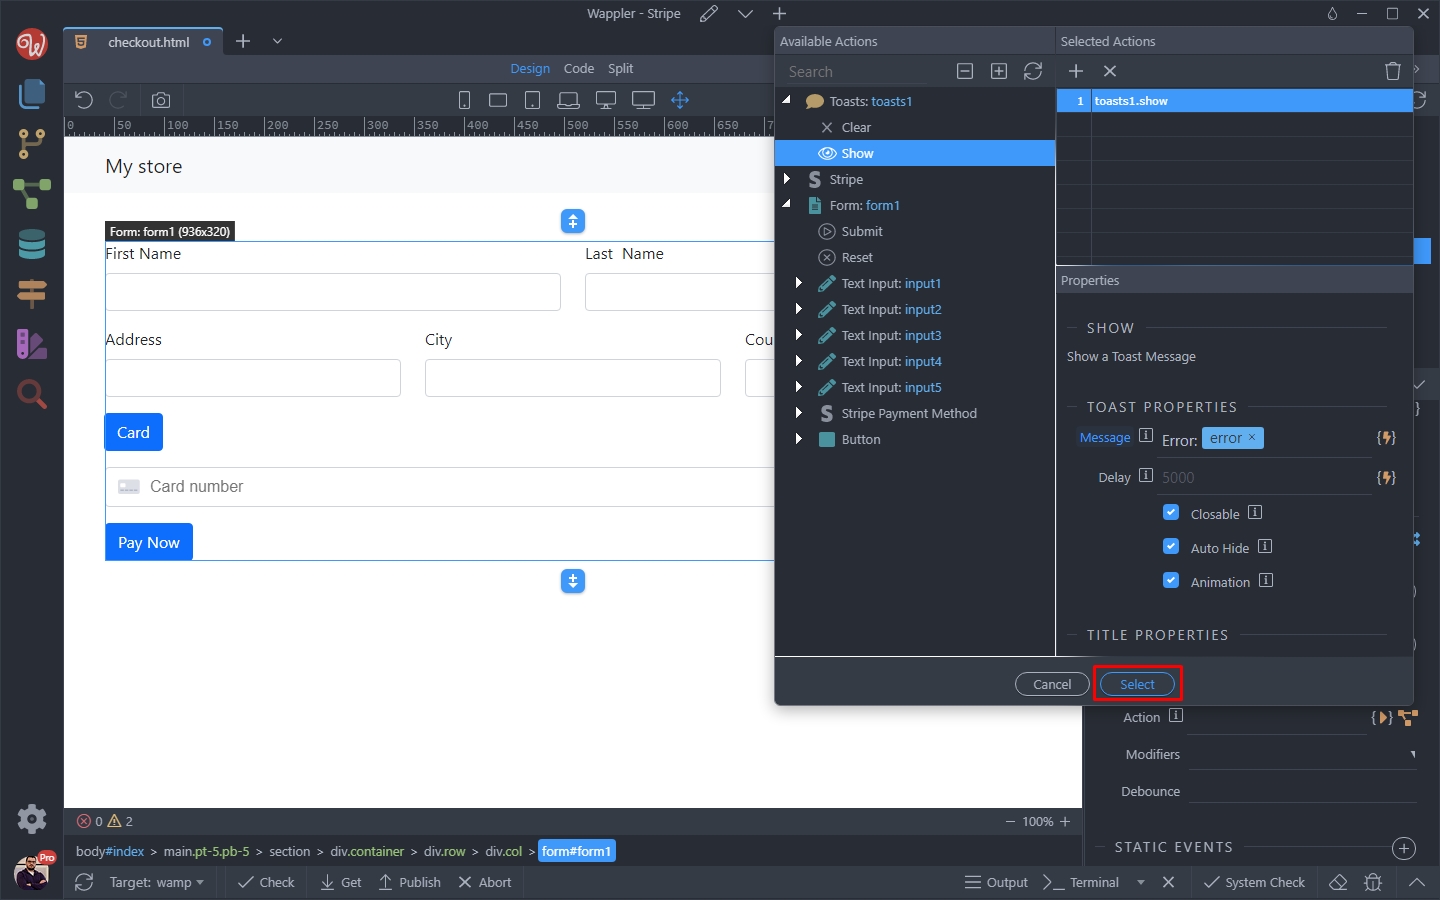
Click Select and you are done. If there’s an error it will be displayed in a toast message. 1Don’t forget to save your page:
That’s how to create a custom checkout form for your site.