Real authoring surface
The field on this page is the editor your project brief workflow actually uses, not a detached playground.
Use the Summernote editor when content authors need formatted rich text input inside a Wappler page.
In Demo Projects HQ, Summernote is used on the Project Brief field of the project creation page. That makes this a good inspector tour, because you can see a real editing surface in Design View and then inspect the exact properties that control language, layout, and the toolbar groups available to the author. The editor is only useful when its freedom matches the structure your application actually wants to store and render.
This is the Summernote field used for the project brief. In Design View you can already see its role clearly: it is a larger authoring surface meant for structured rich text, not a plain single-line form control.
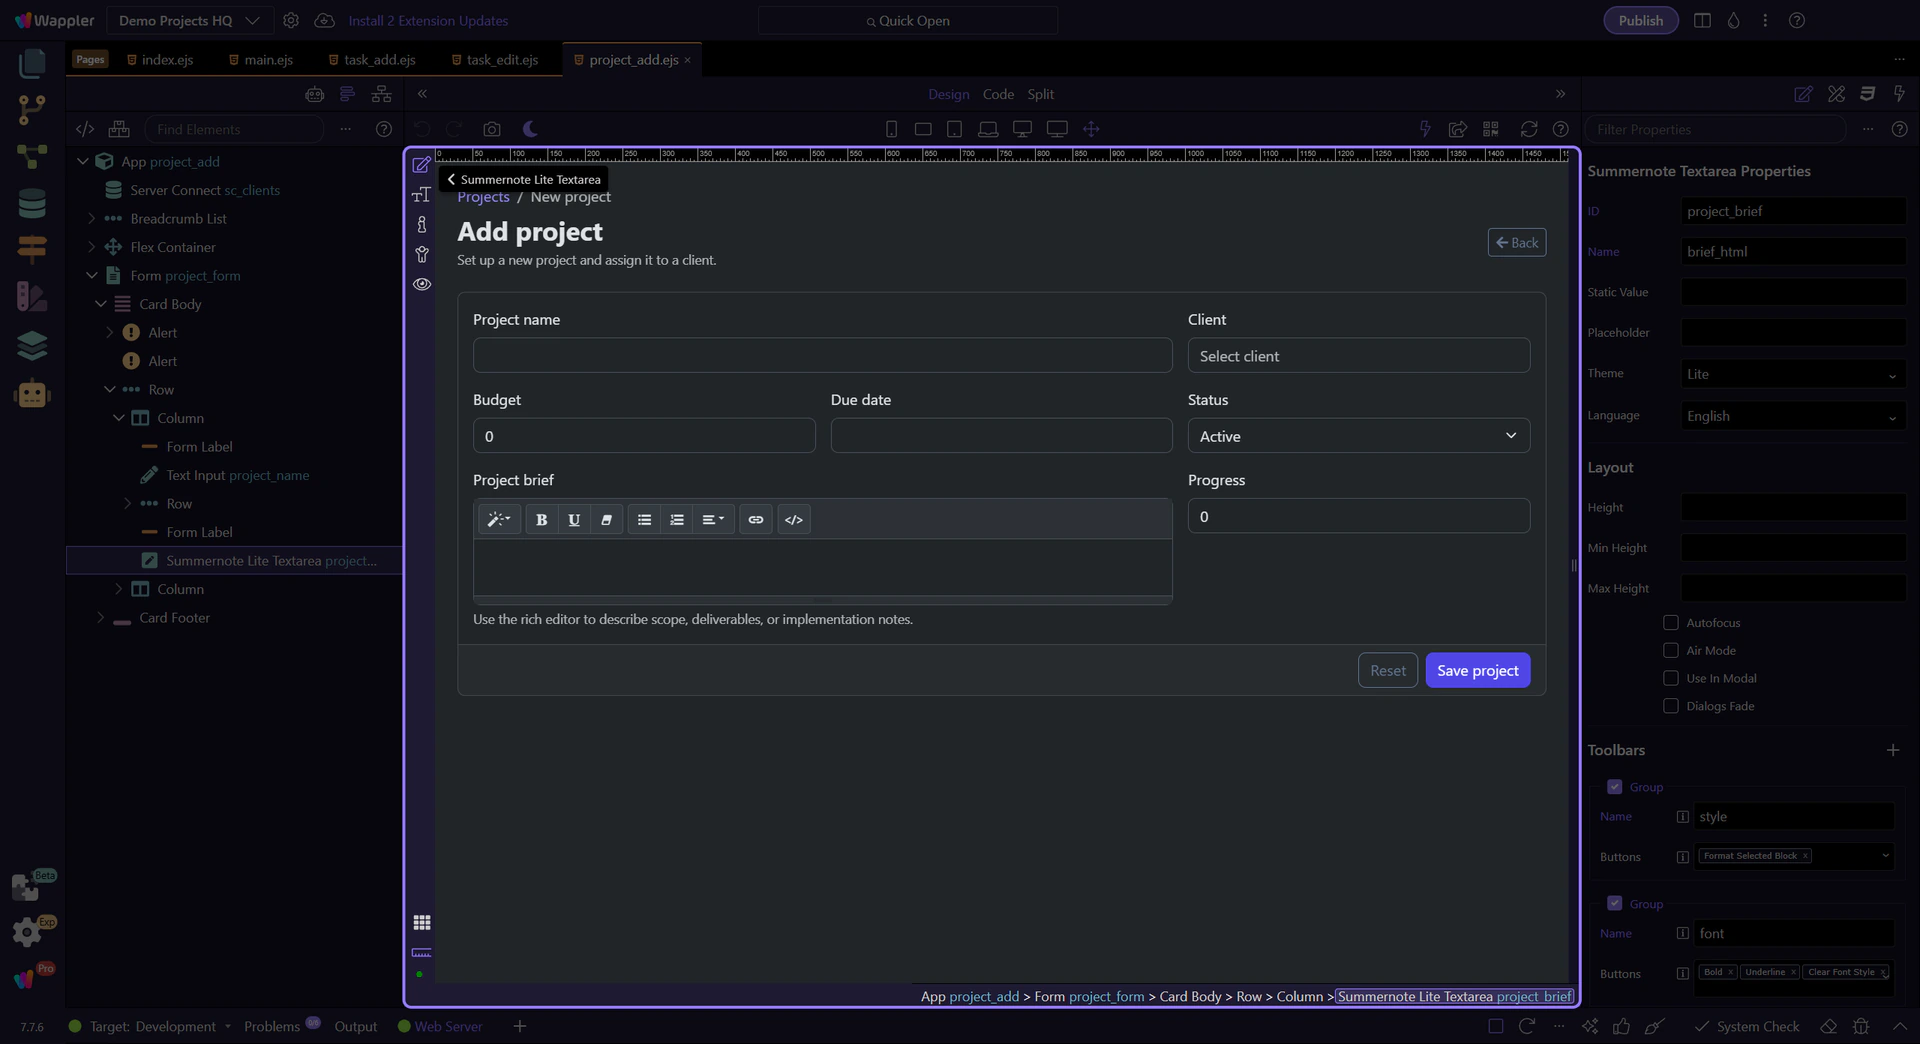
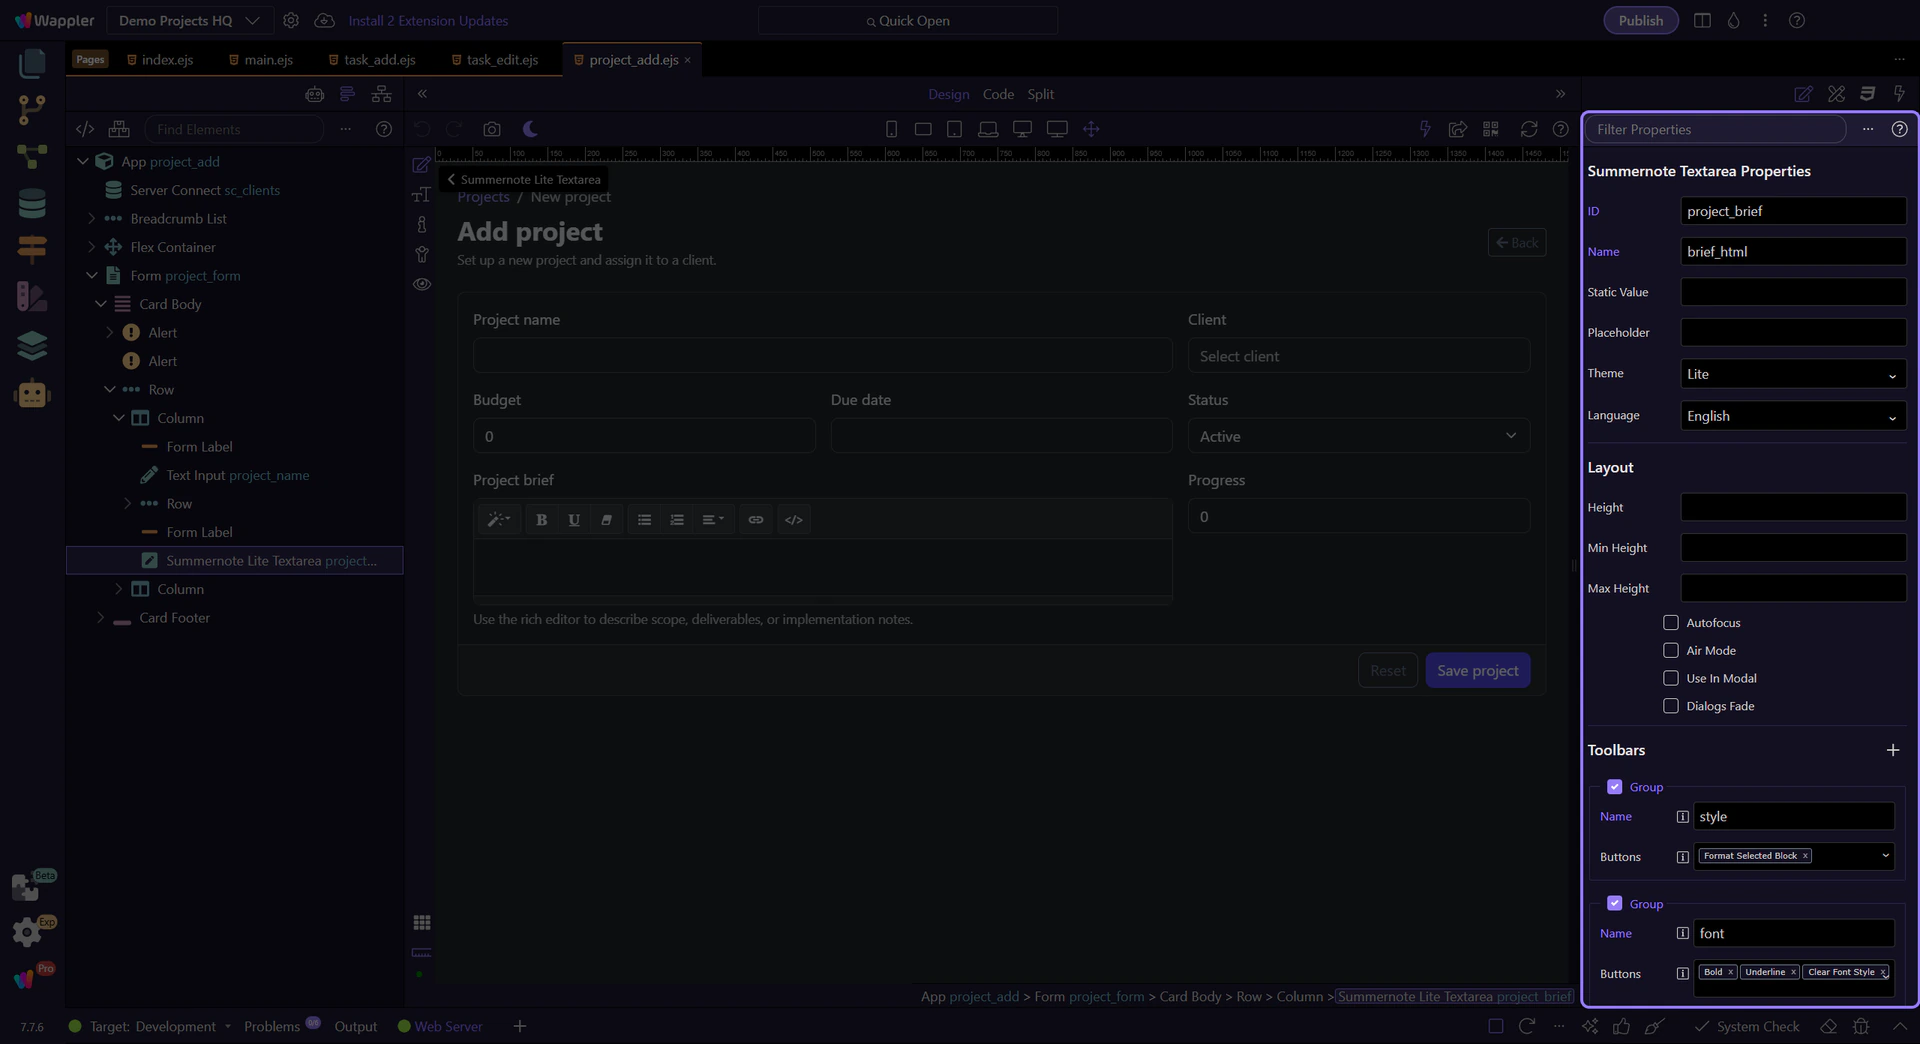
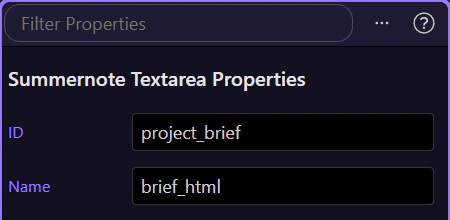
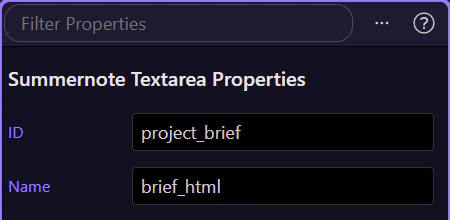
With the real Project Brief editor selected, the Properties panel shows how Demo Projects HQ constrains the authoring surface. This is the place to review the field identity, the toolbar choices, the theme and height, and the formatting guardrails as one coordinated editor setup.
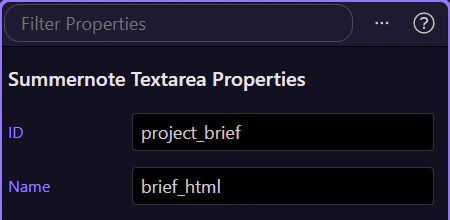
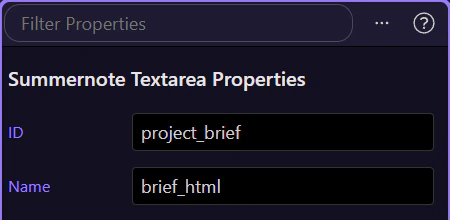
Even rich text editors still need a normal form identity. This Name property keeps the project brief connected to the form submission, so the formatted content moves through the same project workflow instead of living as a disconnected client-only widget.
This page already uses a bound toolbar configuration, so the toolbar is one of the most important properties to inspect. The Project Brief editor keeps a focused set of groups for style, emphasis, lists, links, and code view. That is deliberate: the toolbar should encourage the content patterns your project brief supports instead of inviting arbitrary layout markup.
tip: On this page the toolbar binding is part of the component setup, so changing it directly changes what authors are able to create.
Theme decides which Summernote skin integrates with the rest of the page framework. On a real project page this matters because the editor should feel native to the form around it rather than looking like a foreign widget dropped into the layout.
A rich text field needs enough vertical space to feel like an editor instead of a cramped textarea. Height and the related layout properties determine whether authors can review a meaningful chunk of content while they write the project brief.

The formatting options matter because the stored result is HTML. Settings in the Formatting section, such as code-view filtering and drag or shortcut behavior, help define how permissive the editor should be before that HTML reaches the rest of your application.
On the Demo Projects HQ project page, Summernote is easiest to understand when you connect three layers at once: the large editor surface in Design View, the toolbar groups that shape what authors can create, and the formatting guardrails that keep stored HTML manageable. That is the practical rule for rich text in Wappler: give authors enough power to describe content well, but keep the page template and data workflow in charge of structure.