Using Managed Databases with the Resource Manager
Intro Managed Databases are a fully managed, high performance database cluster service. Using managed databases is a powerful alternative to installing, configu
Managed Databases are a fully managed, high performance database cluster service. Using managed databases is a powerful alternative to installing, configuring, maintaining, and securing databases by hand.
Managed databases are highly scalable, backed up every day automatically and offer zero downtime in an event of failure.
In this tutorial we will show you how to setup Managed Databases on Digital Ocean, but support for more providers is coming soon!
Creating a Database Cluster
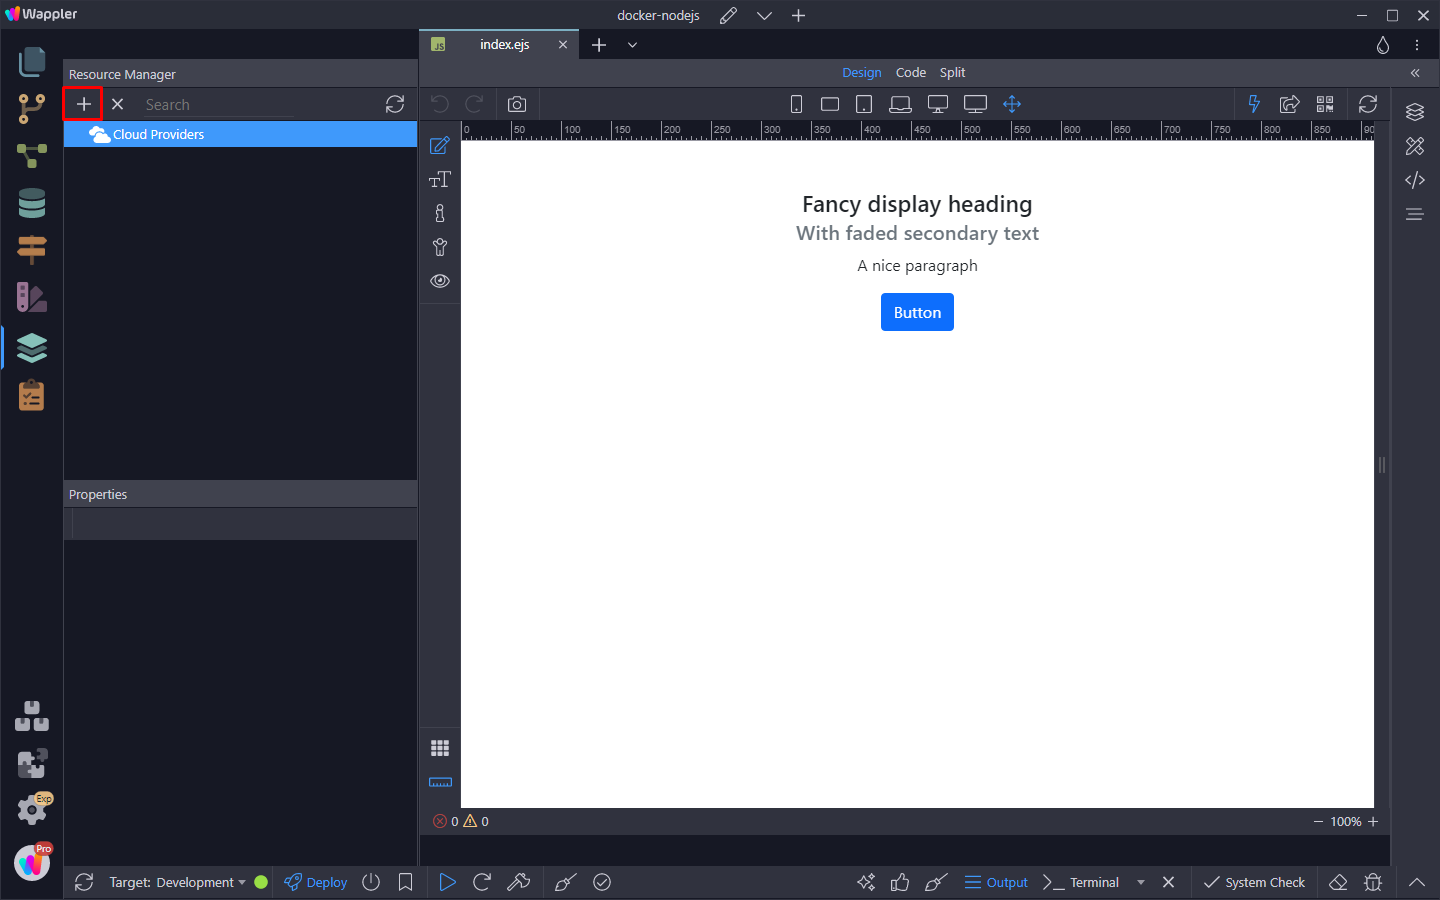
Section titled “Creating a Database Cluster”Open the Resource Manager:

The first thing we need to do is to connect to the cloud provider.
Select Cloud Providers and add a new one:
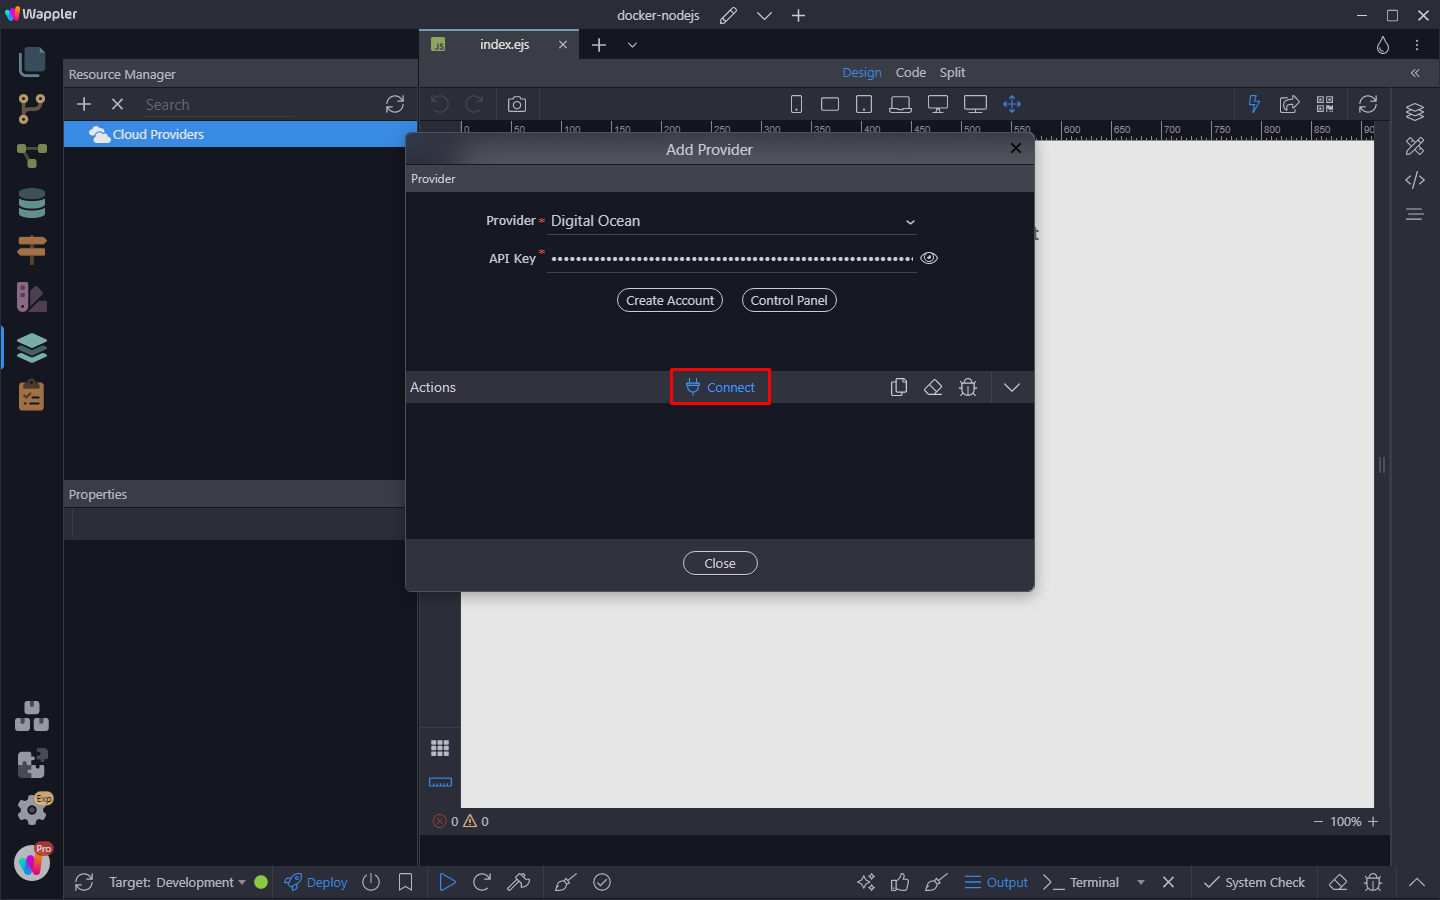
We select Digital Ocean and add our API key, then click Connect:
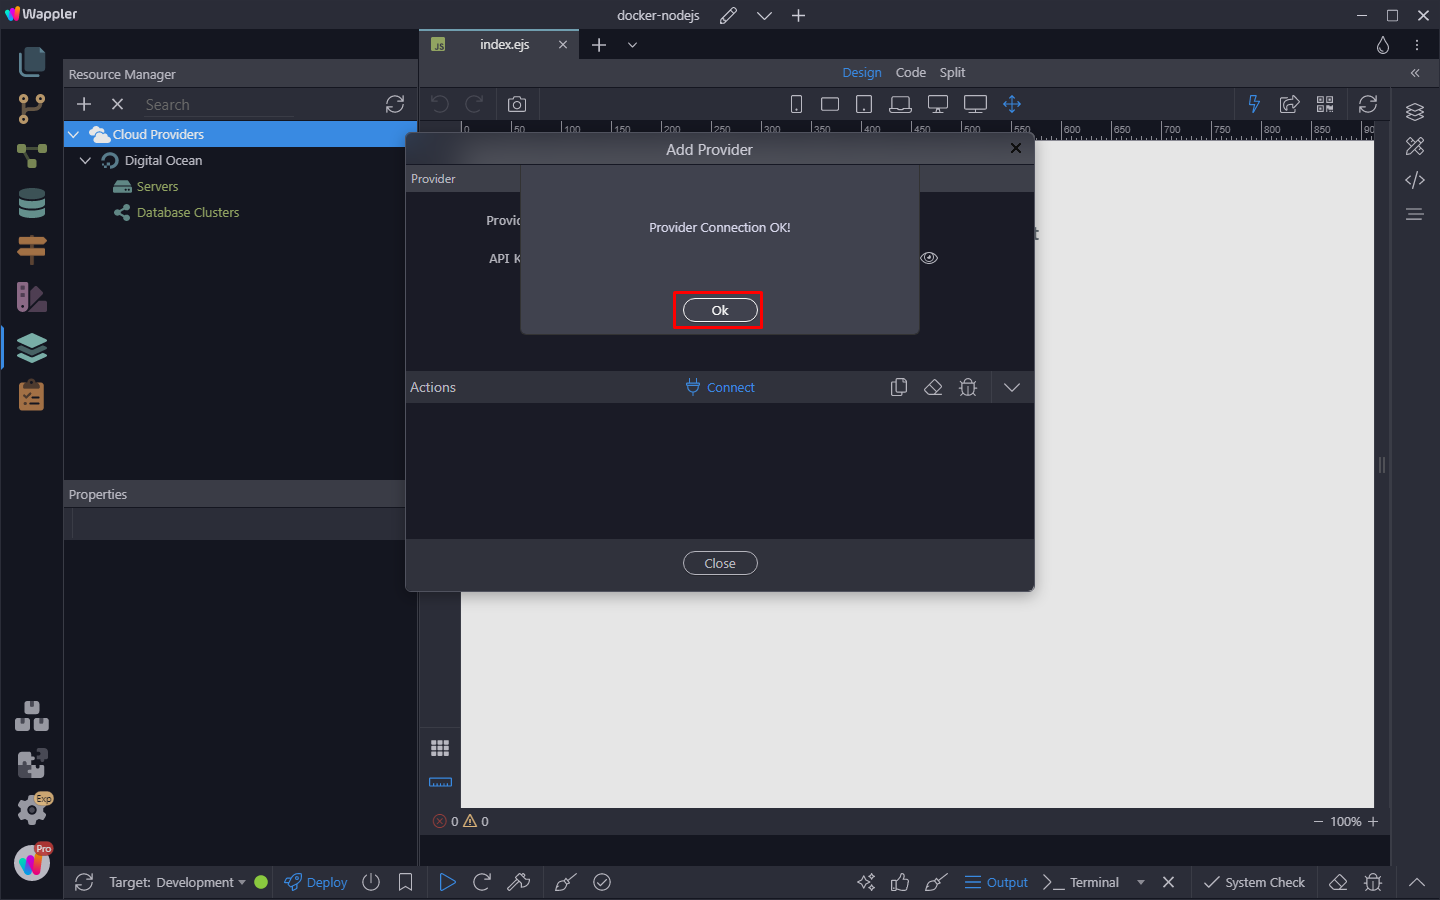
Click OK when after you connect to the cloud provider:
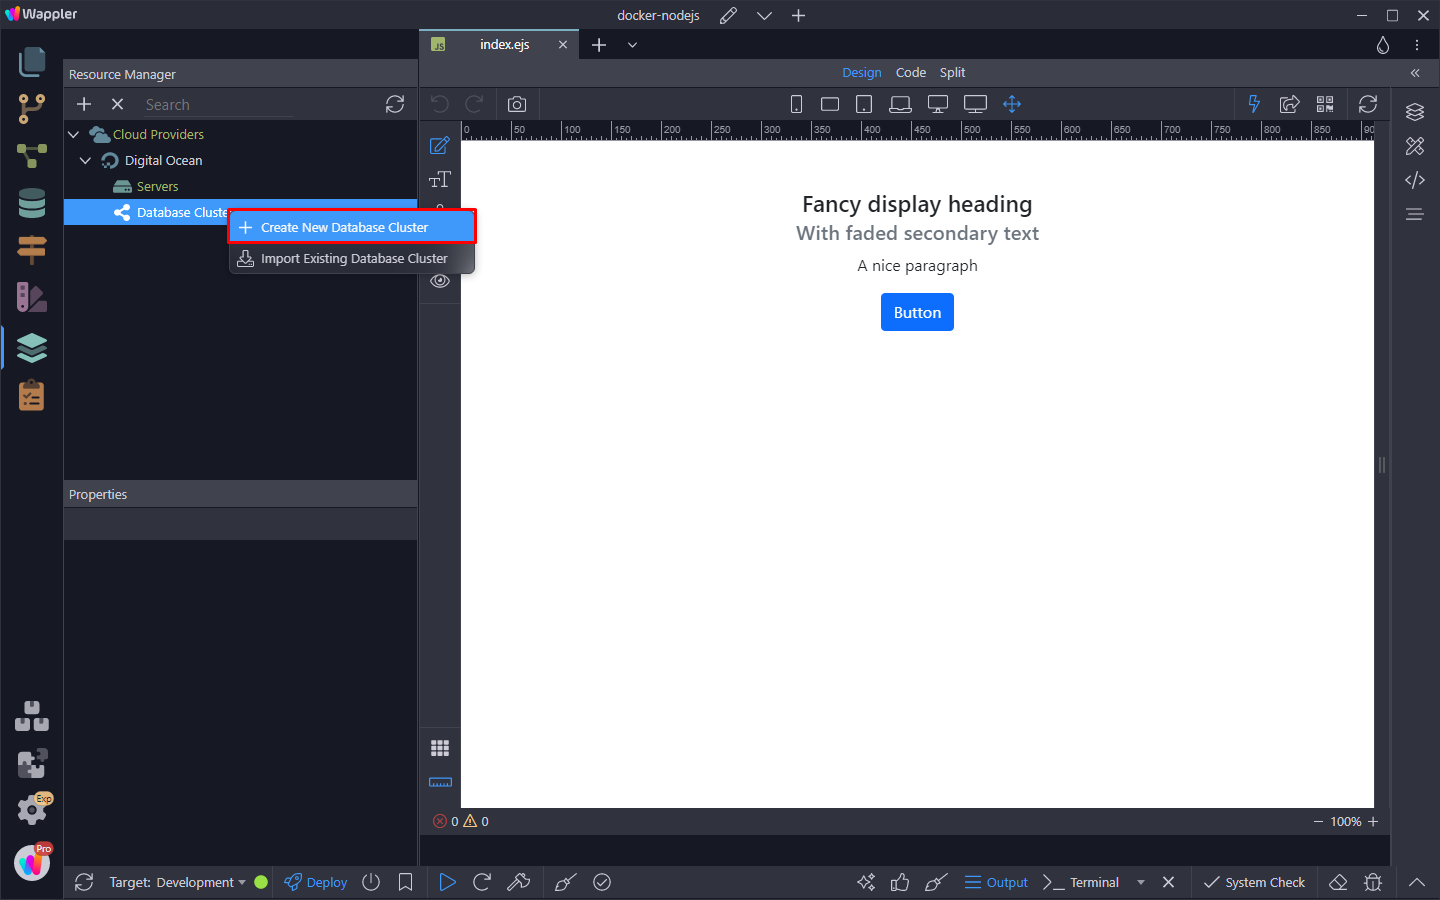
Under the cloud provider right click Database Clusters:
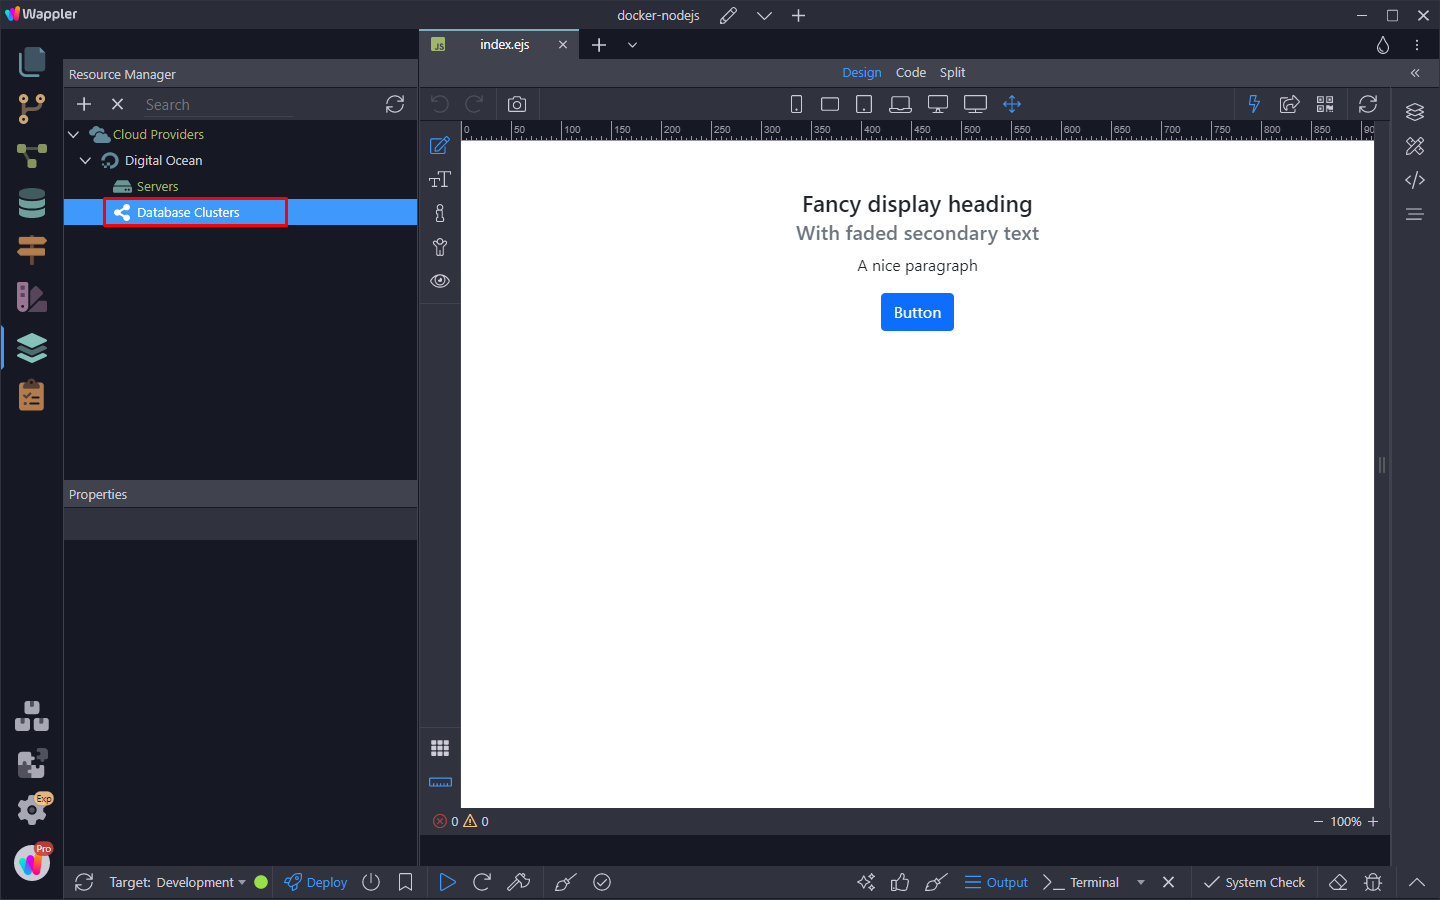
And select Create New Database Cluster:
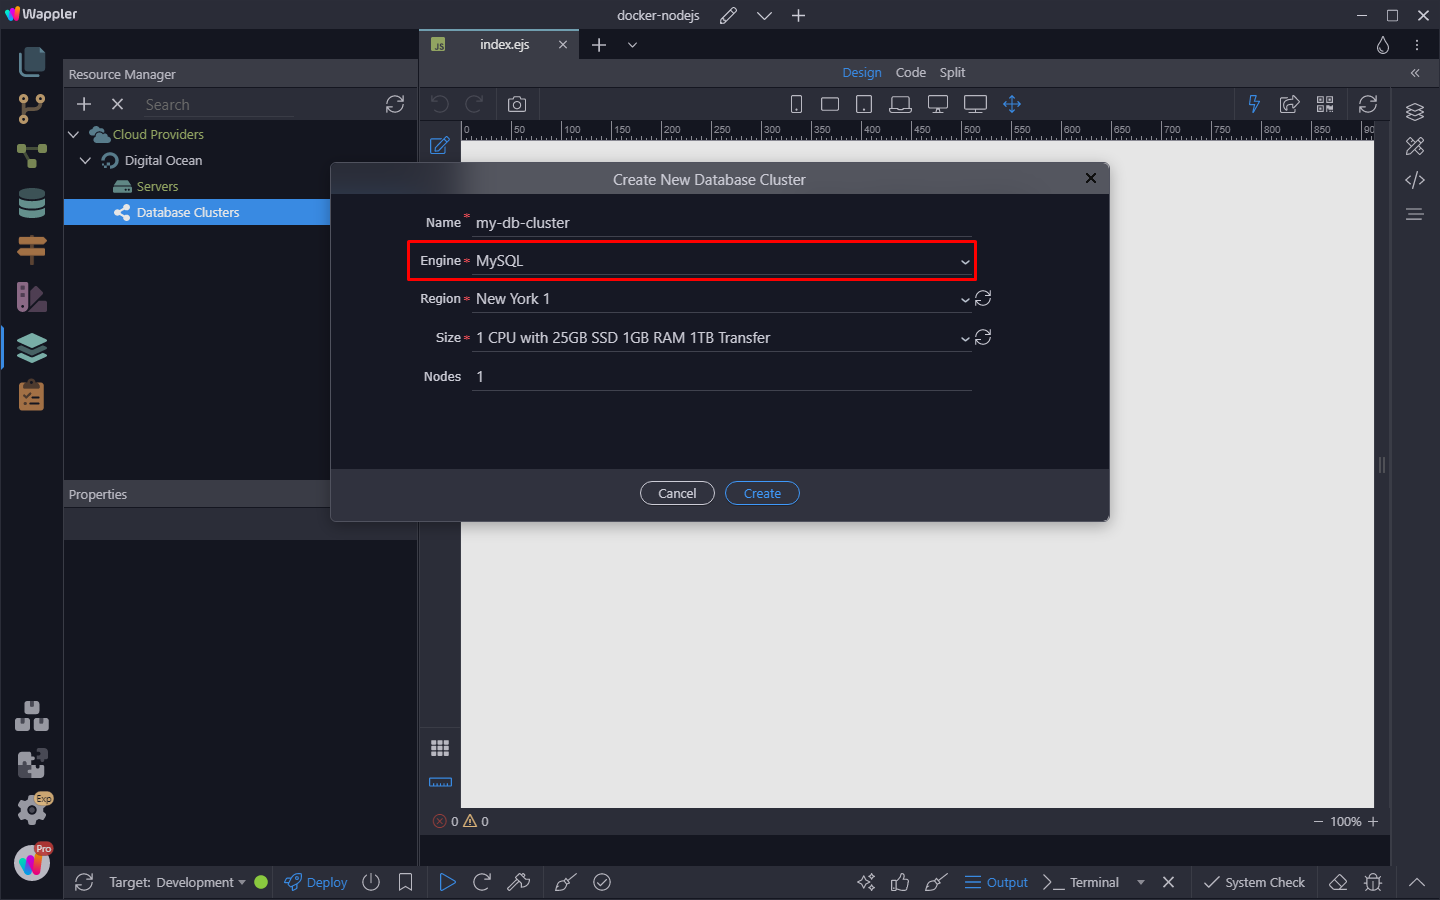
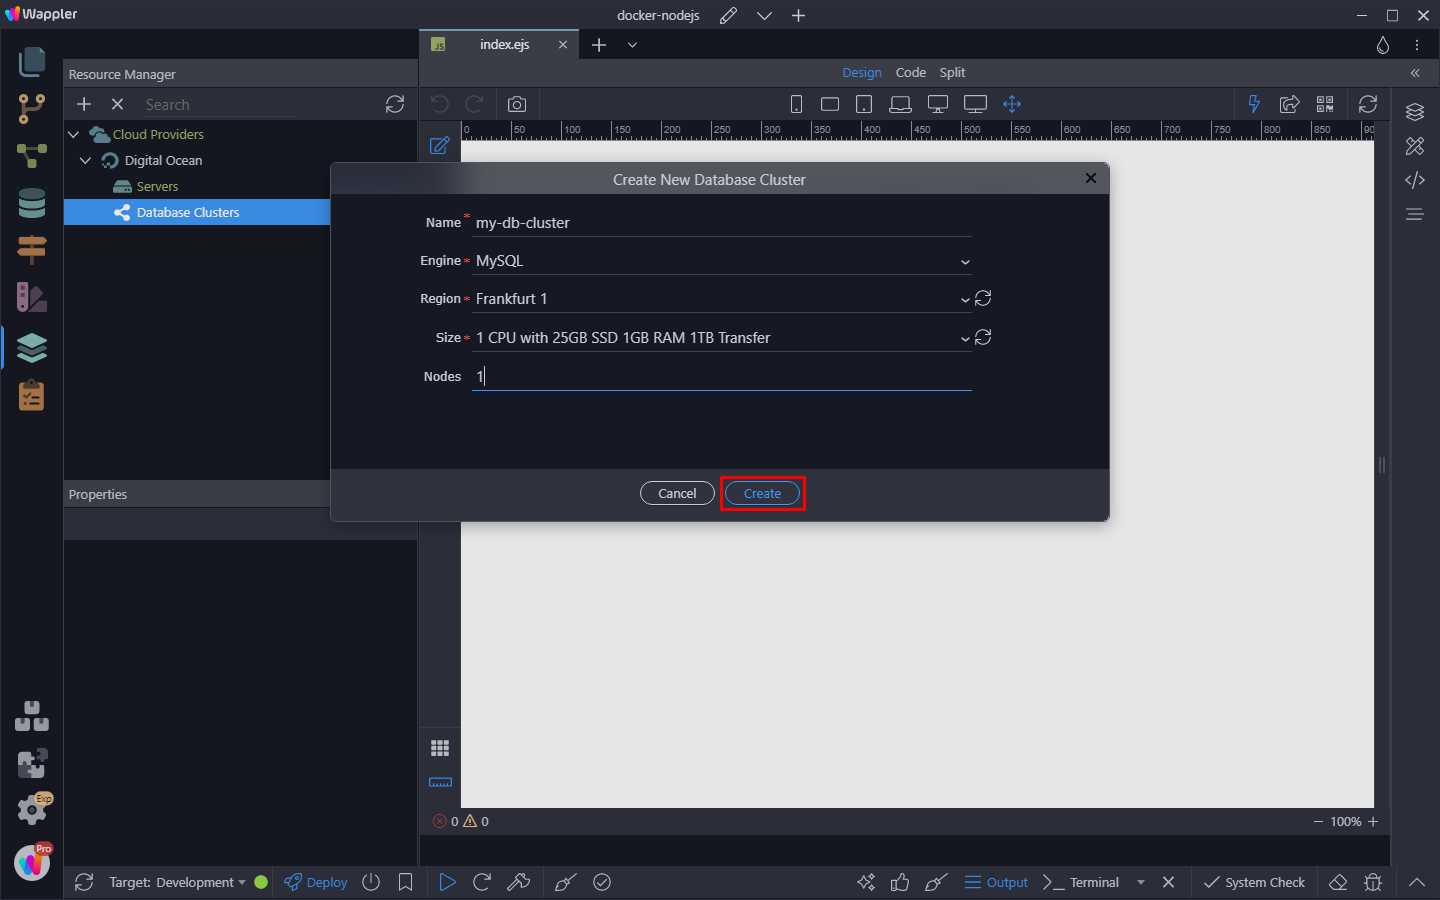
Add a name for the database cluster:

Select a database engine - we select MySQL:
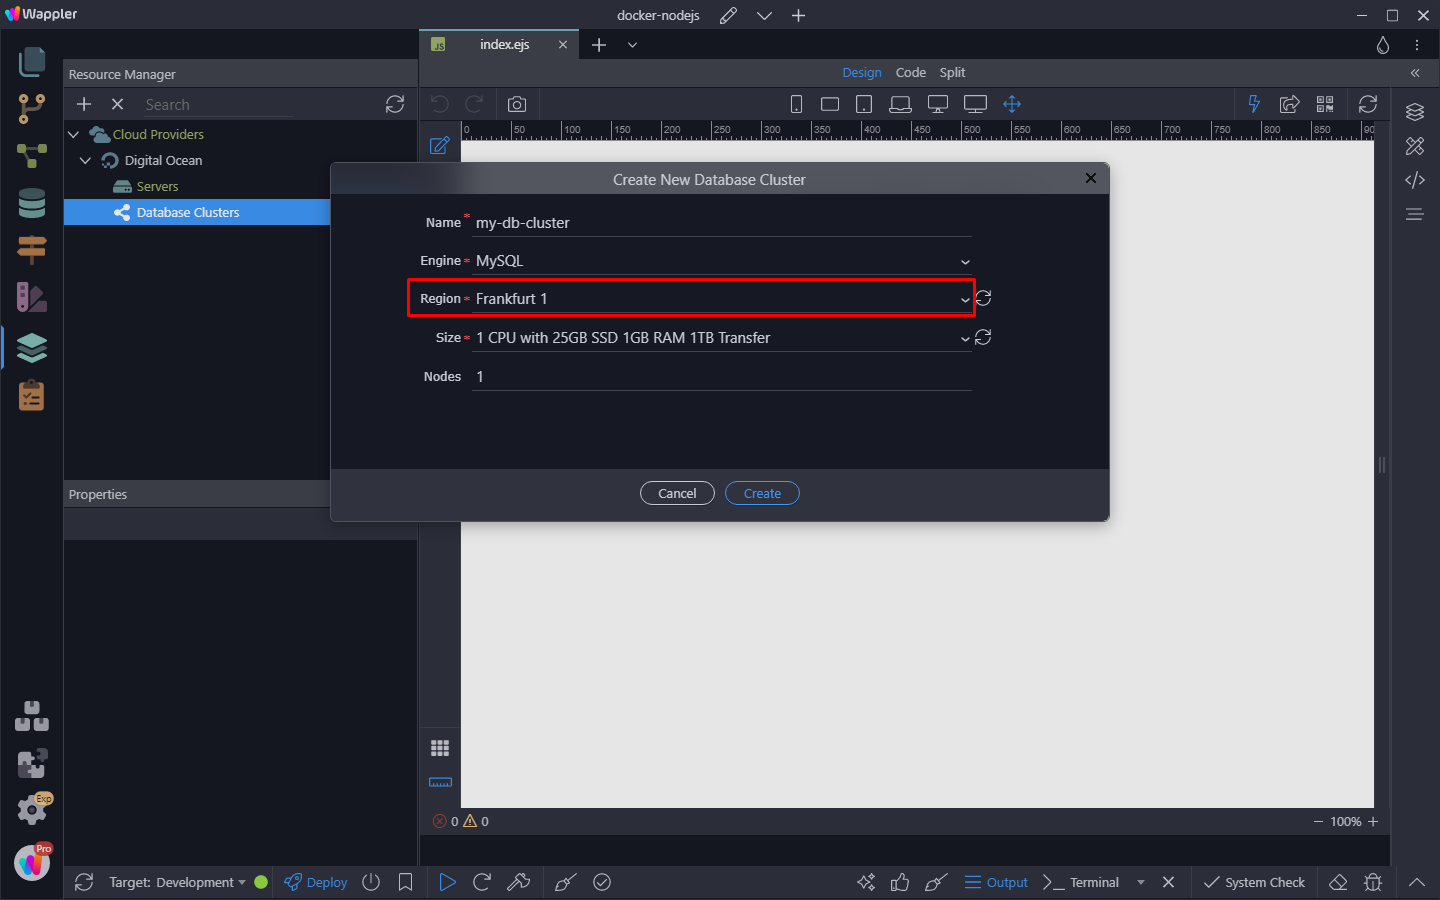
Select the datacenter location:
And then select the cluster size from the dropdown:
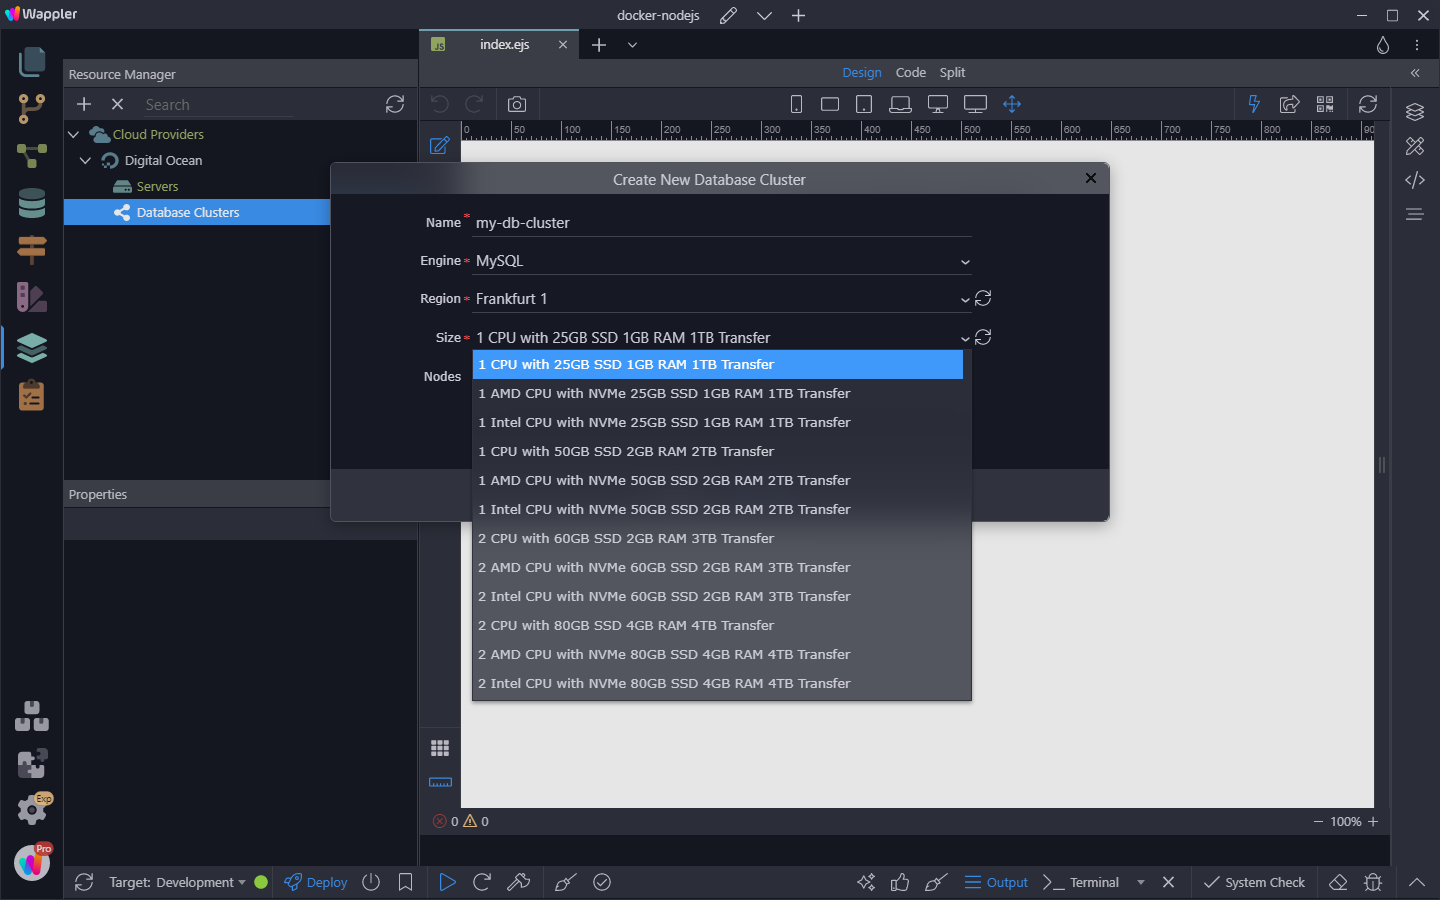
Enter the number of the nodes to be used according to your needs. You can learn more about the nodes here: Managed Databases :: DigitalOcean Documentation

Click Create in order to create the database cluster:
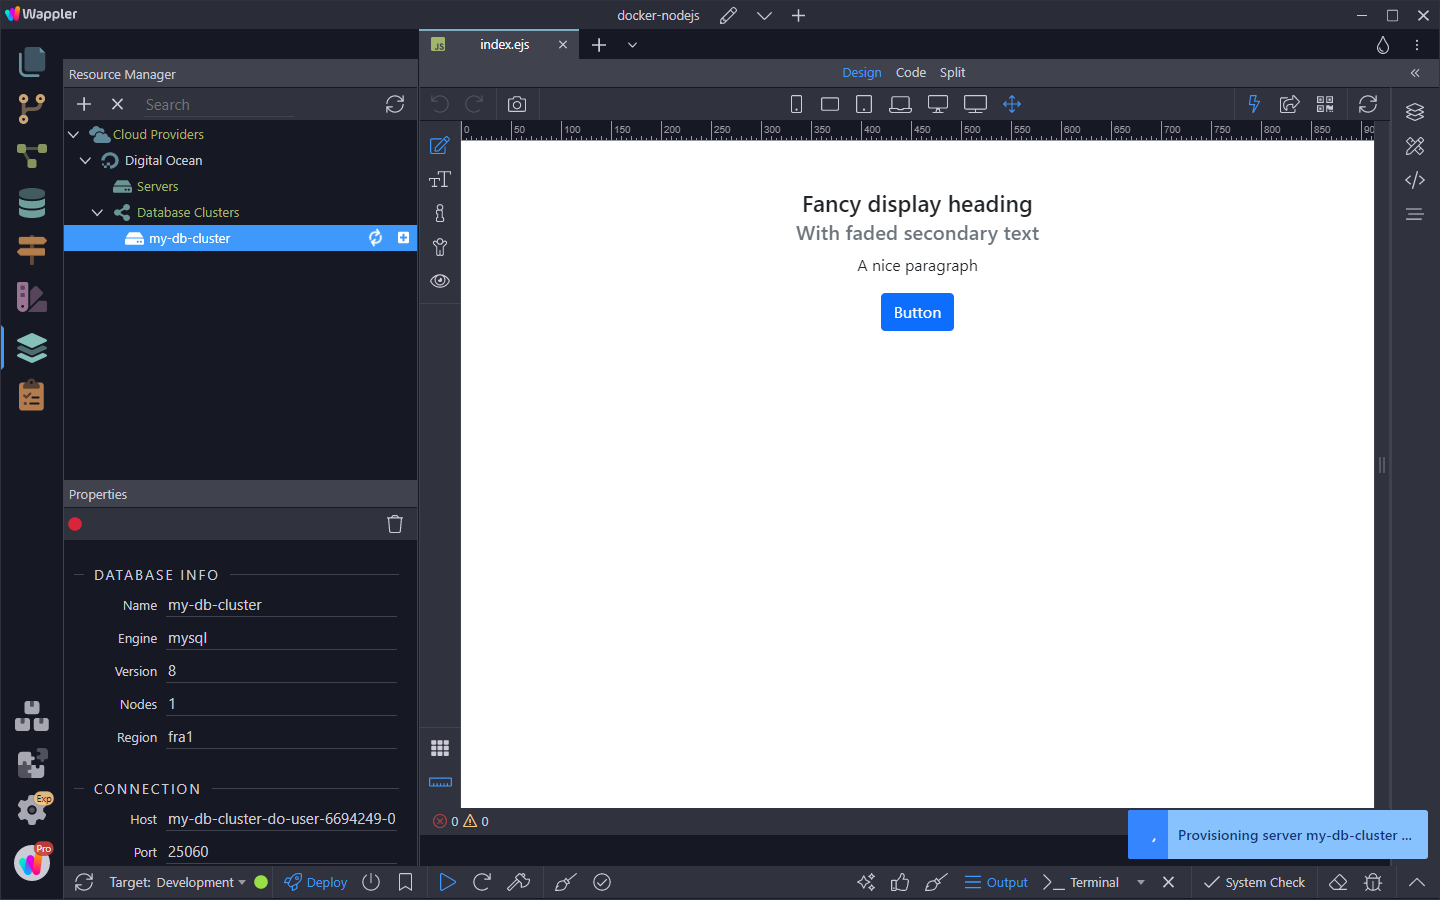
You can see a loader showing that the cluster is being created:
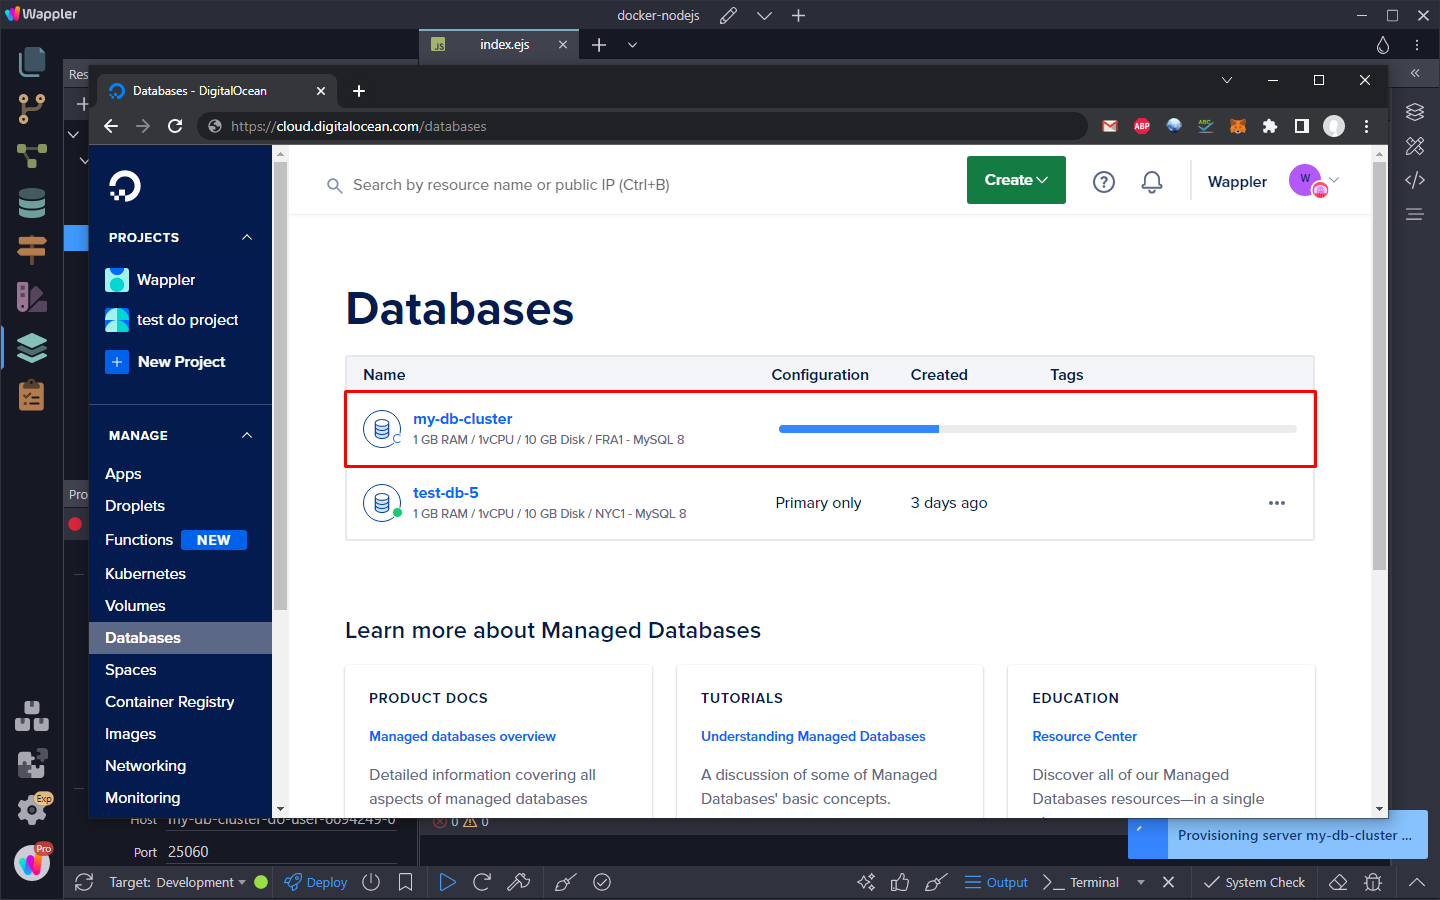
It will take a few minutes to finish this and you can check the progress in the Digital Ocean control panel:
Creating Databases in the Cluster
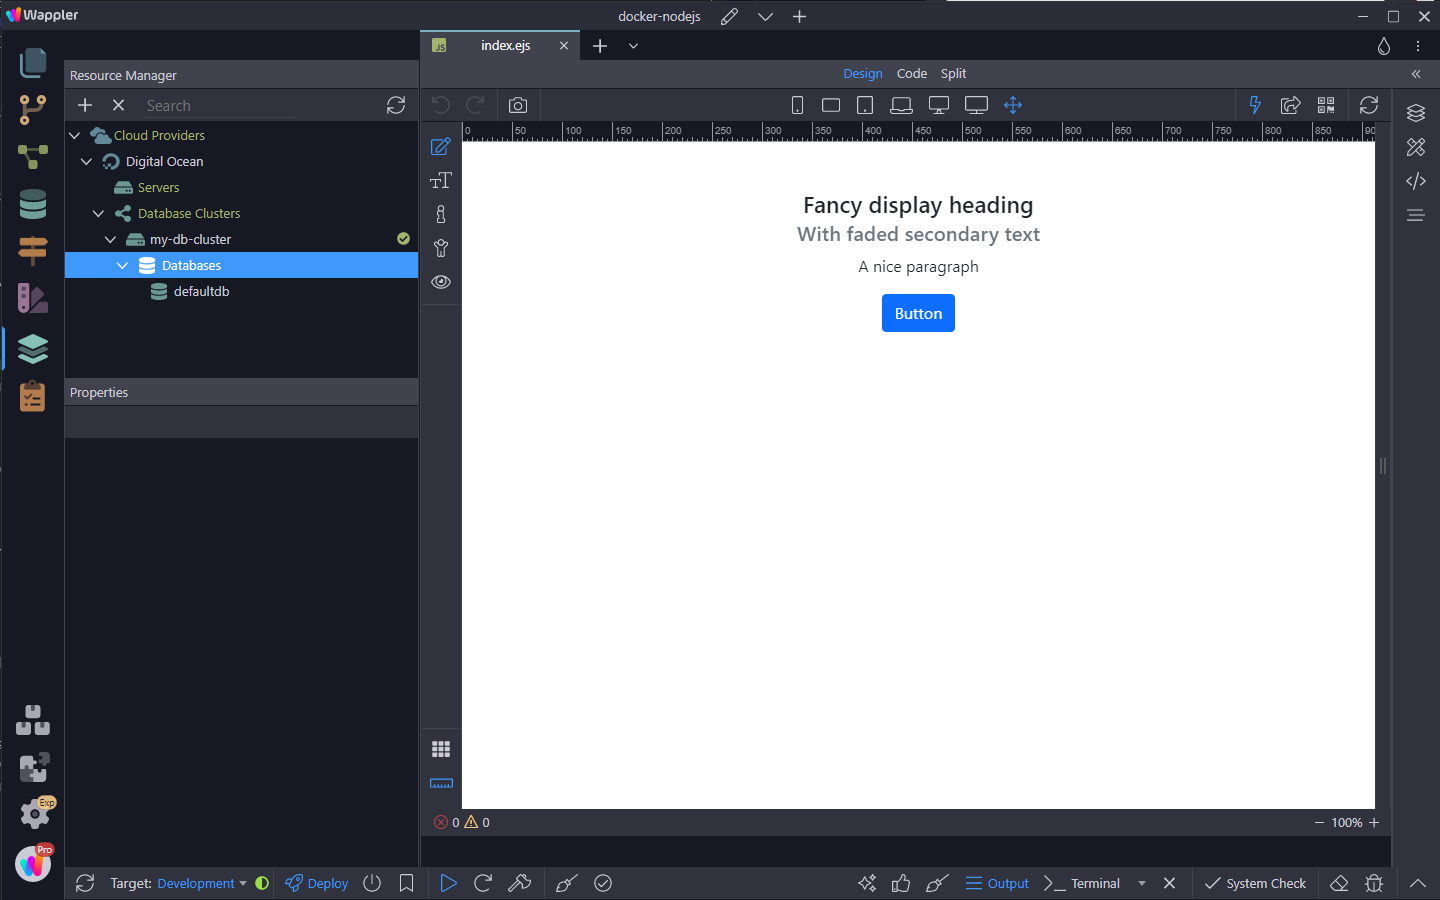
Section titled “Creating Databases in the Cluster”Once our Database Cluster is created, we can create databases in it. A single cluster can contain multiple databases. When you create the cluster a default database is created:
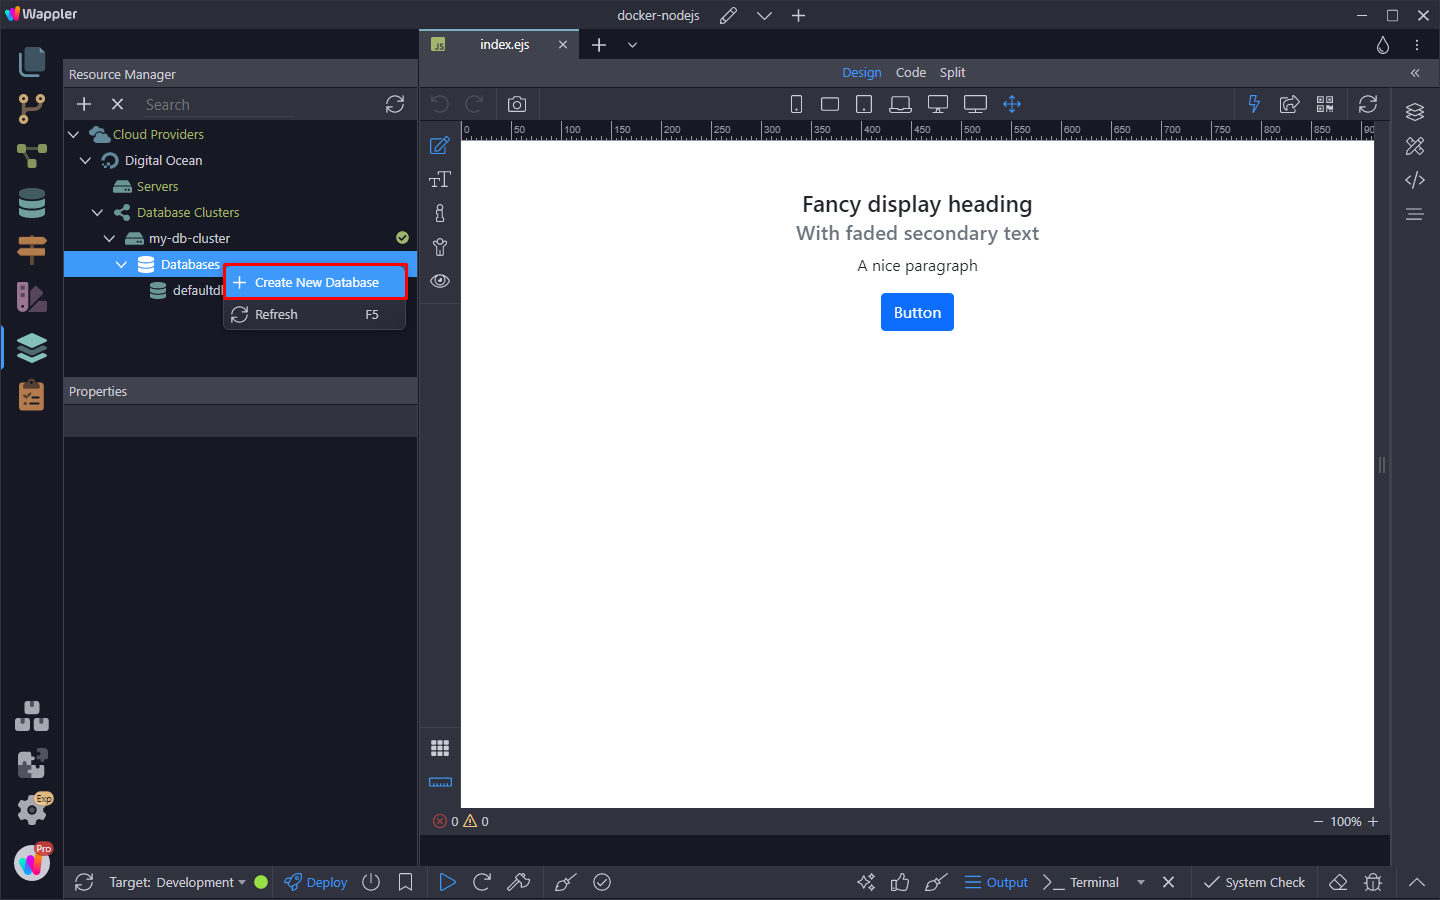
We can have different databases per target, so let's create two databases here. One for our development target and one for the production/live target. Right click Databases and select Create New Database:
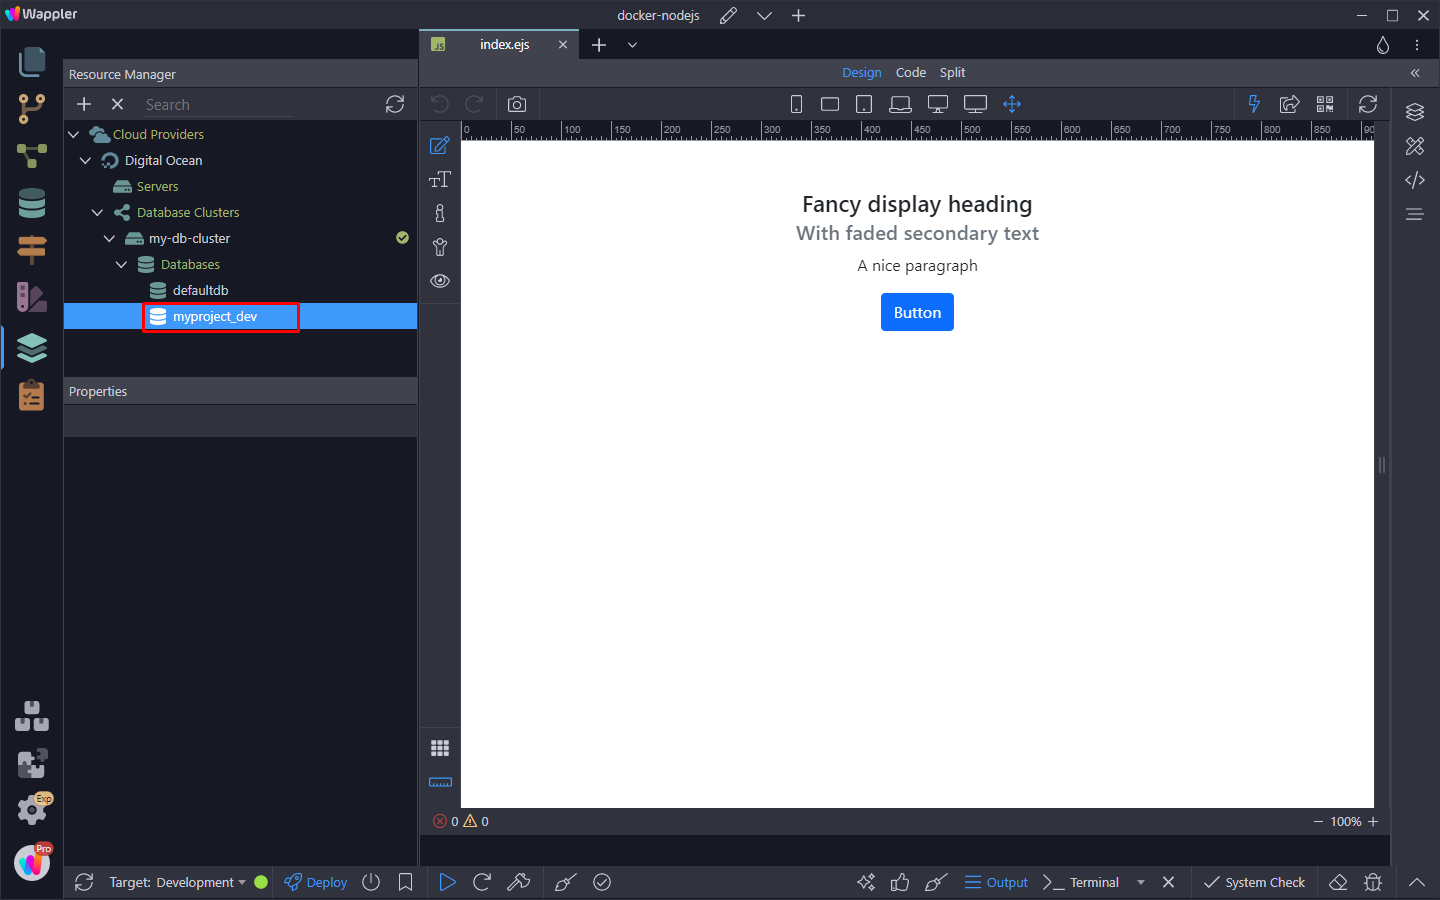
We give it some meaningful name such as myproject_dev:
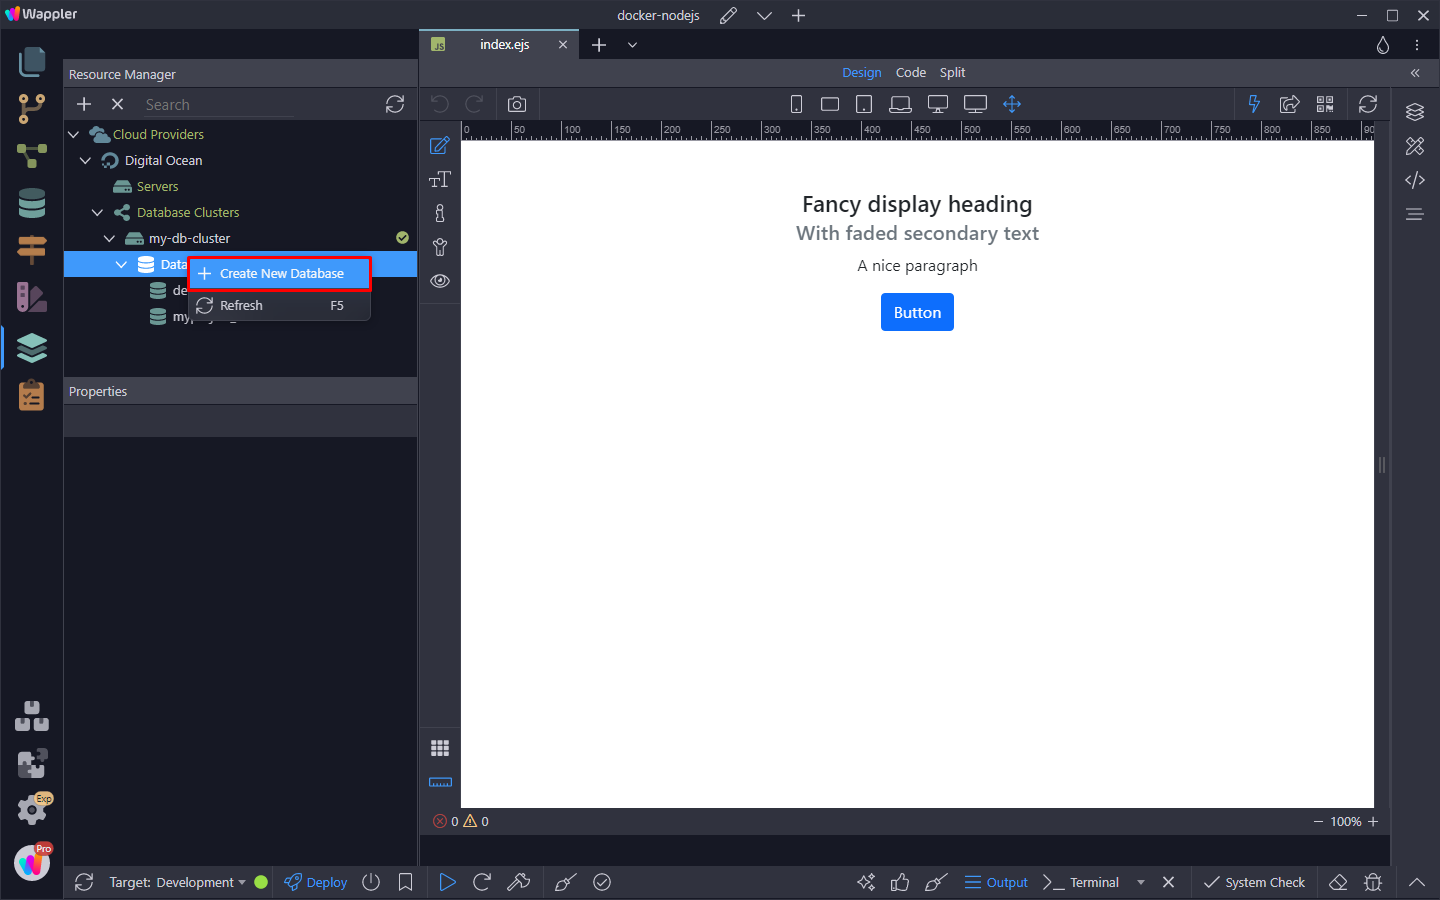
We do the same for the production databases:
We call it myproject_live:
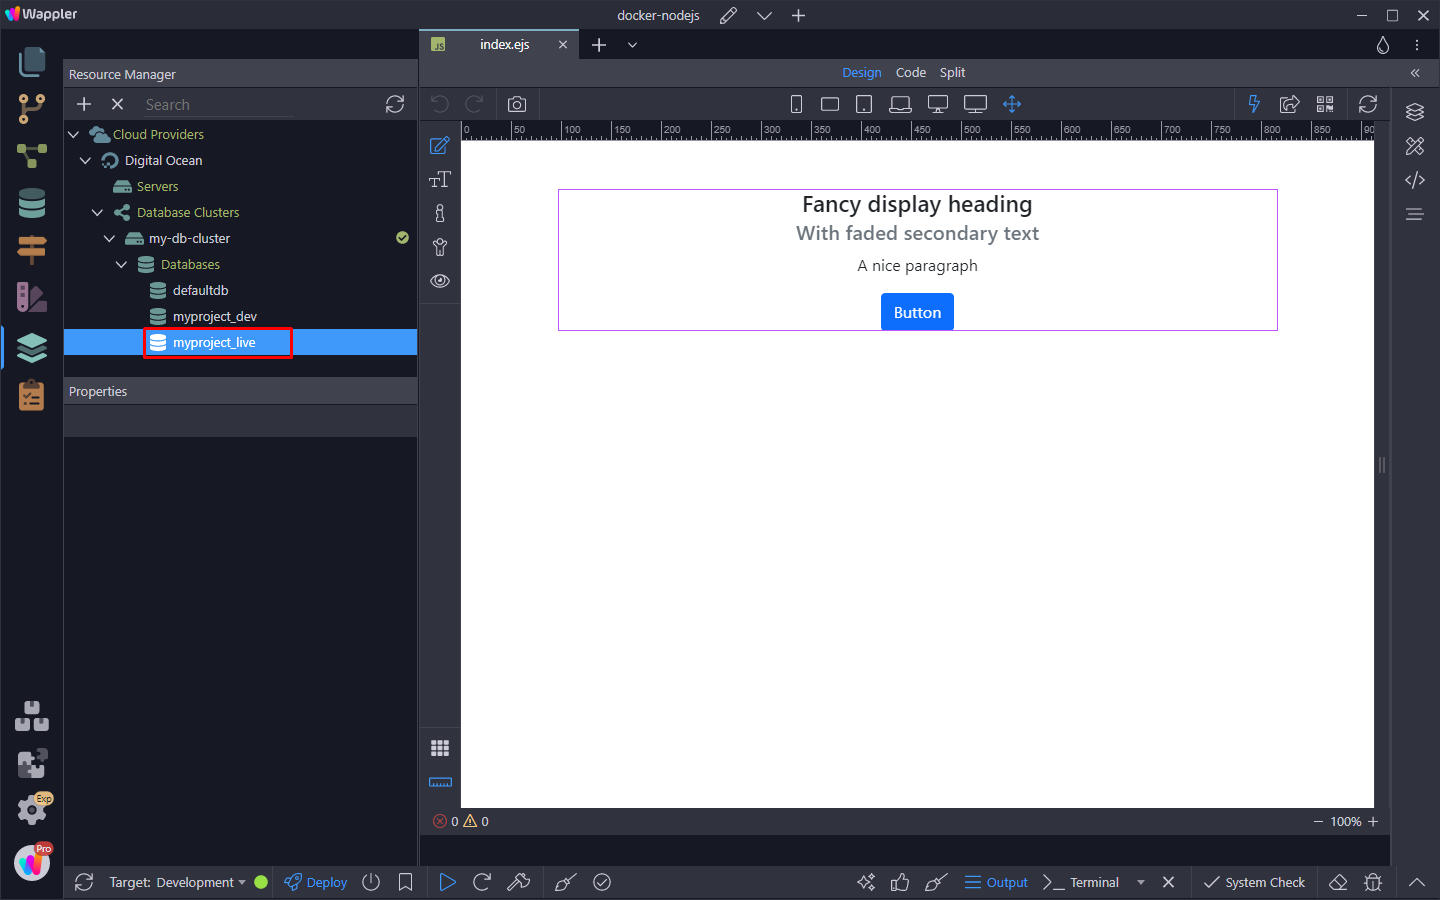
And we are done. We've created a Database Cluster and added 2 databases inside it.
Assign Database per Target
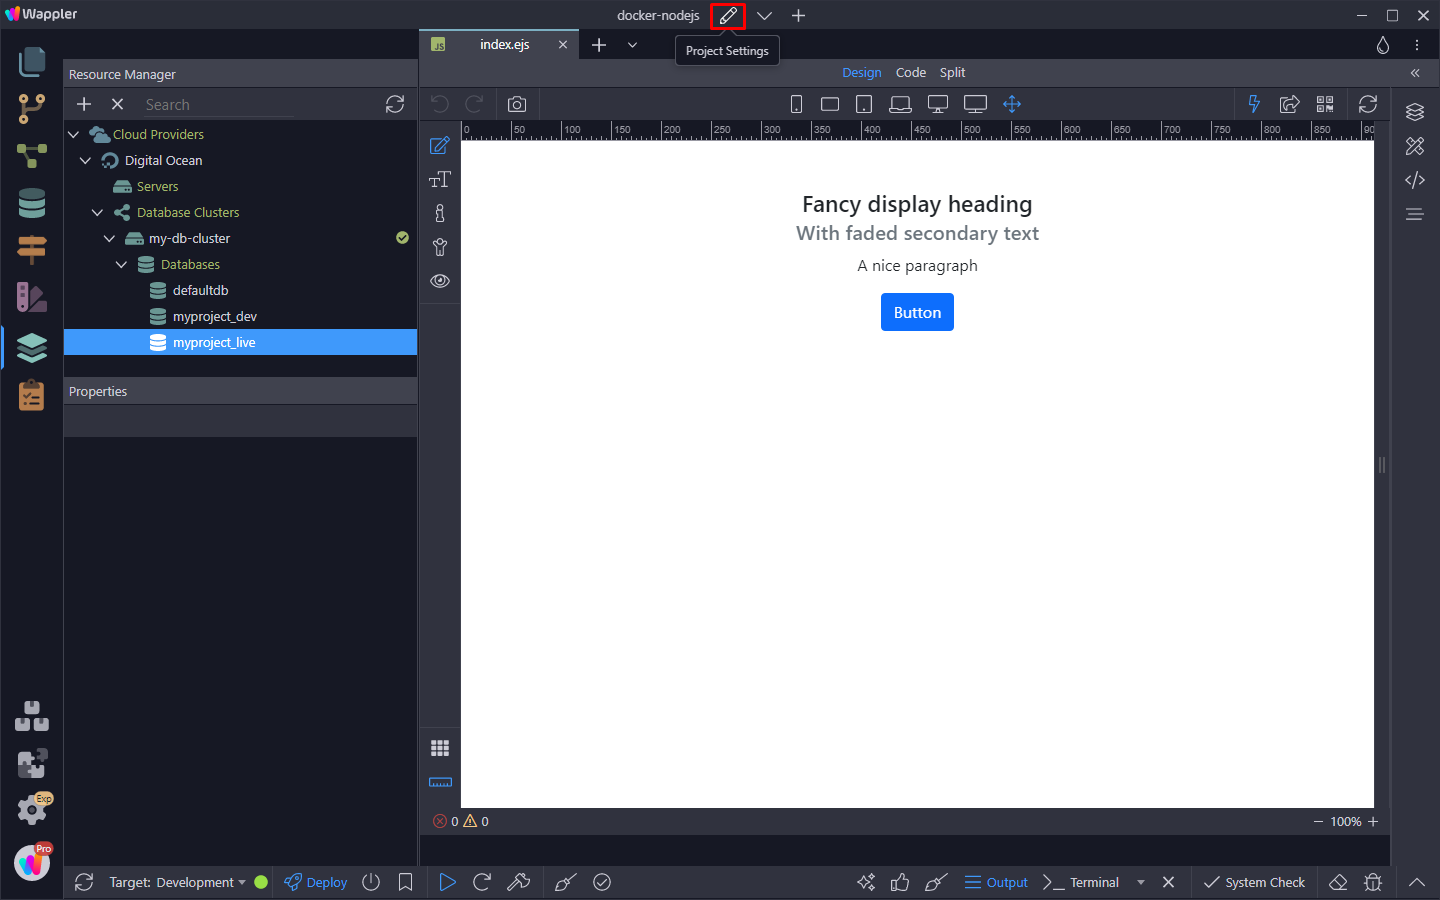
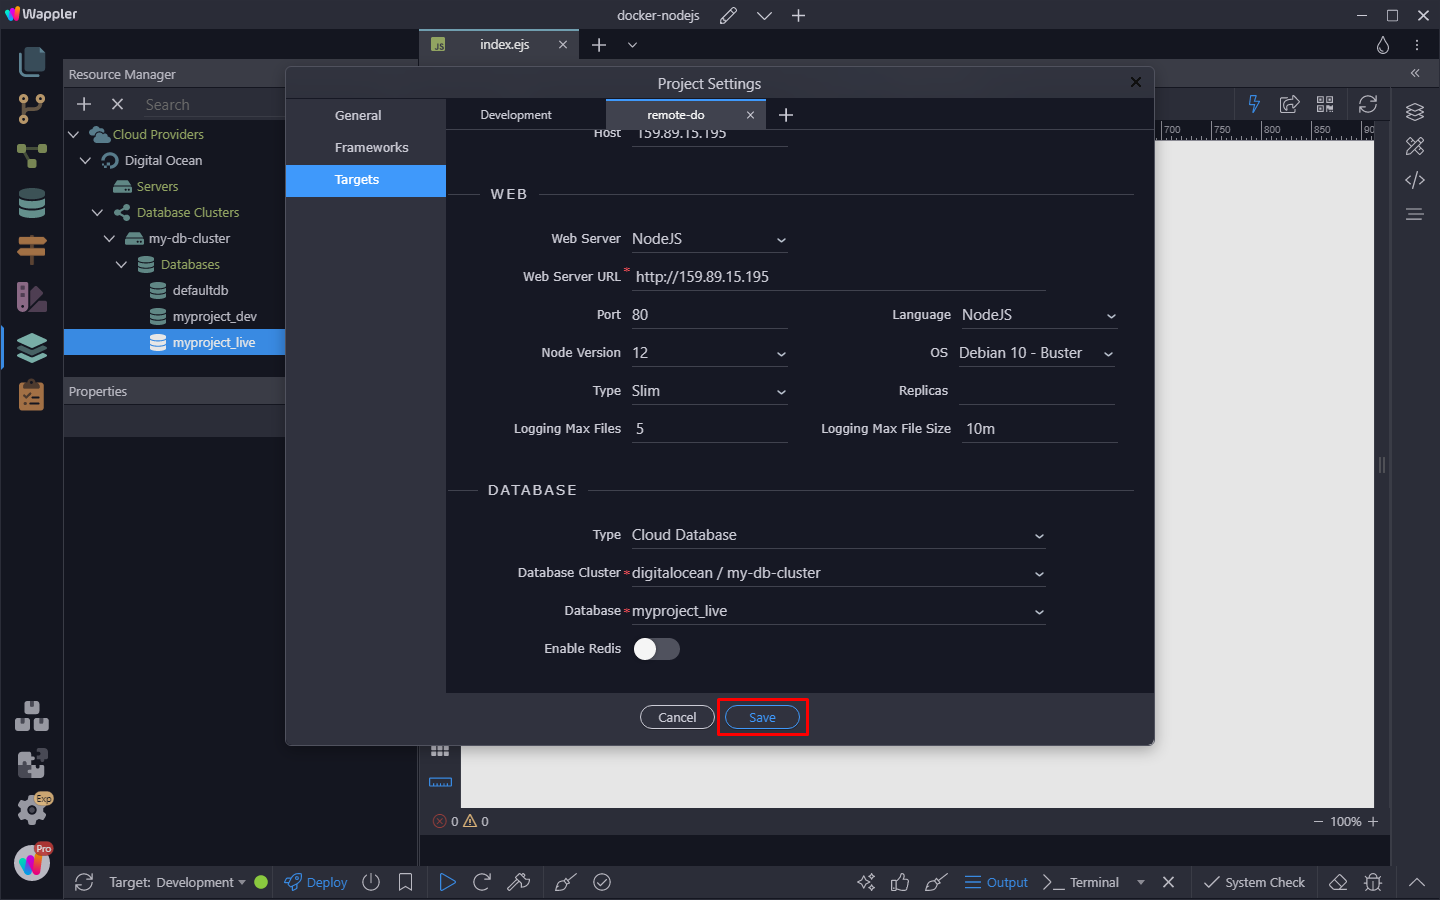
Section titled “Assign Database per Target”The next step is to assign the dev databases to our development target and the live database to our production target. Open the project settings:
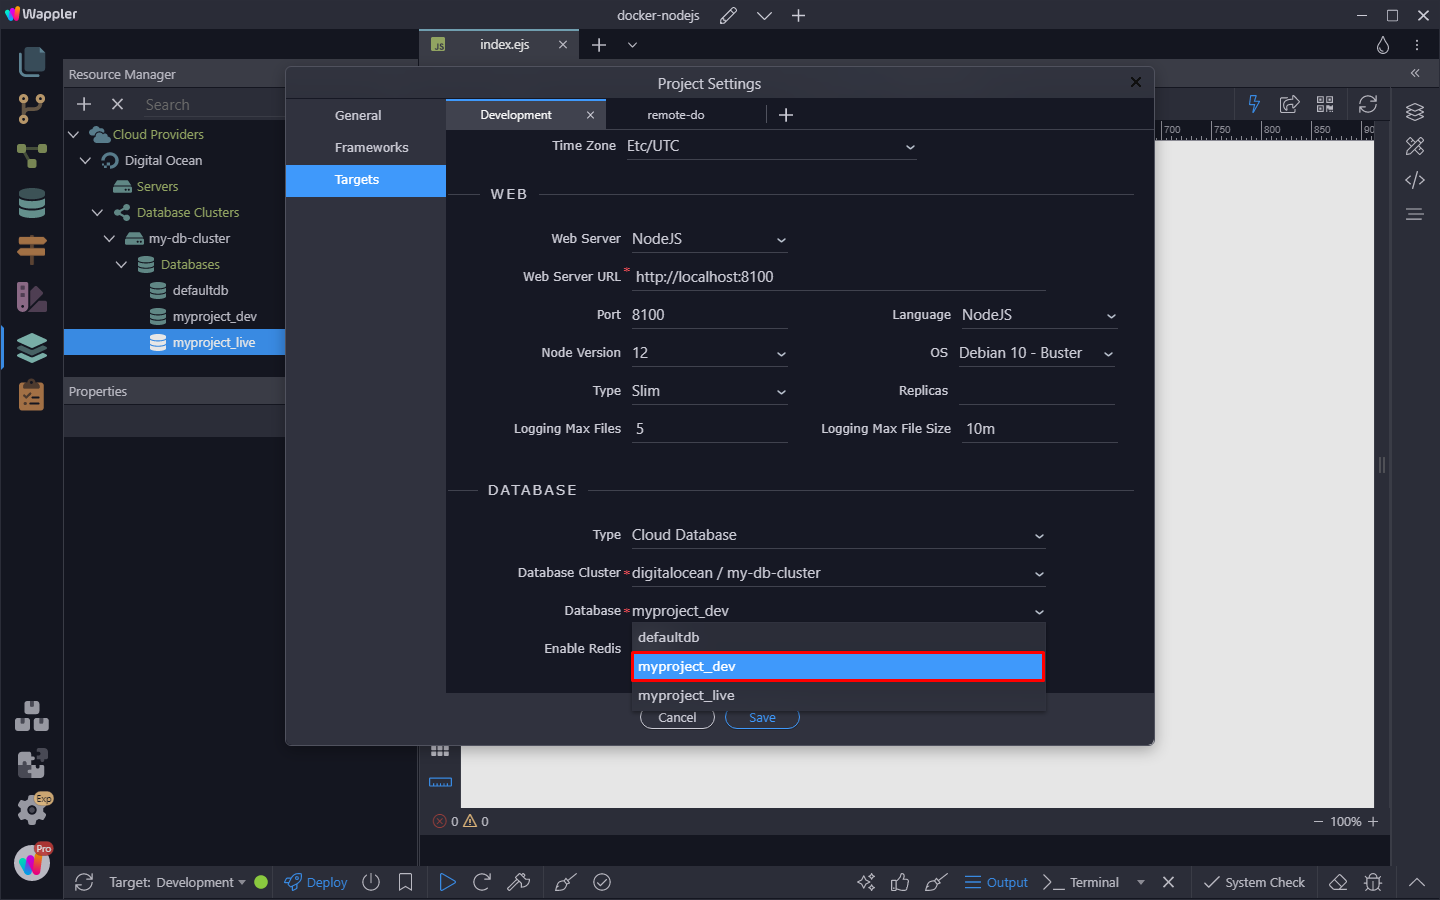
Select the Development target:
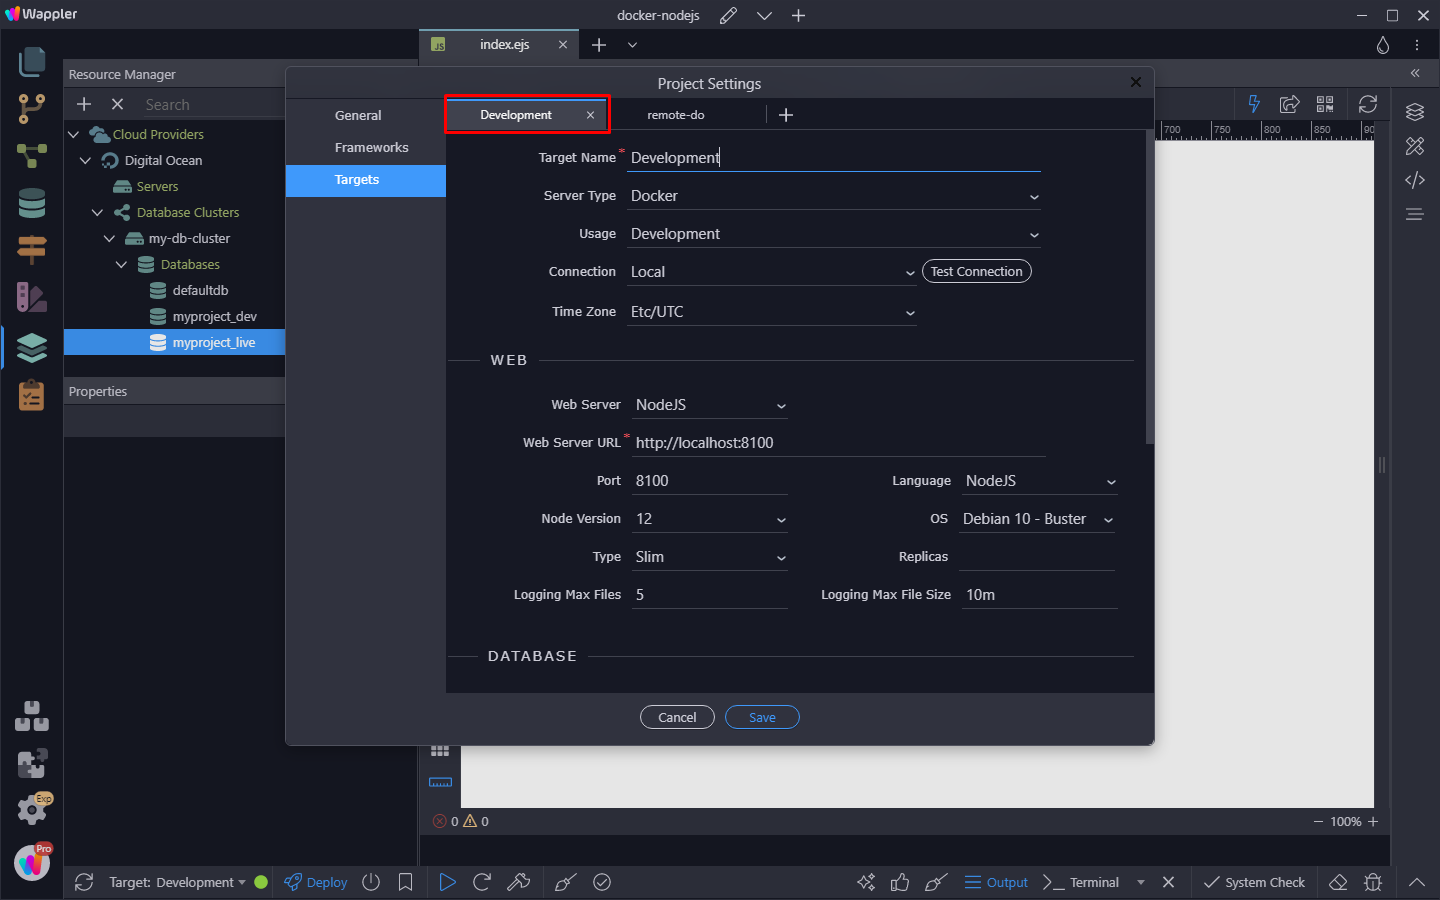
Scroll down to the Database section and select Cloud Database from the dropdown:
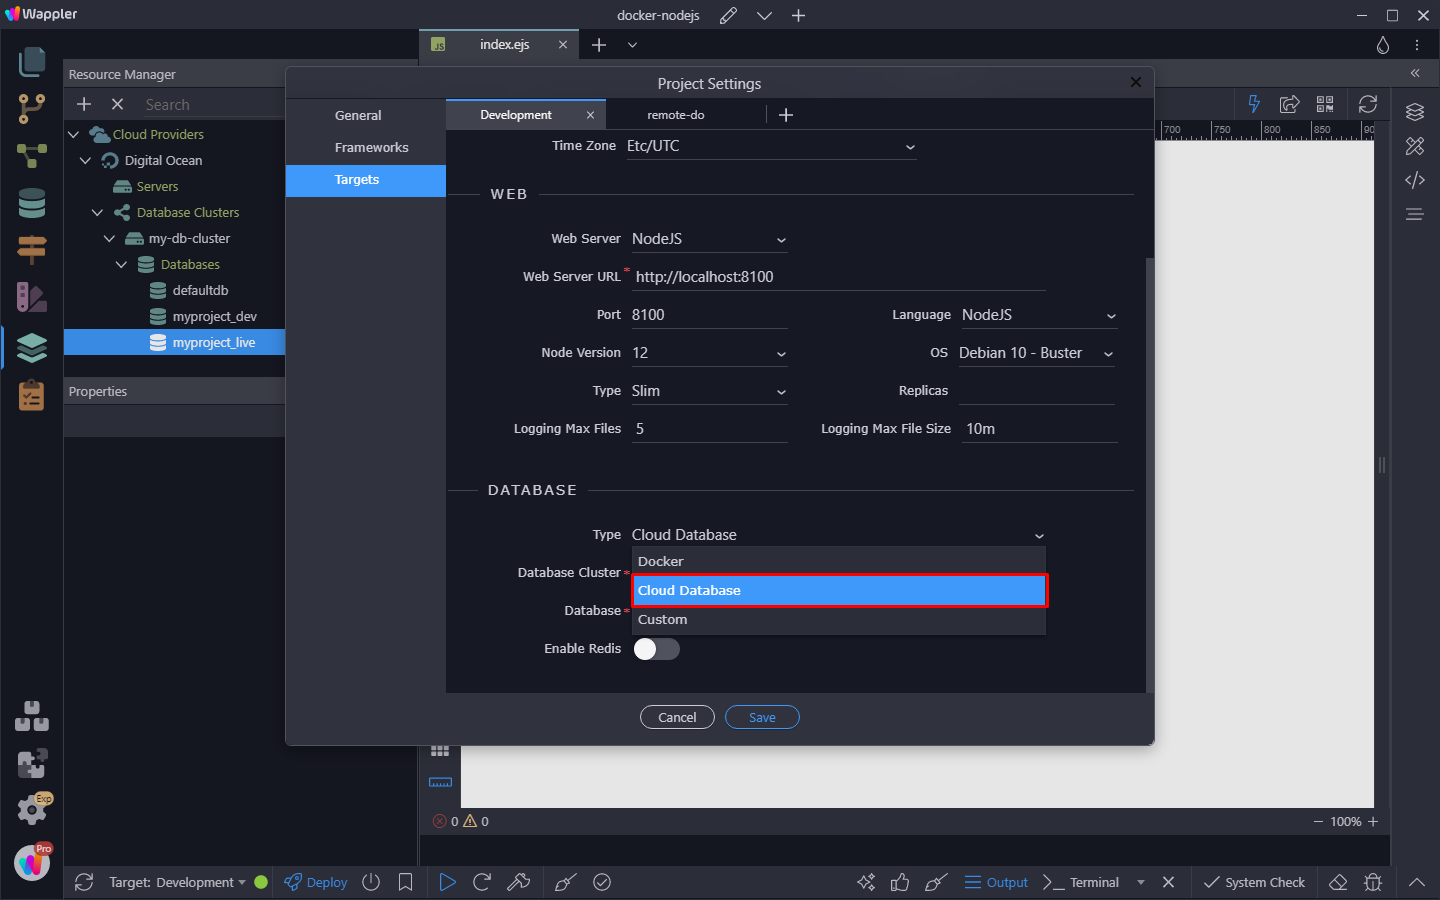
Select your database cluster:
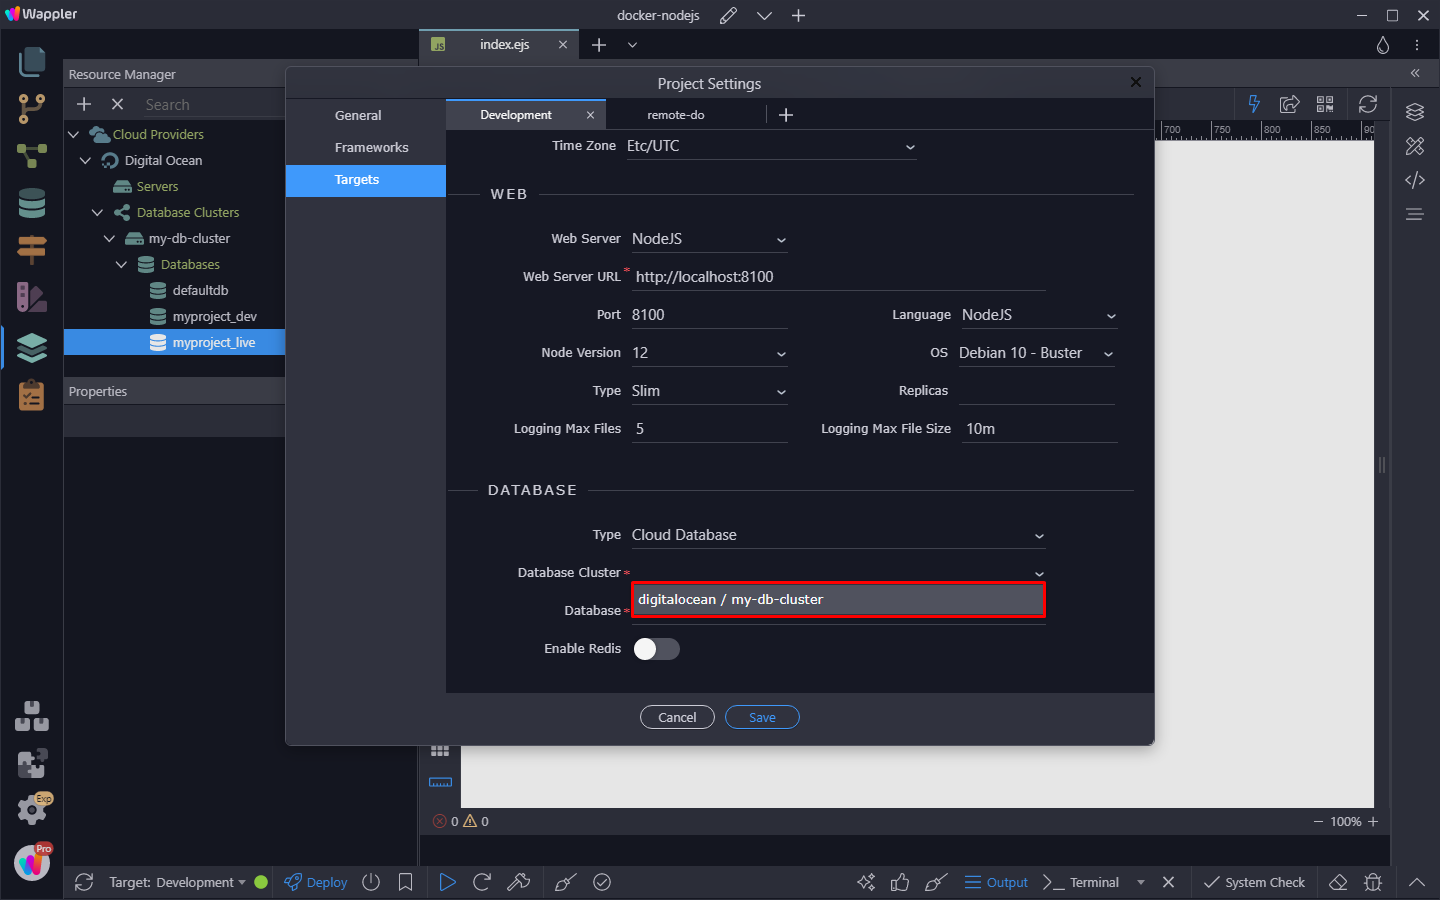
And select the dev database we created:
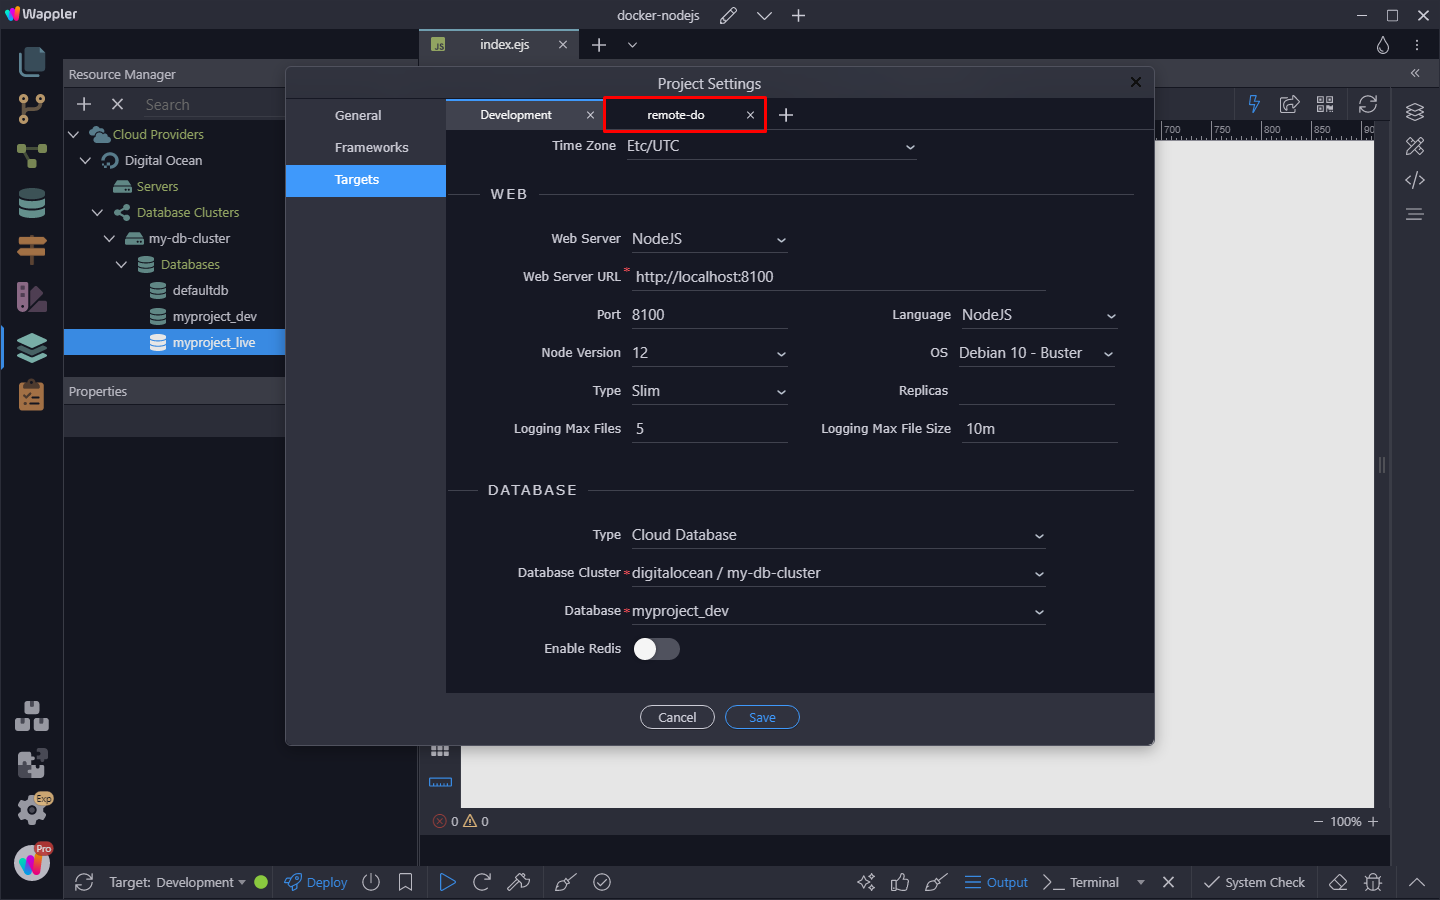
Now switch to the Production Target:
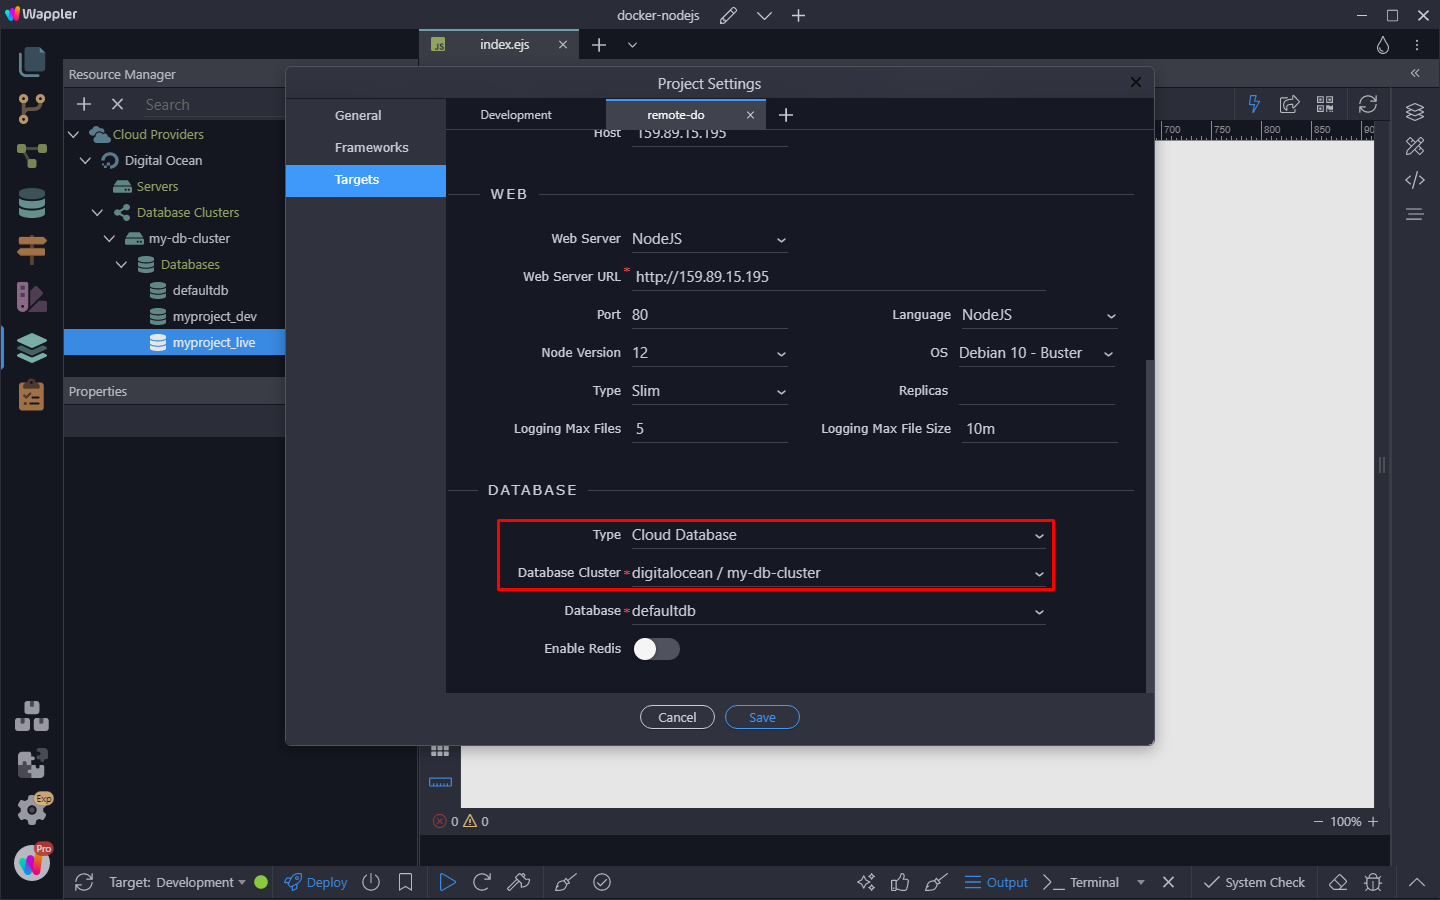
And do the same, scroll down to the Database section, select Cloud Database and select your cluster:
Then select the live database:
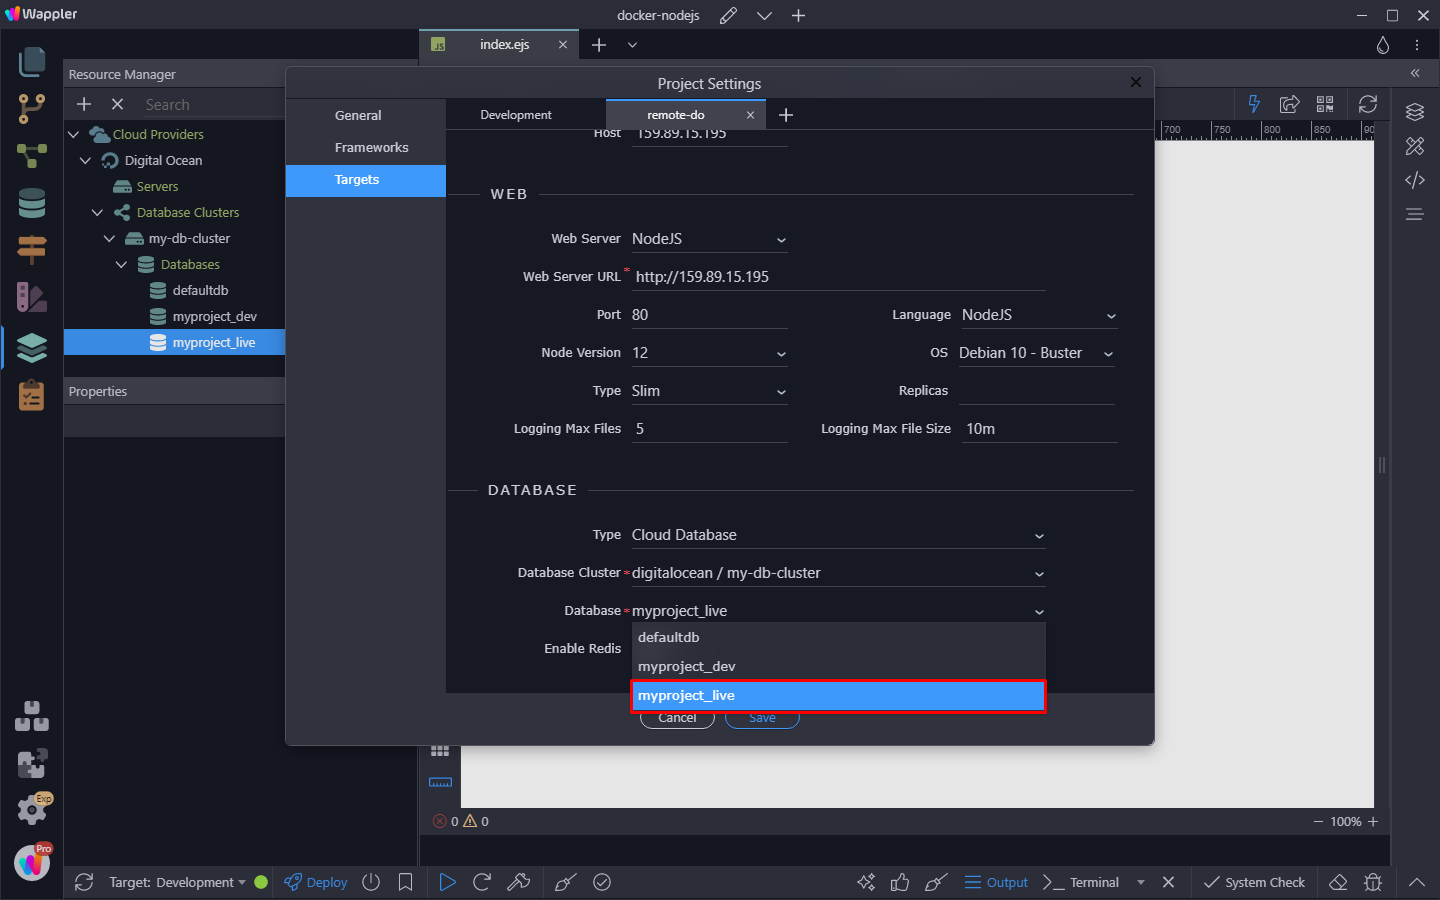
Click Save and you are done:
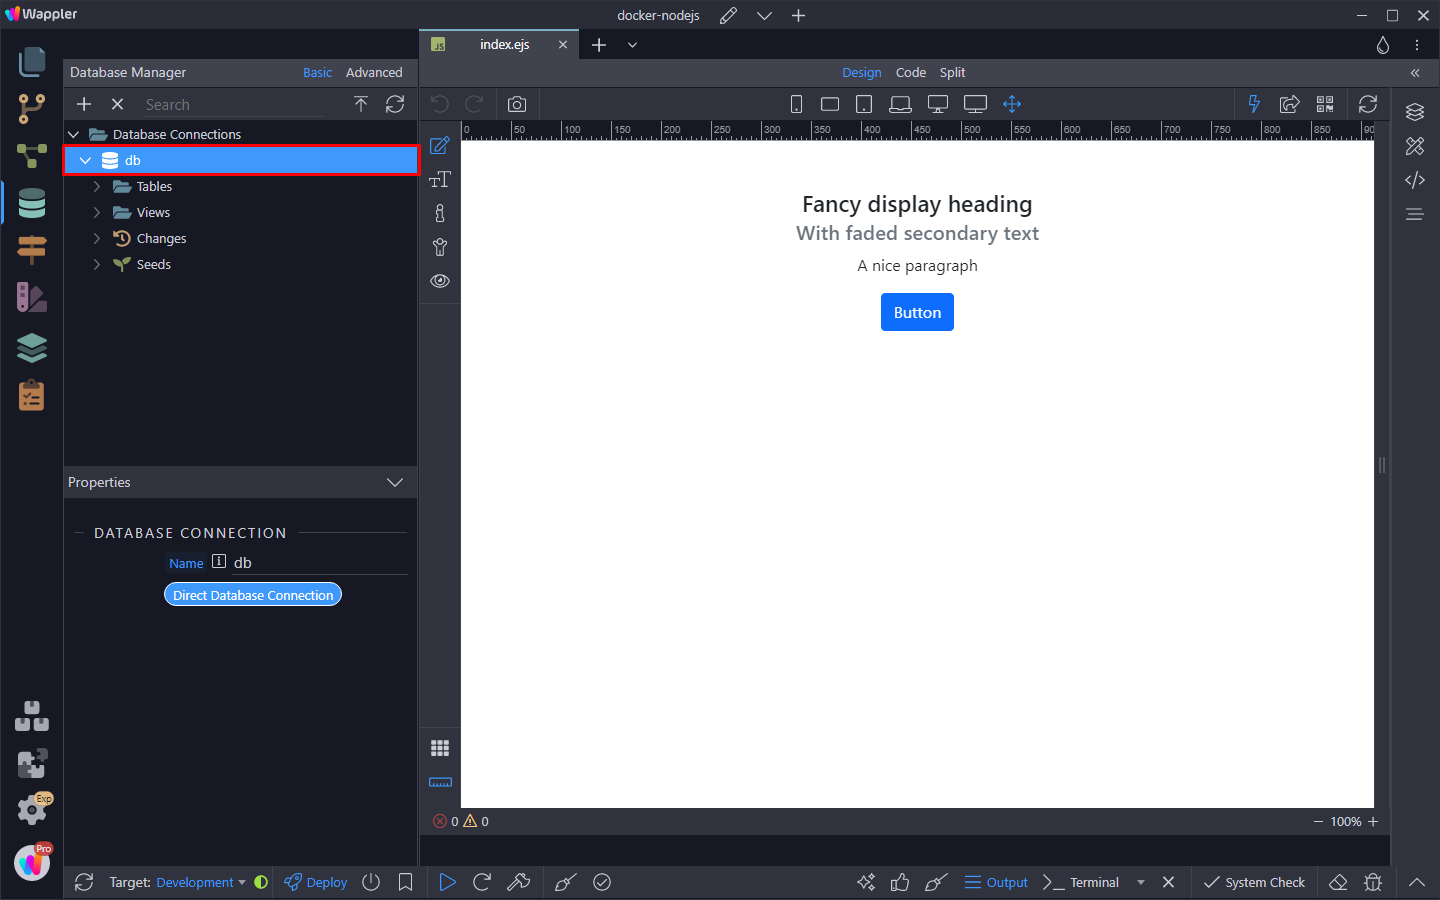
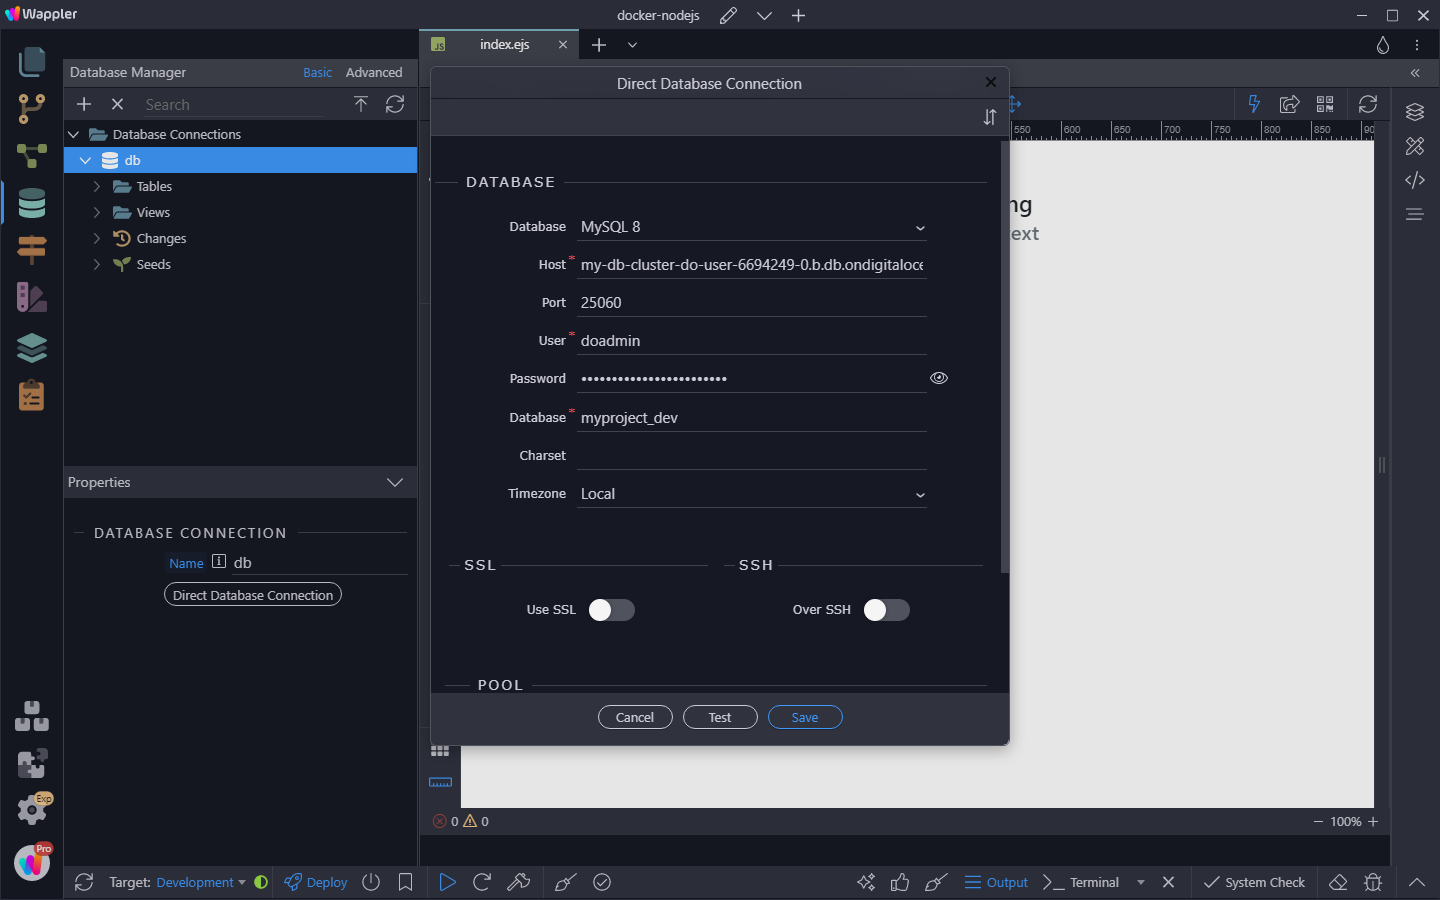
A direct database connection will be created for each of the targets in the Database Manager:
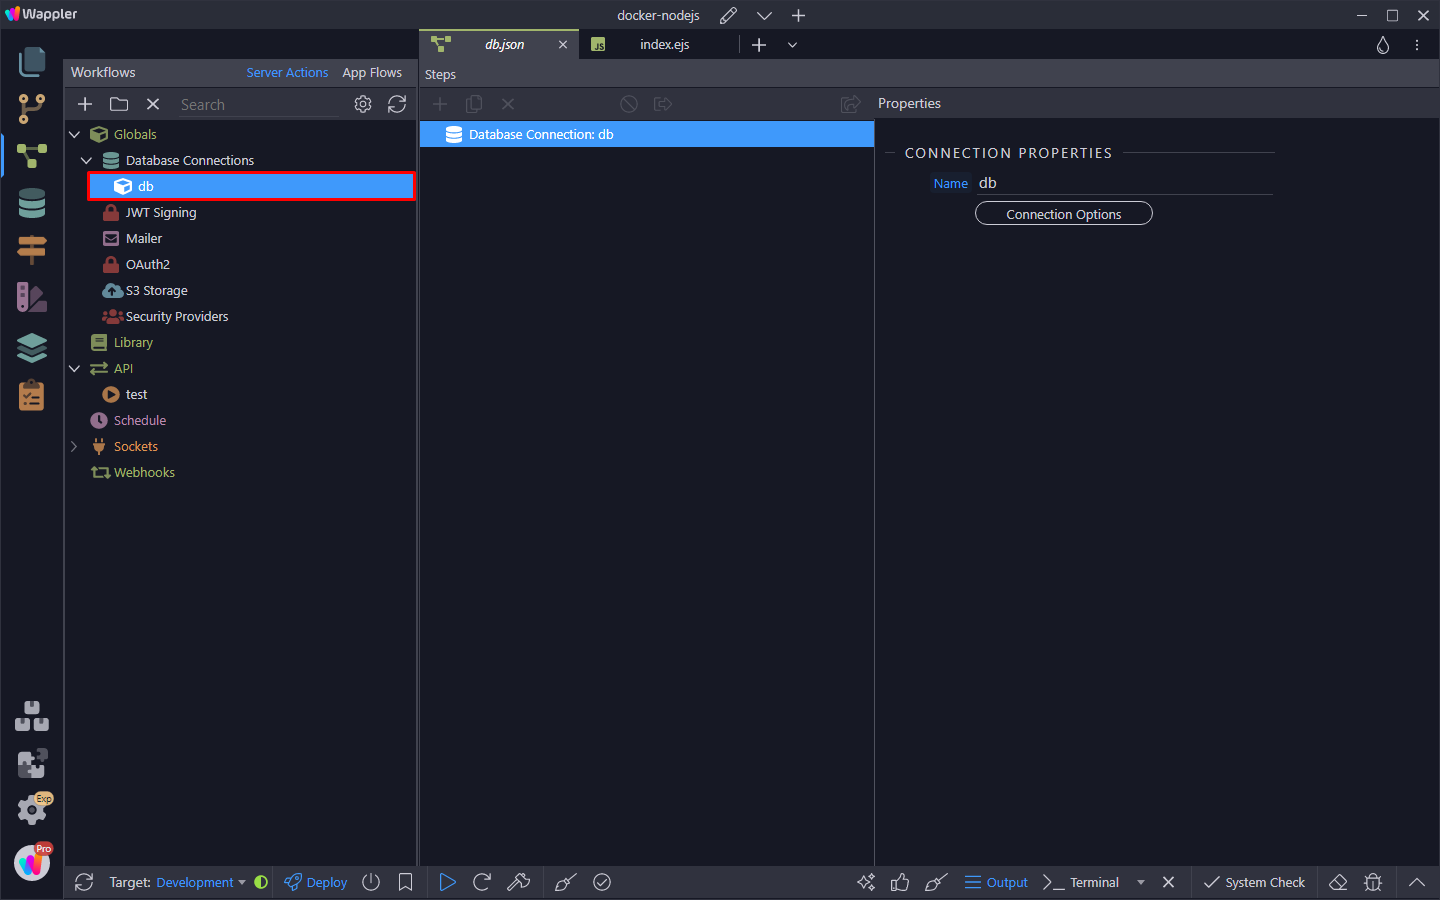
Also, a Server Connect Database Connection will be created in the Server Connect Globals:
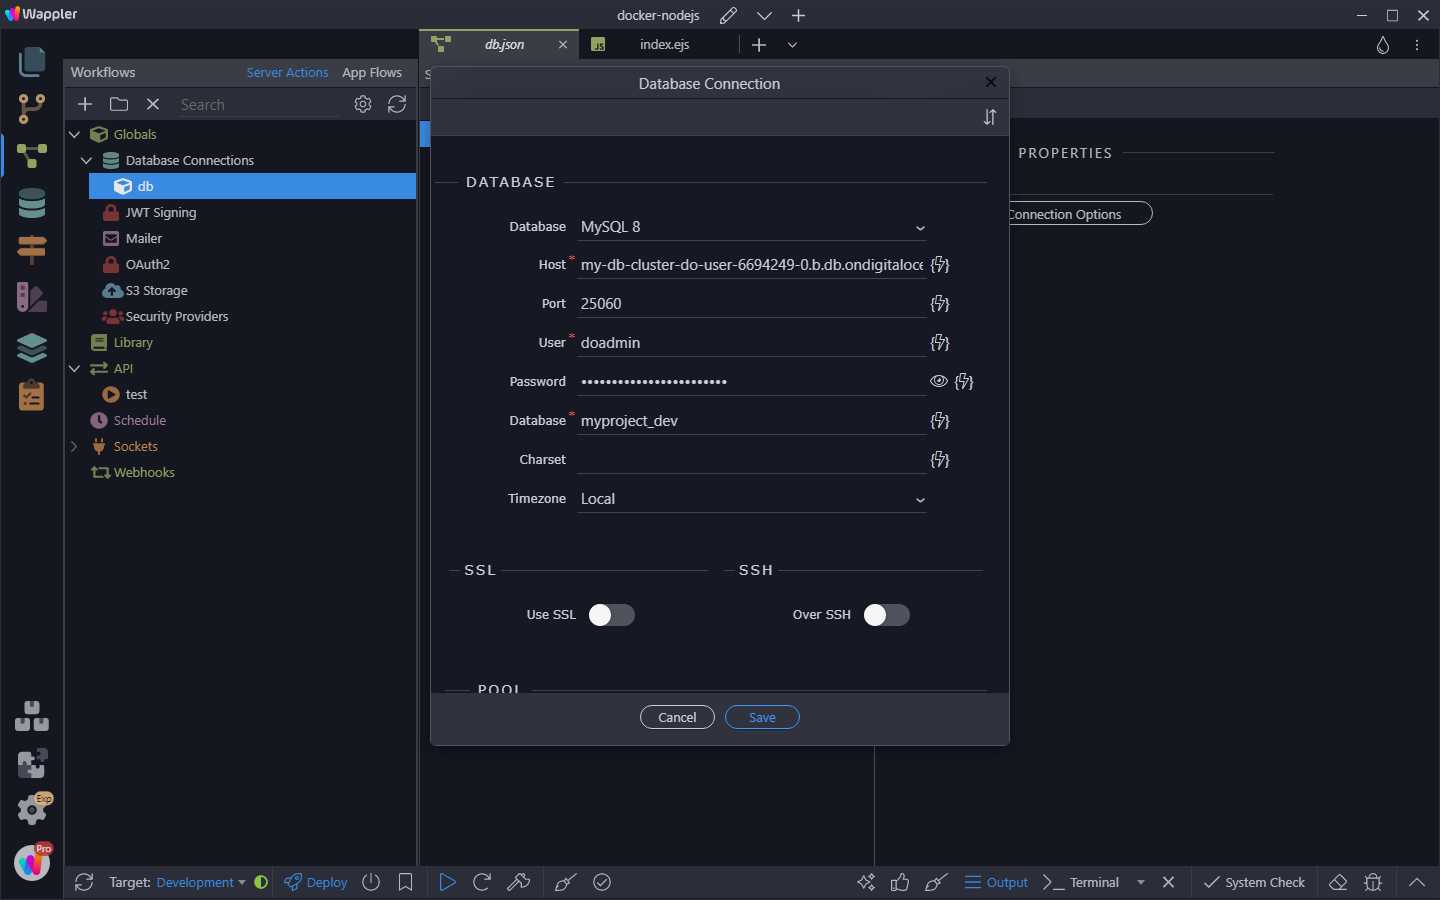
You can manage your Database Tables, Structure and Content in the Database Manager, just as you normally do with your database connections.