Using Bootstrap Source Files
Creating a project with Bootstrap source files Update: Although the following will work, this video will show a much easier way to do the same: https://www.yout
Creating a project with Bootstrap source files
Section titled “Creating a project with Bootstrap source files”Update:
Although the following will work, this video will show a much easier way to do the same: https://www.youtube.com/watch?v=85tt7KwUMLo
We will assume that you have:
- created a new project as per /t/creating-a-new-local-project/2909/
- added App Connect to your page as per /t/adding-app-connect-on-your-pages/2921/
- added Bootstrap 4 local as per /t/adding-bootstrap-4/2920/
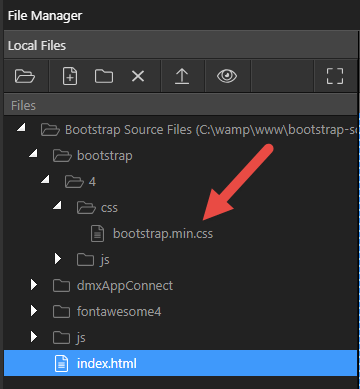
Take note of the files that have been added to the File Manager, in particular the Bootstrap style sheet. We will need to replace that file with our own custom file.
1: Add Bootstrap source files to the project
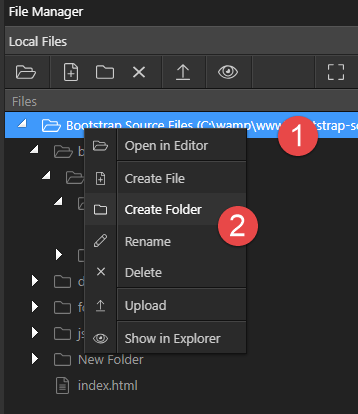
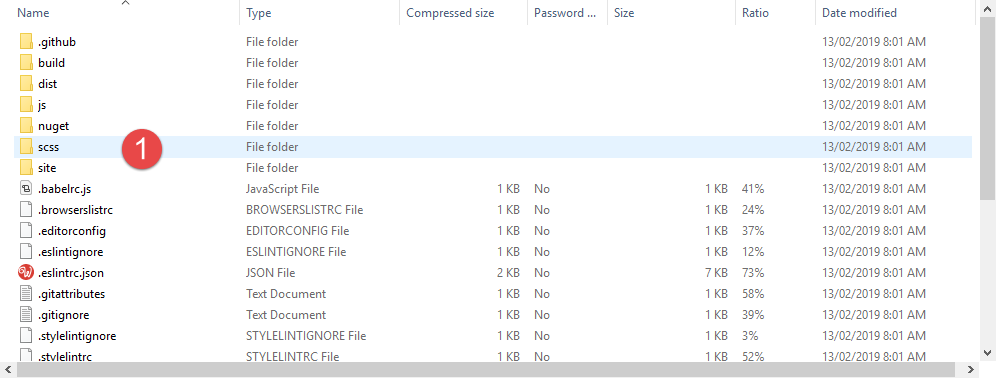
Section titled “1: Add Bootstrap source files to the project”Step 1 : Create a new folder for our source files by right clicking the root folder (1) and choosing Create Folder (2) in the pop-up
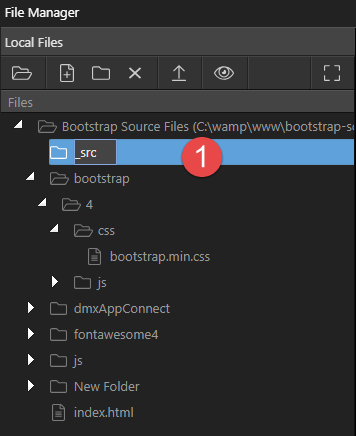
Step 2 : Give the new folder a name like _src (1). The reason for the underscore is to keep the folder separate from the rest of the folder structure. This _src folder can be also used for other documents and images pertaining to the project, but are not actually used in the project. Here I am thinking of passwords, PS layouts and original images.
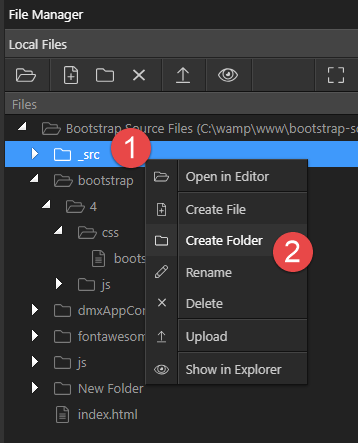
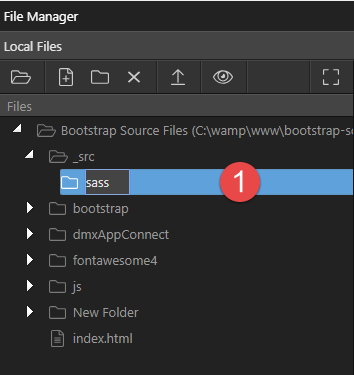
Step 3 : Create a new folder under _src to house our Bootstrap source files. Right click _src (1) and Create New Folder (2) in the pop-up.
Step 4 : Give the new folder the name of sass named after the Bootstrap source files.
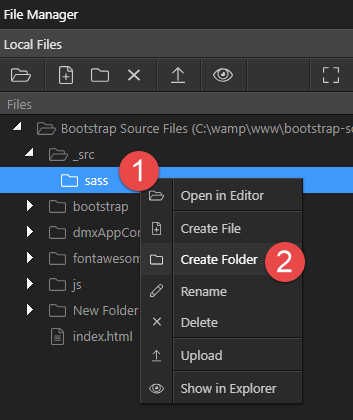
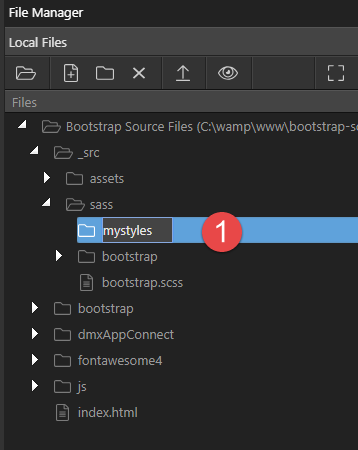
Step 5 : Created a folder for Bootstrap by right clicking sass (1) and Create Folder (2)
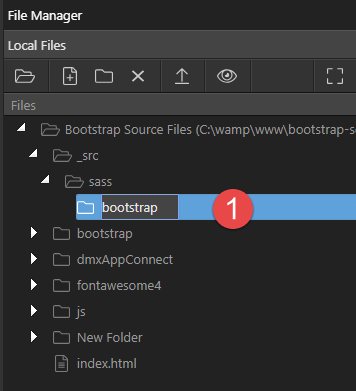
Step 6 : Name the new folder bootstrap (1)
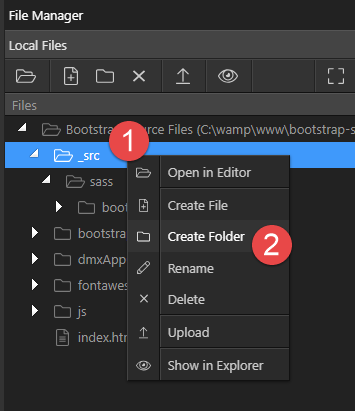
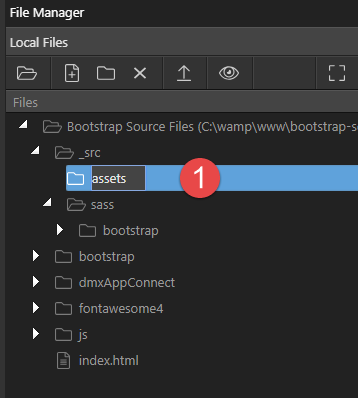
Step 7 : Lastly, we’ll create a folder to house the Bootstrap ZIP file in Step 11. Right click _src (1) and choose Create Folder (2)
Step 8 : Name the new folder assets (1)
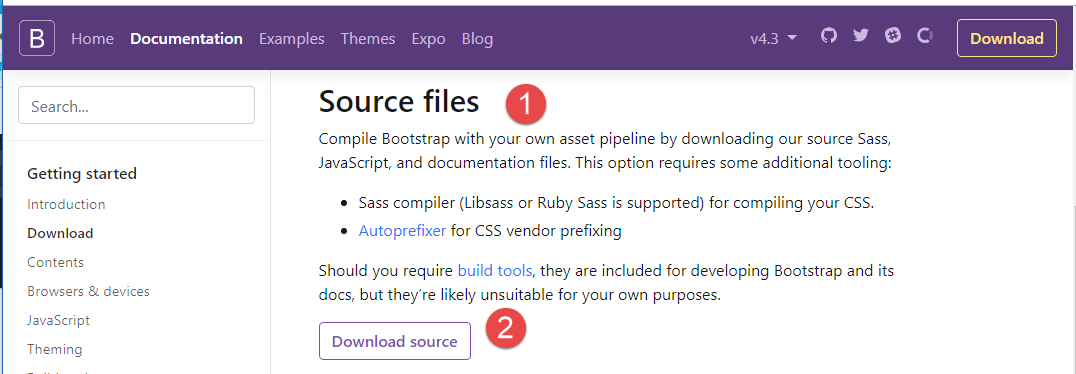
Step 9 : Open a browser and go to getbootstrap.com (1) and choose Download (2)

Step 10 : Scroll down to Source files (1) and choose Download source (2)
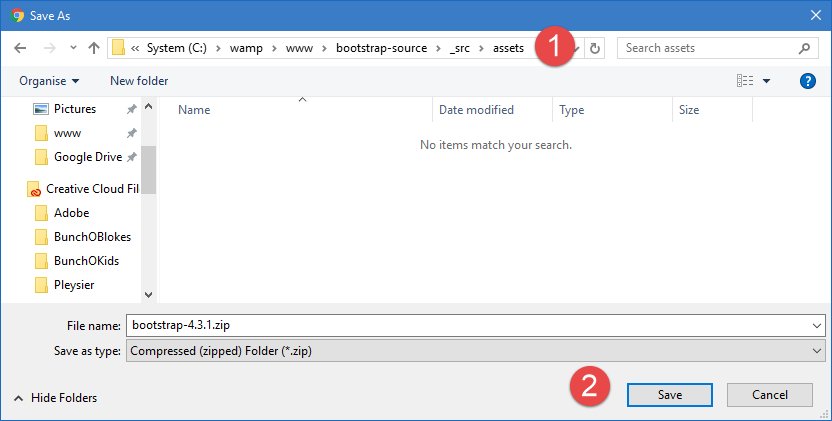
Step 11 : Navigate to the assets folder (1) created in step 8 and click the Save button (2). This will save the Bootstrap ZIP file to your local environment. It is not a necessity to place it here, you can drop it anywhere you wish; it is just a convenient location for this tutorial.
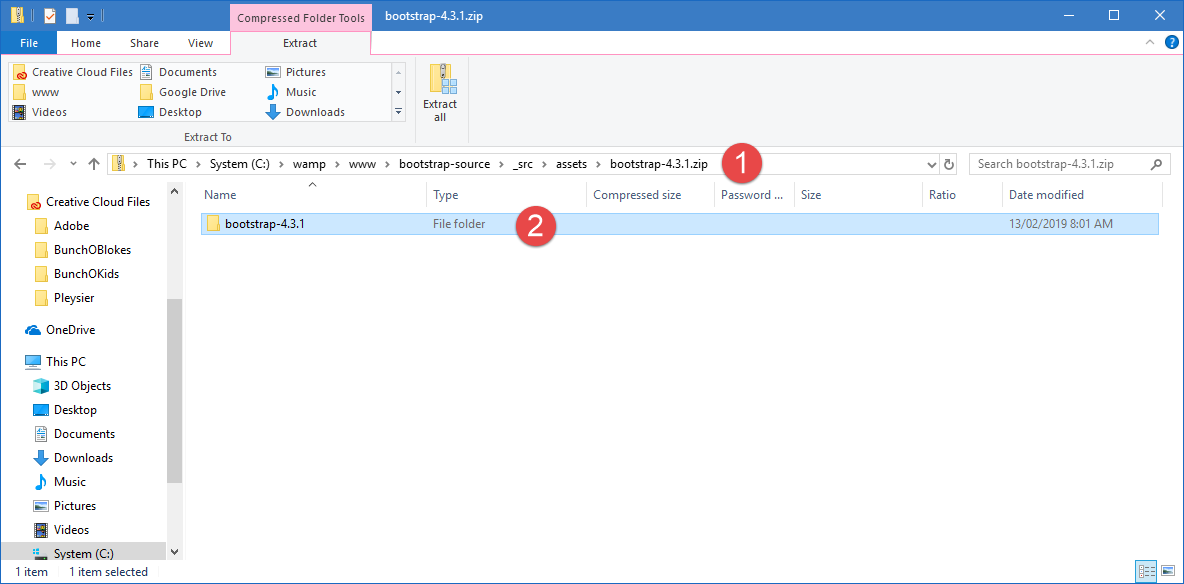
Step 12 : Using the OS File Manager navigate to the ZIP file (1) and double click the file to open it (2)
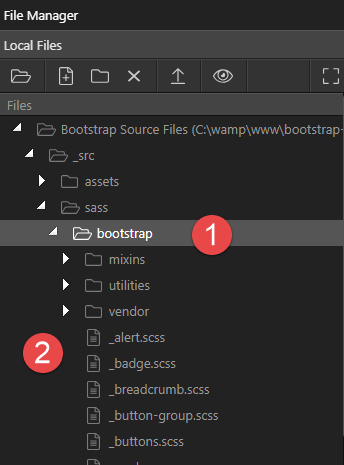
Step 13 : For this tutorial, we are only concerned with the scss files. Double click the scss folder (1) to open it.
Step 14 : Select all of the content of the scss folder and copy (1)
Step 15 : Navigate to the bootstrap folder (1) and paste into it, the contents of the scss folder (2).
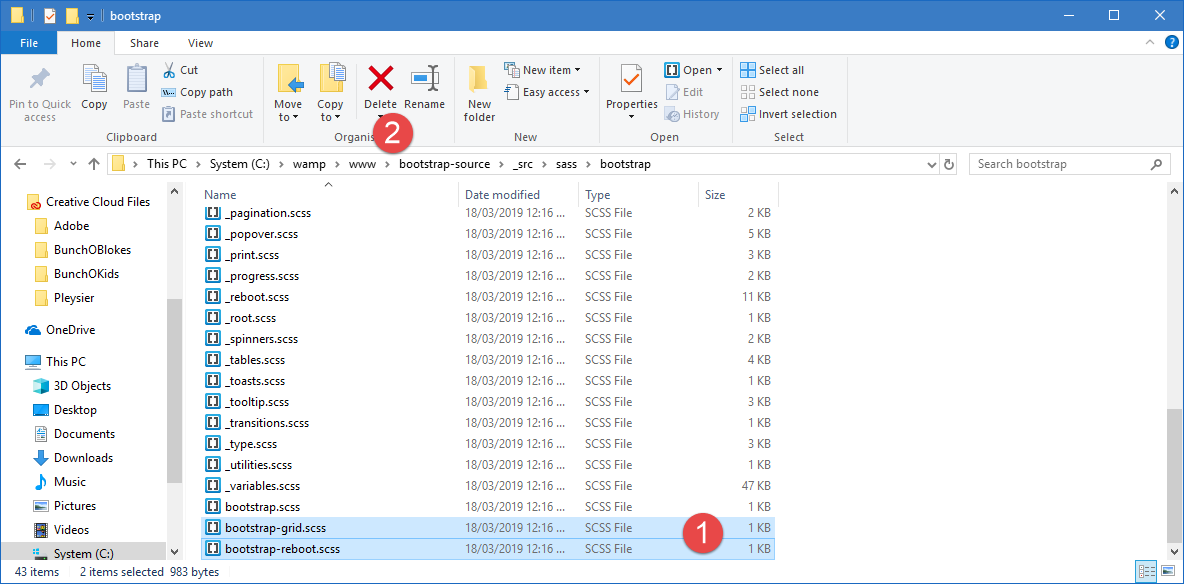
Step 16 : Next, we’ll do a bit of housekeeping. Scroll down to the bottom of the content and select both bootstrap-grid.scss and bootstrap-reboot.scss (1). Click Delete (2). We will not be needing these two files.
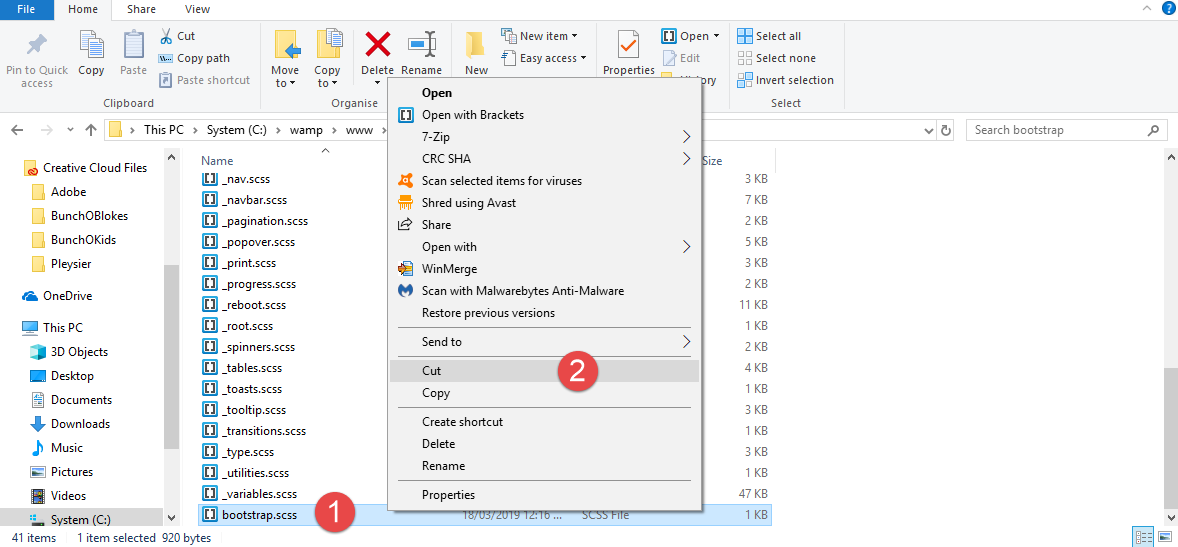
Step 17 : Right click bootstrap.scss (1) and select to Cut (2) the file.
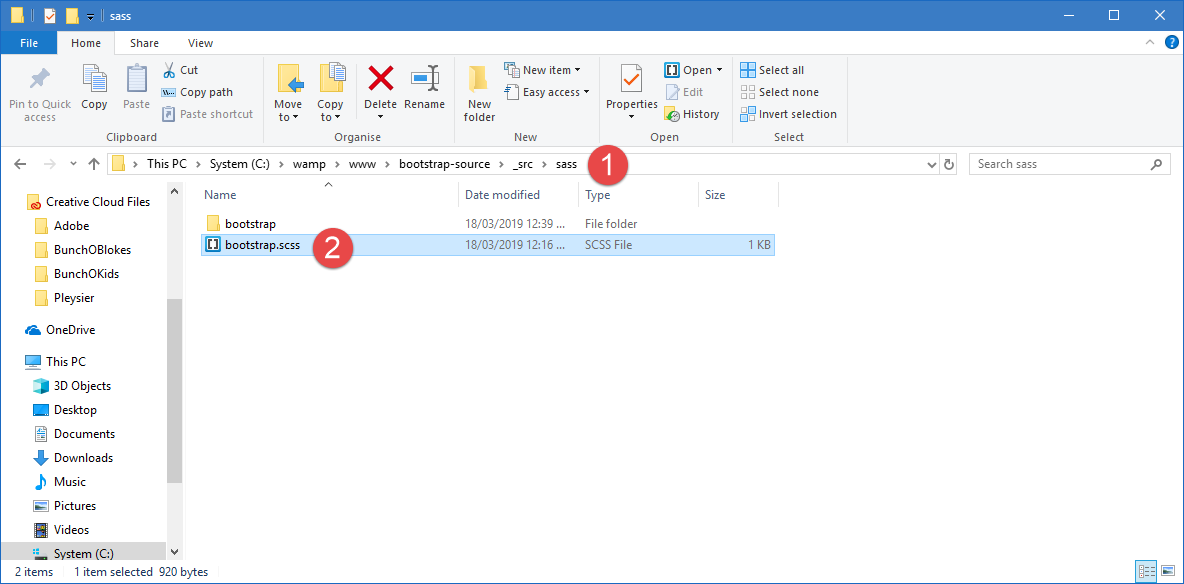
Step 18 : Go back one folder (1) and paste bootstrap.scss in the sass folder (2)
And we are done with adding the Bootstrap source files to our project. Close the OS File Manager.
2. Add custom style rules to the project
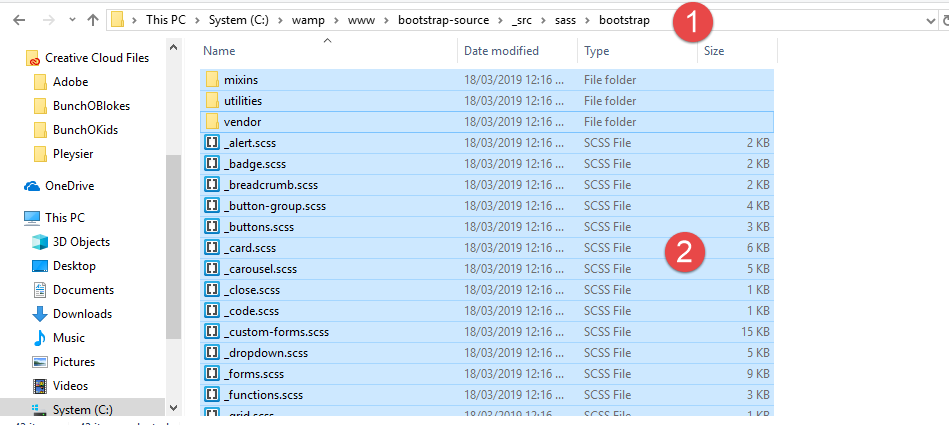
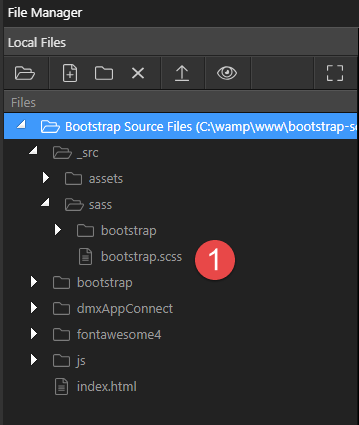
Section titled “2. Add custom style rules to the project”Back in Wappler, your file structure should be similar to the following image, making sure that bootstrap.scss (1) is in the sass directory
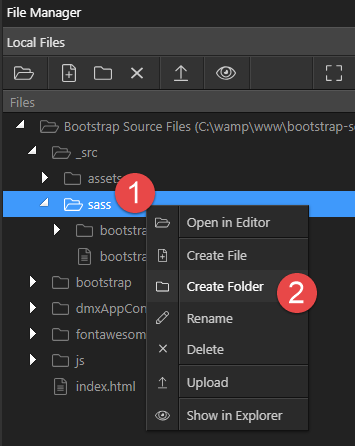
Step 1 : Right click sass (1) and choose Create Folder (2)
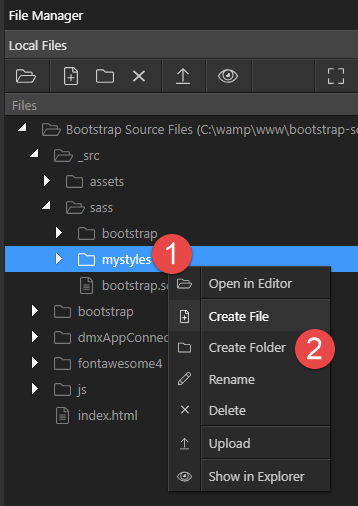
Step 2 : Name the folder mystyles (1)
Step 3 : We’ll add a couple of files to our folder. First a couple of notes: the underscore for the filename is the convention for partials (part files of the main file). We’ll add just two files for this tutorial, this can be expanded at will. Right click mystyles (1) and choose Create File (2).
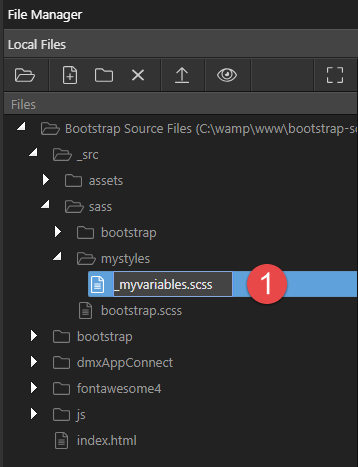
Step 4 : Name the file _myvariables.scss (1)
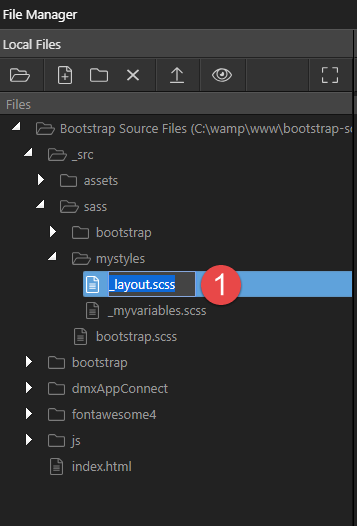
Step 5 : Repeat Step 3, naming the file _layout.scss (1)
Step 6 : Double click the bootstrap folder (1) to expose the files (2)
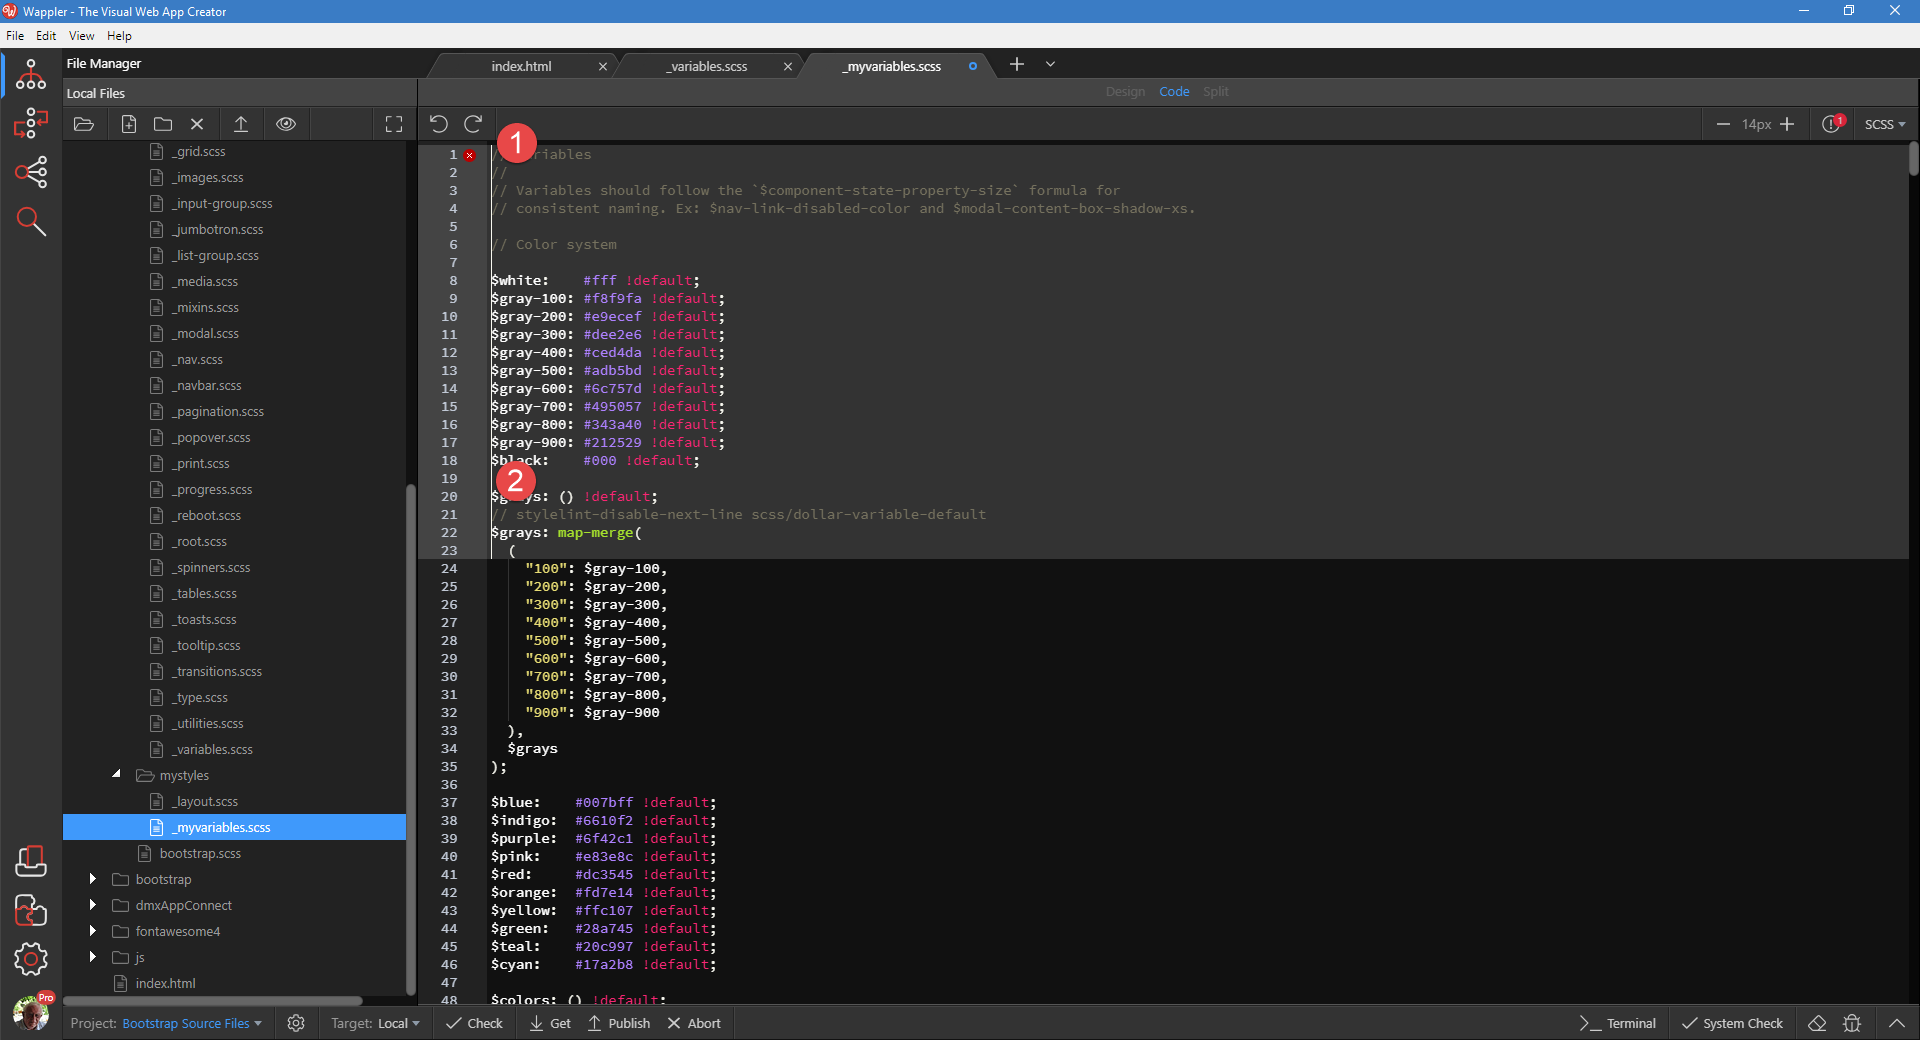
Step 7 : Scroll down to _variables.scss (1) and double click to open it (2).
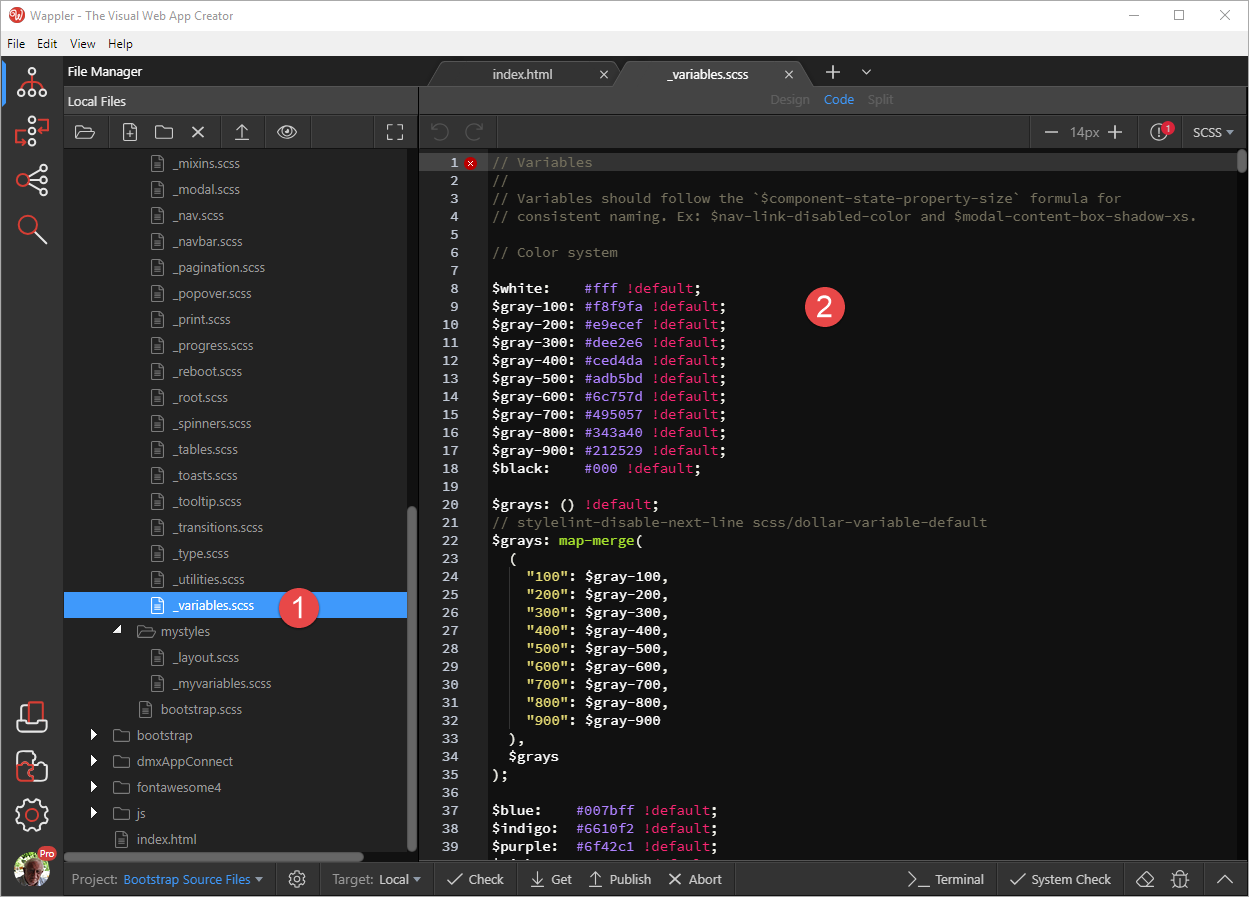
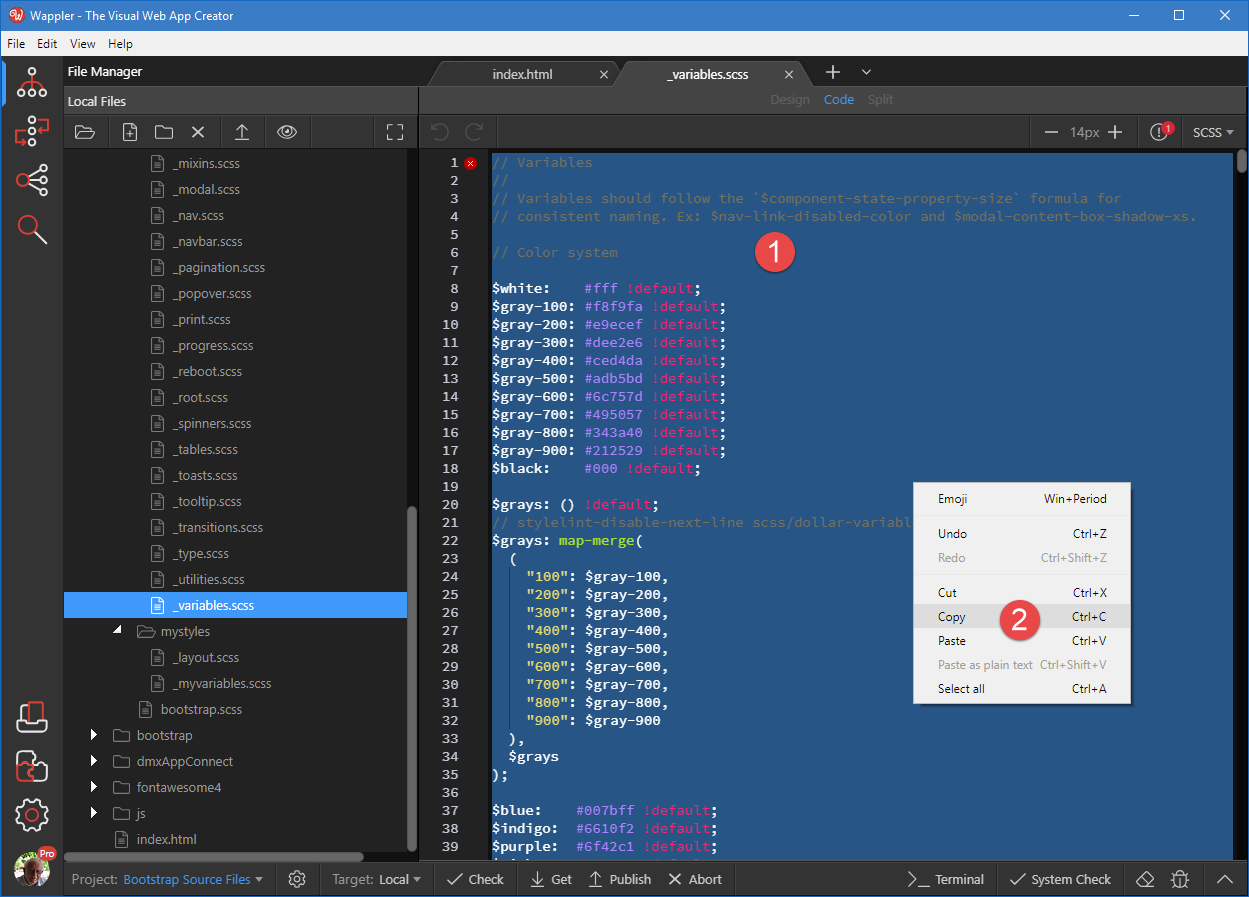
Step 8 : Select all of the contents of the file (CTRL+A) (1), right click and choose Copy (2).
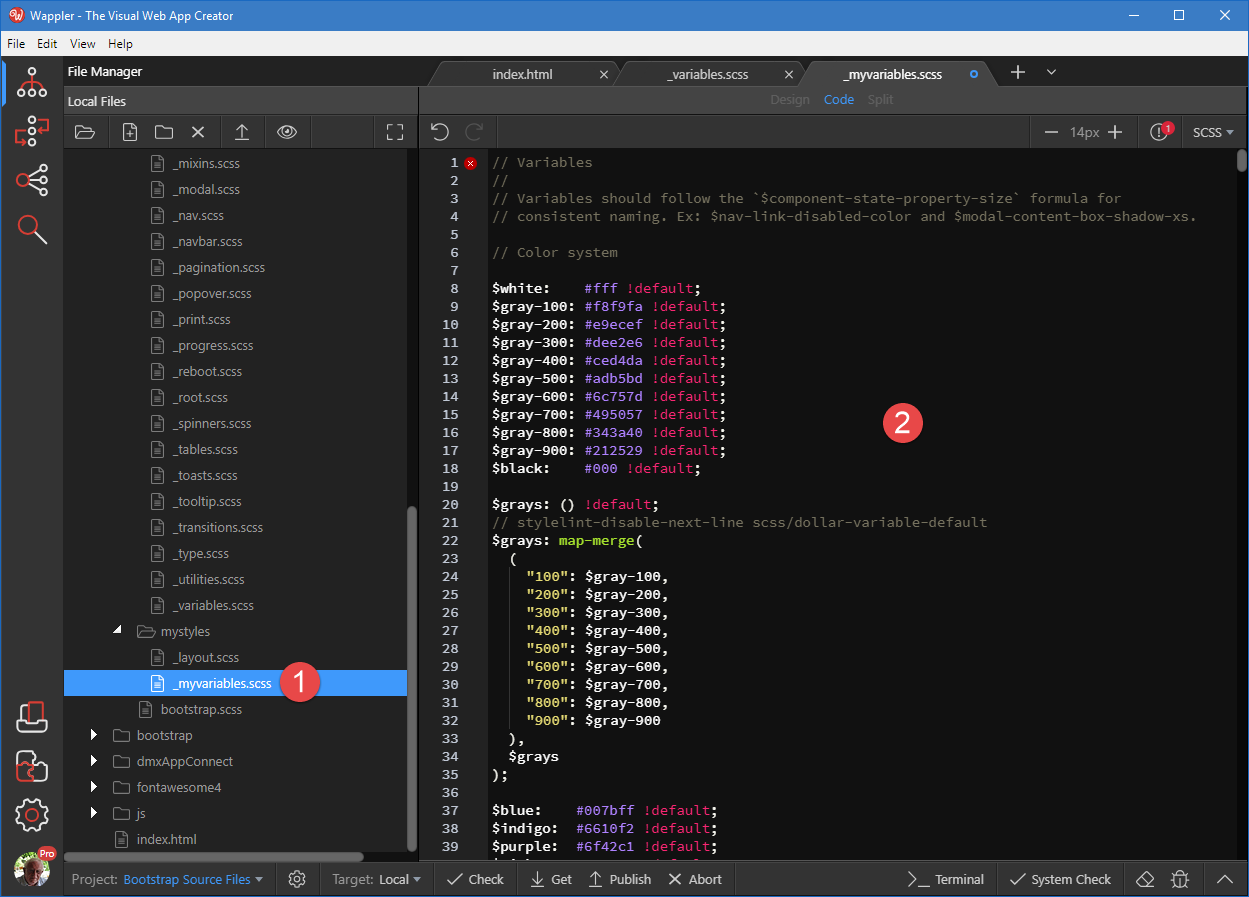
Step 9 : Double click _myvariables.scss (1) and inside the document Select All (CTRL+A) and paste the copied content from _variables.scss (CTRL+V) (2)
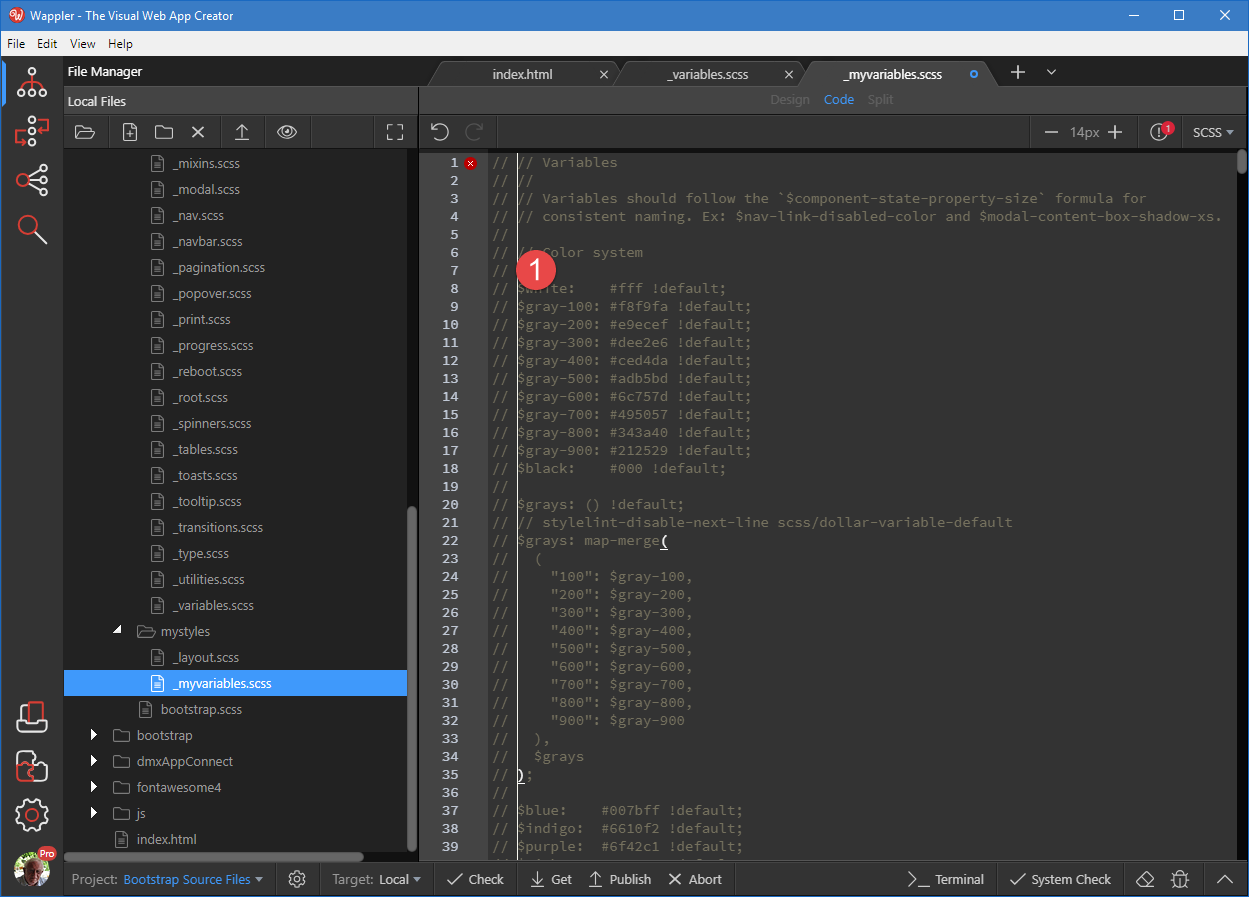
Step 10 : Now we need to comment each of the lines out so that we do not repeat the original Bootstrap style rules. To do this, click at the start of the first line (1) of the document, press CTRL+ALT and drag the line down to the bottom of the document (can be done in stages if this is more comfortable) (2)
Step 11 : Add the remarks to the selected lines, i.e. '// ’ including the space (1).
Step 12 : First we need to adjust bootstrap.scss to reflect the different folder. Open bootstrap.scss (1), click before functions (2), press CTRL+ALT and drag the line down to the end (3). Notice that the preceding underscore and the file extension have been removed.
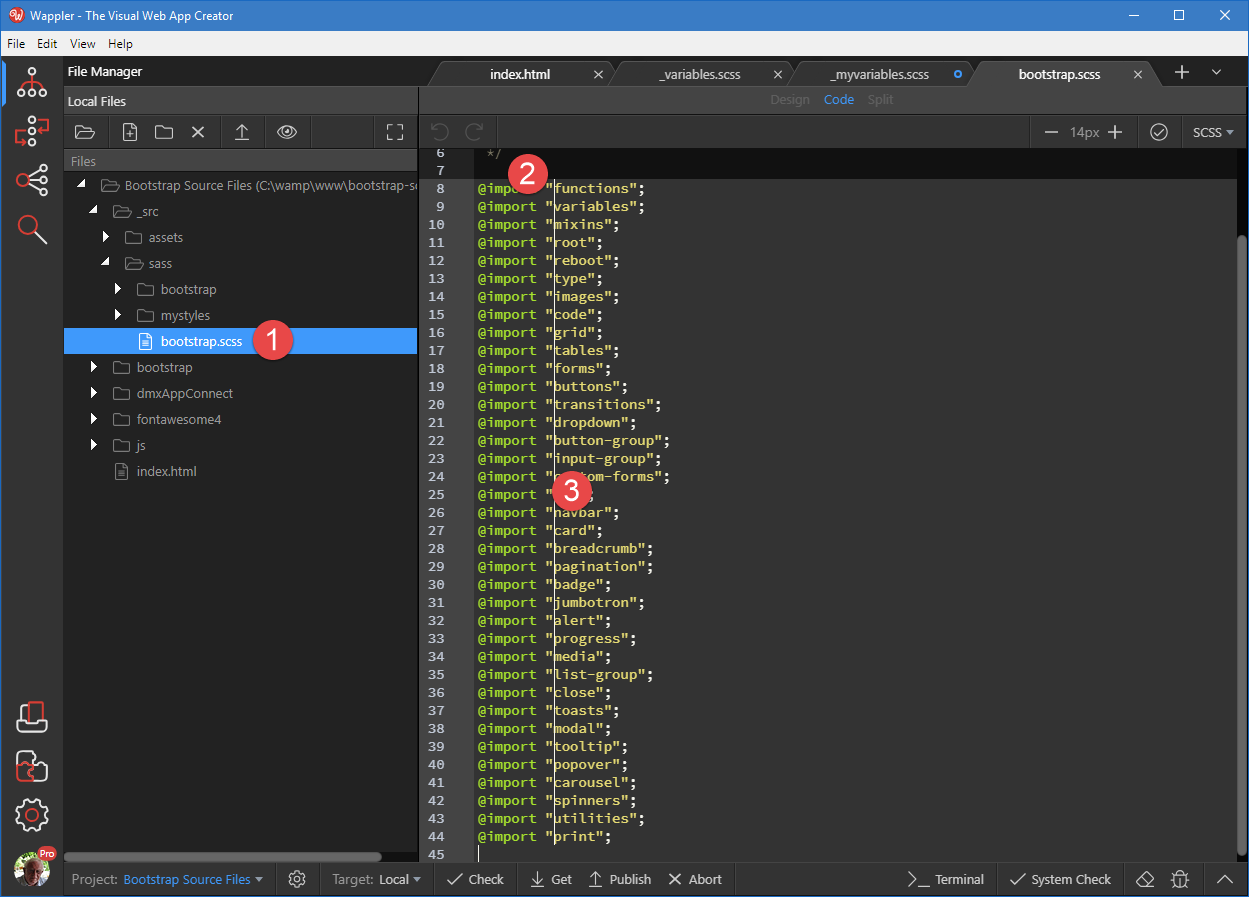
Step 13 : Add bootstrap/ (1) to the selection.
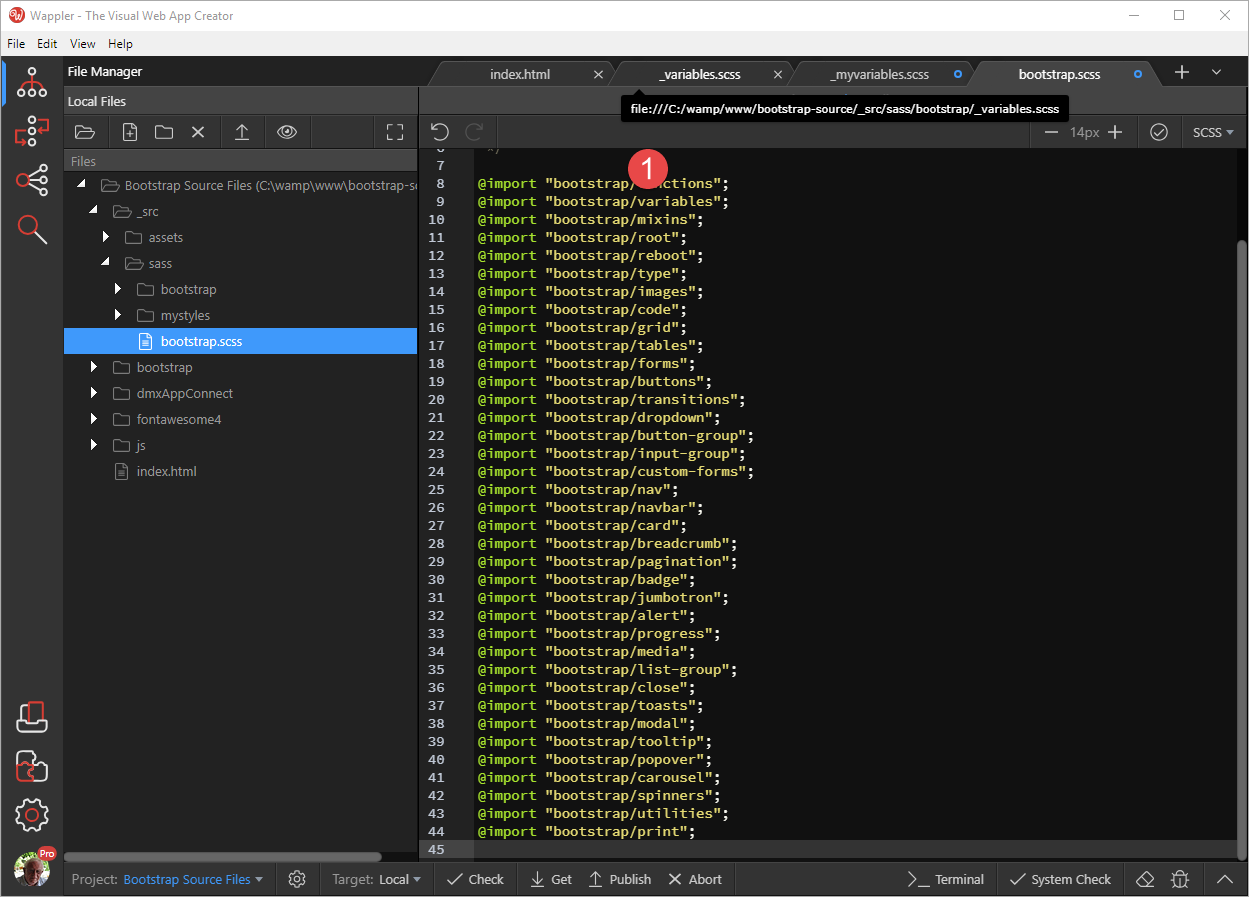
Step 14 : Now add our custom files to the list. Notice that myvariables (1) comes as one of the first imports for it to work. Other custom files come after the Bootstrap imports (2).

That concludes this section. Please note that further customisation can be mad at this stage. As an example, if you do not need the Carousel because you prefer the App Connect equivalent, you can remove the carousel import, thus reducing the size of the compiled CSS file.
3. Compiling the CSS file (in the absence of a Wappler compiler)
Now that we have our all of our files in place, we can start with compiling our CSS file. For the moment, Wappler does not have a compiler, it is planned for a future release. Therefore we will have to depend on a third party app. I have found that Prepros, https://prepros.io/, to be the best solution. Go to their website and download the program. The rest of this tutorial assumes that you have installed Prepros on your system.
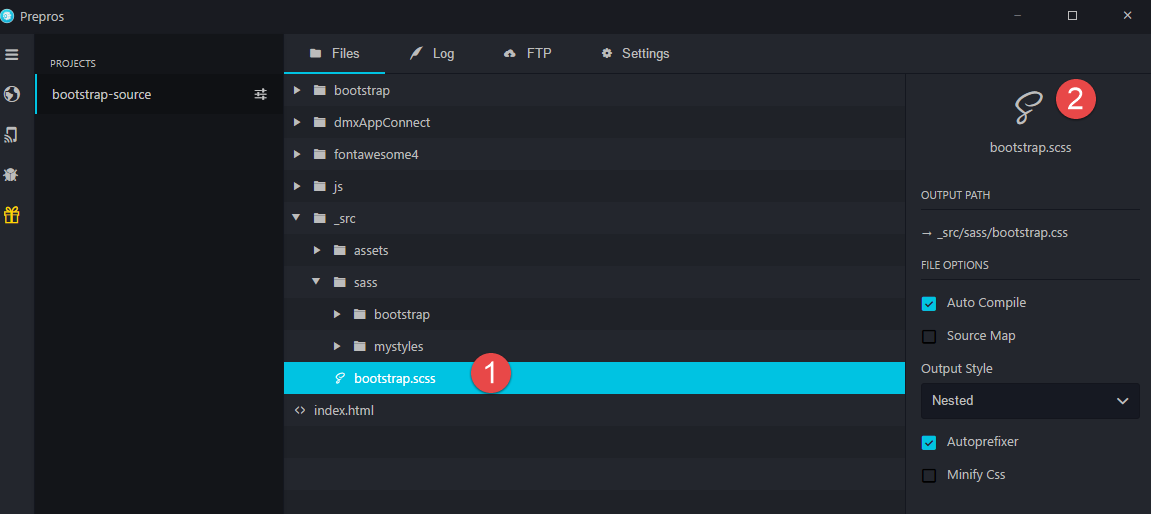
Step 1 : The result should be similar to the following image. Click on bootstrap.scss (1) to expose the preferences panel (2).
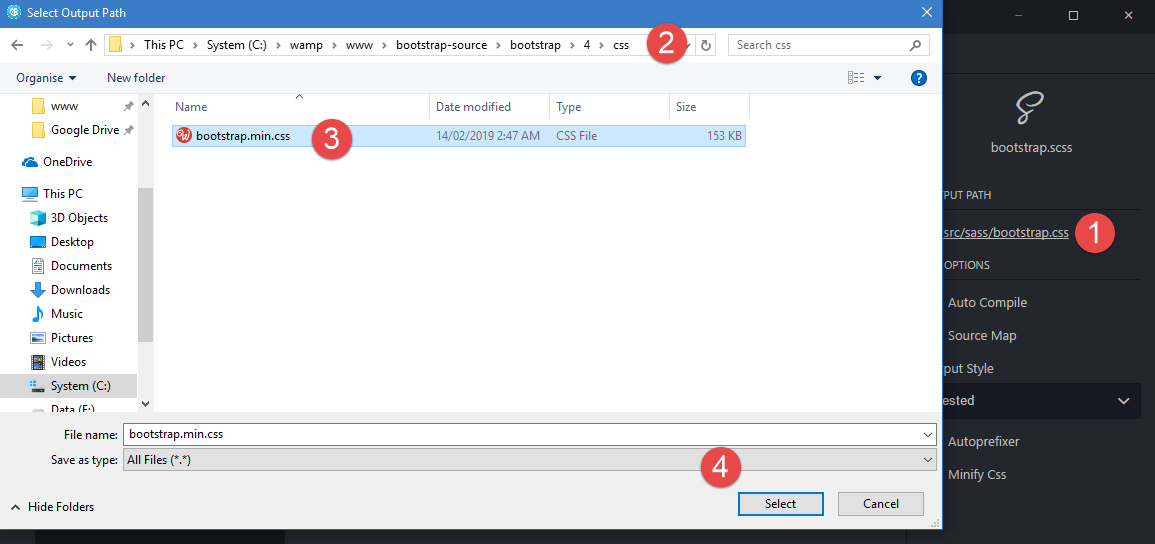
Step 2 : Click on the Output Path (1) and navigate to the CSS file that Wappler has place in our file structure (2). Select the CSS file (3) and Select (4), You will be asked if you want to replace the existing file. Click Yes.
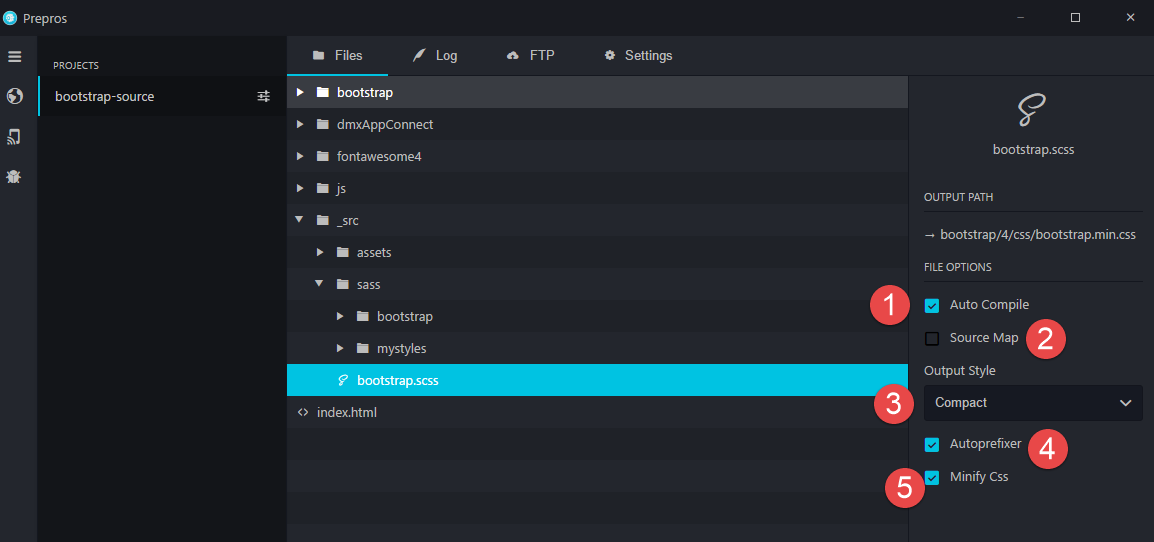
Step 3 : Other options include Auto Compile (1), if we want a Source Map (2), the Output Style (3), Autoprefixer (4) - this is a Boostrap requirement - and if we want the file minimised (5). Select the same options as in the following image for this tutorial.
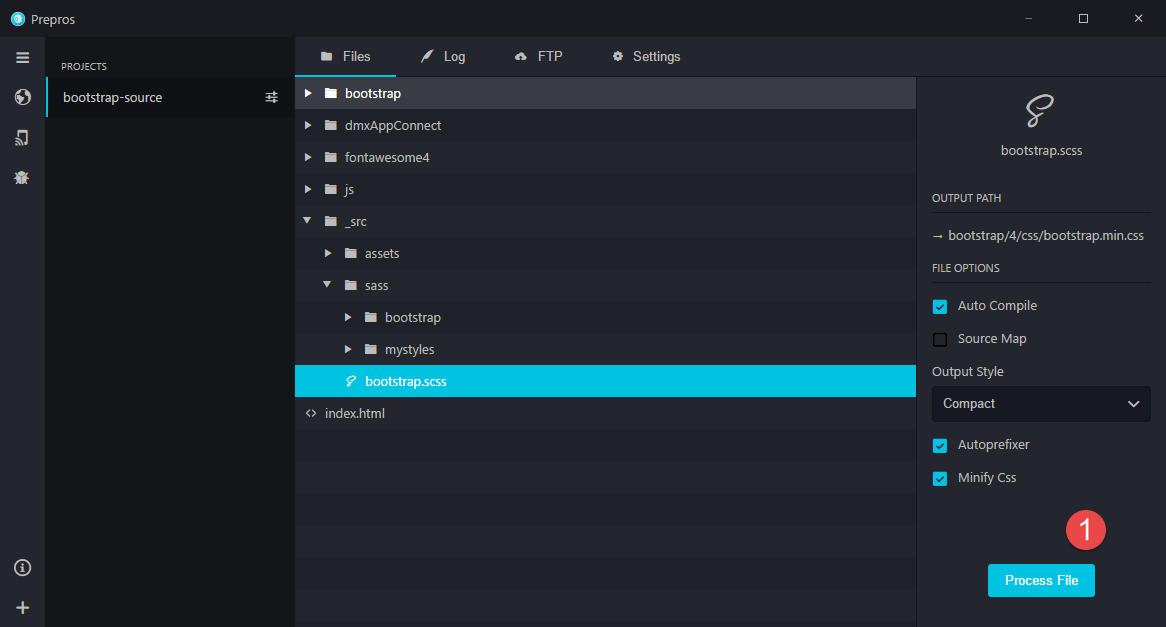
Step 4 : Click on Process File (1) and our Bootstrap 4 are now compiled as verified by the success message.
This concludes setting up the compiler. Please note that, in order for the compiler to work, Prepros must be running.
4. Testing our project using Bootstrap 4 source files.
Section titled “4. Testing our project using Bootstrap 4 source files.”Important! To test our project, you must ensure that Prepros is running
Step 1 : Open the index.html file that was created in the prelude to this tutorial. and add a navigation bar, a main section containing 3 cards and a footer.
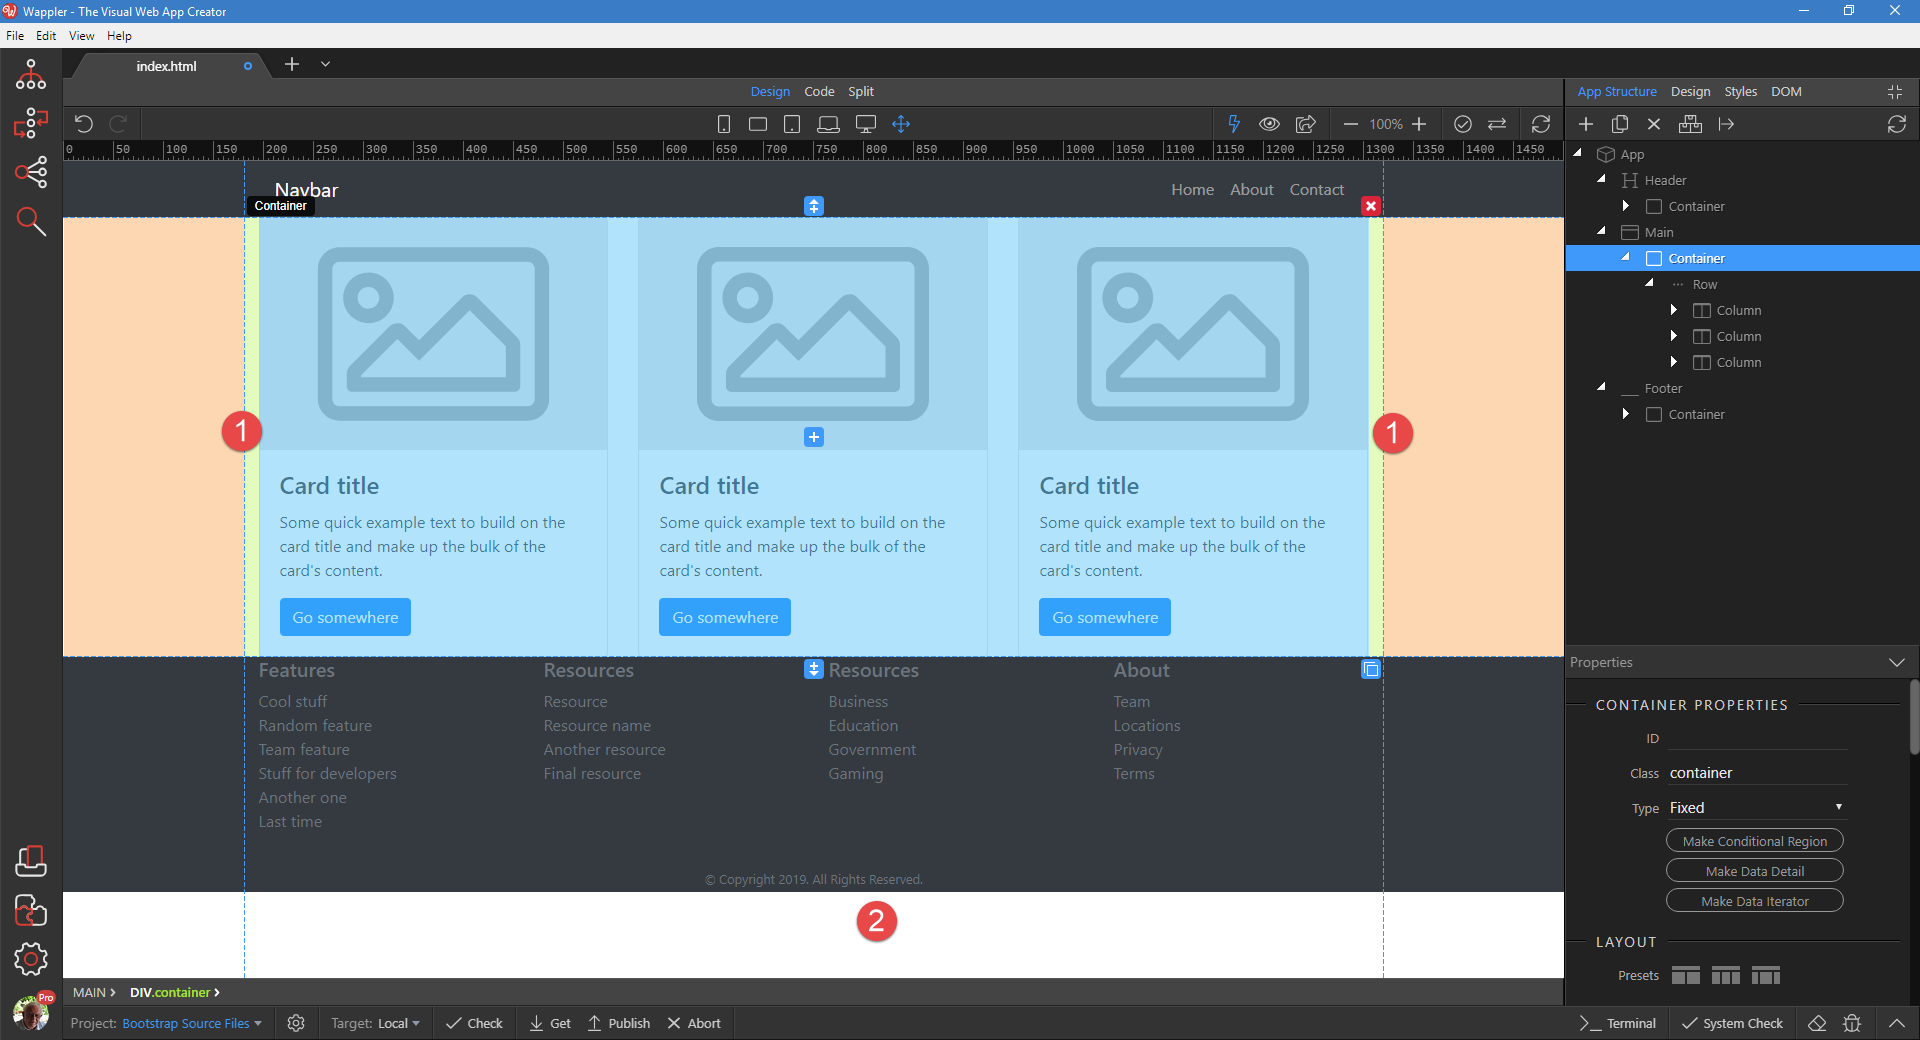
We notice a couple of irritating aspects, namely we want the container to be wider (1) on wide screens and and the footer does not extend to the bottom of the page (2)
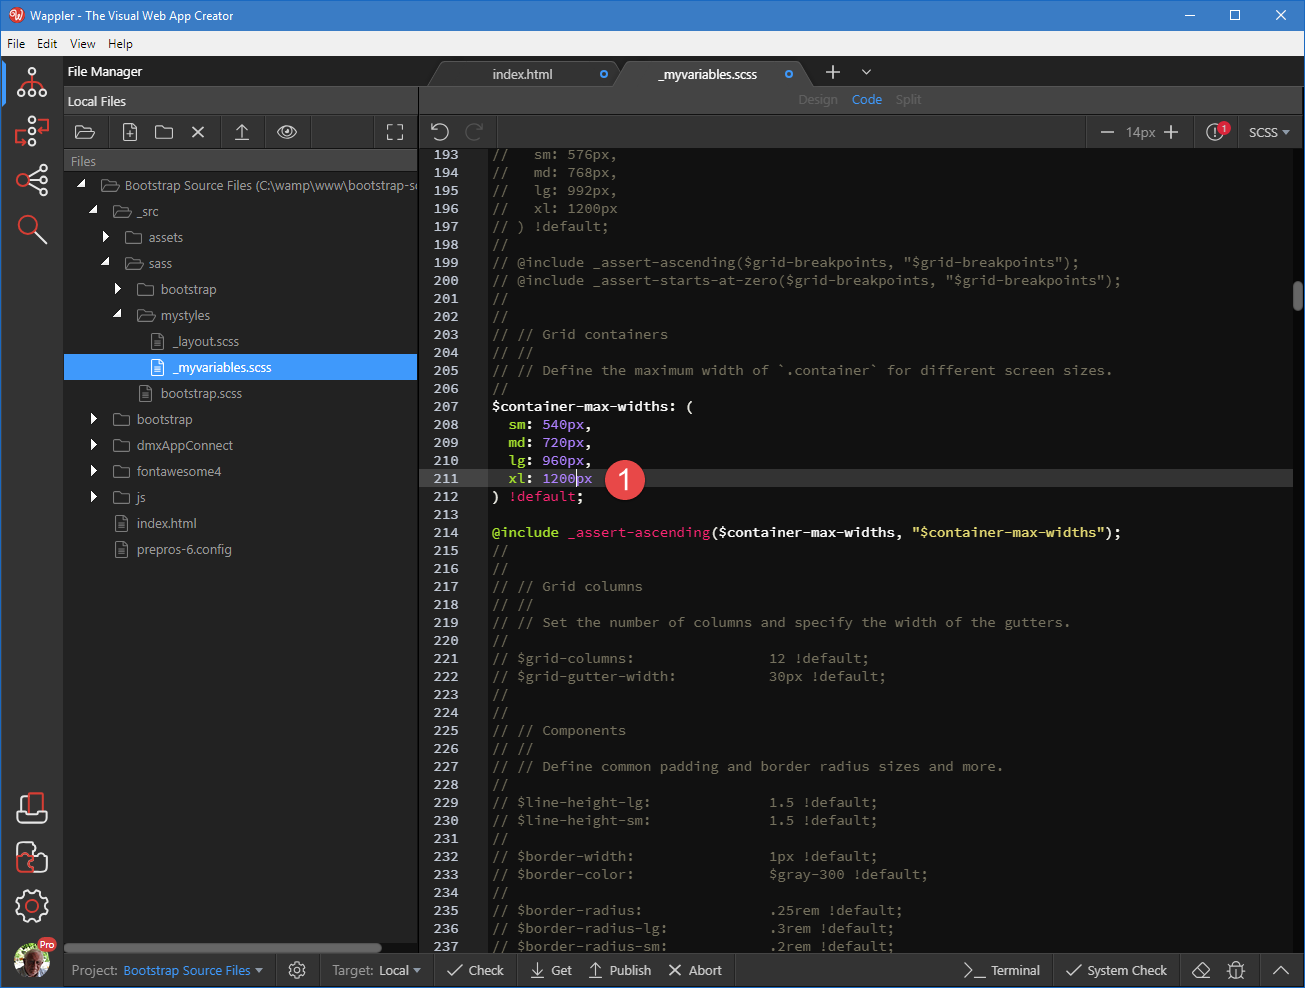
Step 2 : To increase the width of the container, open _myvariables.scss (1) and go to line 203 on (2). This is the section for Grid containers. Un-comment the relevant lines (3).

Step 3 : Change the width for extra large screens to 1200px (1) and save the file and wait for the confirmation from Prepros that the file has been re-compiled.
Step 4 : Open _layout.scss (1) and add the lines of code in the image. It is outside the scope of this tutorial to explain the code, except to say that I have snuck a scroll bar into the design. Don’t forget to save the file and wait for the confirmation.

That’s all folks! If you have a problem or find an error, please start a new topic in the general community section.