Setting up FTP Connection
Wappler includes advanced FTP manager, which supports FTP, SFTP and FTPS. It allows you to easily connect to your FTP server and publish your files there. NOTE
Wappler includes advanced FTP manager, which supports FTP, SFTP and FTPS. It allows you to easily connect to your FTP server and publish your files there.
NOTE: If you are working locally, on a local server, you don’t need to setup an FTP connection, just select “local folder” in the target options!
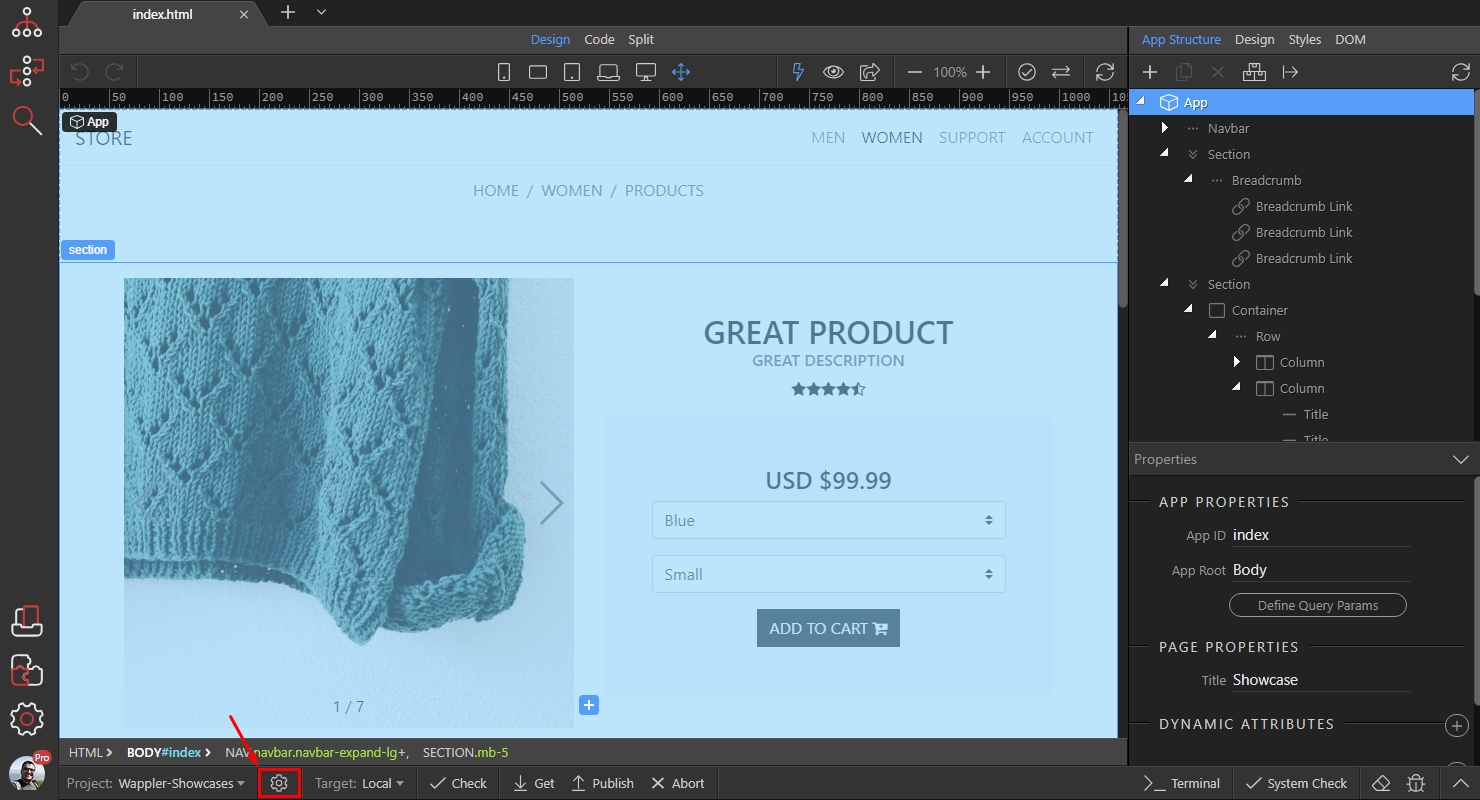
First, click the project settings button, located at the bottom of Wappler screen:
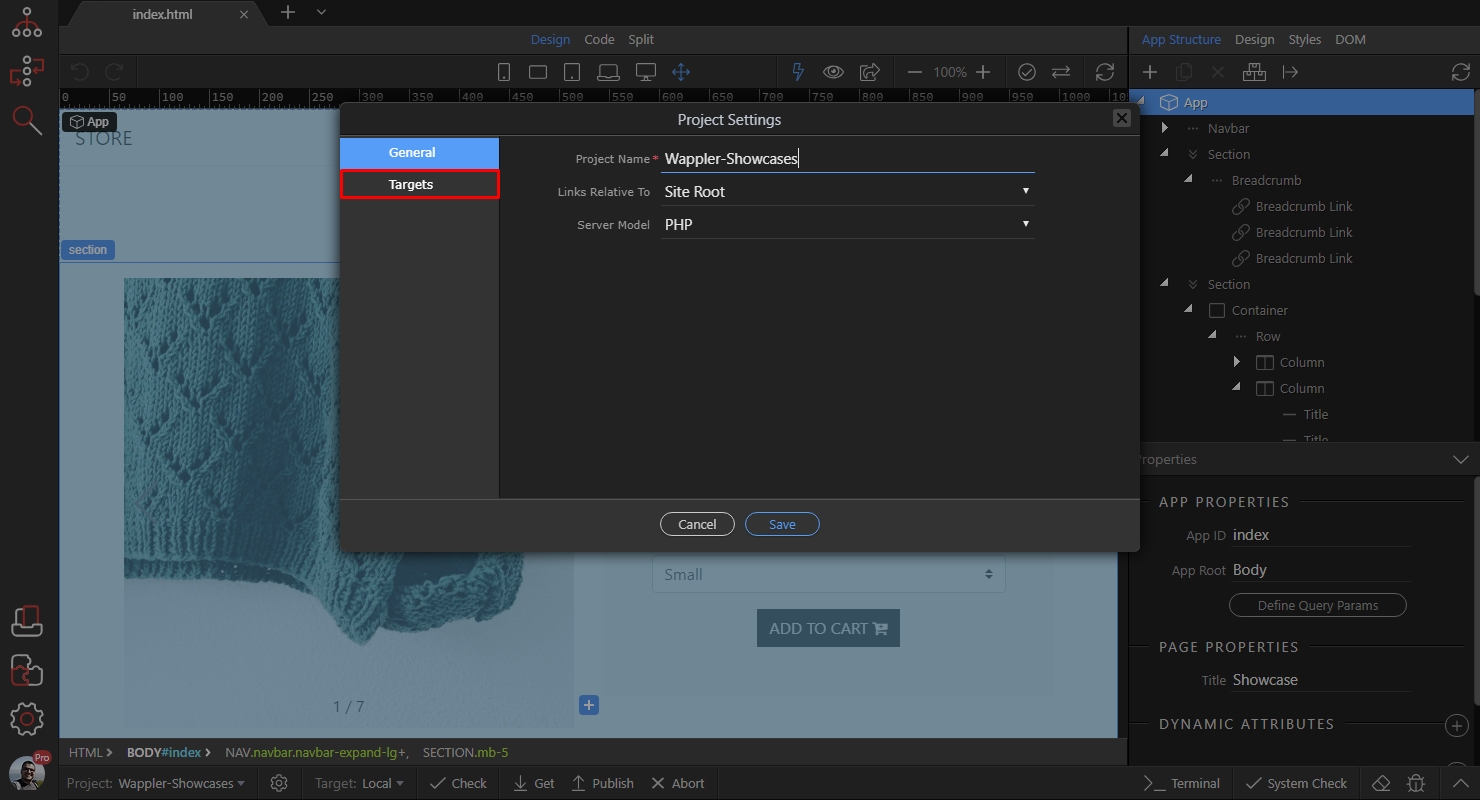
Select Targets:
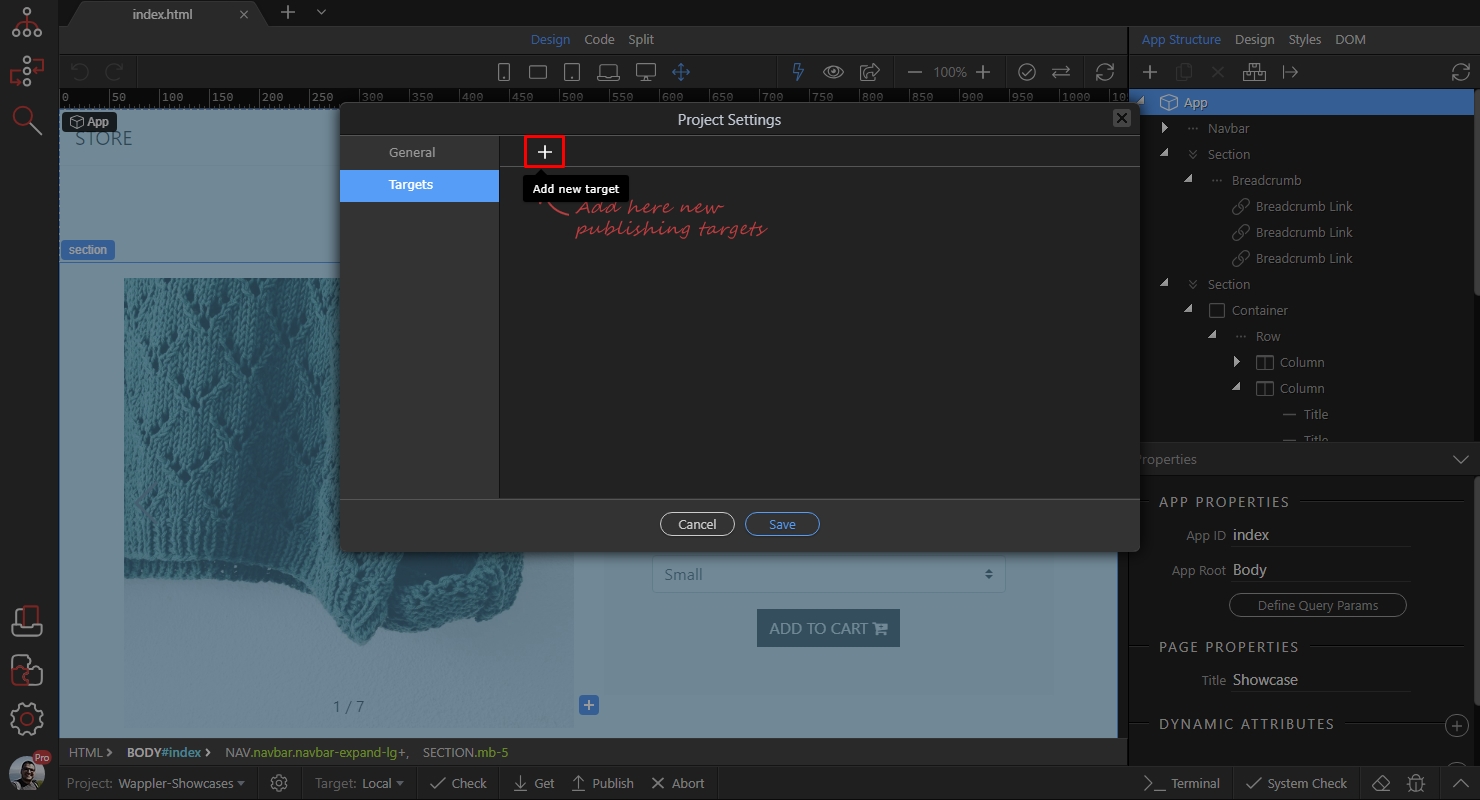
And click the Add New Target button:
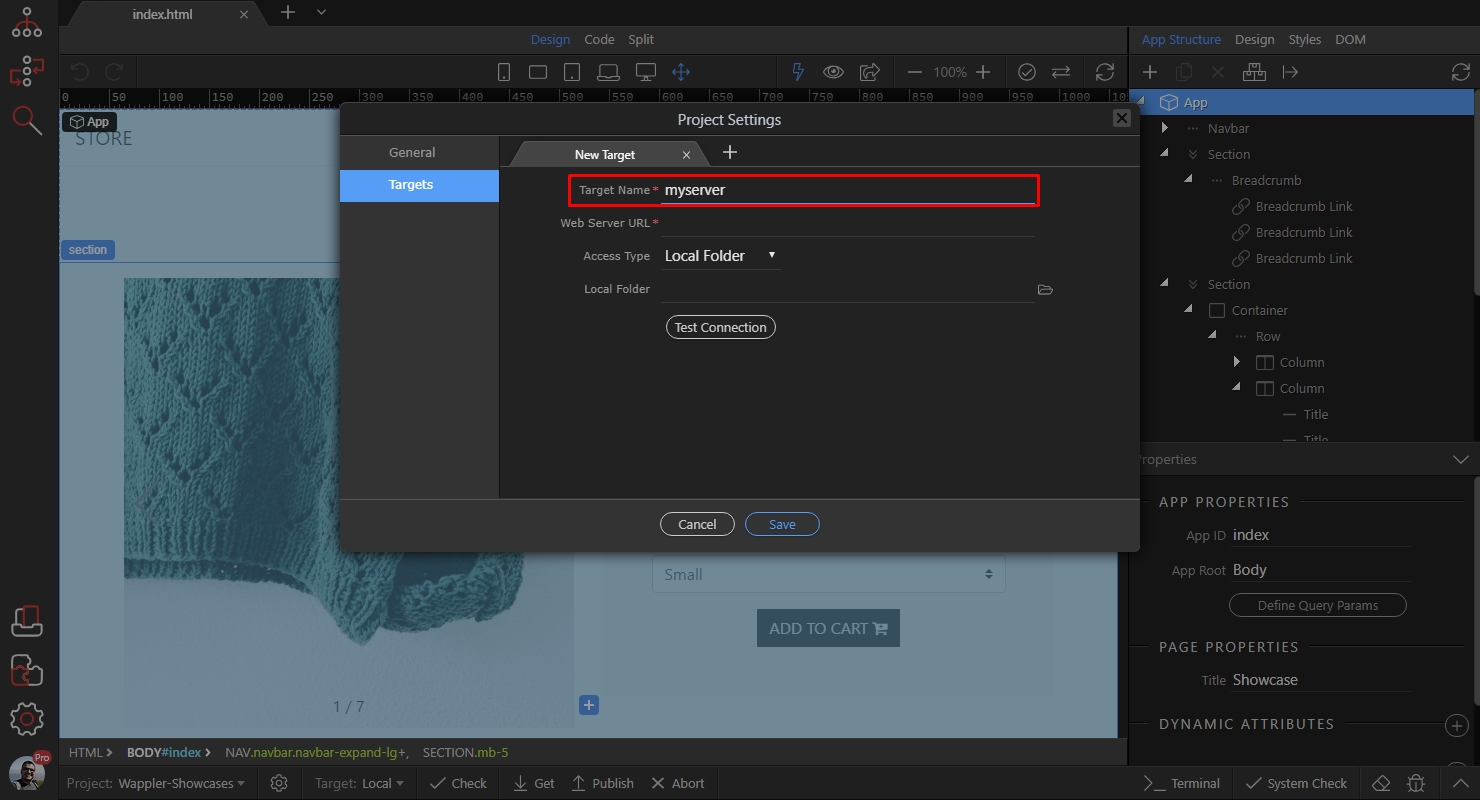
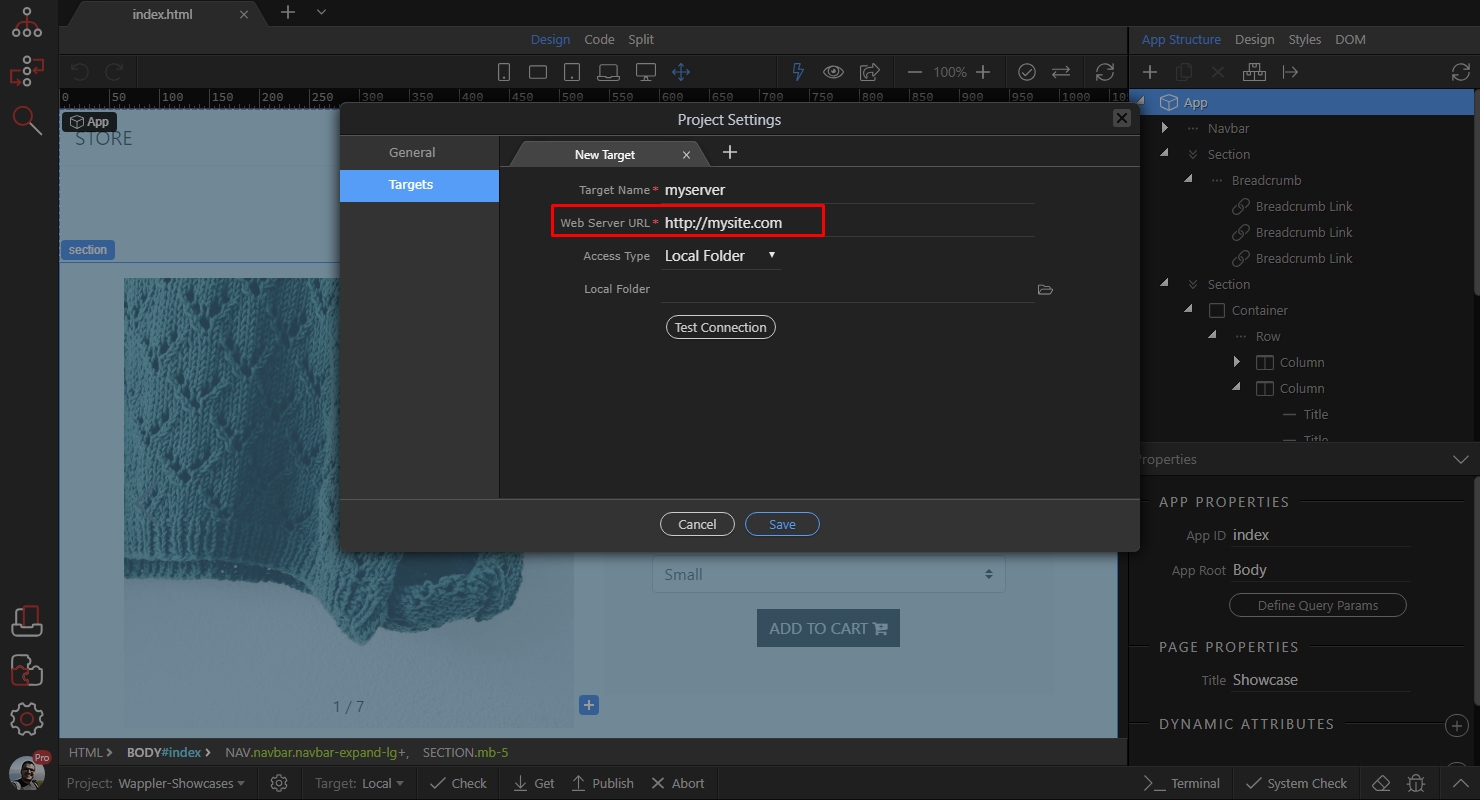
Give your target a name. This name will be displayed in the targets menu later:
Then enter the URL of your website. This is the address which the users use to access your site in their browsers:
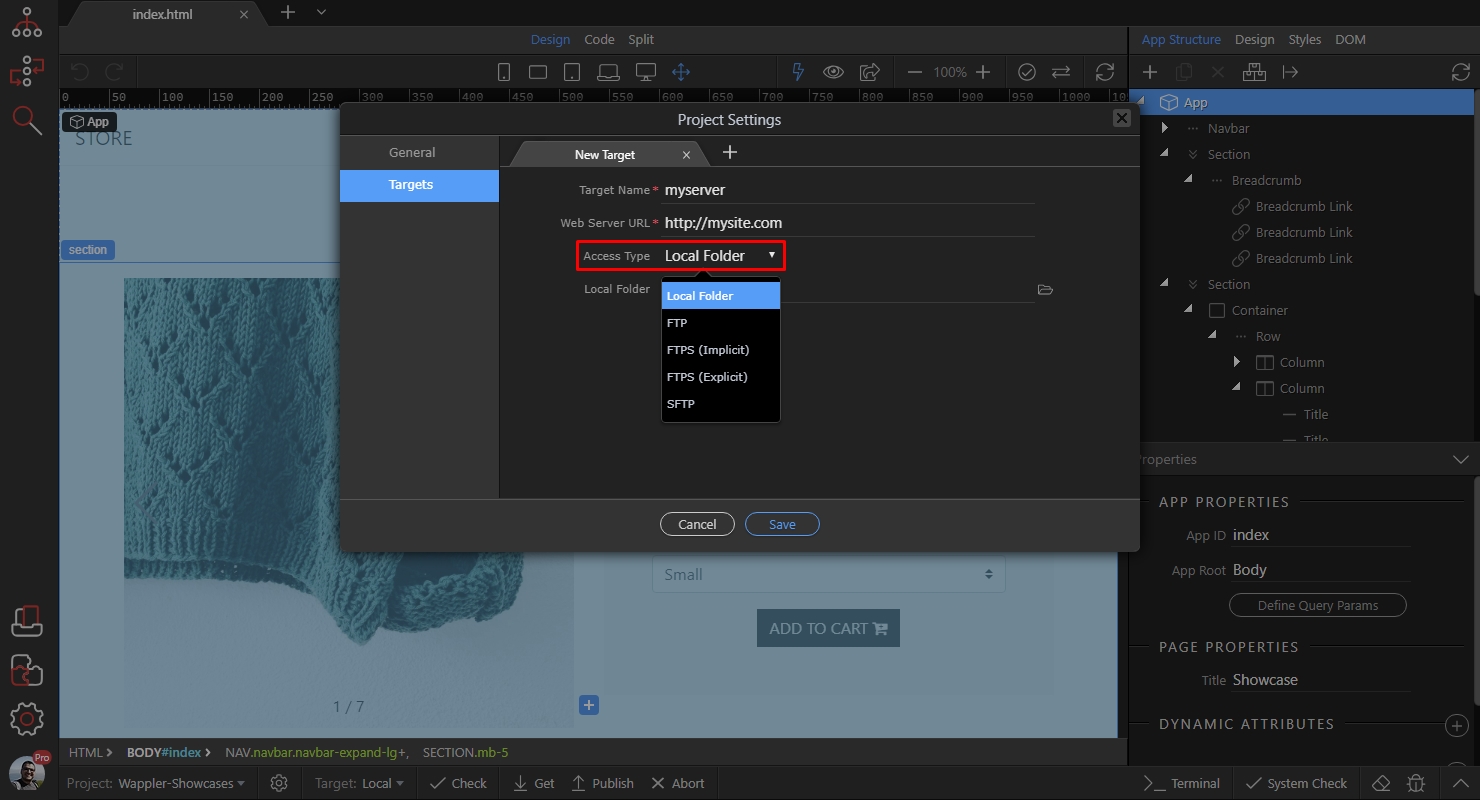
Select the access type. There are several options there - FTP, FTPS and SFTP, so select the option you need. If you don’t know which option do you need, please ask your hosting provider - usually they know:
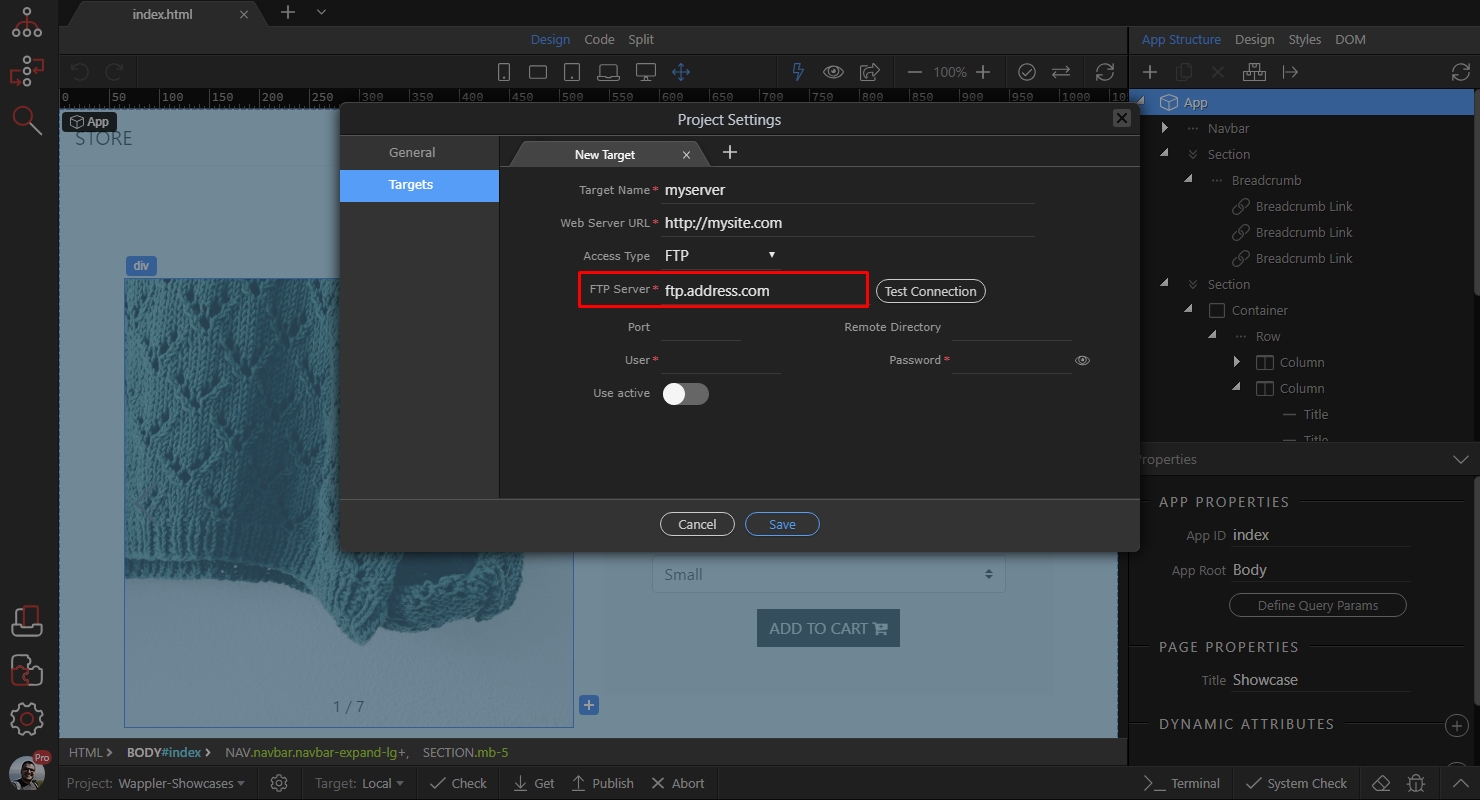
Once you select the option you need (in our case this is FTP) you need to fill the address, port, remote directory and FTP user details. This information is provided to you by your hosting provider.
Start with the ftp address (provided by your hosting provider):
If you are using a different port, than the default one (21), please enter it in the Port field, otherwise just leave it empty.
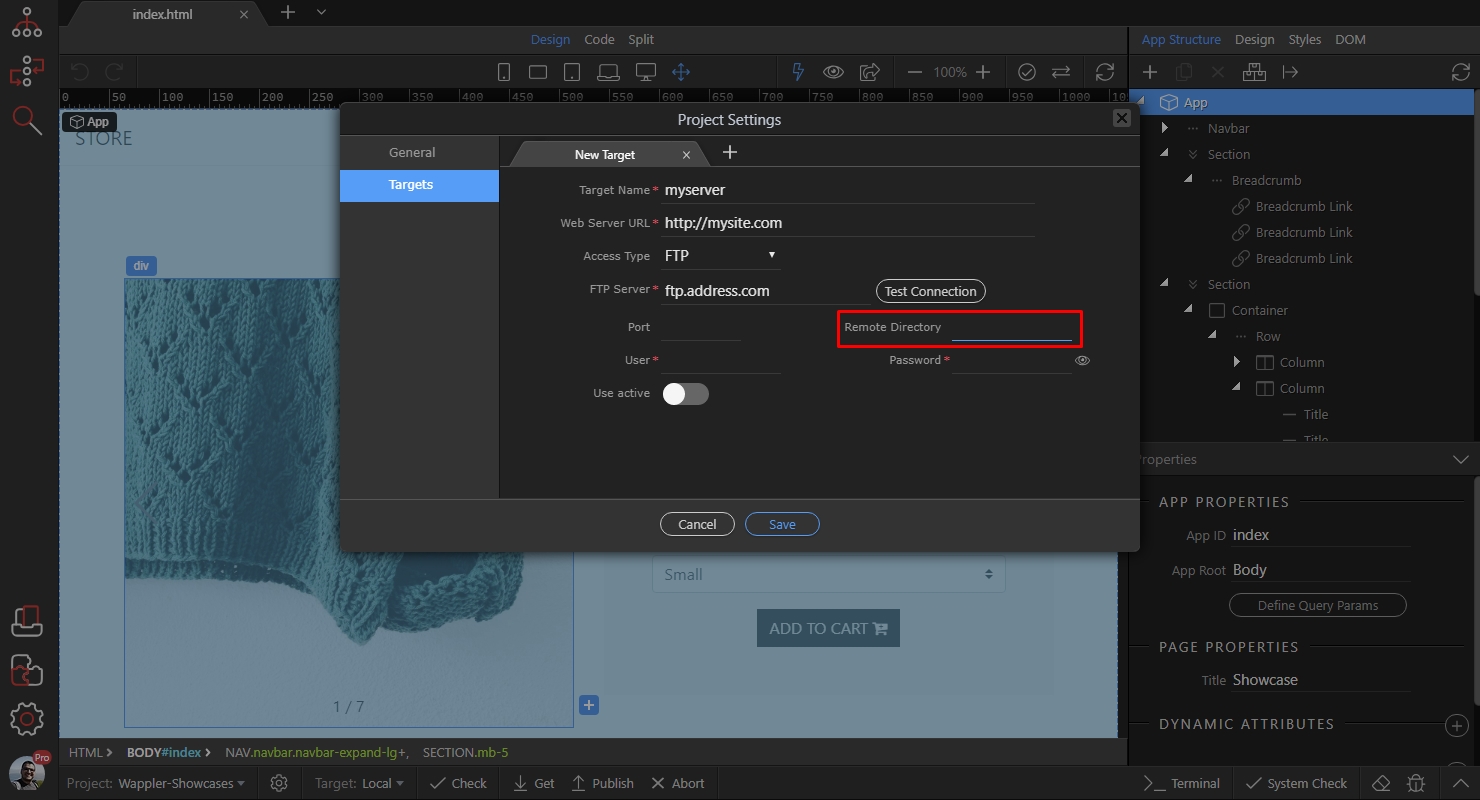
Then, if your FTP details require you enter a remote directory, or if you are working in a subfolder then enter it here. Some FTP accounts are configured to point you to the remote directory automatically, others require you to enter (httpddocs or public_html etc.) - your hosting provider knows what you need to enter here:
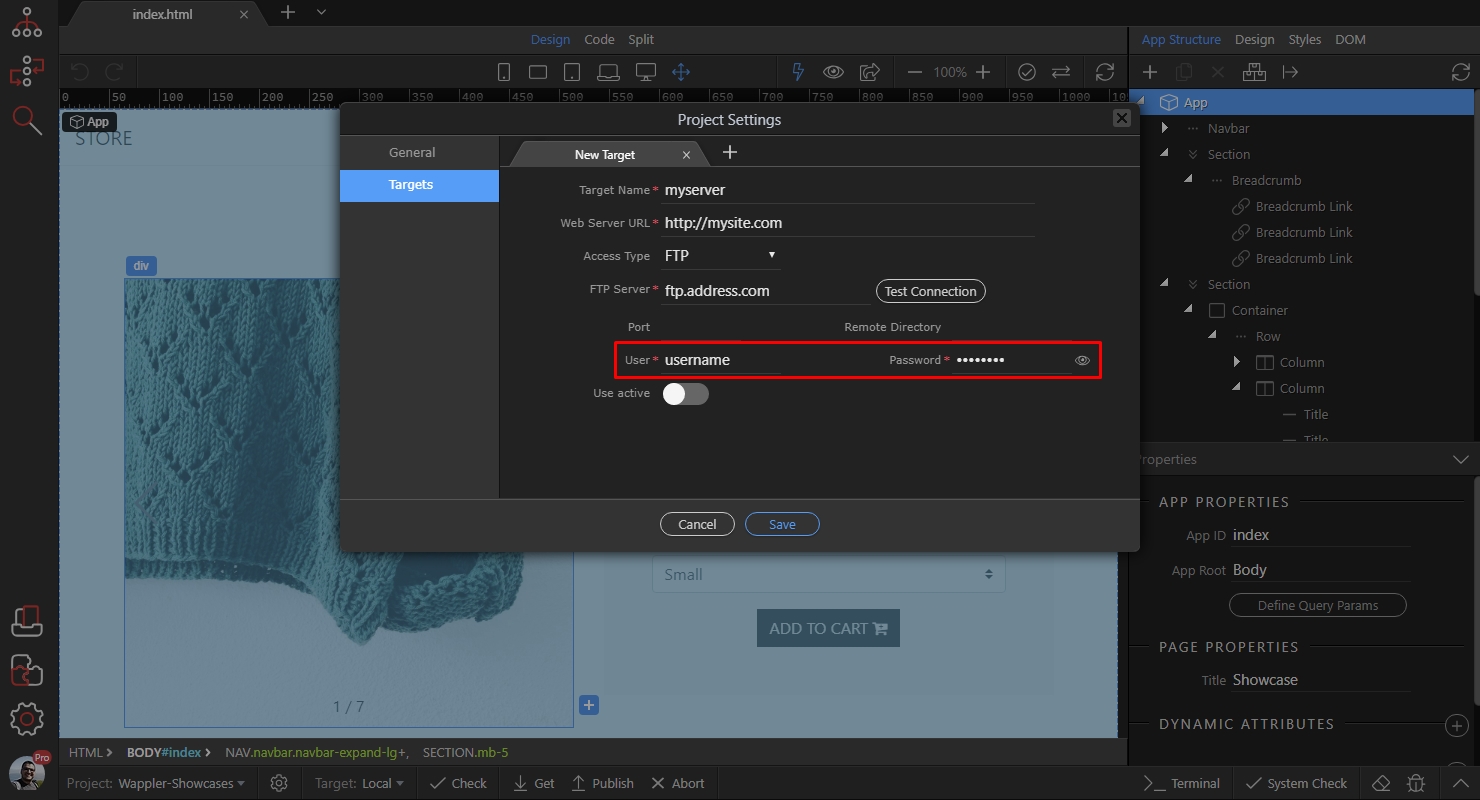
Then enter your FTP user details (provided by your hosting provider):
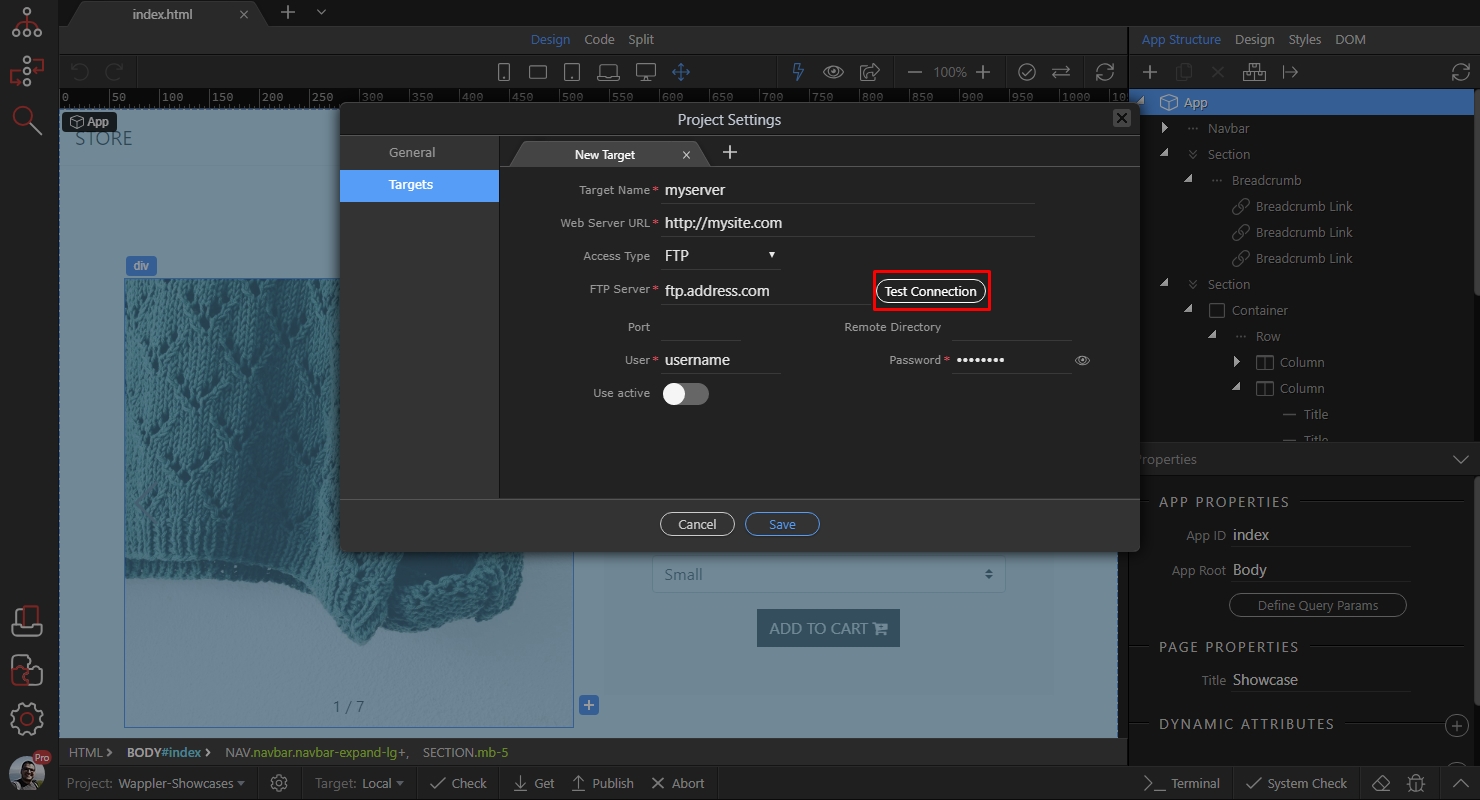
When you are done entering the FTP details, click the Test Connection button:
In case of a problem, you will see an error message:

If the error message says “Can not find the uploaded files. Probably wrong path…” then that means that either your entered site URL is wrong, or the remote directory is wrong, so make sure to check the details provided by your hosting provider.
If your details are properly entered you will see a success message:

This means that the connection with your server has been successfully created and you can select this target and upload/publish your files there.
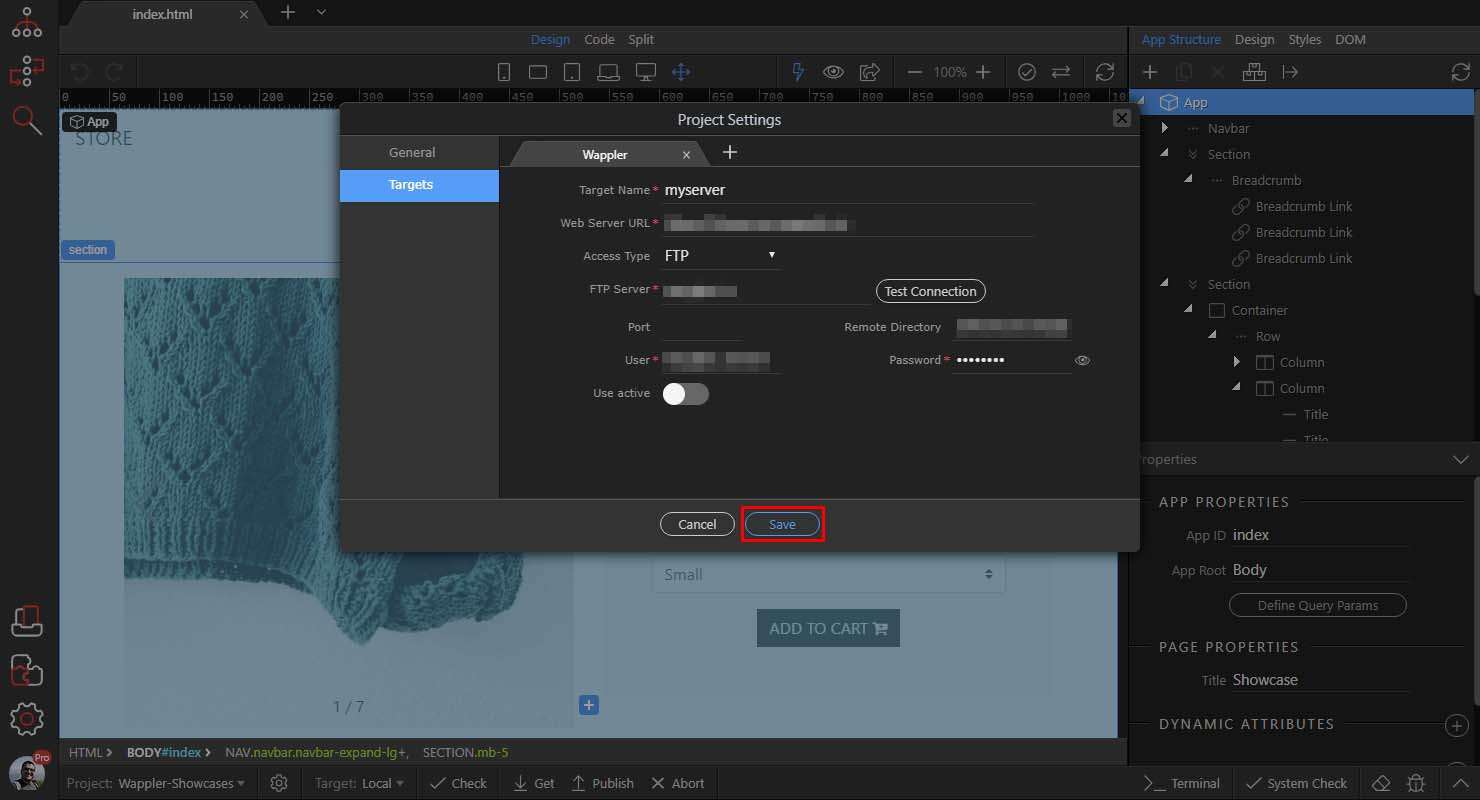
Click the Save button to save your target:
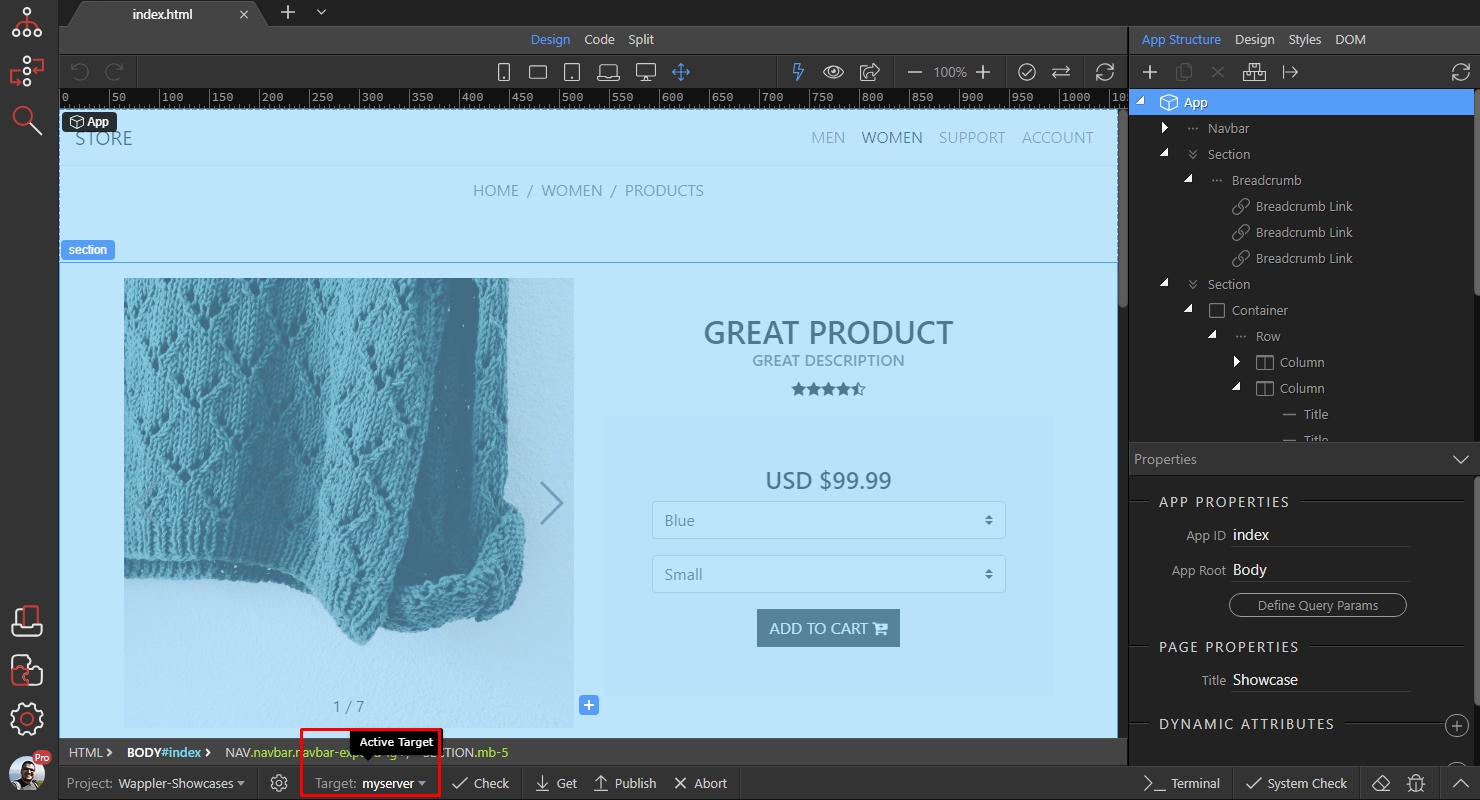
The last thing you need to do in order to start publishing to this target is to “activate” it.
Open the Targets menu at the bottom of the screen, then select it:
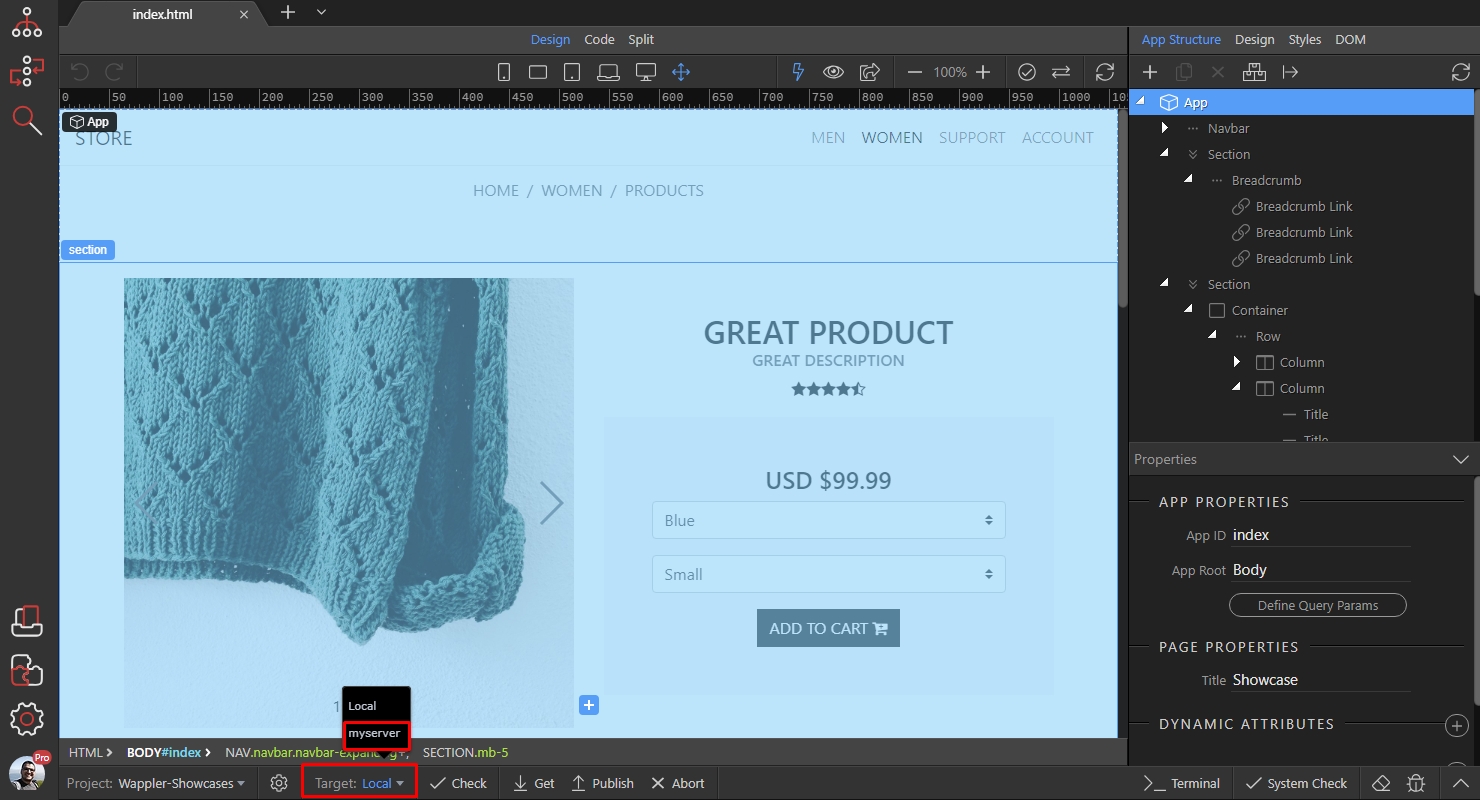
Once activated - you are working on this target. All the files that are saved will be uploaded there, all the database connections you set up will use this target to connect to the database and all the files you choose to upload will be uploaded there:
NOTE: it is important to understand the difference between an FTP connection and a Database connection. The FTP connection connects you to your server, allowing you to upload your files there.
In order to create a Database connection in Server Connect, you need to have the FTP connection set up and your target selected in the targets menu.