Setup AWS hosting with Docker
You can easily create a new server for your hosting on Amazon AWS with just a few clicks.
In order to use Docker with AWS you need to have an AWS account.
Creating an AWS account
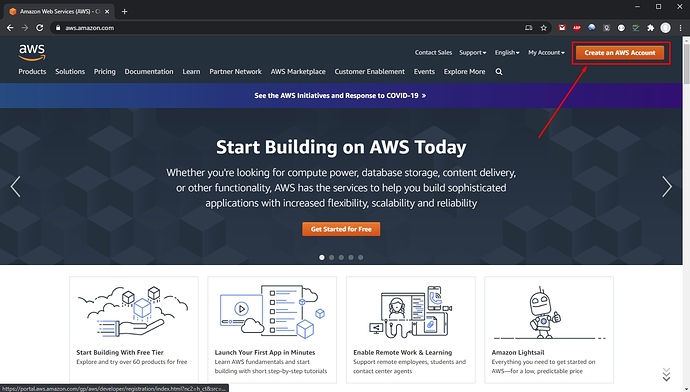
If you don’t have an AWS account yet, go to https://aws.amazon.com/ and create one:
Follow the steps and setup your account.
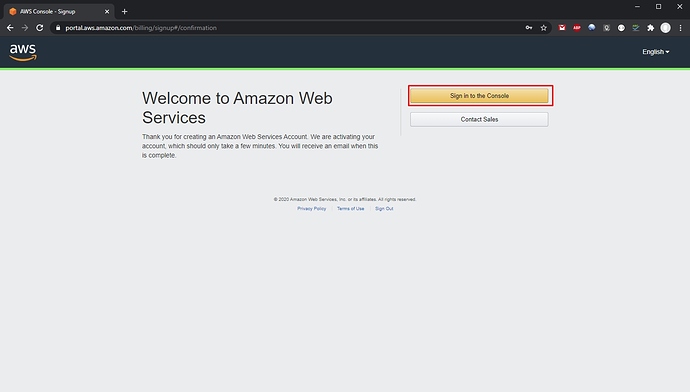
When you are done setting up your account, log into the AWS Console:
Setting up user and access
Once you have your AWS account ready you need to setup an user and access keys for it.
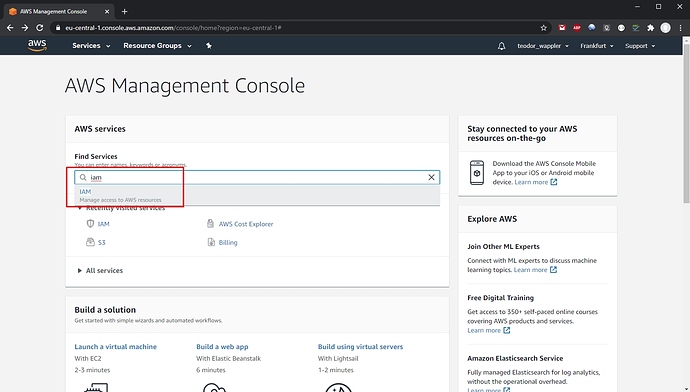
Open https://console.aws.amazon.com/ and you will see the AWS console with all the services available. In the search bar type iam and select the IAM service which appears in the search results:
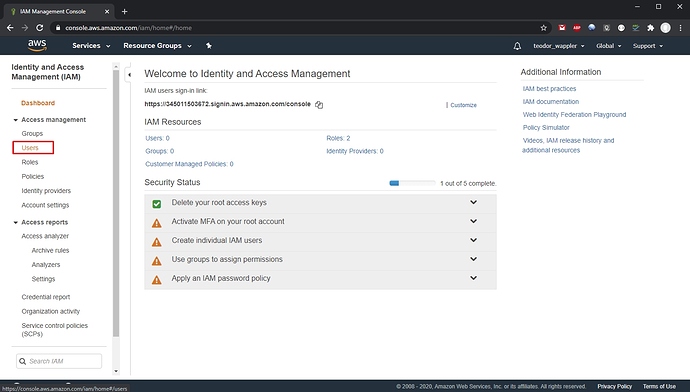
Select Users in the left menu:
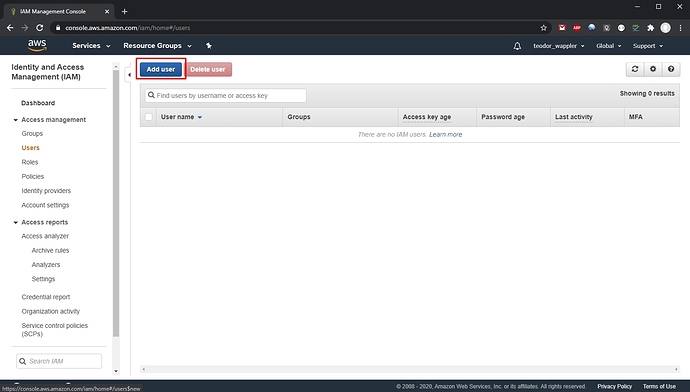
Then select Add user:
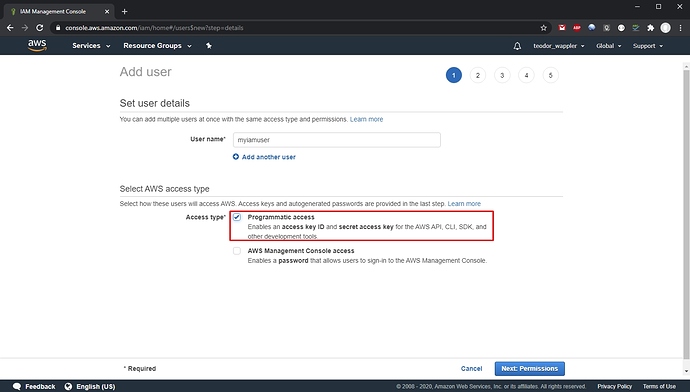
Add a username and select the Access type for your user. We need to select the Programmatic access option here, as it provides the access keys we need for our user. Click Next, when you are done:
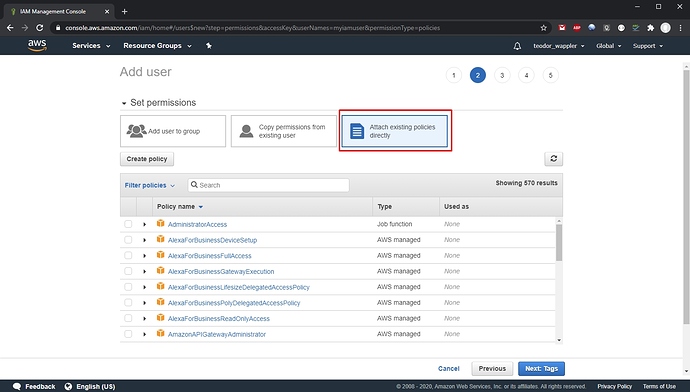
Select Attach existing policies directly:
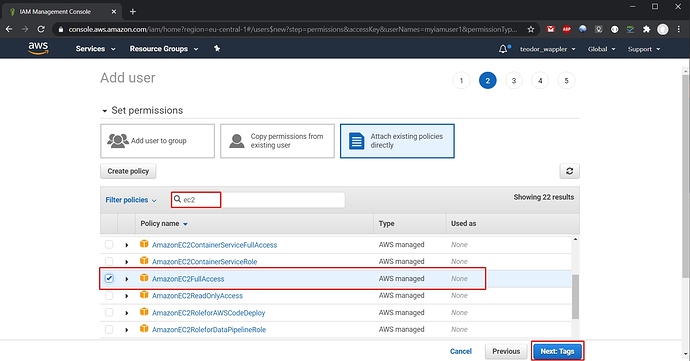
Filter the policies by typing ec2 and select AmazonEC2FullAccess, click Next:
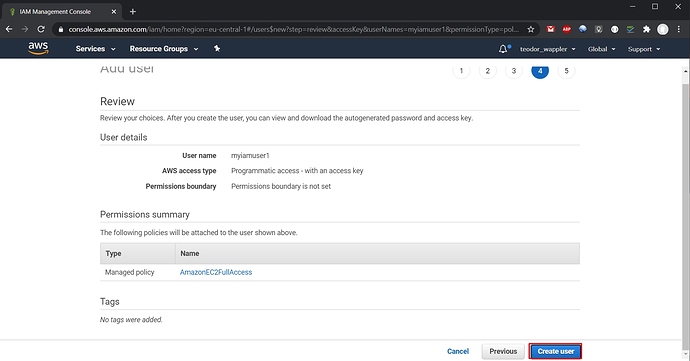
And select Create user:
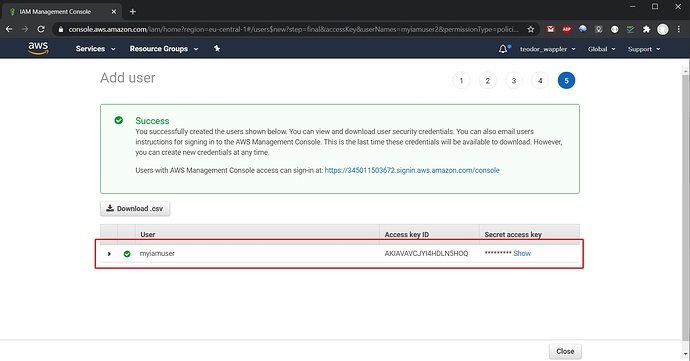
You can see your user has been created. Make sure to copy the Access key ID and the Secret access key for your user, as they will be needed for the Docker machine:
Creating Amazon AWS Docker Machine
Now as you created your user, let’s setup an Amazon AWS Docker machine.
Create a new target
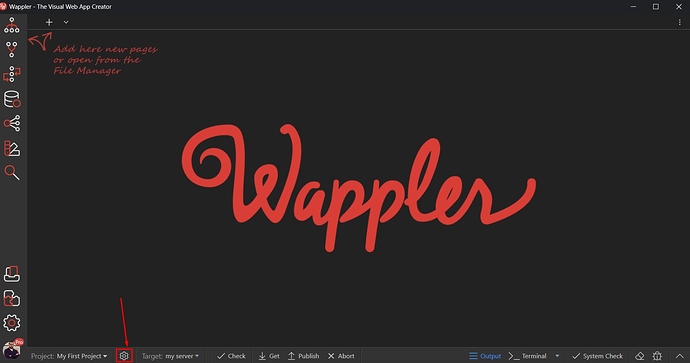
Click the Project Setting button:
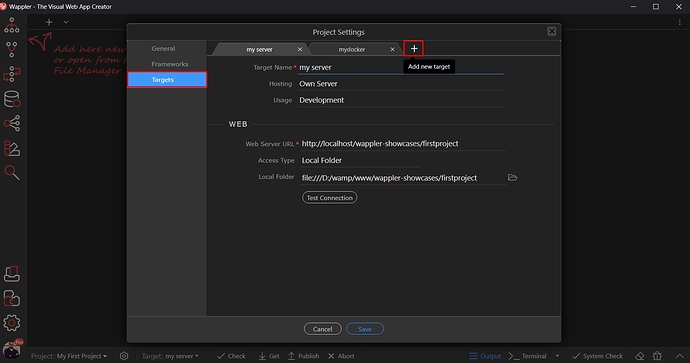
Select Targets and click the Add New Target button:
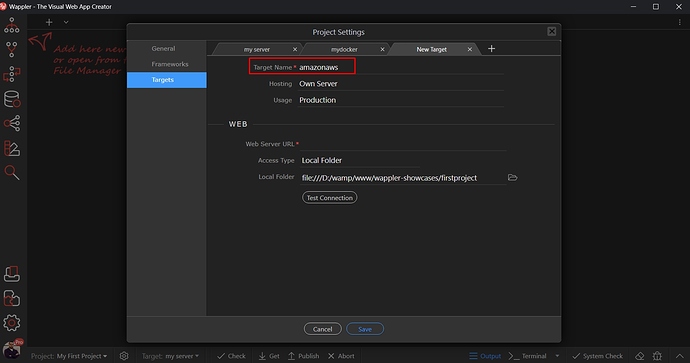
Add a name for your target:
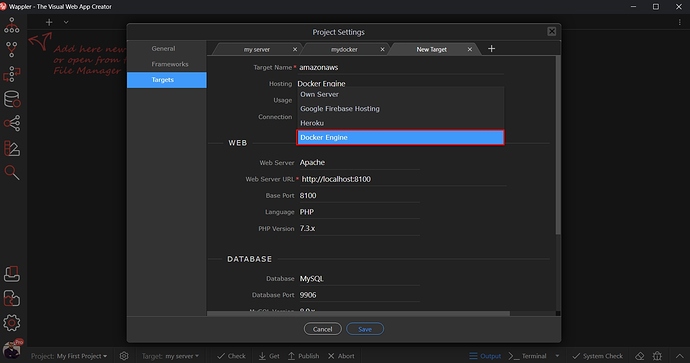
Open the Hosting dropdown and select Docker:
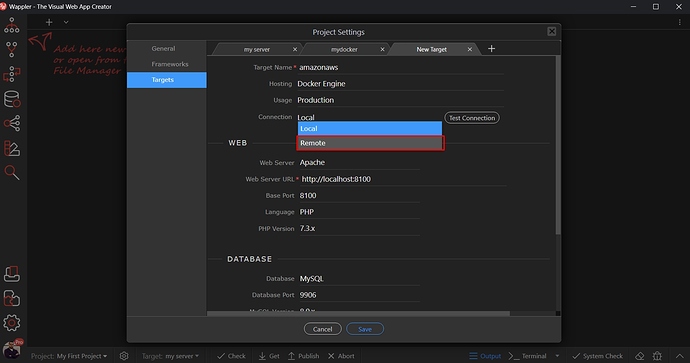
Then set the Connection to Remote:
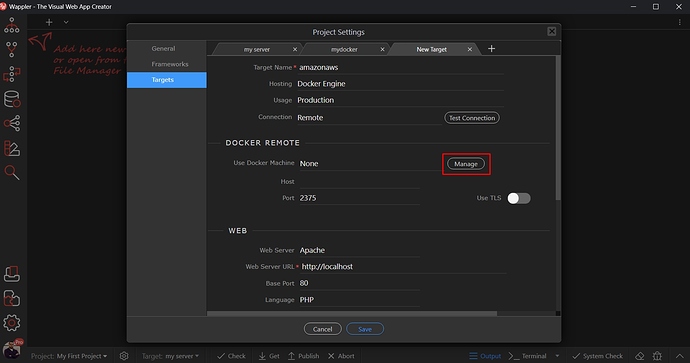
And click the Manage button:
Create a New Docker Machine
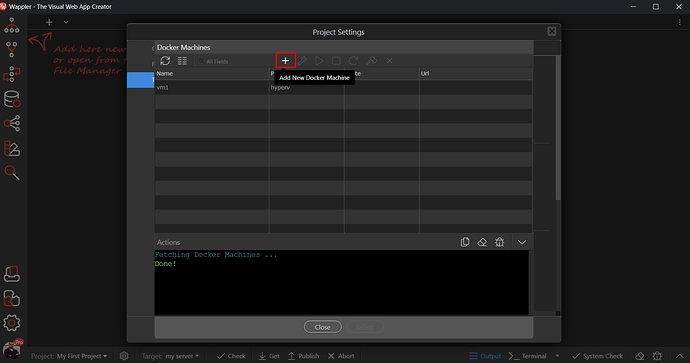
Click the Add New Docker Machine button:
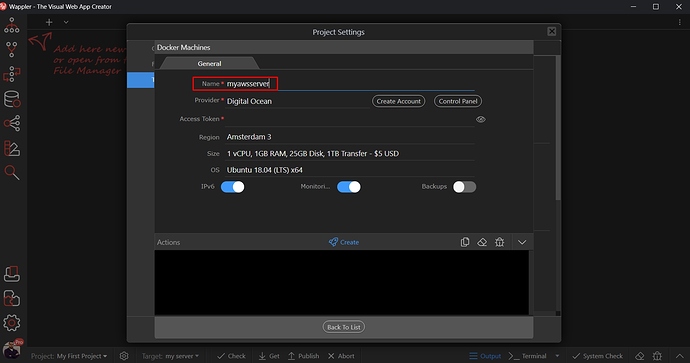
Add a name for it:
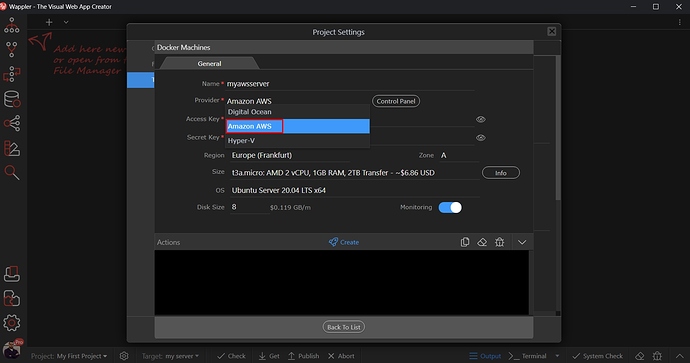
Open the Provider menu and select Amazon AWS:
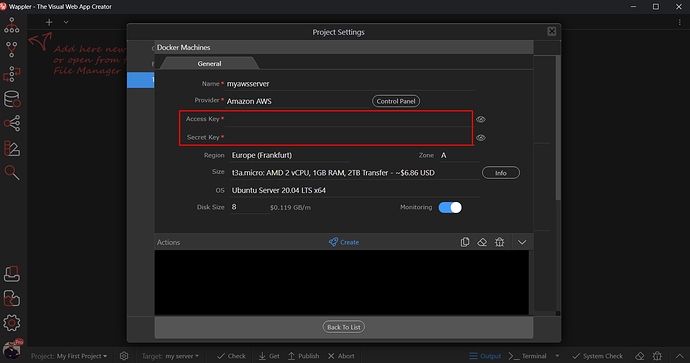
Then enter the Access and Secret Keys for your Amazon AWS user, which we already created:
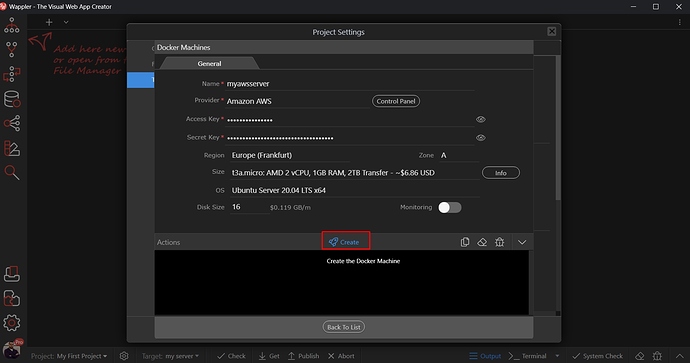
Setup the Region, Size and OS options for your machine and click the Create button:
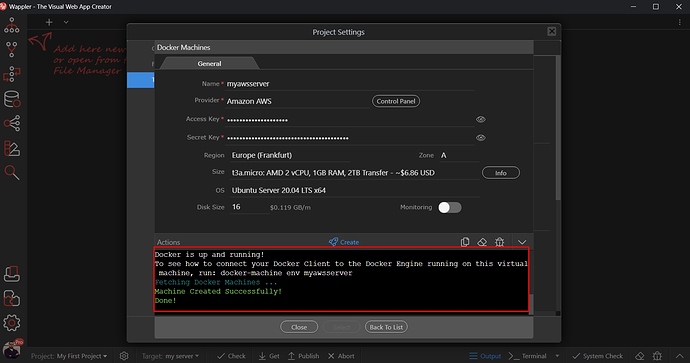
You will see the Success message, when the machine has been created for you:
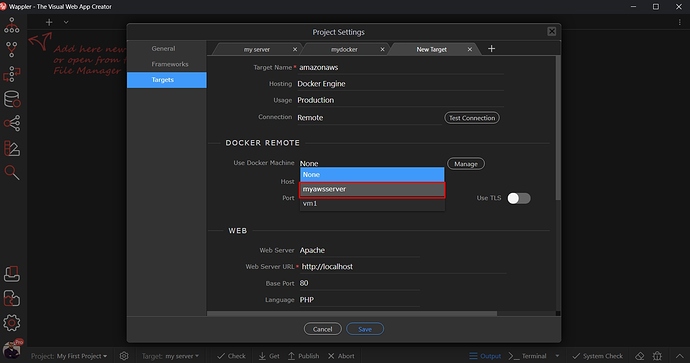
Then select this machine from the dropdown:
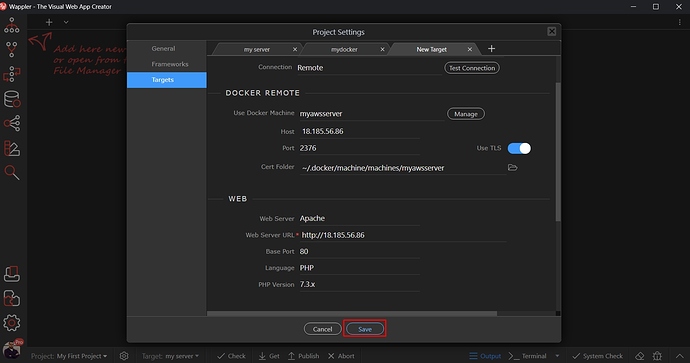
Click the Save and close the project settings:
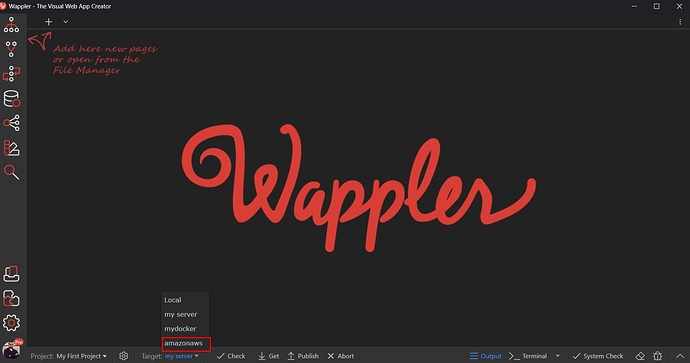
And you are done, just select the new Amazon AWS target from the Targets dropdown:
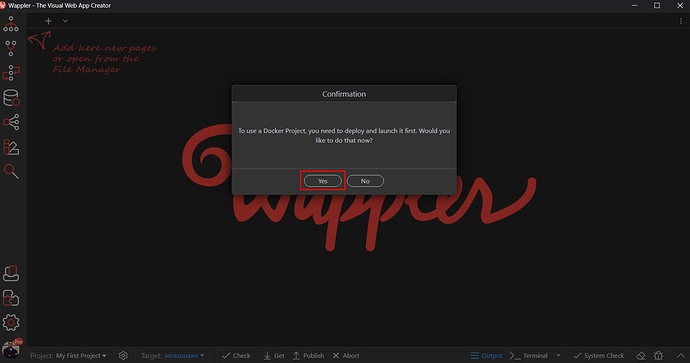
And you are ready to deploy:
Just open your site in a browser to preview it!
