Logout - Create a Working User Logout Button
Wappler makes Logging out users a simple step by step process
In order to log users out you need to create a server action and link it to a Log Out button, when your button is clicked it performs all the server-side and client-side steps to properly log users out.
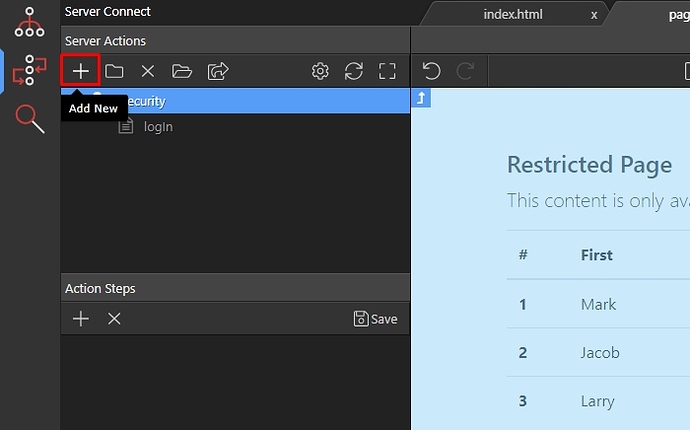
Step 1: First, create a new server action:
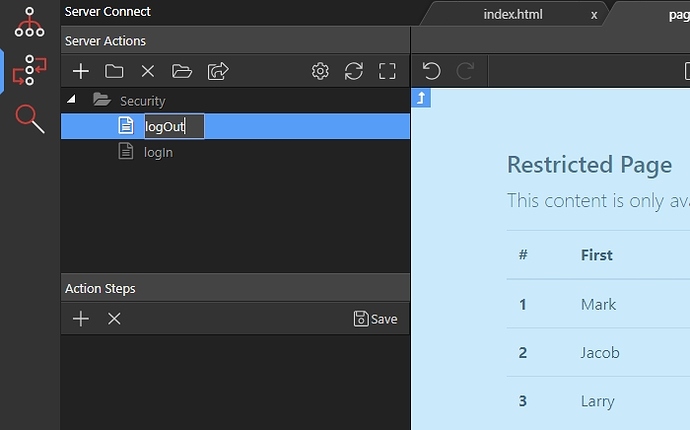
Step 2: We call it logOut:
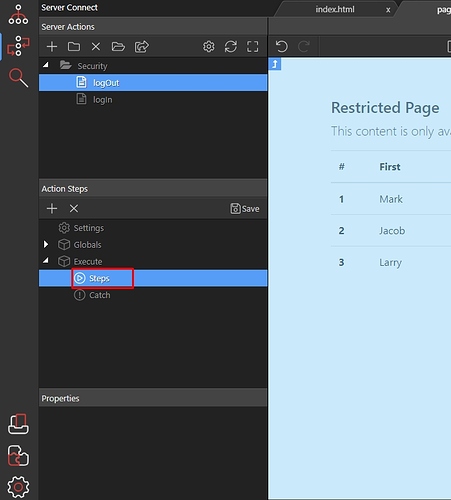
Step 3: Right click it’s steps:
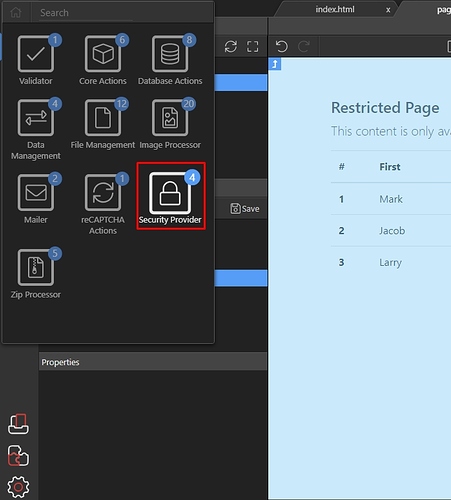
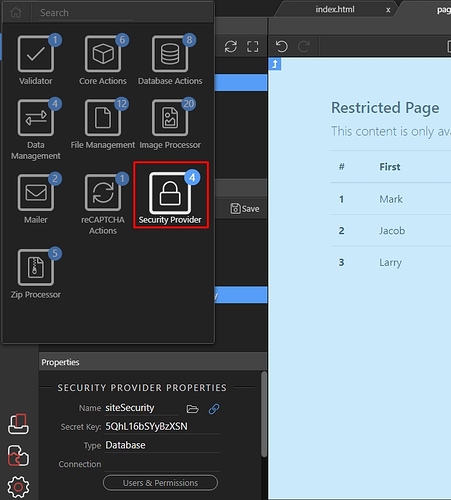
Step 4: Open the Security Provider group:
Step 5: And click “Add Security Provider”:
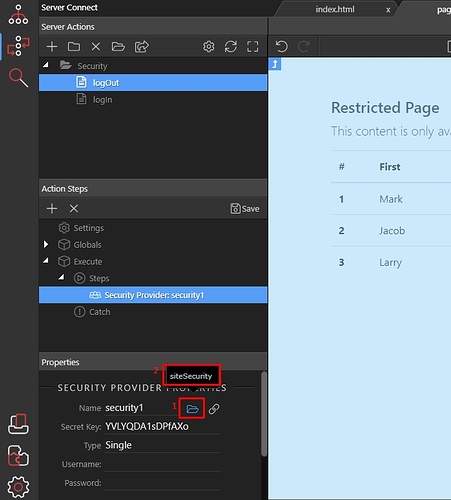
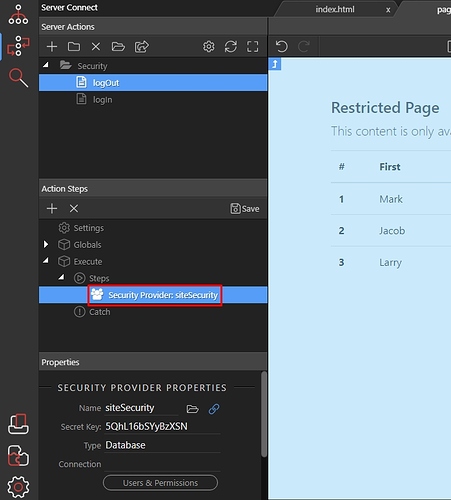
Step 6: Click the load icon(1) and select the security provider you linked for your site(2):
Step 7: Then right click the security provider step:
Step 8: Open the Security Provider group:
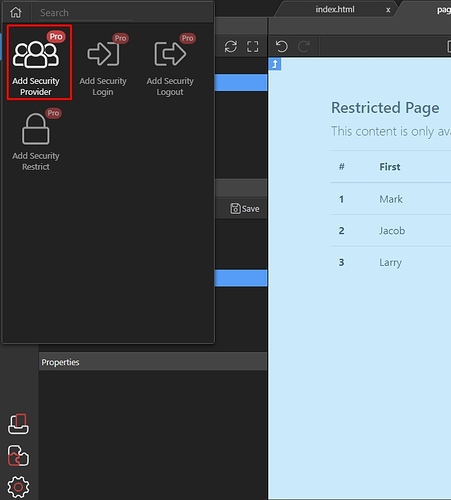
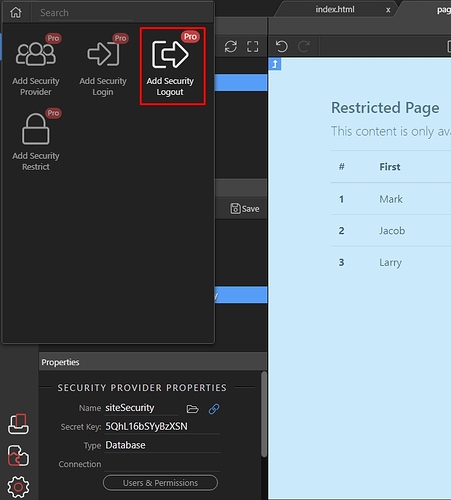
Step 9: And click “Add Security Logout”:
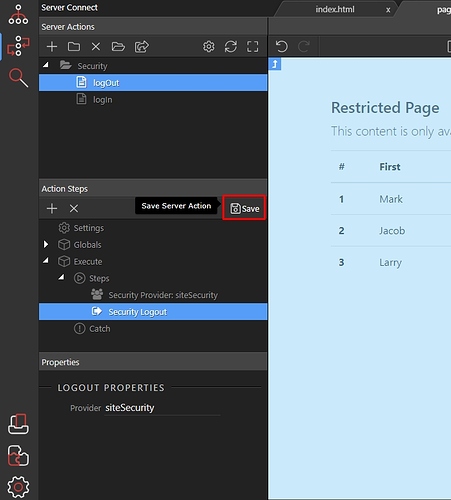
Step 10: Save your server action and we are done with the server-side part:
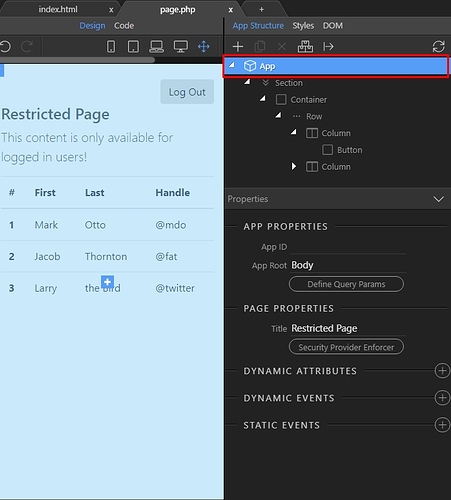
Step 11: On your page select “App” in the “App Structure” panel:
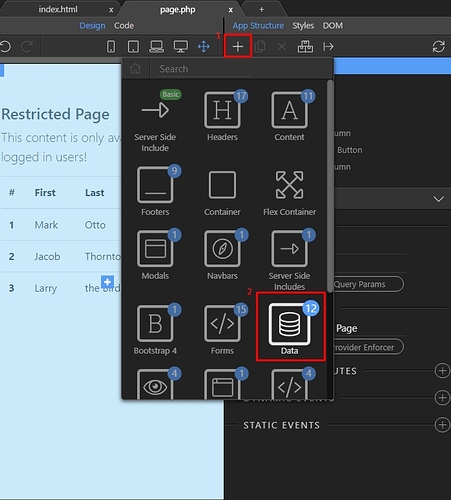
Step 12: Add new component(1) and choose the “Data” group(2):
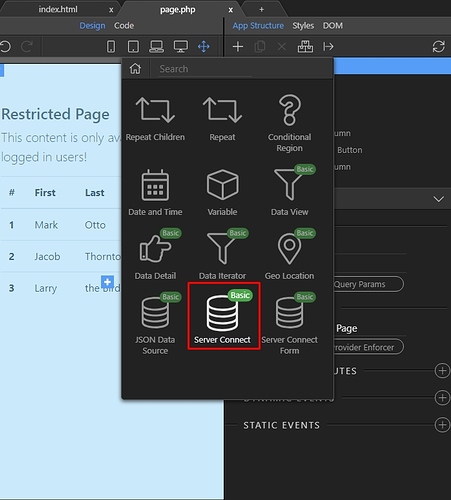
Step 13: Add “Server Connect”:
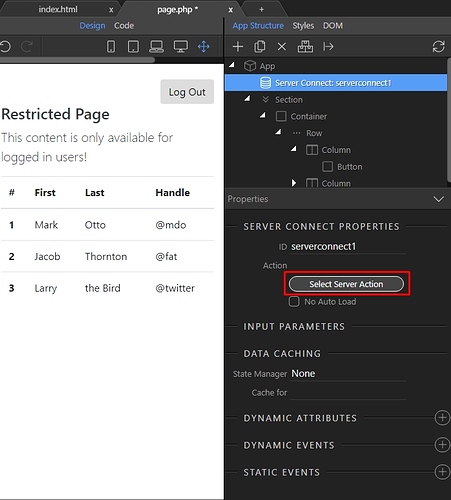
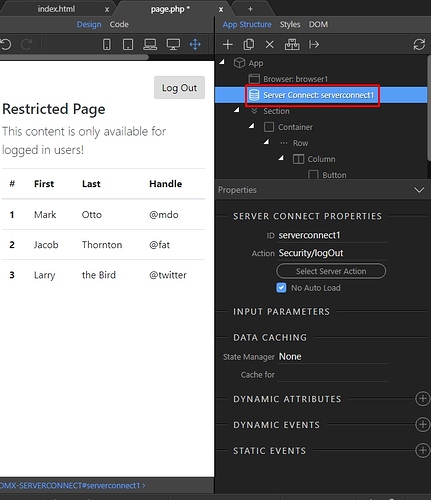
Step 14: Then click the “Select Server Action” button:
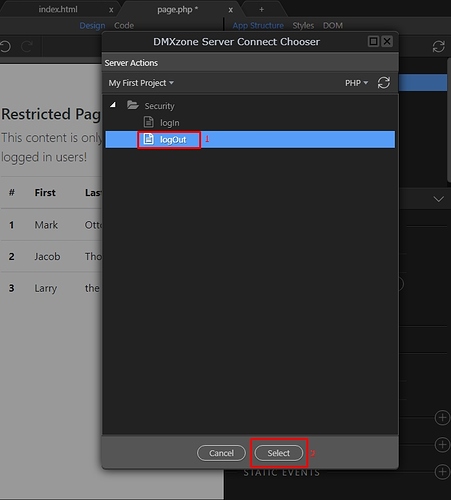
Step 15: And select the “logOut” action we created above:
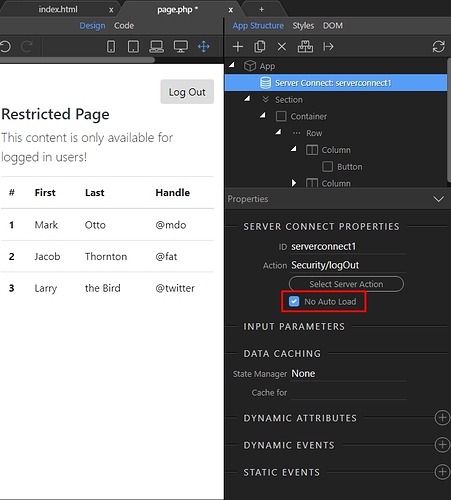
Step 16: This is really important - do not forget to turn the NO AUTO LOAD option on.
This will prevent the server action from auto executing when the page loads. You don’t want to load the log out action, when the user loads your page, right?
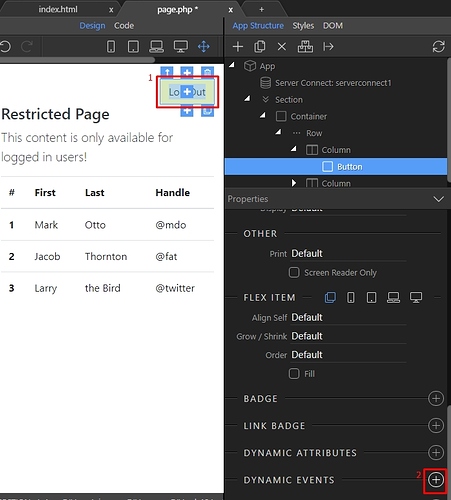
Step 17: We only want it to run when the “Log Out” button is clicked. Select the “Log Out” button(1) and add a new dynamic event(2):
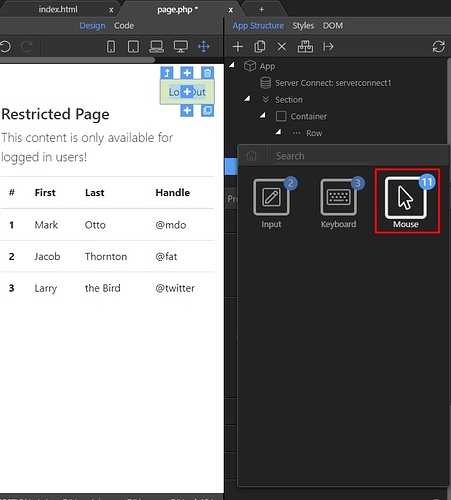
Step 18: Select the “Mouse” event group:
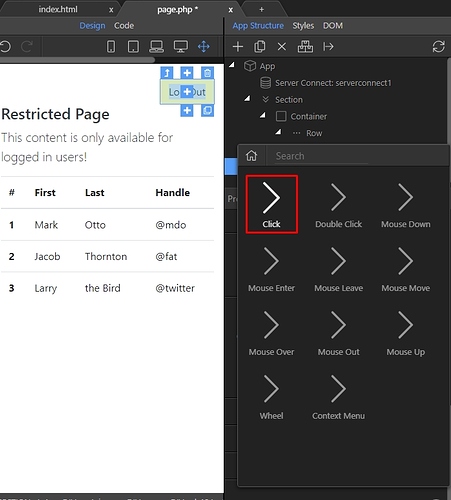
Step 19: And then choose the “Click” event:
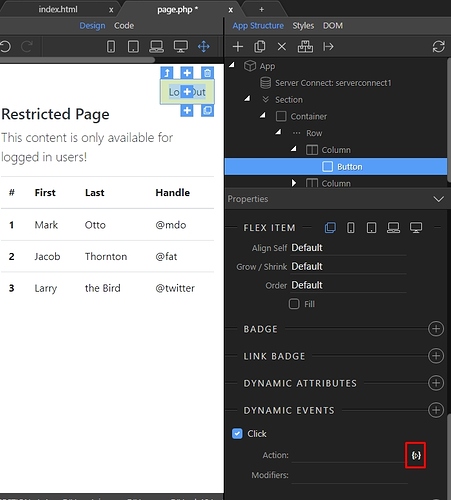
Step 20: Press the dynamic action picker button:
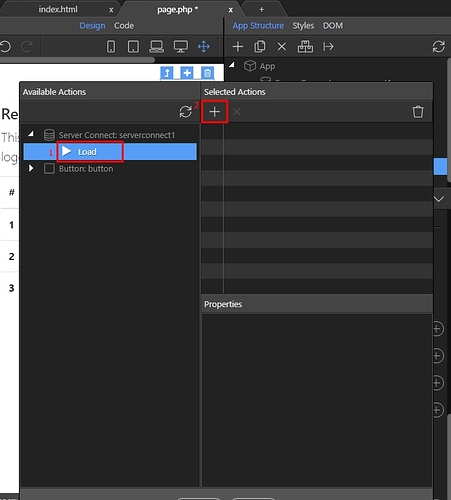
Step 21: And under the logout server connect component, select Load(1) and click the Add button(2):
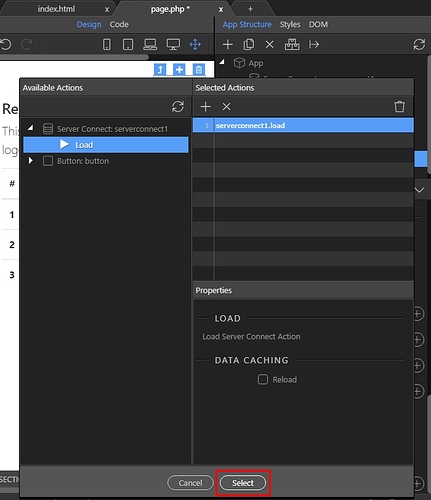
Step 22: Press the select button, when you are done:
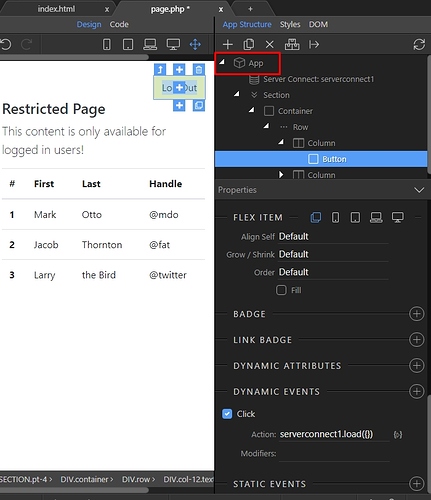
Step 23: Now, as we are done setting up the “Log Out” button - let’s add a redirect when the user logs out. Select “App” in the “App Structure” panel:
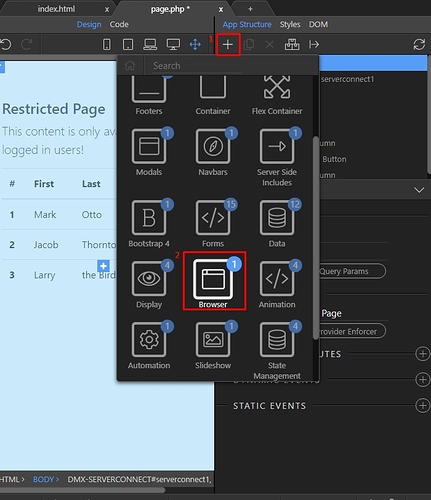
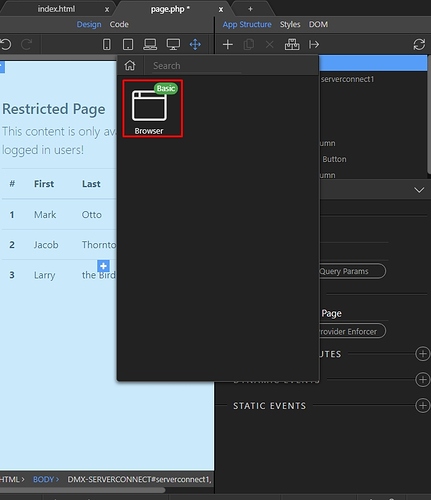
Step 24: Add new component(1) and open the “Browser” group:
Step 25: Add the “Browser” component:
Step 26: And select your logOut server action:
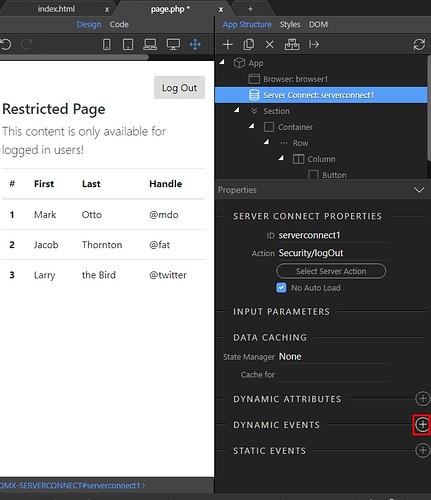
Step 27: Add a new dynamic event:
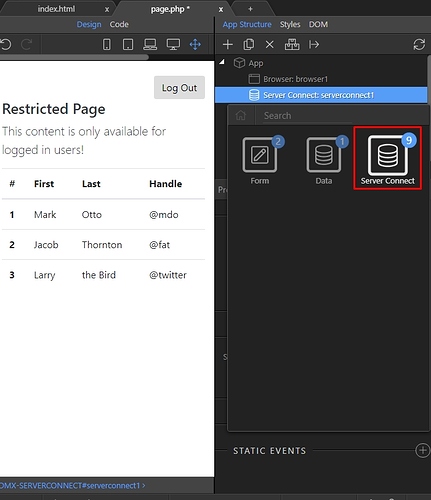
Step 28: Open the “Server Connect” group:
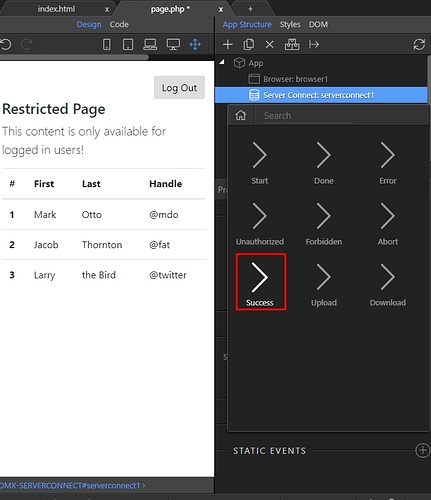
Step 29: And choose the “Success” event:
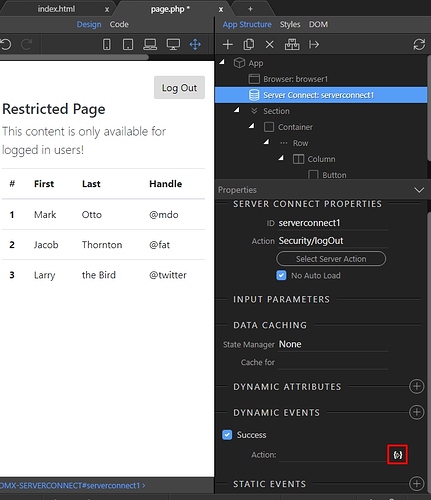
Step 30: Select a dynamic event to run on success:
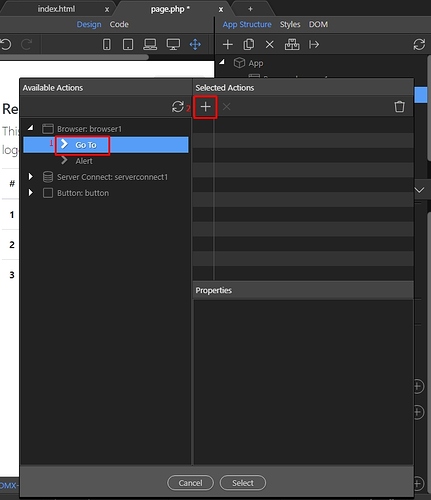
Step 31: Under the “Browser” component select “Go To”(1) and press the Add button(2):
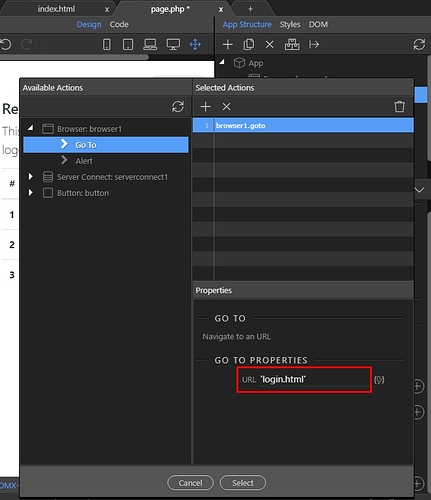
Step 32: Enter the page where users should be redirected to on successful log out. If you are entering a static value, you must wrap it in single quotes like: ‘page.html’:
And you are done!
