Stripe Integration Part 4a - The basic Payment Action - App Connect Page
This is a longer tutorial so i have split it into 2 parts dealing with the App connect and server Connect sides separately Most of the required code is availabl
This is a longer tutorial so i have split it into 2 parts dealing with the App connect and server Connect sides separately
Most of the required code is available from the stripe APi documentation then a few minnor customisations are required
Take a look at the Stripe.js and Elements page here
From here we need to take some HTML, CSS and Javascript
On that page you will see a section were you can copy the code

Copy the HTML code to your new page, I suggest you create a new page, add app connect and bootstrap, create a container and paste the html into the container
Secondly you need to create the CSS and JS for the page
Personally i prefer to create separate CSS and .JS files to hold the information
Create these pages and then copy the .JS and CSS code from the CSS and Javascript tabs on the stripe page
I include example files here as zip files
HTML Page:
stripepay.zip (1.1 KB)
CSS Page
style.zip (482 Bytes)
Javascript
elements.zip (1.0 KB)
The sample HTML file shows where to add your JS links which must be after the form tags
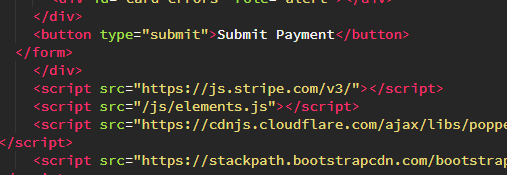
Don’t forget to include the css file in the header

In testing this I found that when I added APP connect and Bootstrap to the page the card processing div did not display correctly and appeared to have a width of 0.
Hence i have made on change to the CSS provided by stripe and added a width attribute, in this case width:100%; This cured the problem

We need to pass a checkout value to the stripe API.
To pass values to the checkout we use hidden fields. As the use of an amount input could easily be hacked via the developers console we do not send the amount to the checkout, we send a product code and allow the price to be collected via that within the server action
In this simple example i am going to send the product ID of one item to the checkout
We can see this is the sample code:
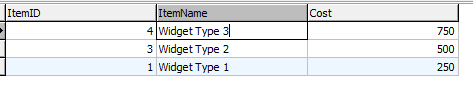
<input type="hidden" name="ProductID" class="form-control mb-3 StripeElement StripeElement--empty" dmx-bind:value="1">
This will provide a Product ID to match this simple products table, in this case a Widget Type 1
Lastly note the browser.goto
dmx-on:success="browser1.goto('success.php')"
The stripe checkout really screws with the server action which actually runs in the browser window and returns either a blank screen (if output off) or the returned json which you definable don’t want the customer to be able to see.
Due to this a browser.goto is essential to take the focus to a new page
NOTE I have not forgotten about checking for status returns to indicate failure issues, we will come back to that later
Next we will look at the Server Connect side of the process