Using API Data Source
In this tutorial we will show you the basics of API Data Source. We are going to connect to the popular Unsplash API to retrieve the latest photos in a nice masonry layout.
This API requires an api key, which we already retrieved. Please make sure to check the Unsplash docs: https://unsplash.com/documentation to learn how to get your own API key.
Note, that every API has its own documentation and its better to check it before start using it.
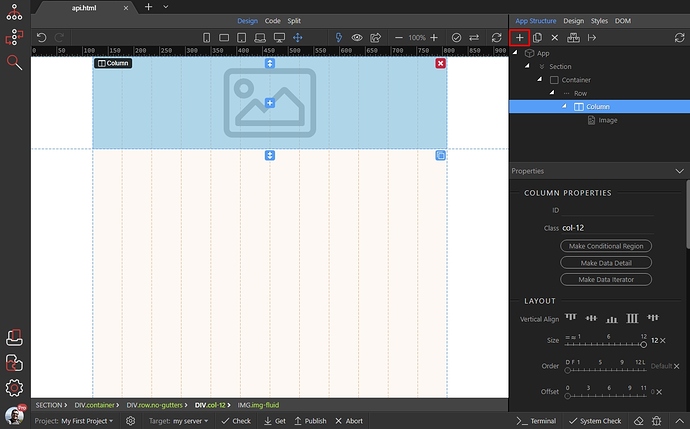
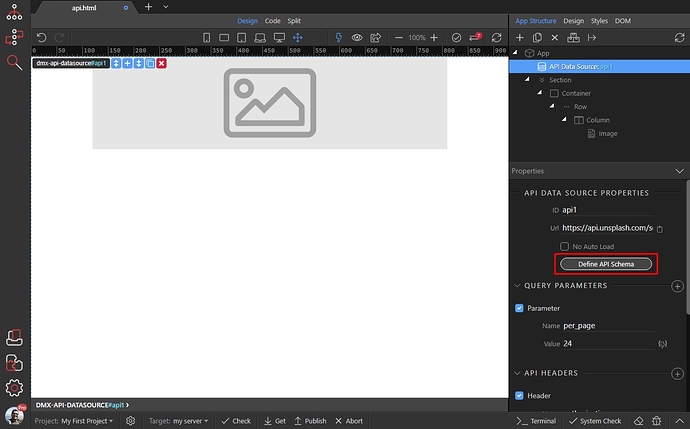
We added a simple layout, which will be converted to a masonry grid later. It contains a bootstrap 4 container, with a row and column inside it. We added an image inside the column. Click the add new component button:
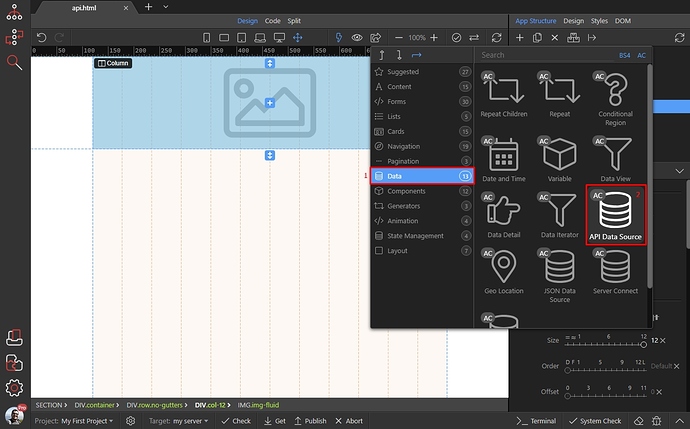
Then open the Data category (1) and add API Data Source (2):
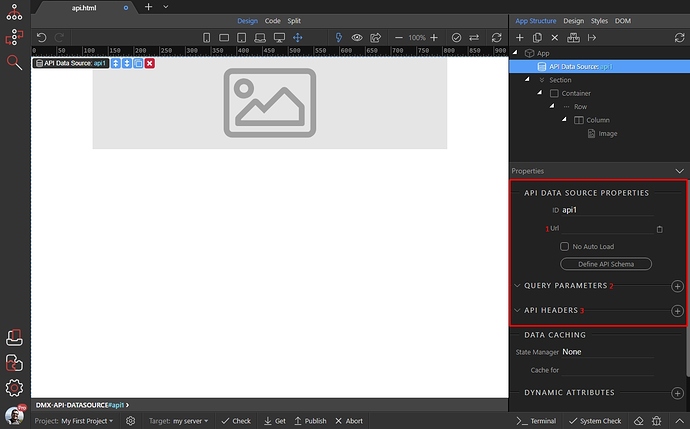
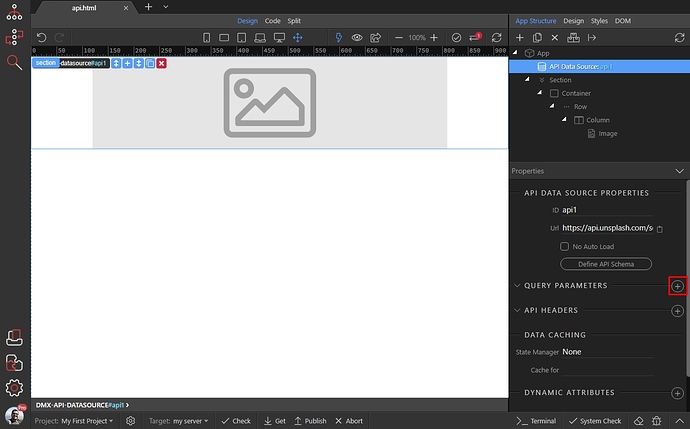
You will find the API Data Source component properties in the properties panel. Here you Add API URL (1) and Query Parameters (2) and/or API Headers (3) if your requires so:
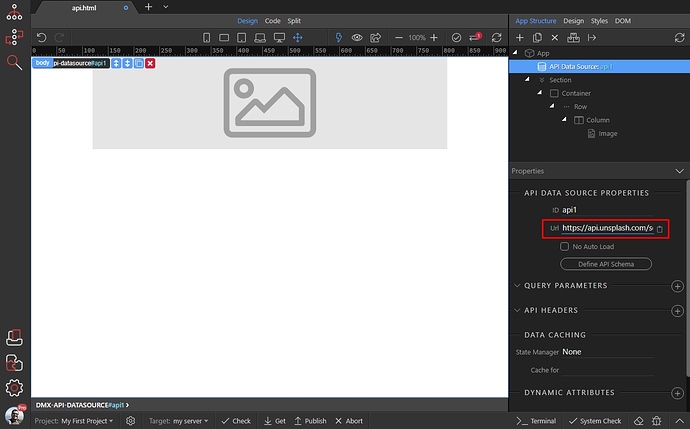
Firs we paste the API URL:
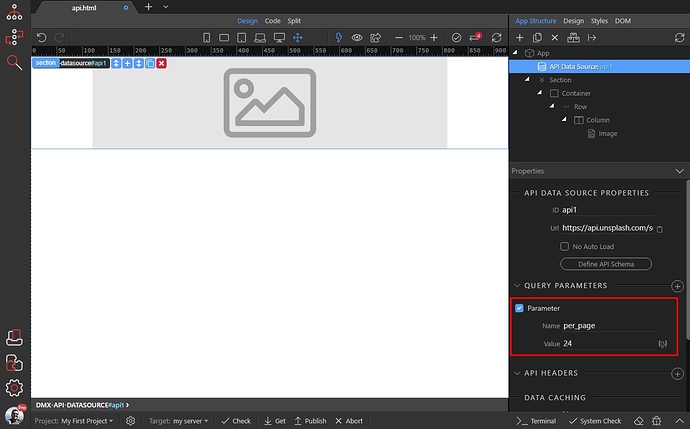
Then, as we want to limit the number of photos retrieved, as per API documentation we need to add a query parameter:
We add it, and assign a name to it. Also we add a value to it - it can be static or dynamic value. For static values, which are not numbers make sure to wrap your value with single quotes like: ‘staic value’. For dynamic values and numbers that’s not required:
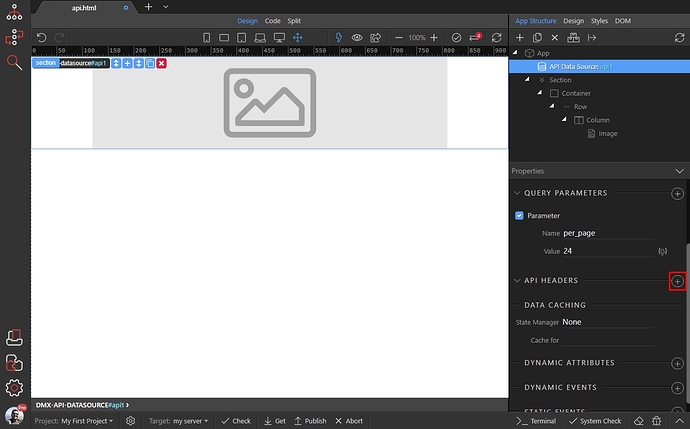
If your API requires, you can add header as well, just click the add new header button:
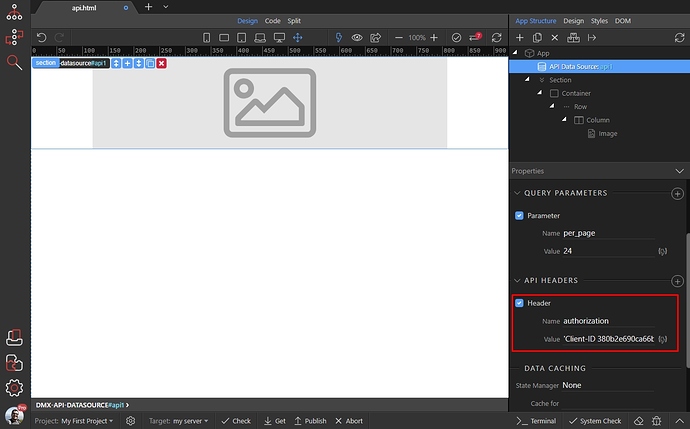
Add a name and value for it, again it can be static or dynamic value. For static values, which are not numbers make sure to wrap your value with single quotes like: ‘staic value’. For dynamic values and numbers that’s not required:
When you are done adding your parameters and headers, click the Defin API Schema button:
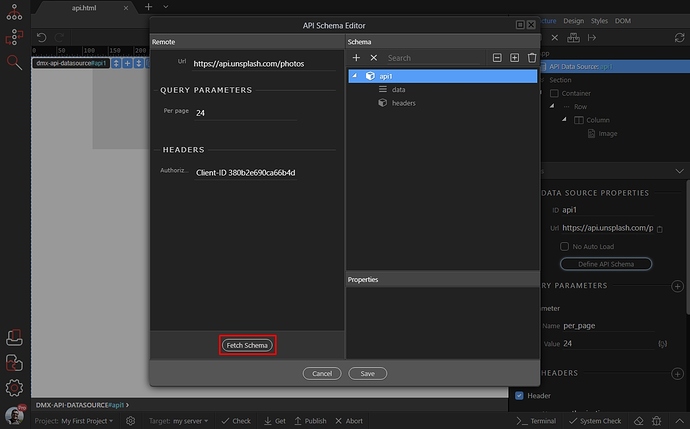
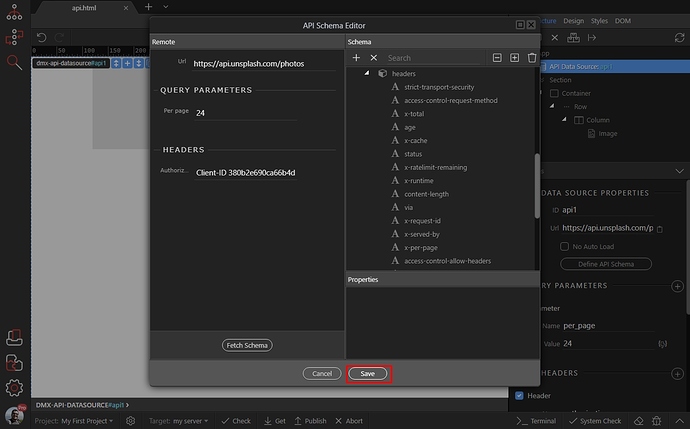
You will see your parameters and headers here, you can change them to test the data if you want. Click the Fetch Schema button, to retrieve API Schema. It will be used as a data source on your page:
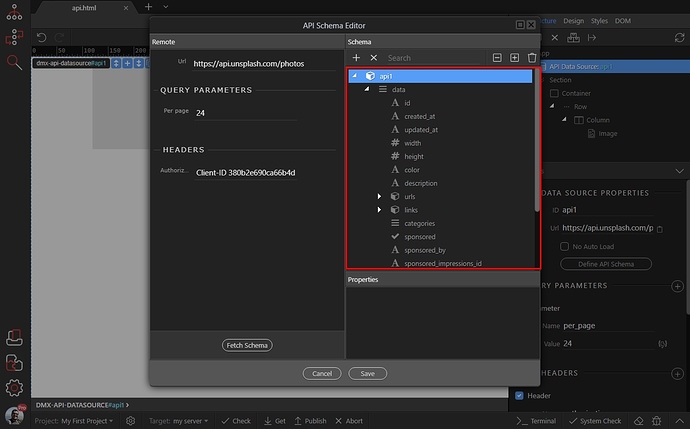
You will see the data, returned by your API under data:
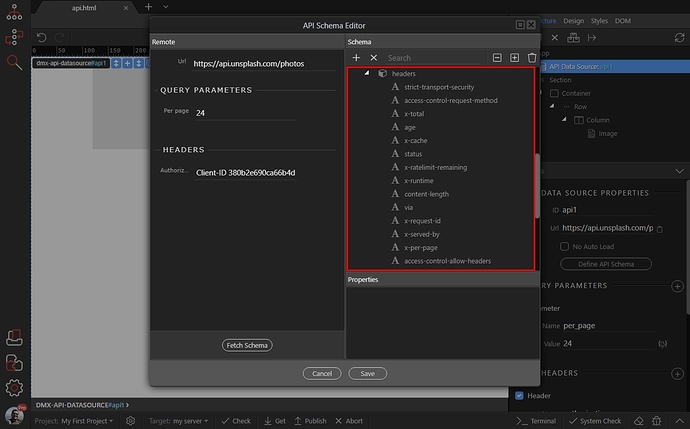
Also you will see any response headers returned. You can use the information from response headers on your pages later, if you need:
Click the save button:
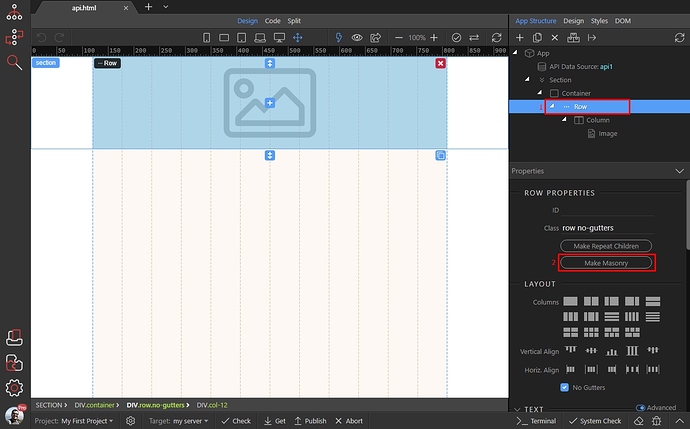
Now, let’s convert the row to a masonry grid and add the dynamic API data to it. Select the row element (1) and click the Make Masonry button (2):
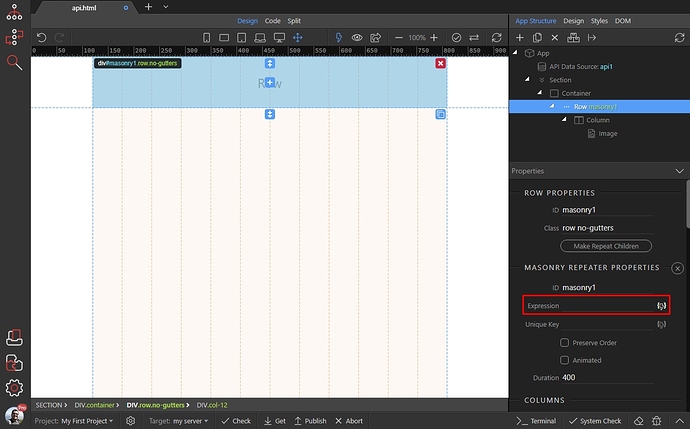
Then select a dynamic expression for the masonry:
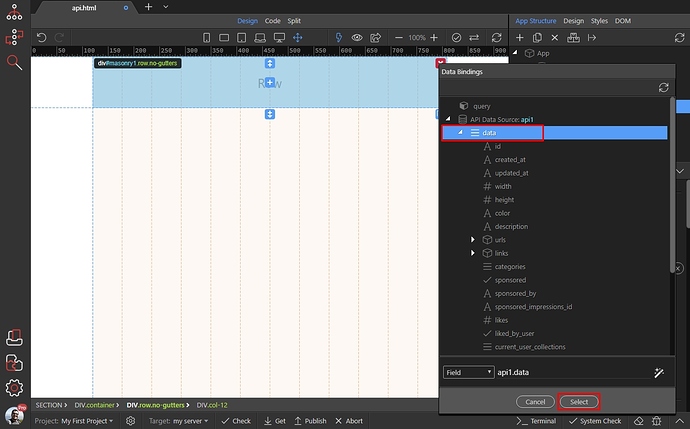
We select the repeating data element, returned by our API Schema:
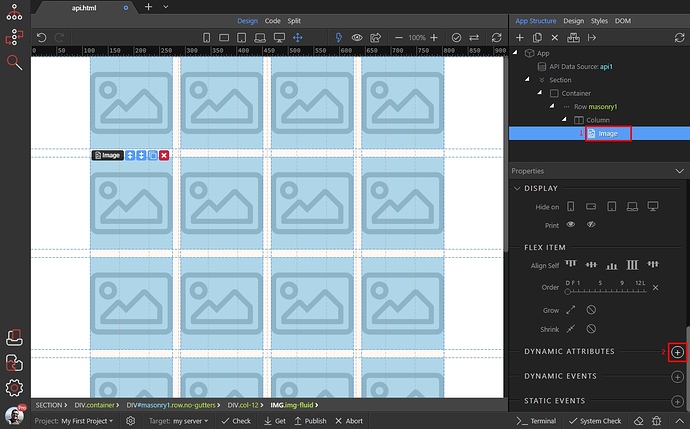
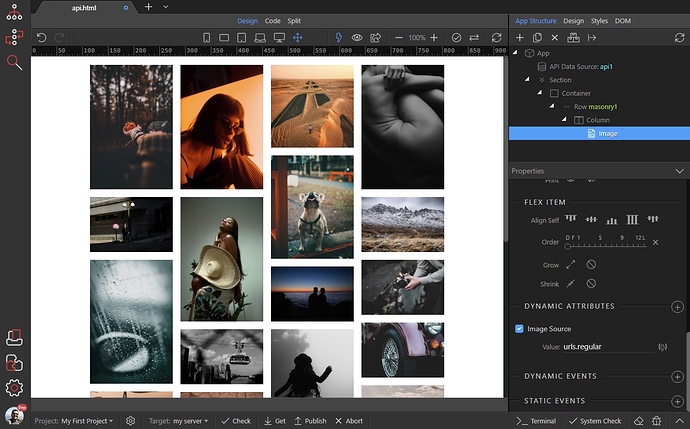
And you can see our images repeated 24 times. Let’s bind dynamic URL to the image. Select image (1) and add new dynamic attribute (2):
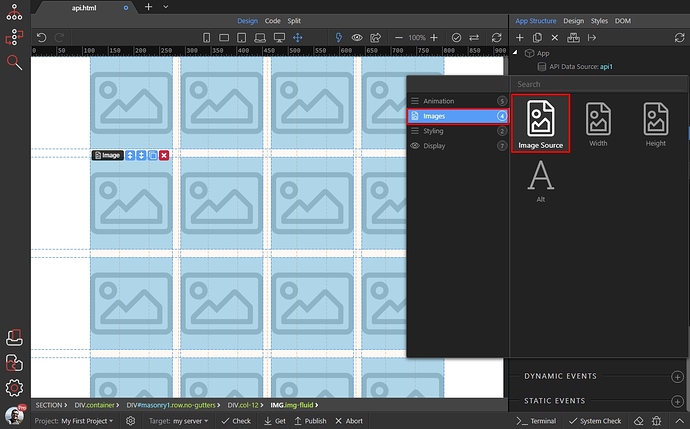
)Open the images category and click image source:
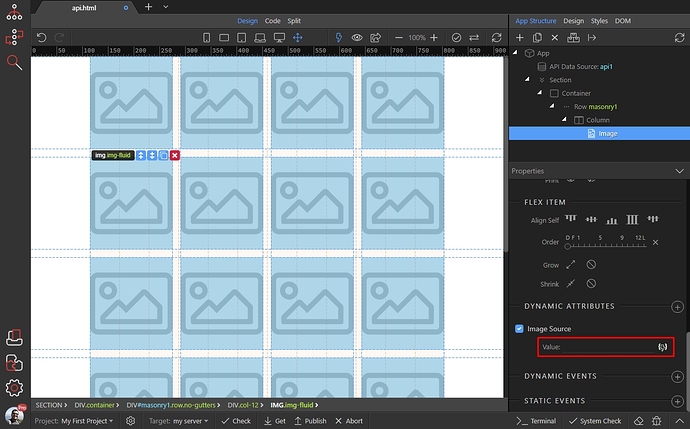
Then select an expression for the dynamic image source:
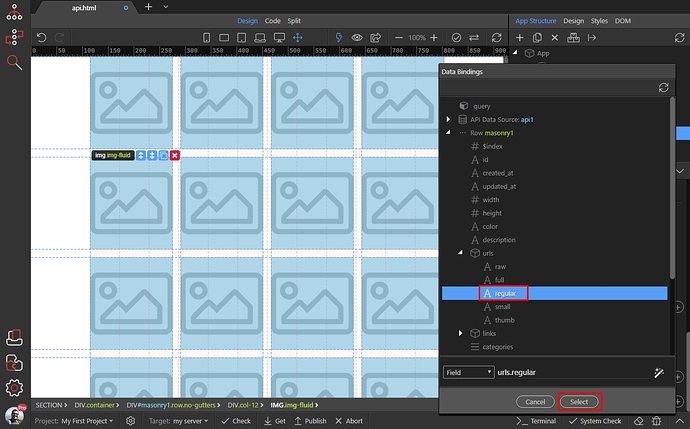
Our API returns different URLs fr different image sizes. We select the regular image size URL:
And we are done! Our masonry grid, showing images from a data API is rendered on the page:
That’s how easy it is to connect to a data API, get data from it and use this data on your pages.
