Using Data Transformations in Server Connect
Data Transformations Data Transformation options are available in Server Connect. Using them you can easily combine different data sources, add, rename or remov
Data Transformations
Section titled “Data Transformations”Data Transformation options are available in Server Connect. Using them you can easily combine different data sources, add, rename or remove columns from an existing data set.
The options available in the Data Transformations are not editing your actual data set, they clone the data and allow you to manipulate it, so your original data source remains unchanged.
You can use the Data Transformations with any collection/array such as - Database Query, API Data Source or any other array. In our example we will show you how to use Data Transformations with an API Data Source.
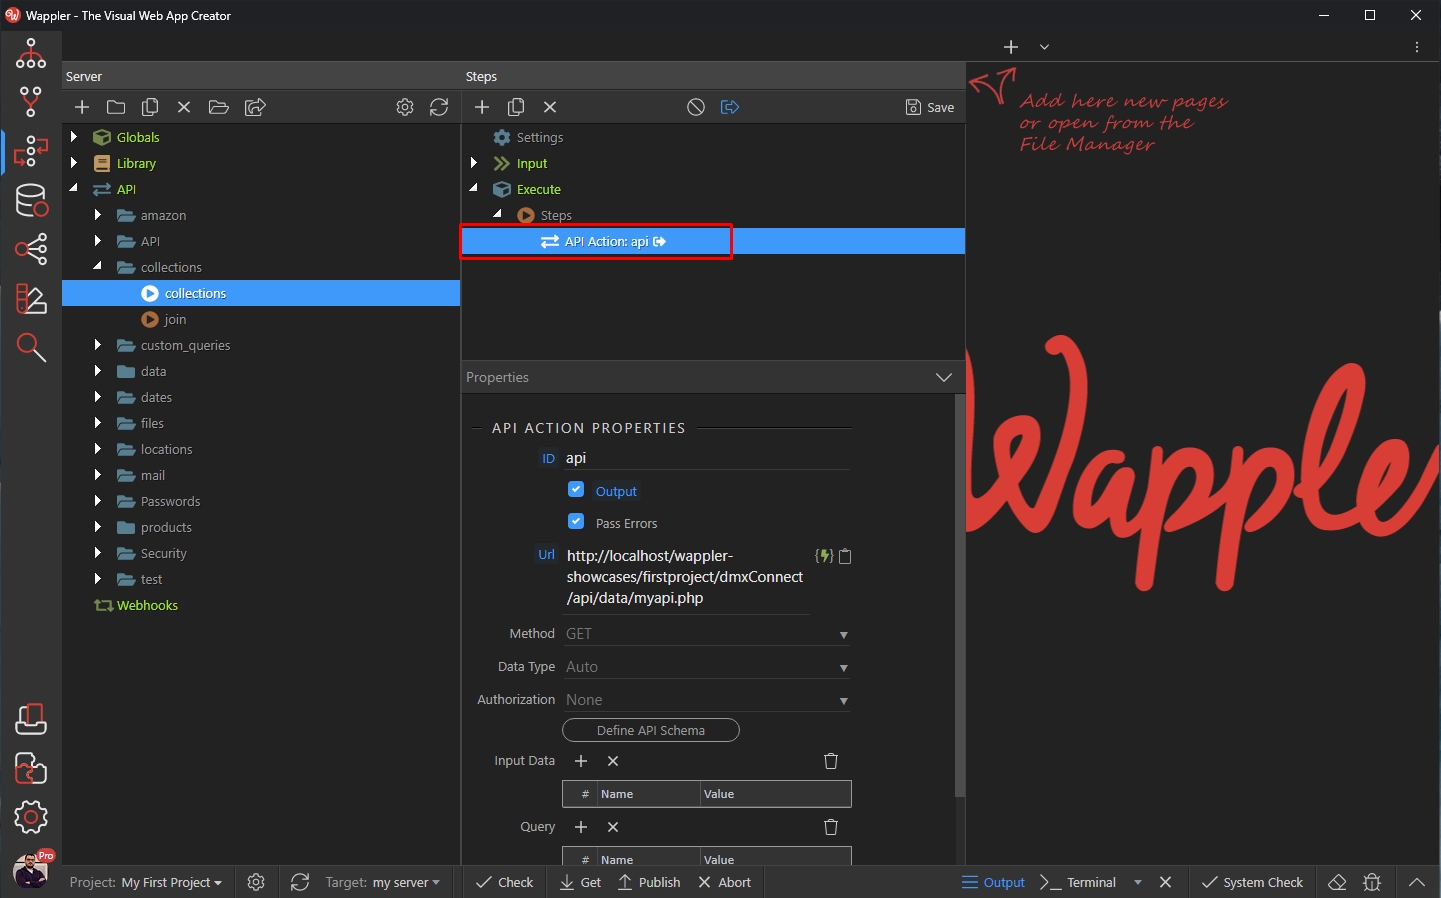
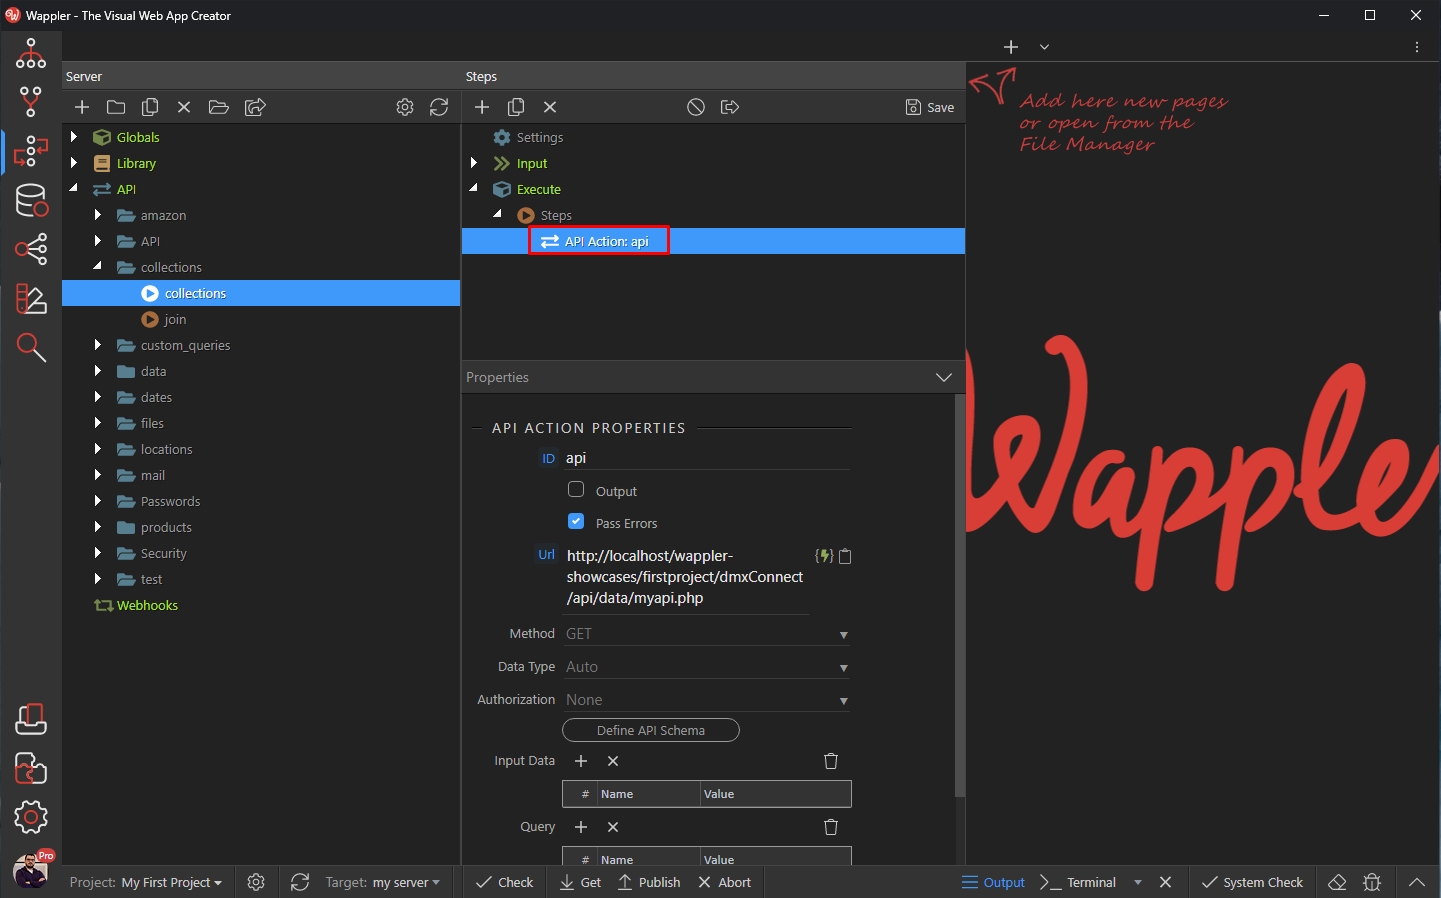
We created an API Data source, pointing to a custom API:
You can see its results if you enable the output option for this step and run the API Action in the browser:

So that's the data we are working with.
We disable the output for the API Data Source step, as we won't need to output the original data, but only the transformed one:

Rename Column
Section titled “Rename Column”You can easily rename a column returned by your data source.
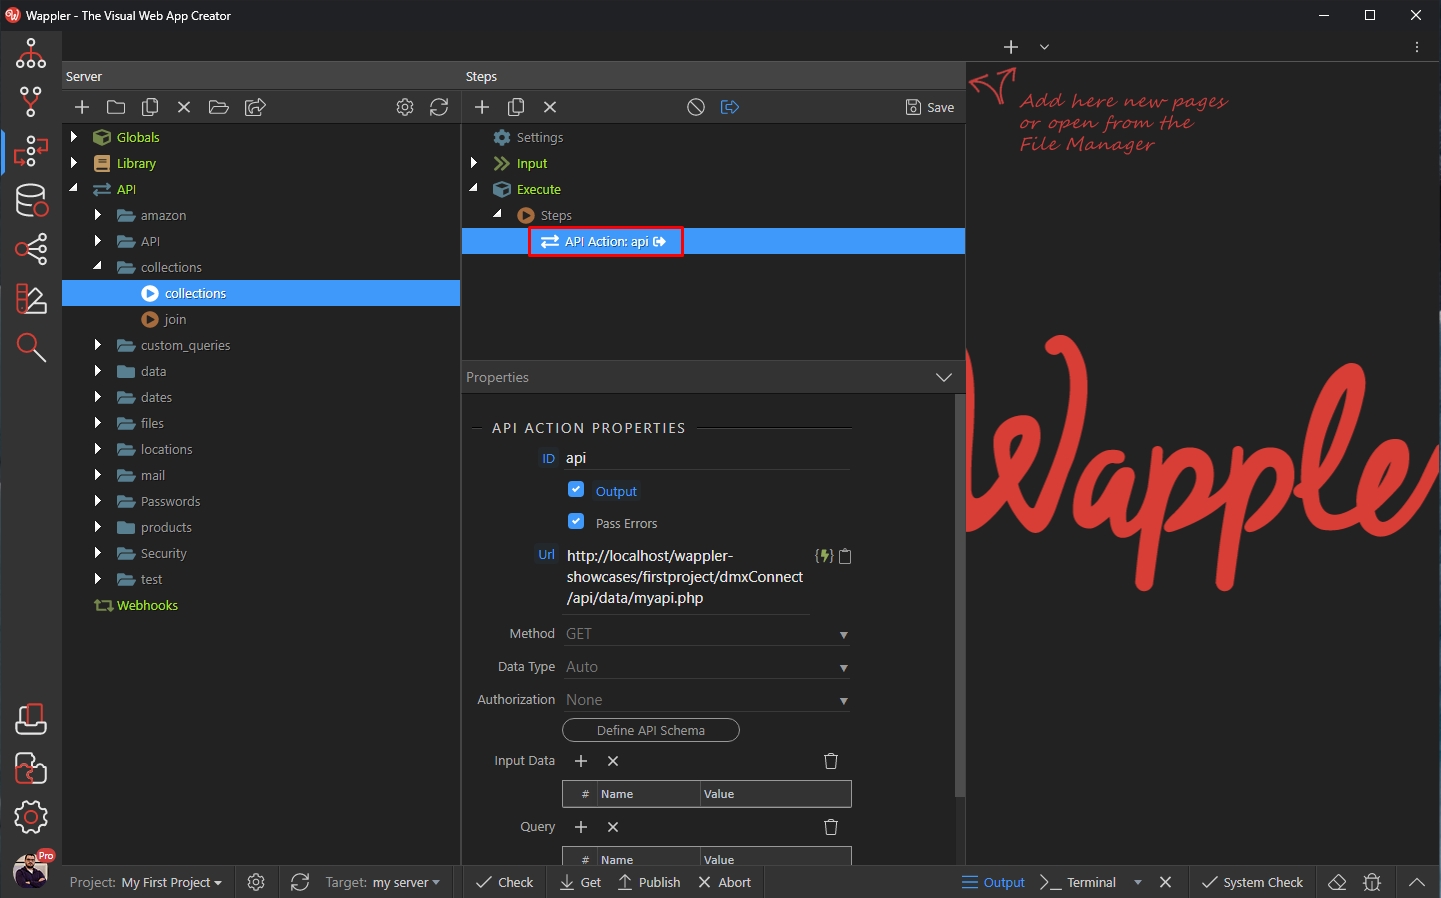
Right click the API Action step:
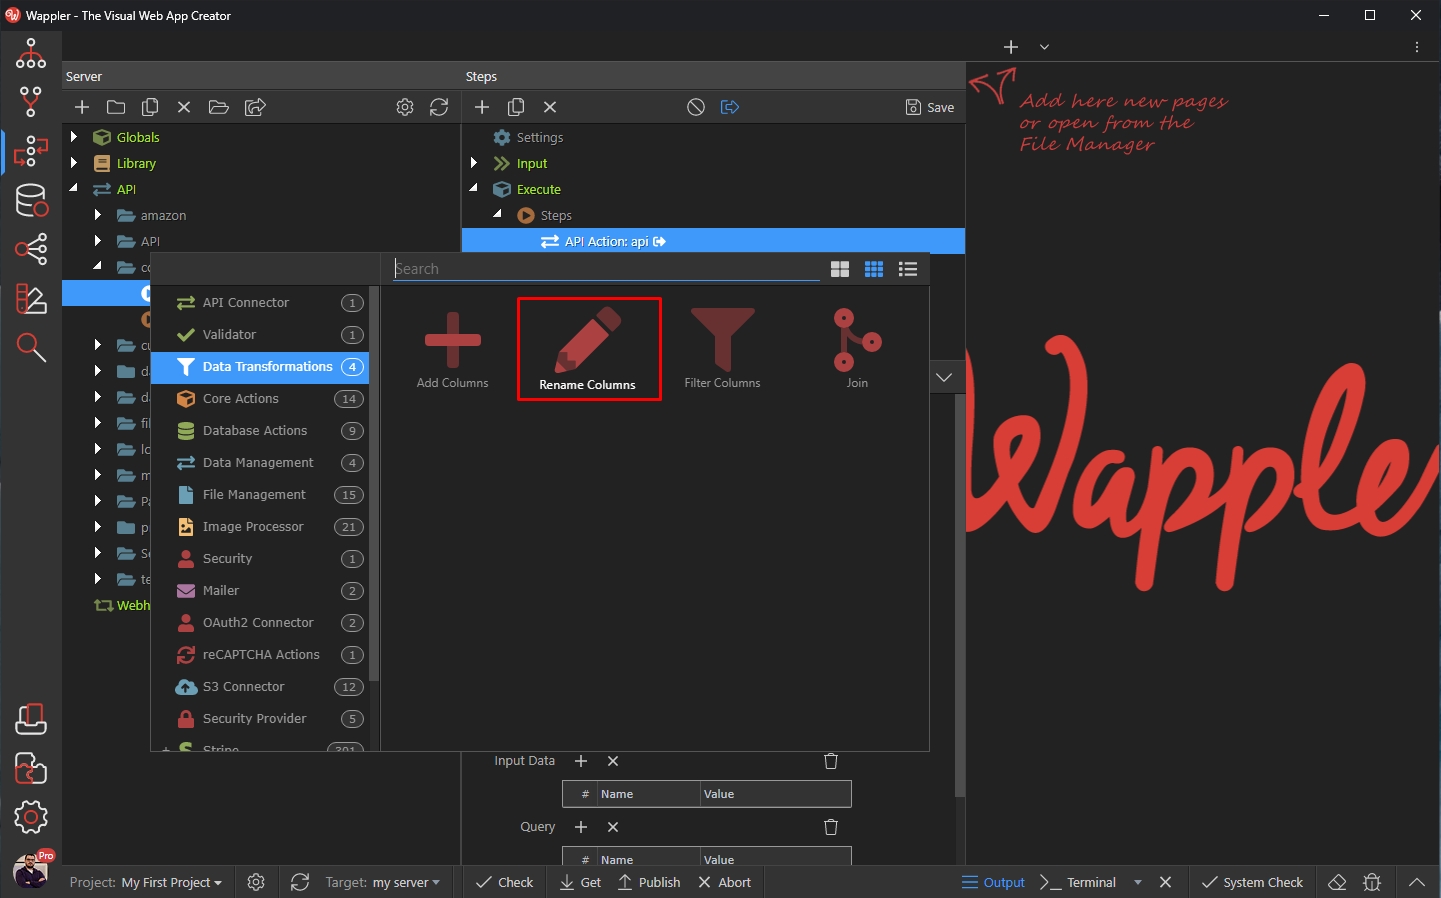
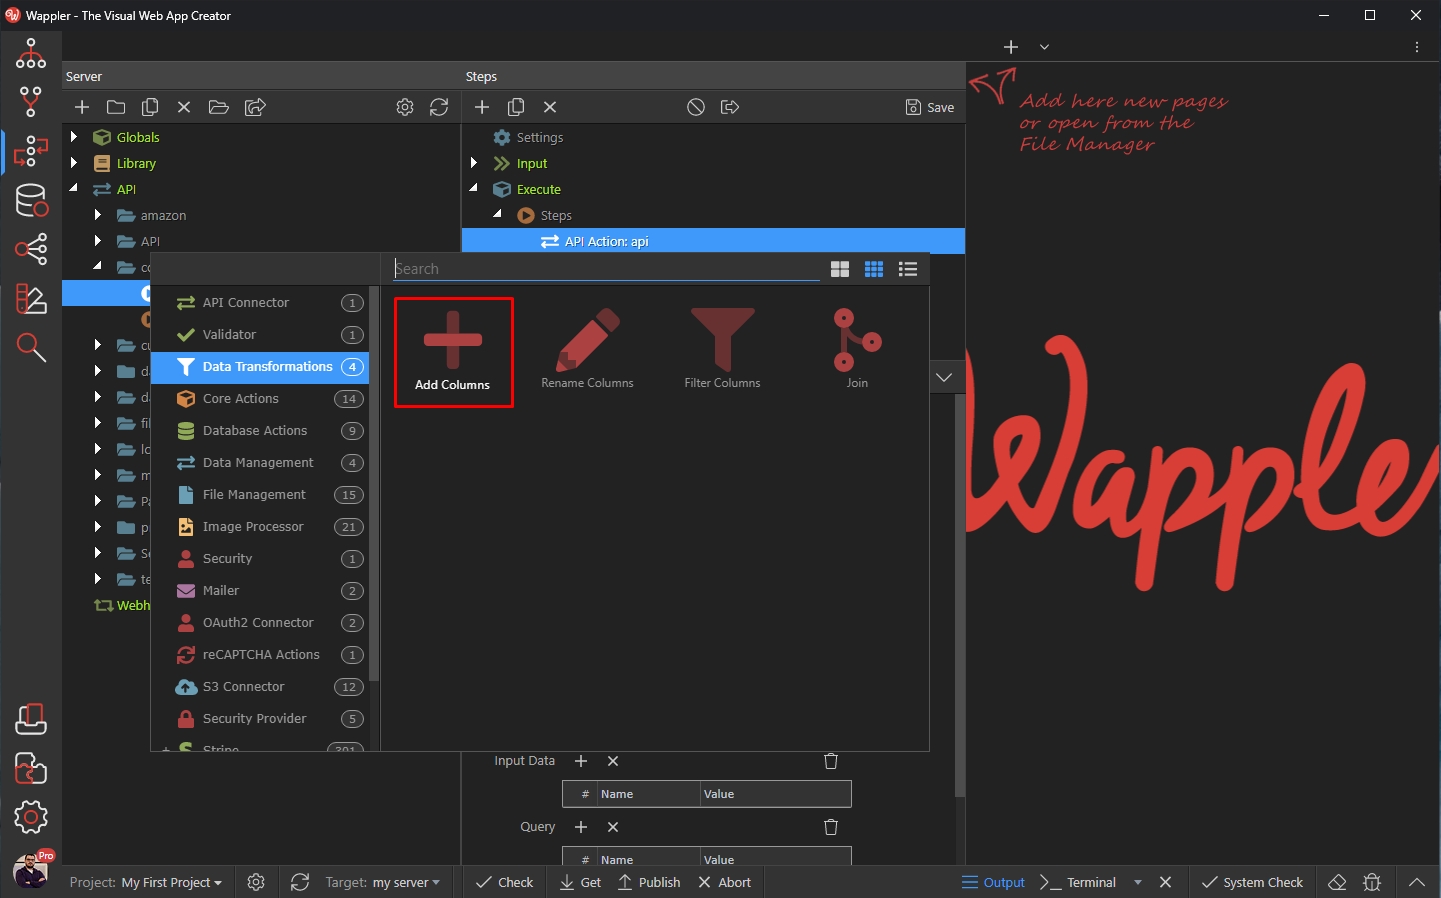
Open the Data Transformations menu and select Rename Column:
Select your data source:
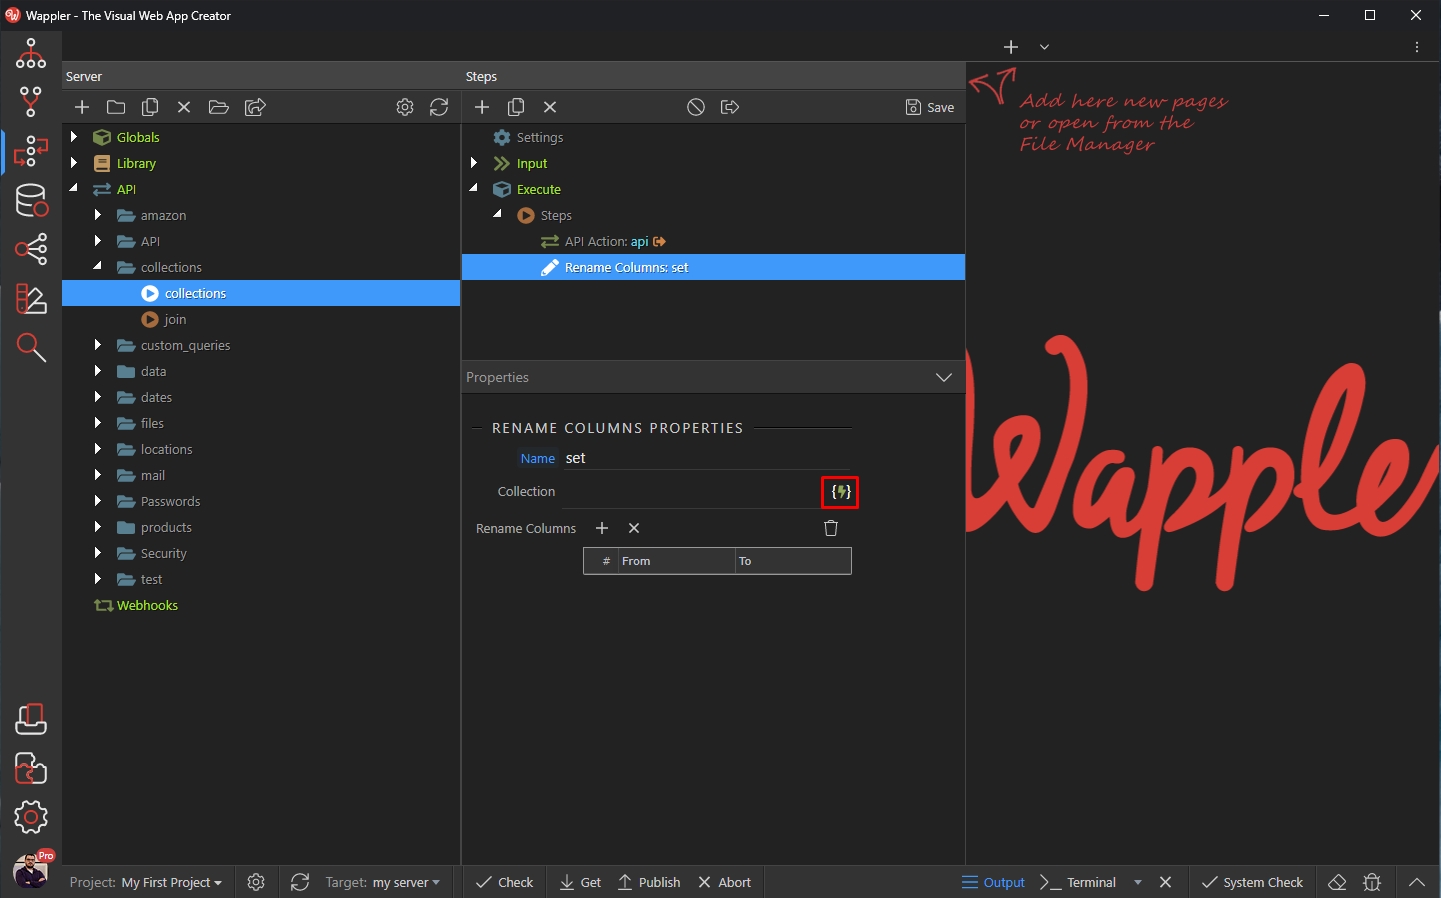
We select the array element of our API Data Source:
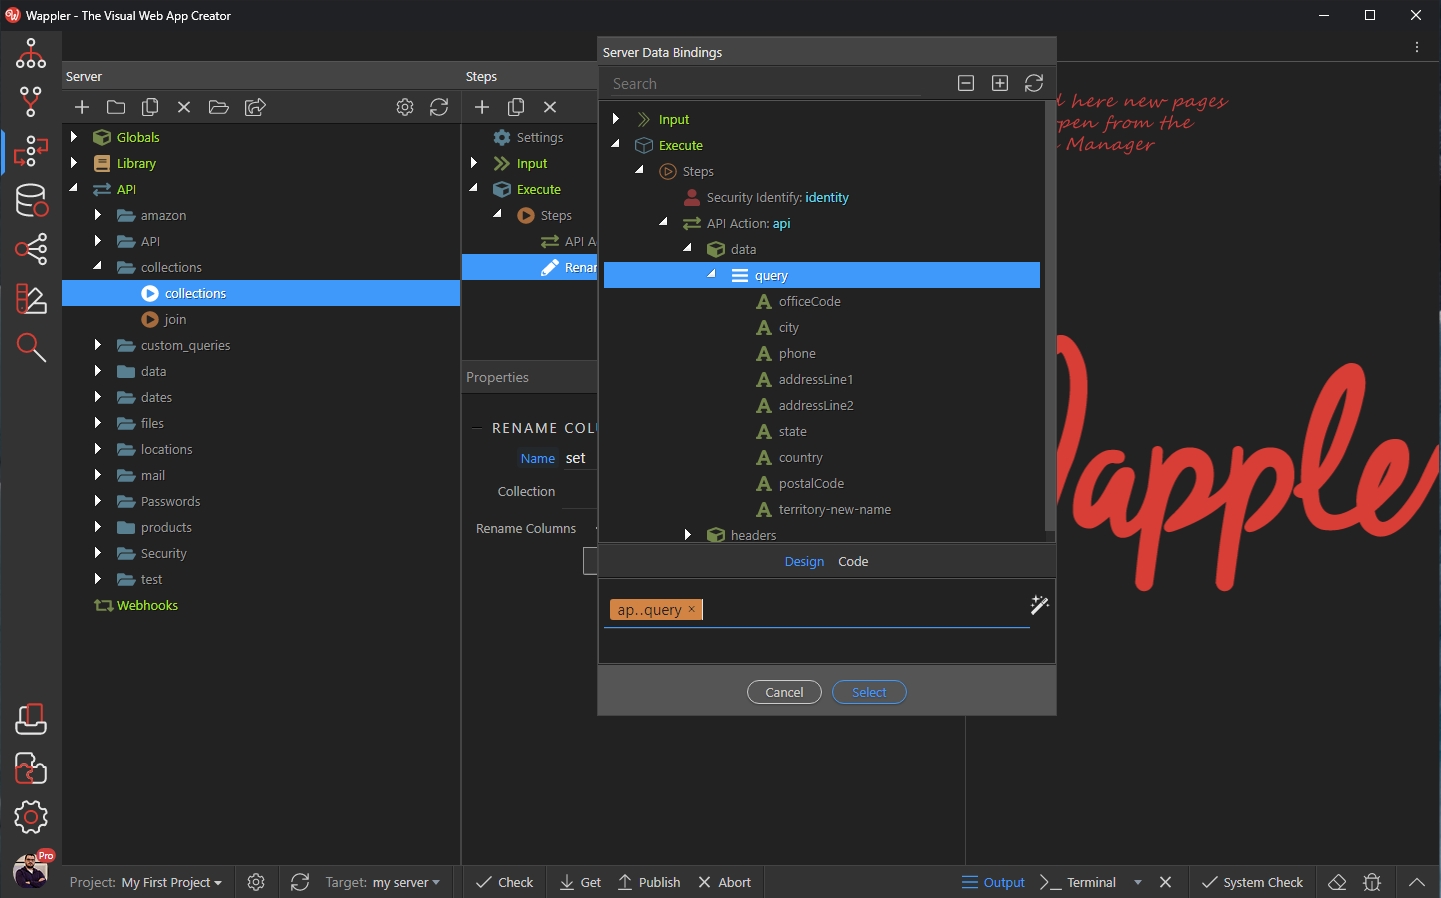
And we click the add new button:

Enter the name of the column from your data source which you want to rename and enter the new name for it:
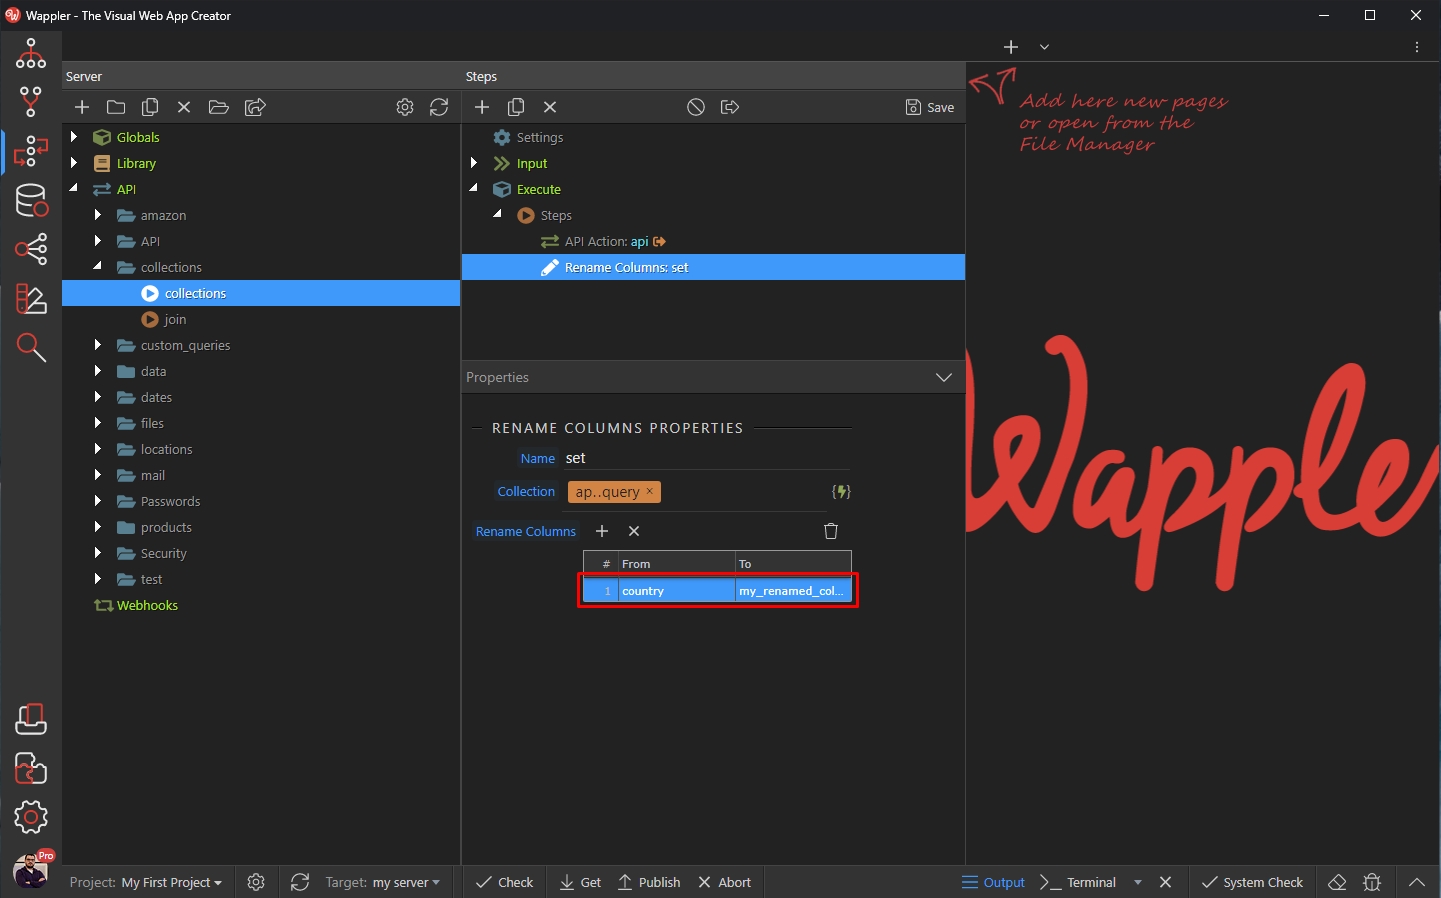
Enable Output for this step:
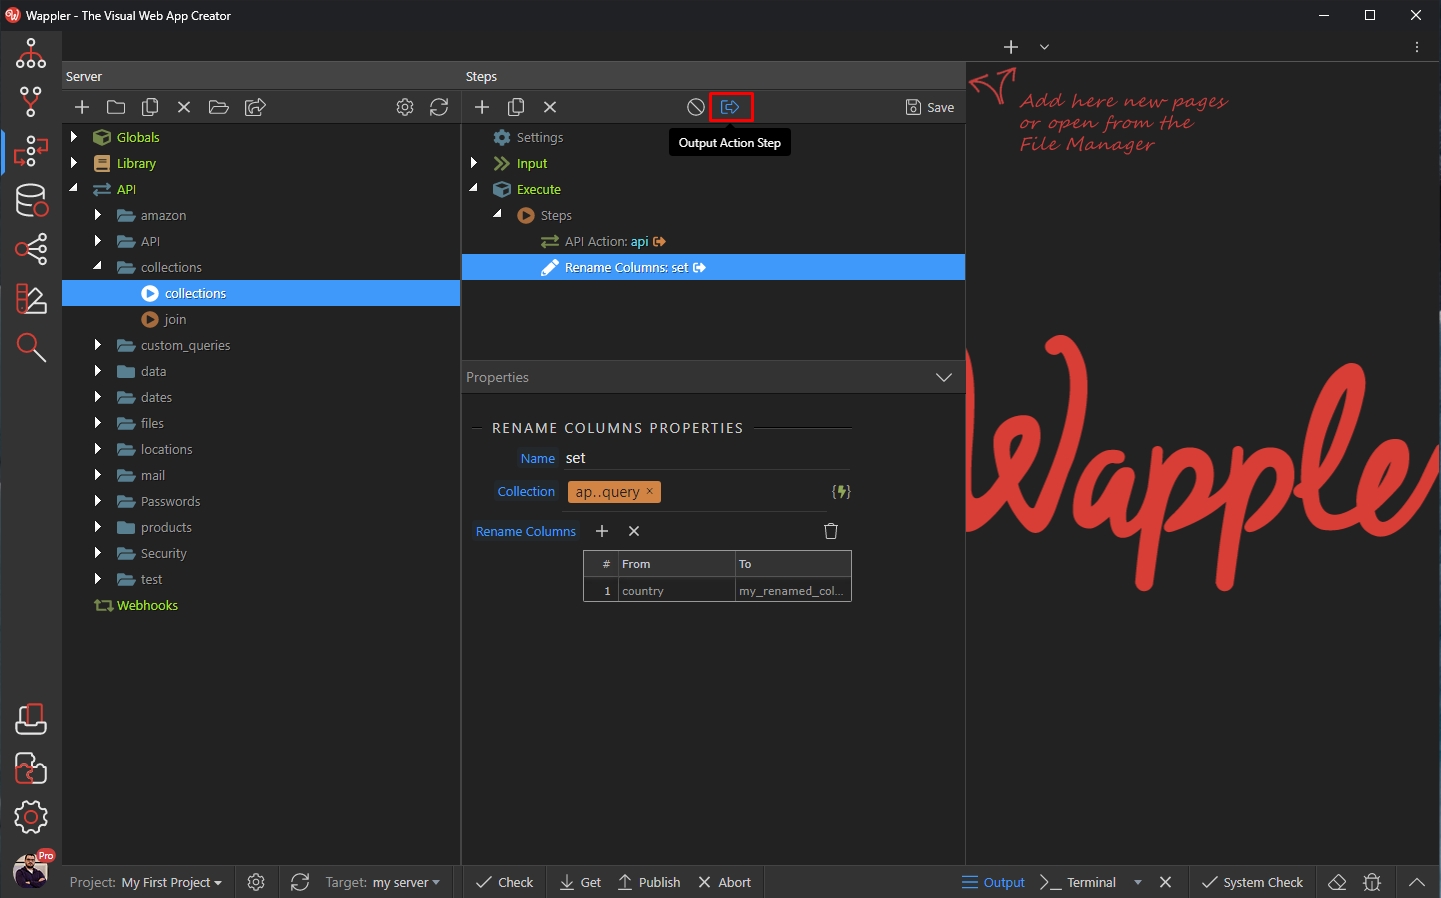
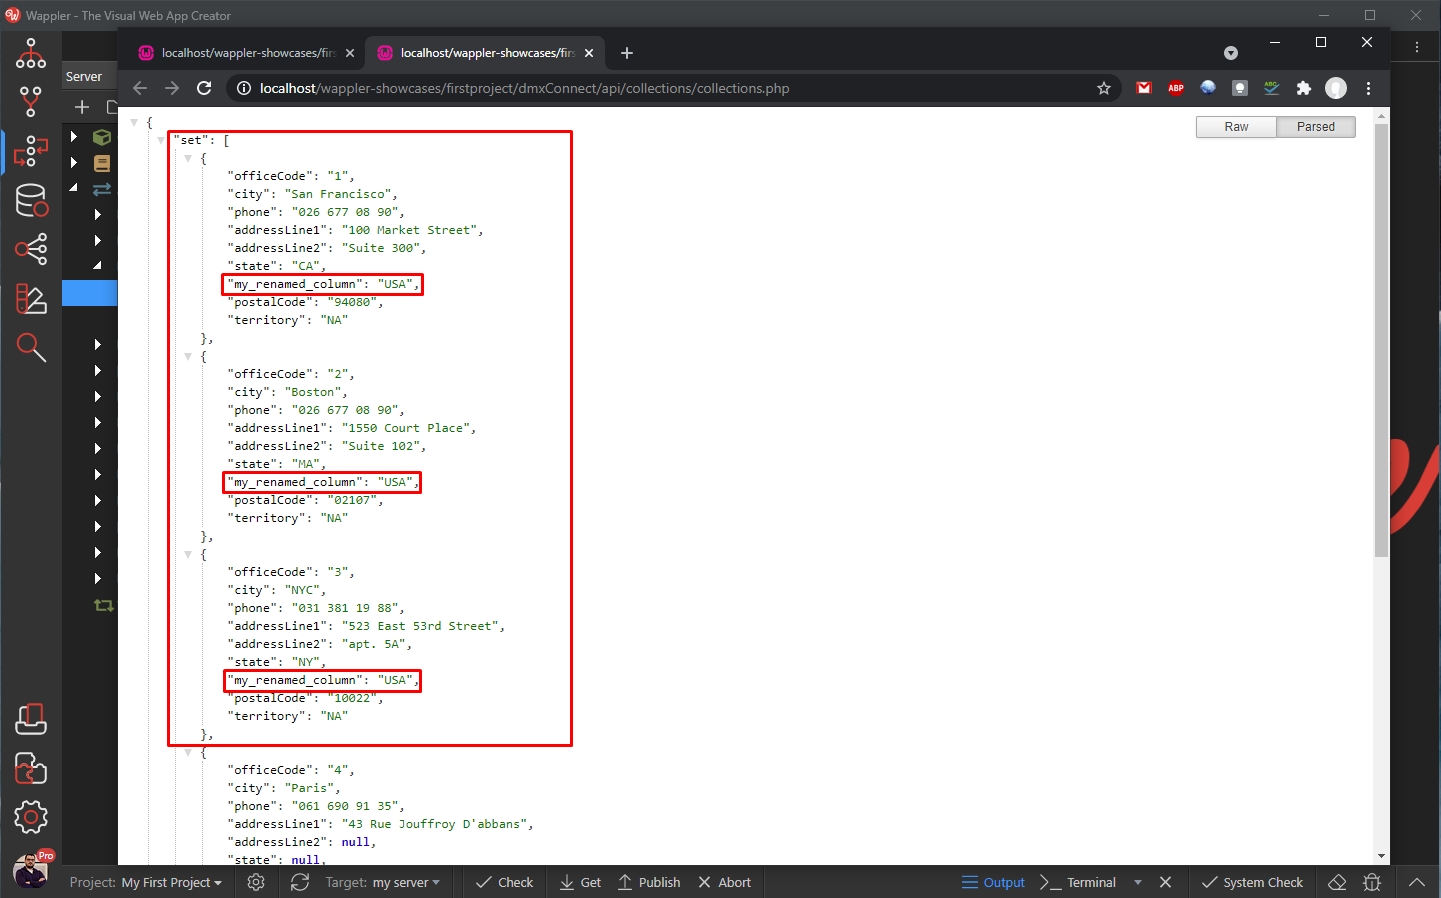
Save your API Action, and preview the results in the browser. You can see the new data set containing the renamed column:
Filter Columns
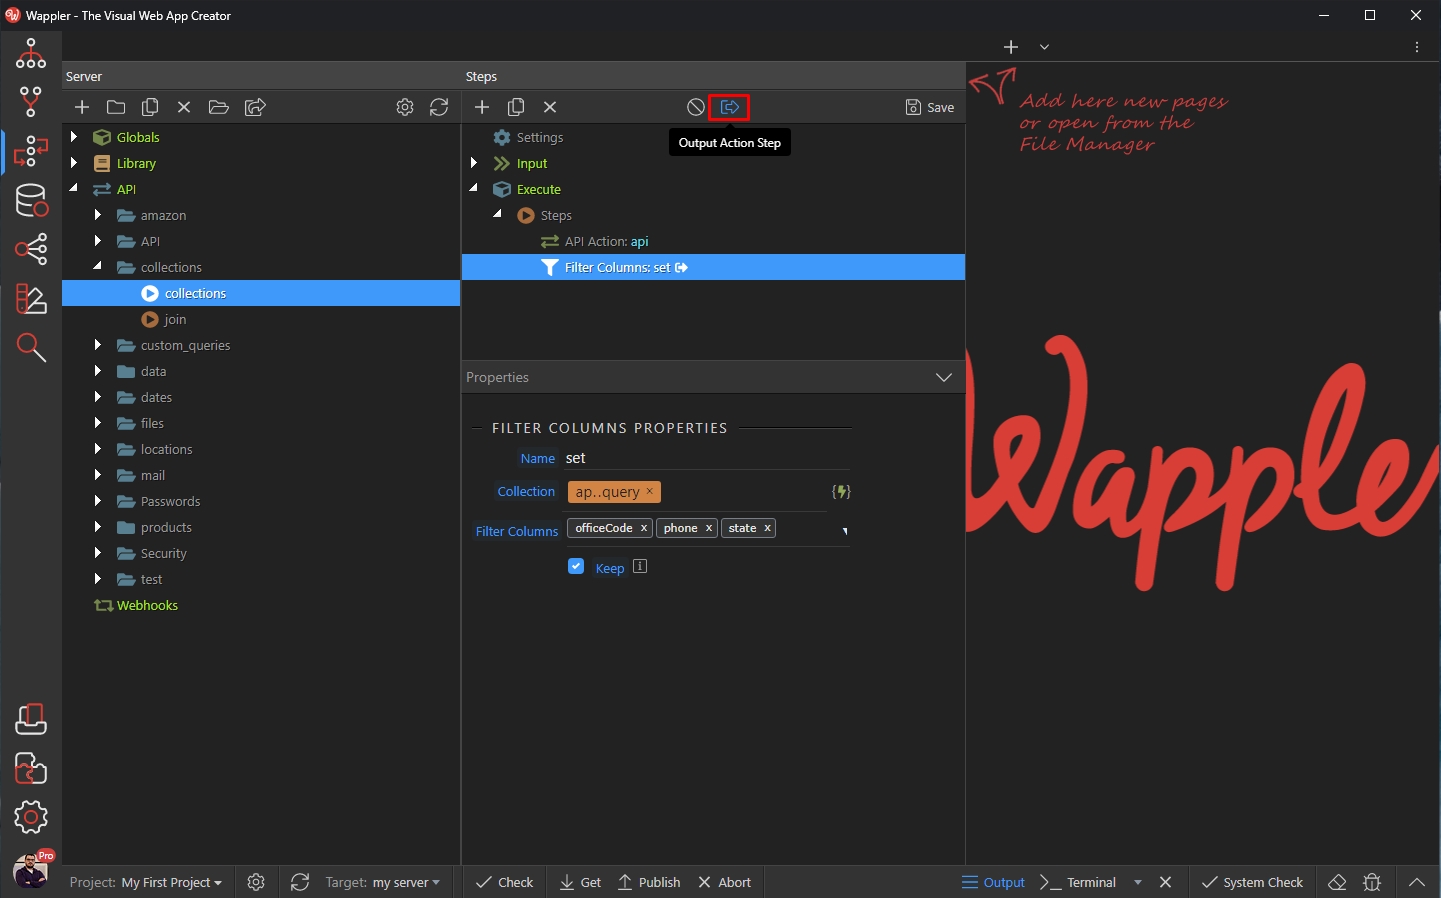
Section titled “Filter Columns”Using the Filter Columns option you can choose whether to show or hide specific columns from your original data set. This is useful when your data source returns many columns, but you need to output or use only a few of them.
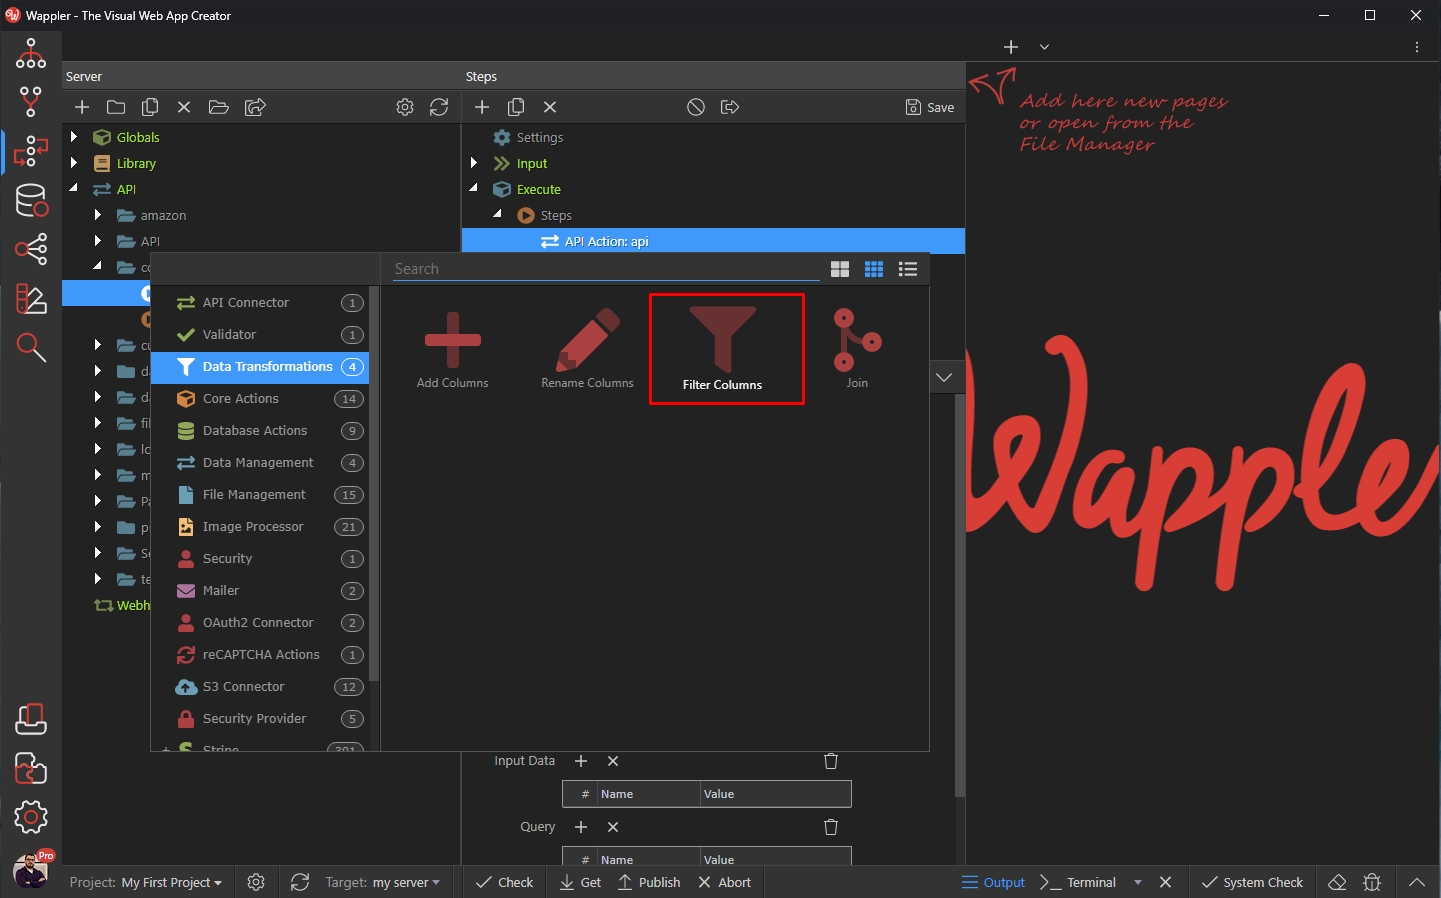
Right click the API Data Source step:

Open the Data Transformations menu and select Filter Columns
Select your data source:
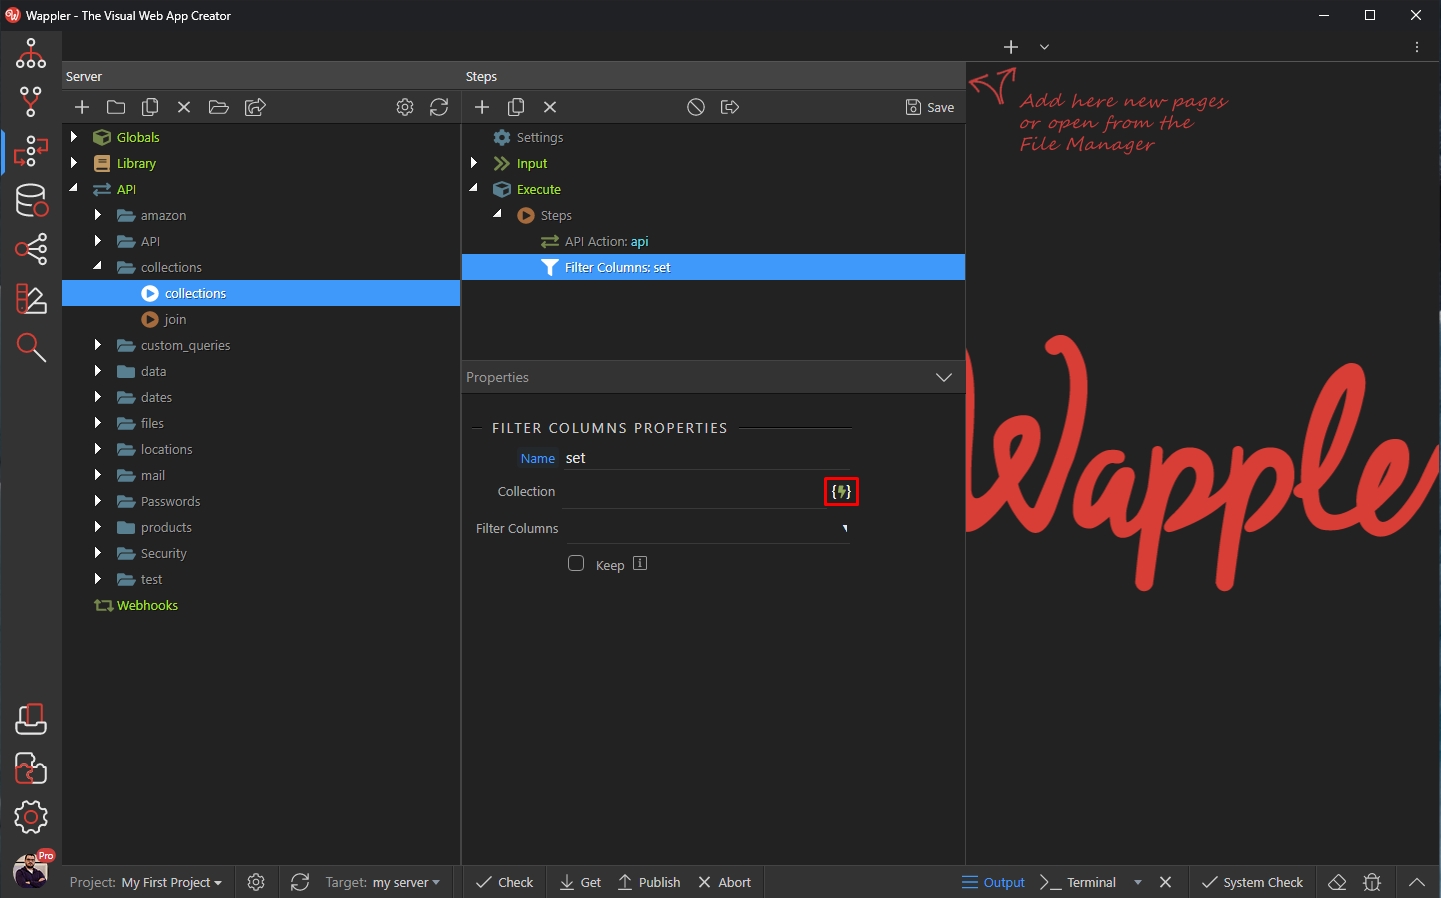
We select the array element of our API Data Source:

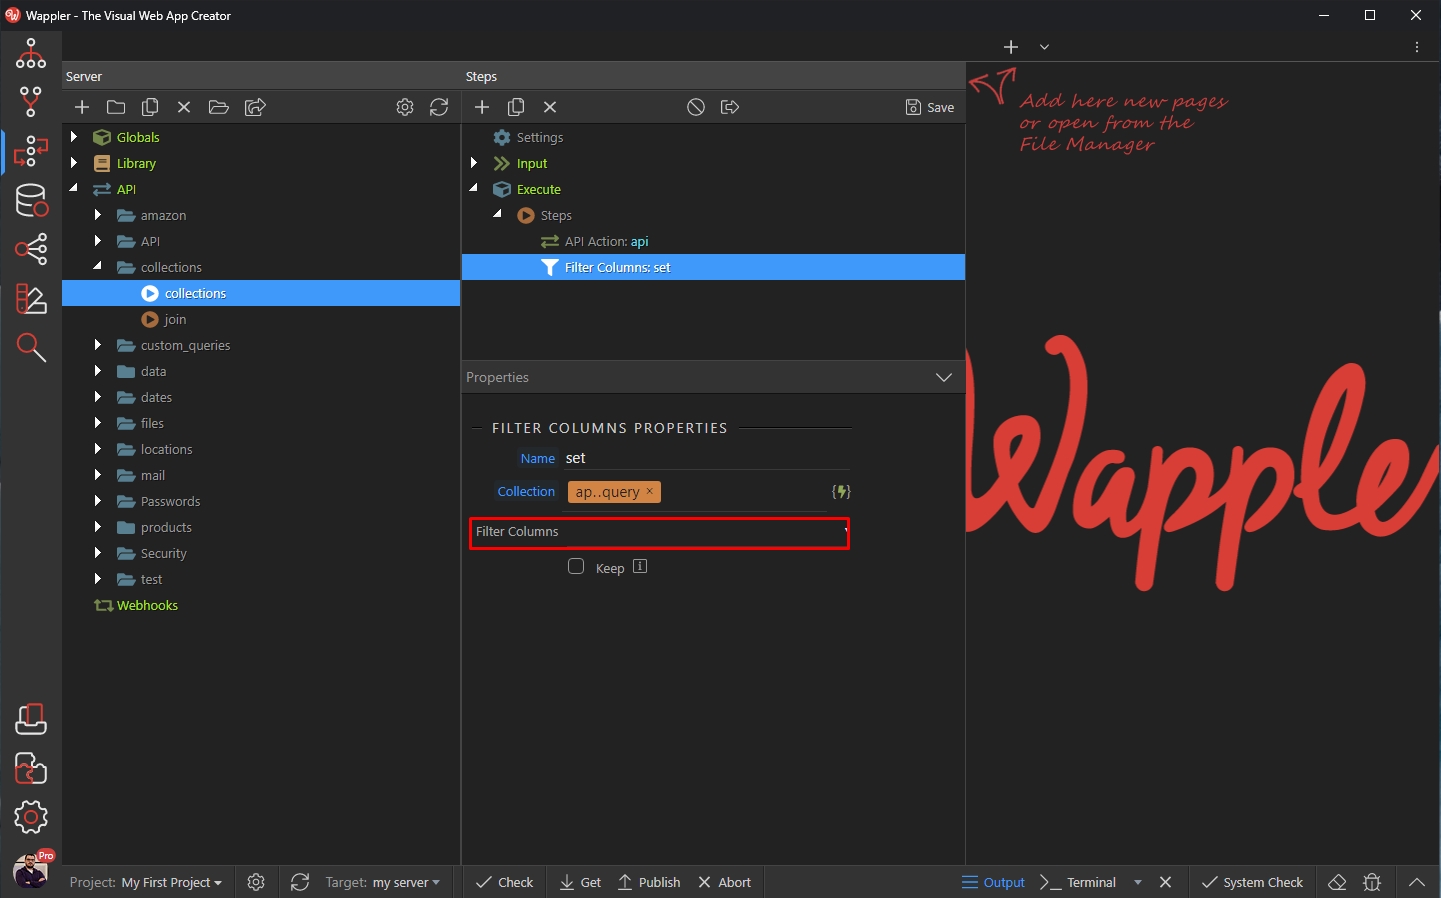
And open the Filter Columns menu:
In order to remove some of the columns from the data set, just select them from the dropdown:
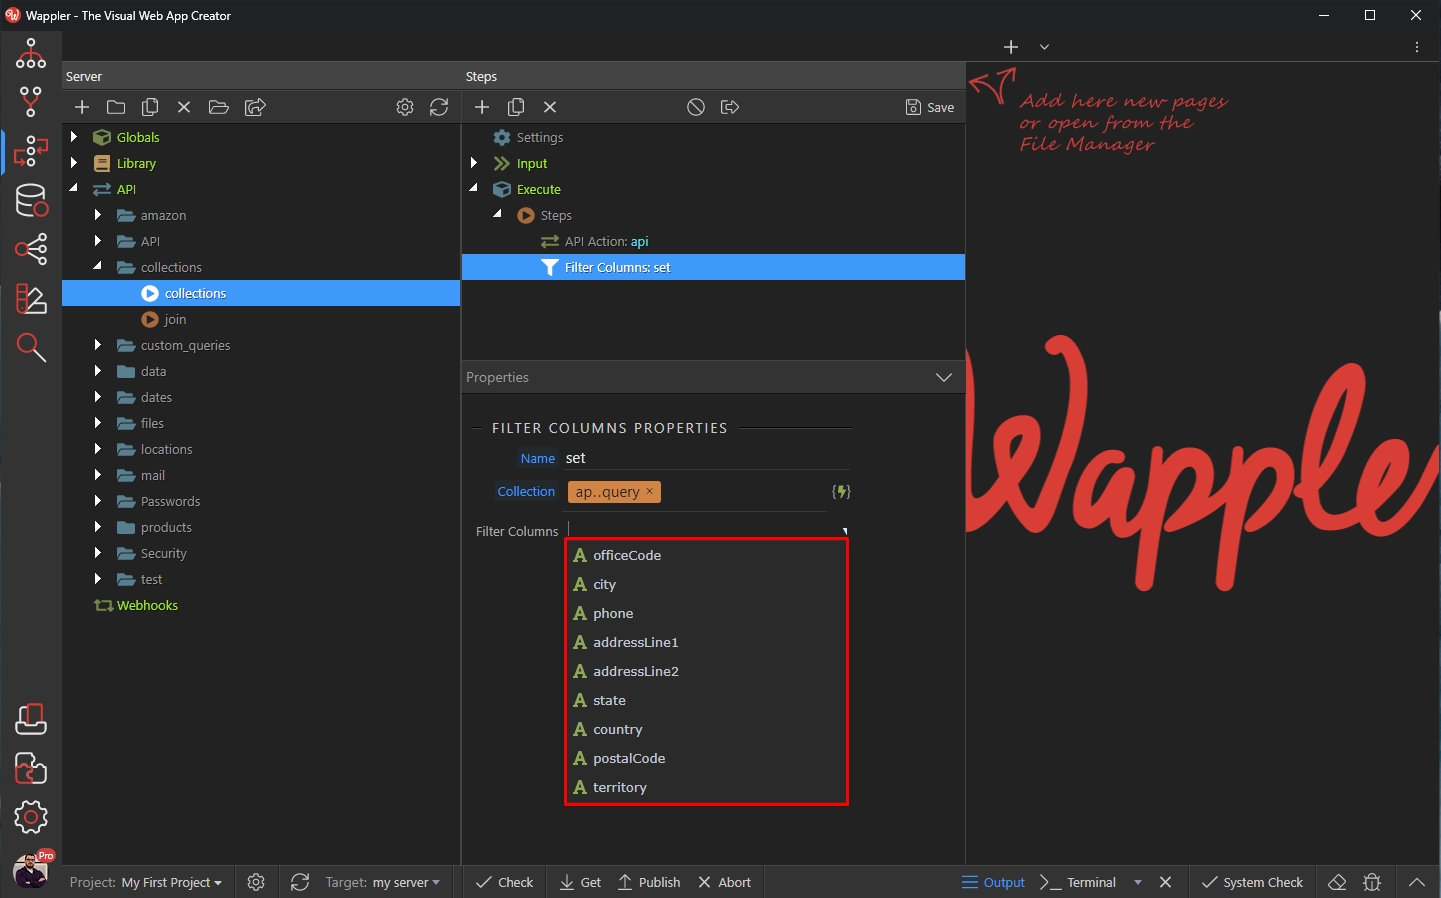
So this way the selected ones will be removed from the data set:

If you want to keep only the selected columns, then enable the Keep option. In this case only the columns selected in the list will be displayed:

Enable the Output option for this step:
Save your API Action and preview the results in the browser.
You can see that only the columns selected in the Filter step are displayed:

Add Columns
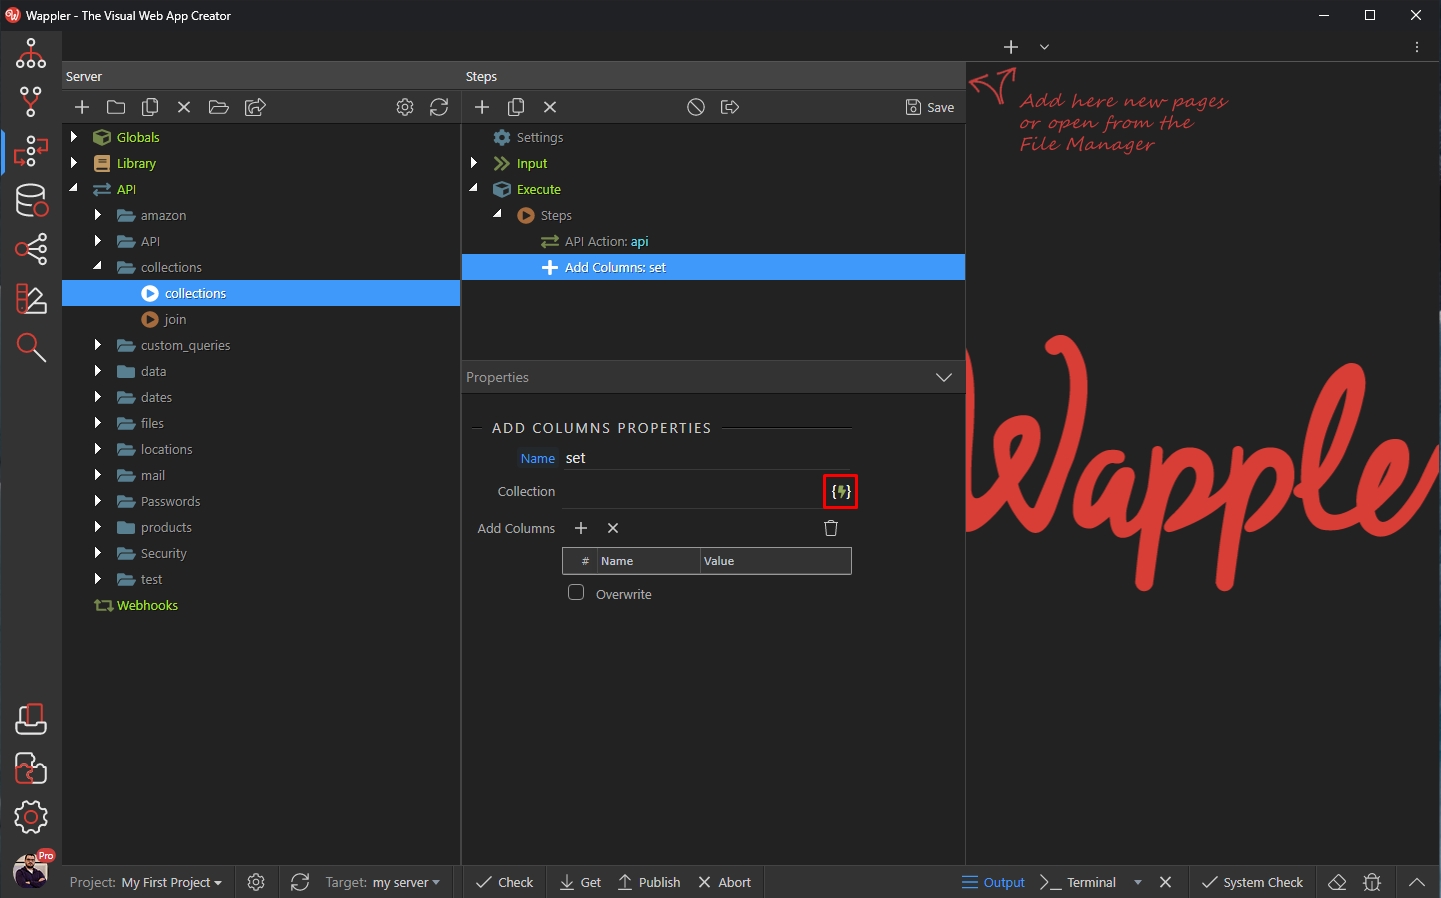
Section titled “Add Columns”Using the Add Columns option you can add columns to the ones returned by your original Data Set.
Right click the API Data Source step:
Open the Data Transformations menu and select Add Columns:
And select your data source:
We select the array element of our API Data Source:
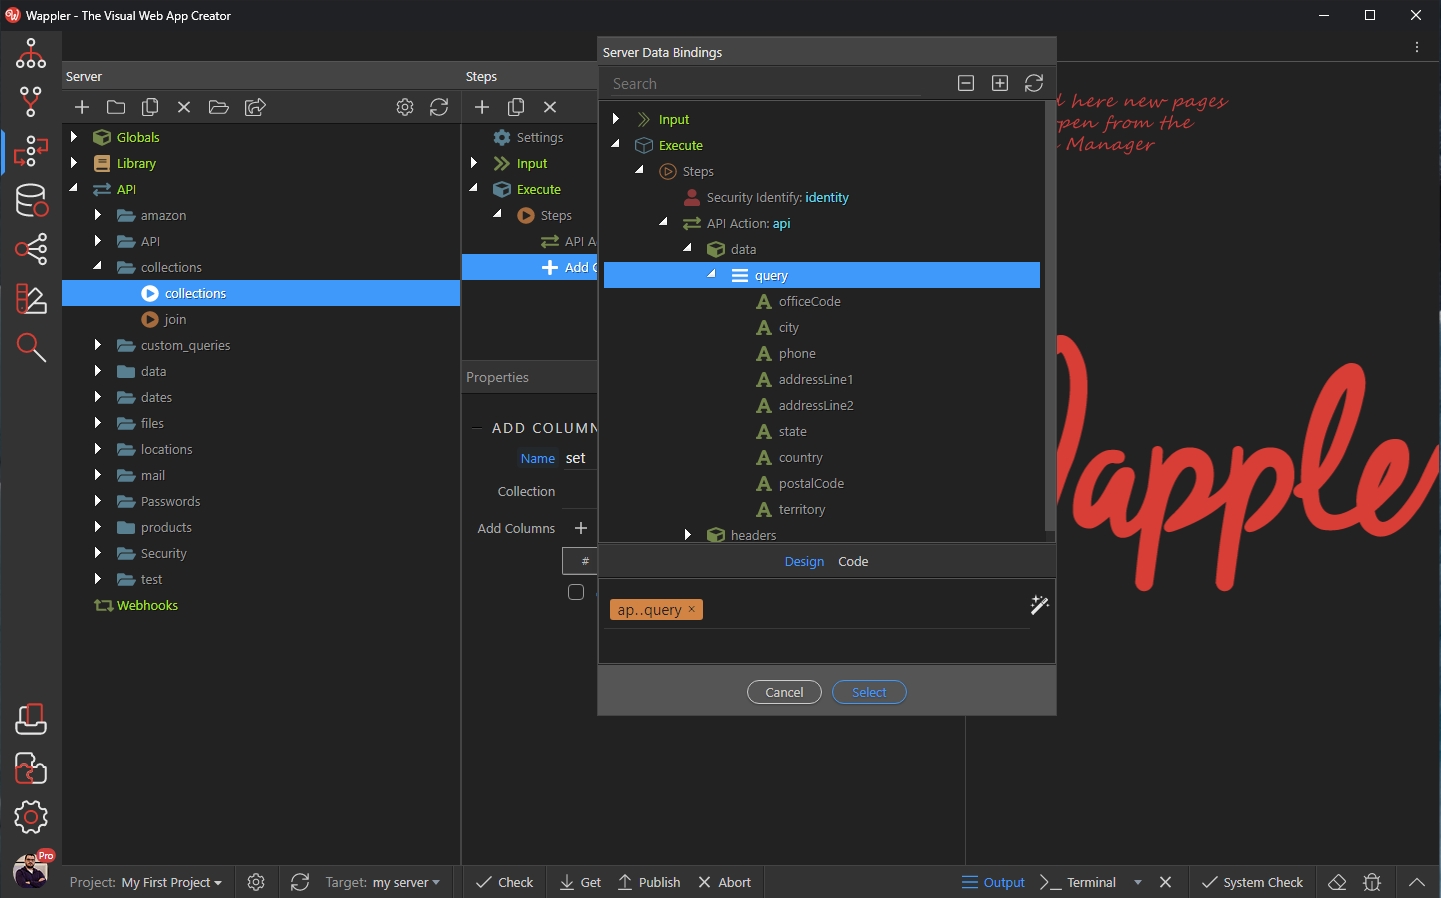
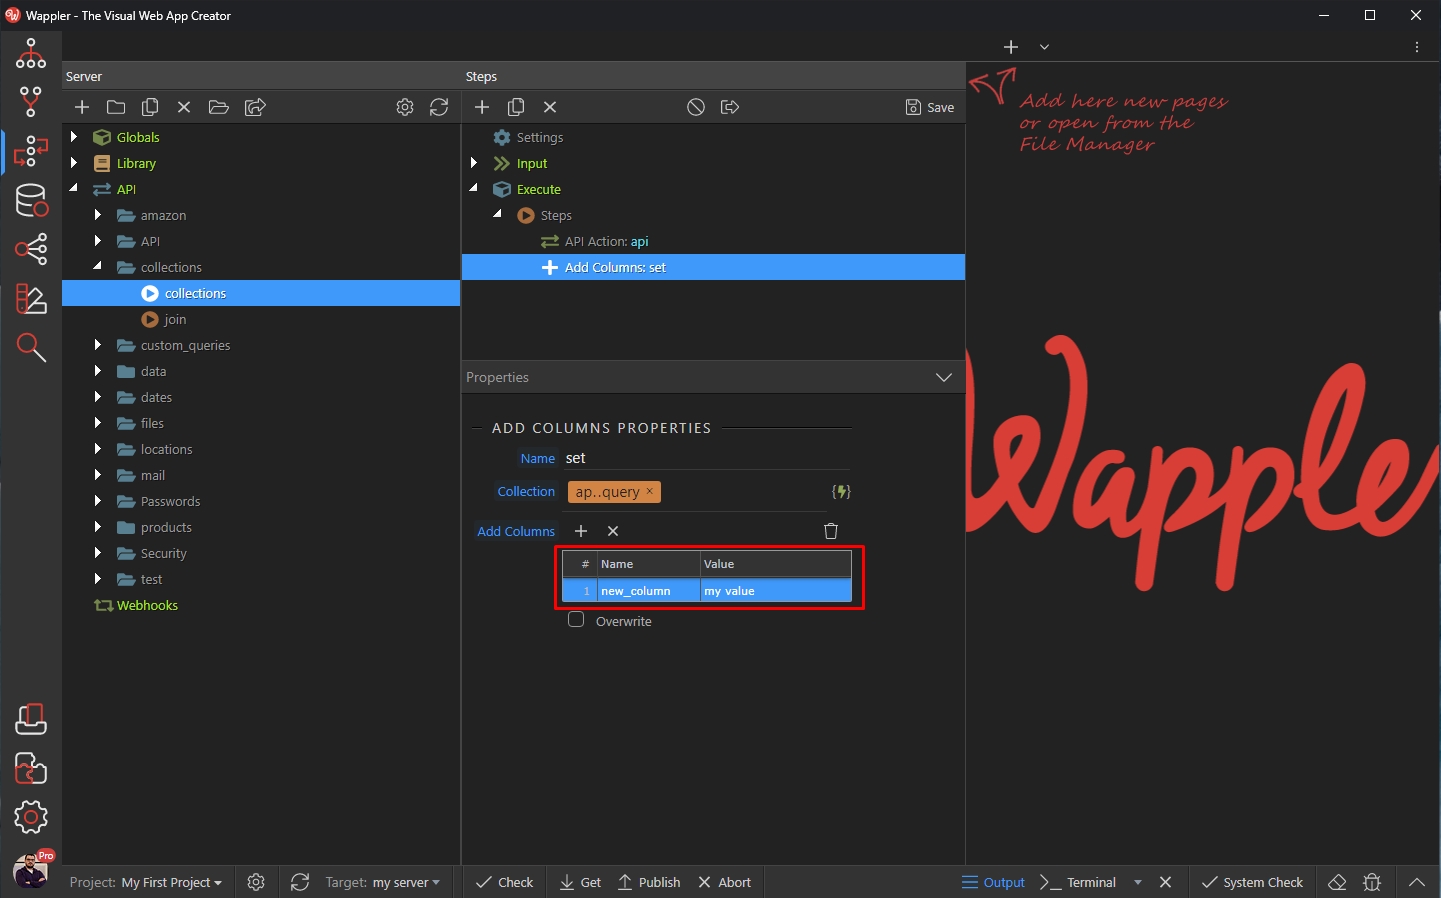
Click the add new column button:

And enter the name of your new column, add a value to it. It can be a dynamic value from your API Action or a static one:
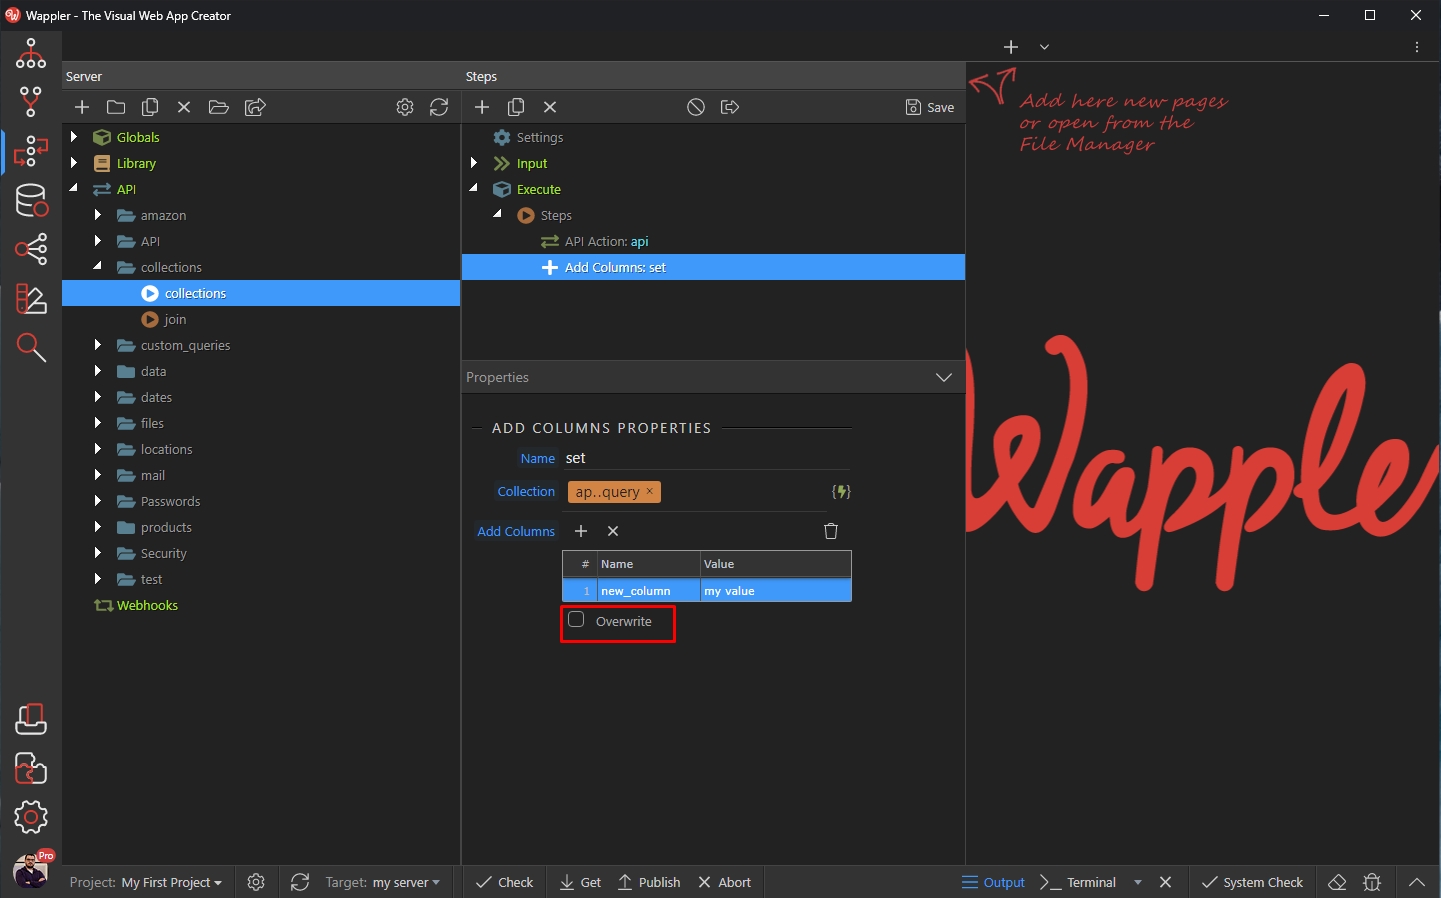
If you want to replace an existing column from your original data set with a new value, then enter the name of the existing column and enable the Overwrite option:
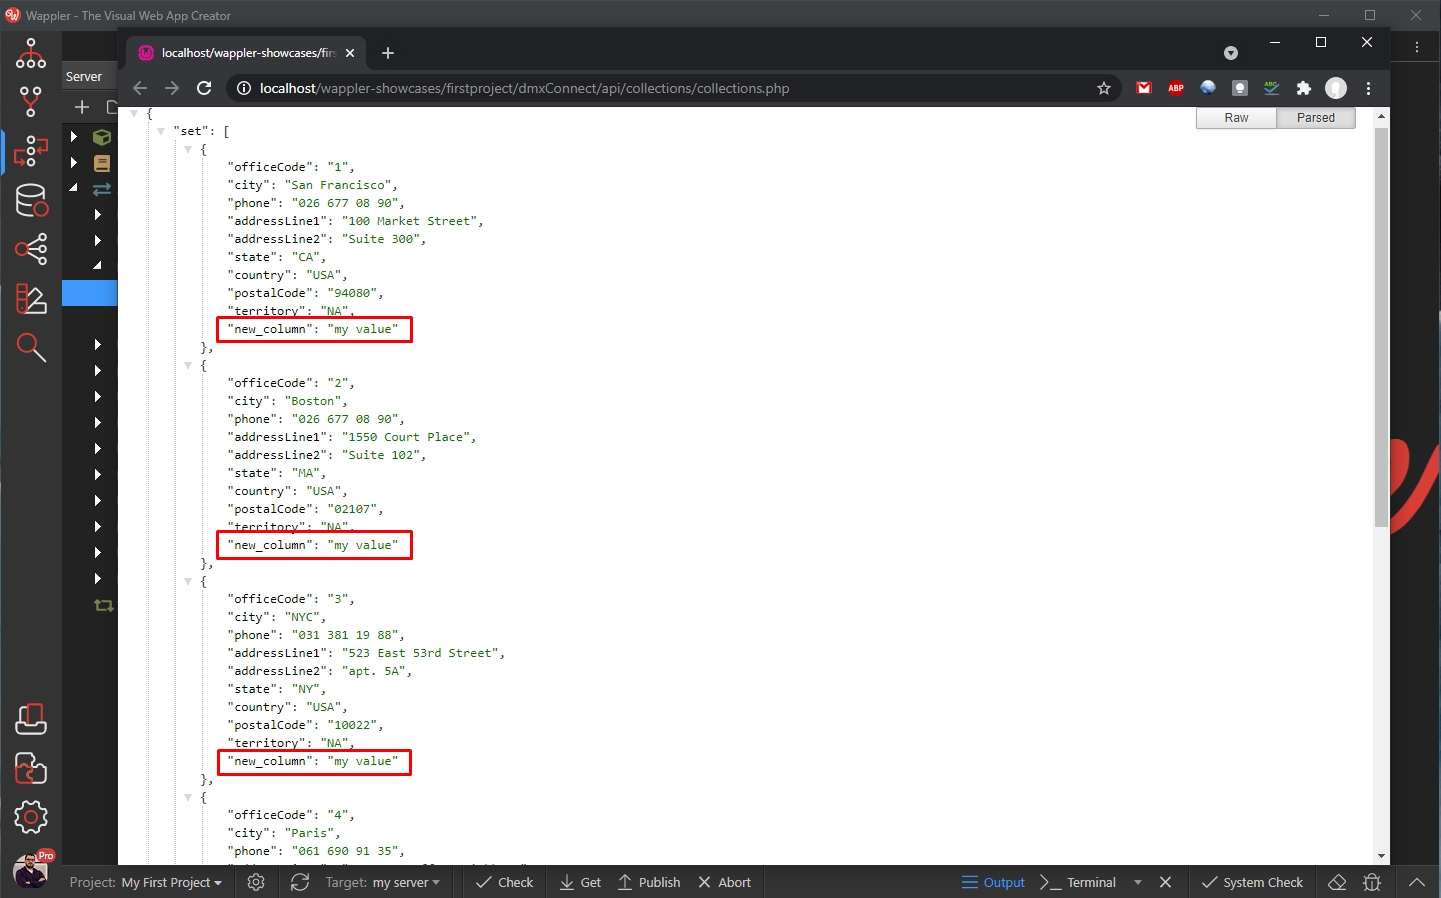
Enable the output for this step:
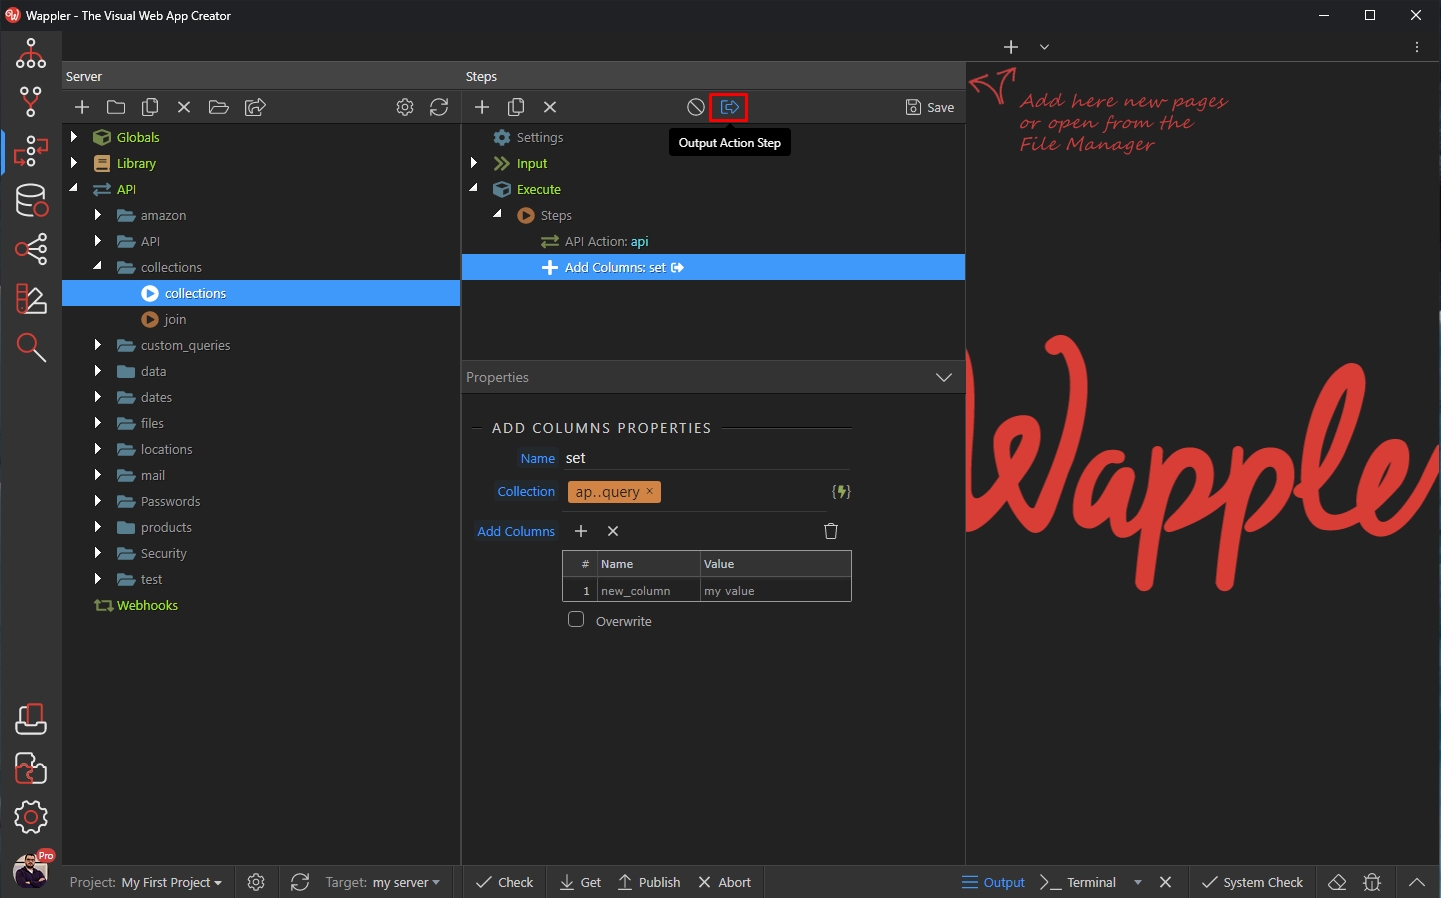
And preview the results in the browser. You can see the new column is now available in our new data set:
We created a separate tutorial about joining two data sets. You can find it here: