Real editor context
You can inspect the same fields and messages you would actually maintain in a project page.
Validate forms with good UX: required fields, feedback states, and clear error messages for users.
Demo Projects HQ already gives you a concrete validation example on the new-task page, so this tour stays on that real form instead of abstract slides. The task form combines required fields, numeric boundaries, data-bound selectors, and request feedback, which makes it a better baseline for form quality than a synthetic example.
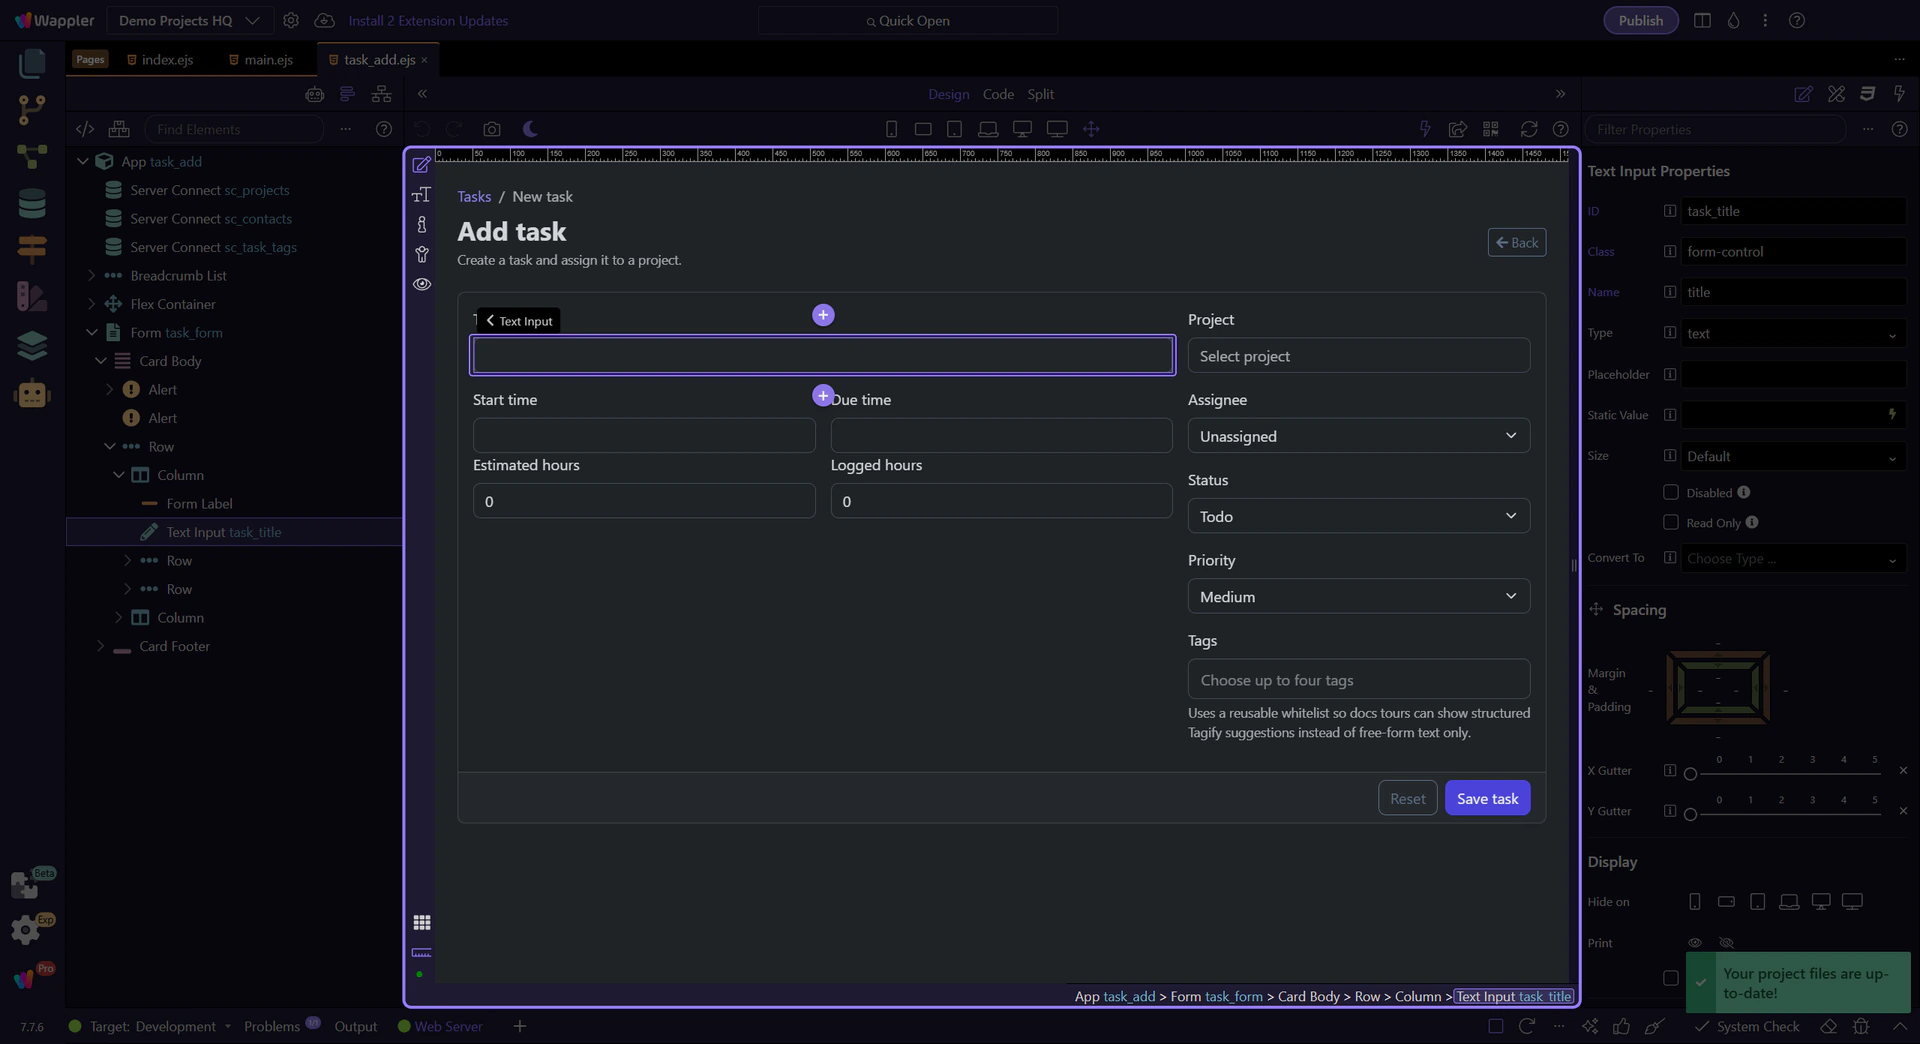
The title field is required and has a minimum length, so it demonstrates the core validation contract clearly: the field knows what counts as acceptable input, and the user gets immediate feedback before the form can submit bad data.
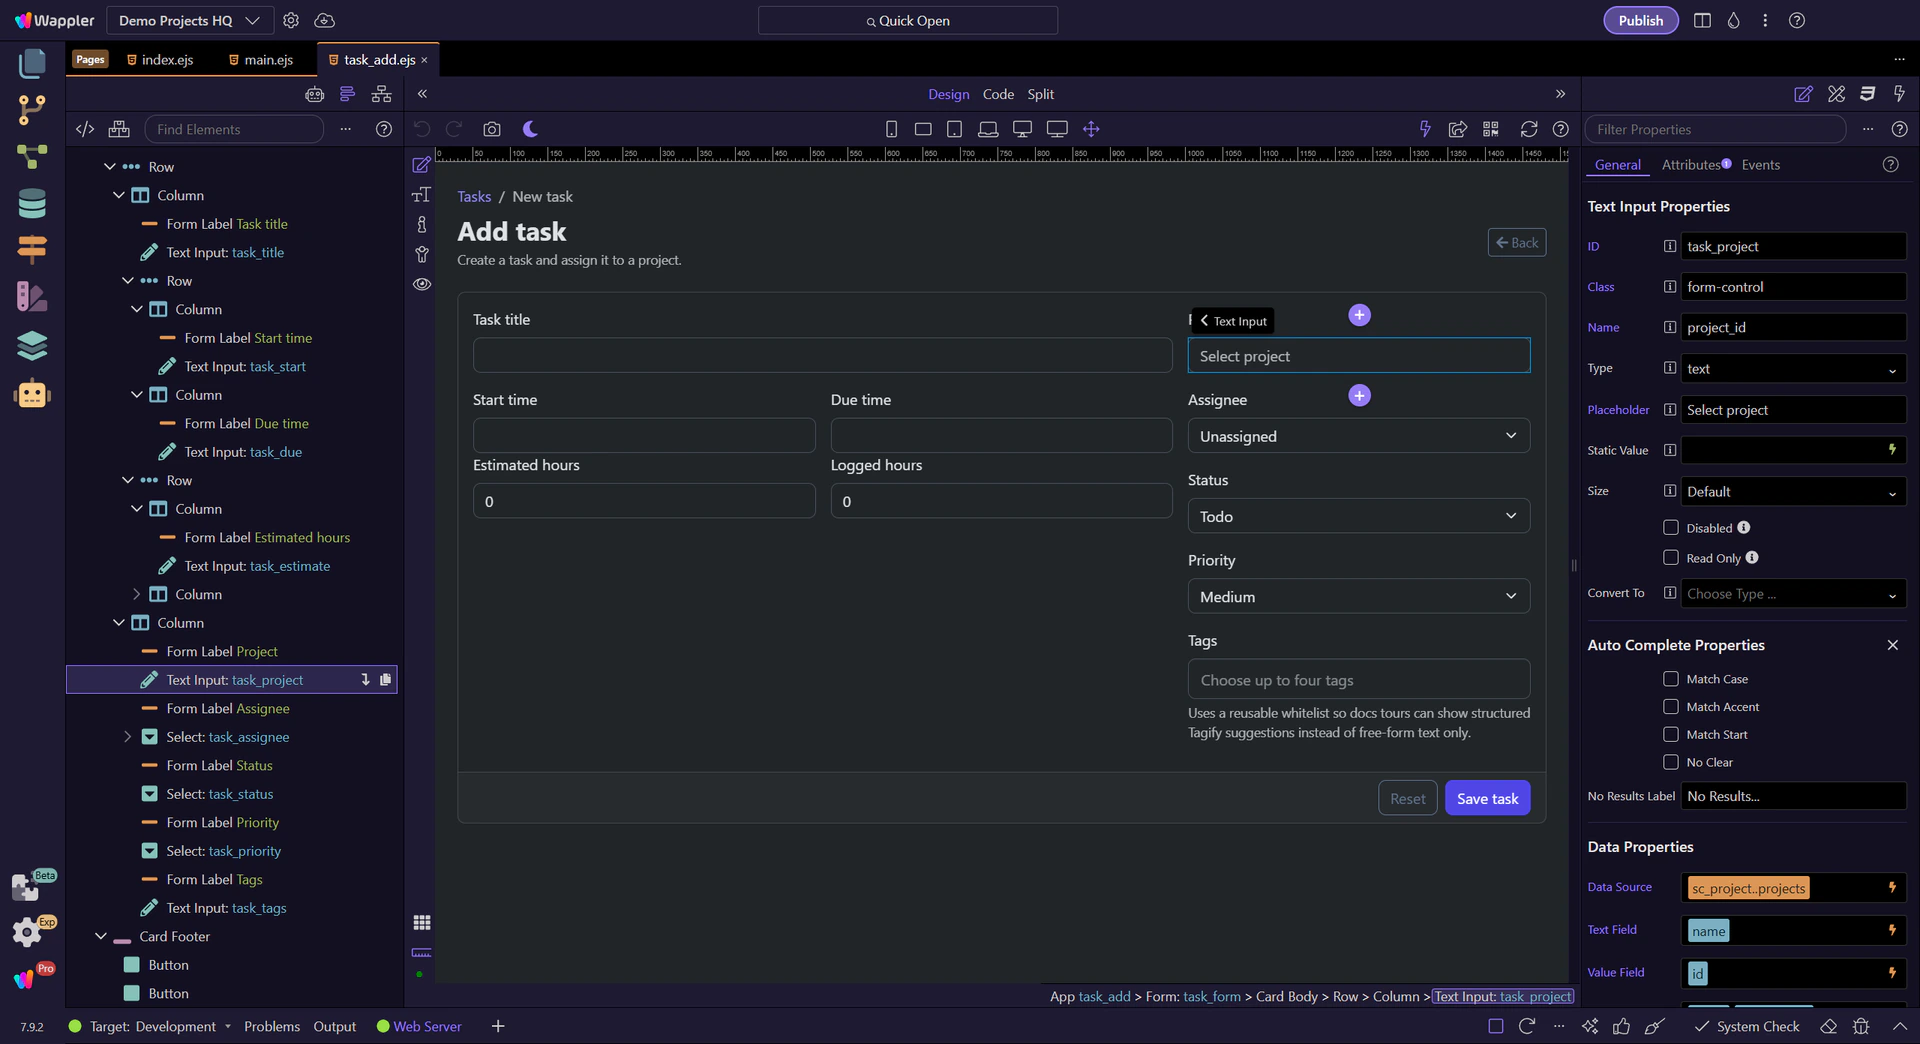
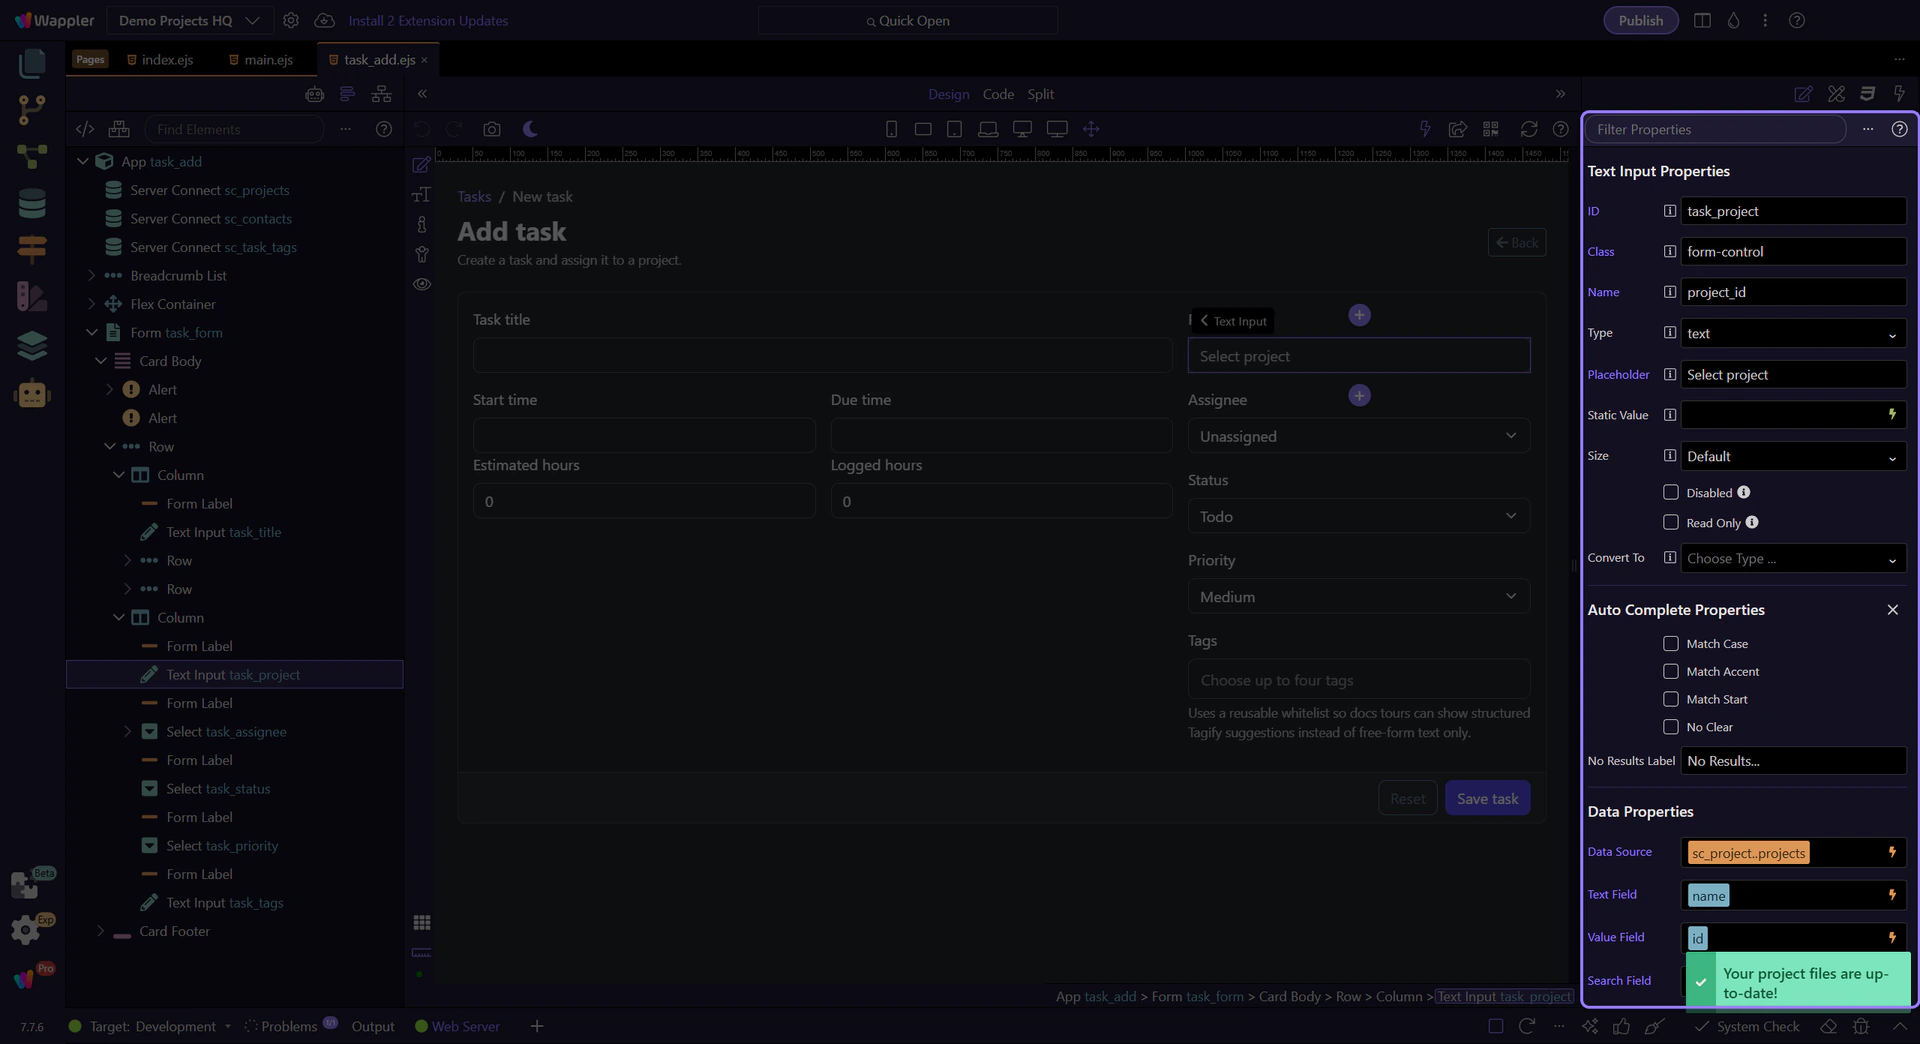
Estimated hours and the project picker show that validation is not just for text inputs. Demo Projects HQ checks numeric boundaries on #task_estimate and requires a real project relationship through #task_project, which keeps the form honest about what the record needs before it can be saved.
important: A field being data-bound does not remove the need for validation. Relationships still need explicit required rules and understandable messages.
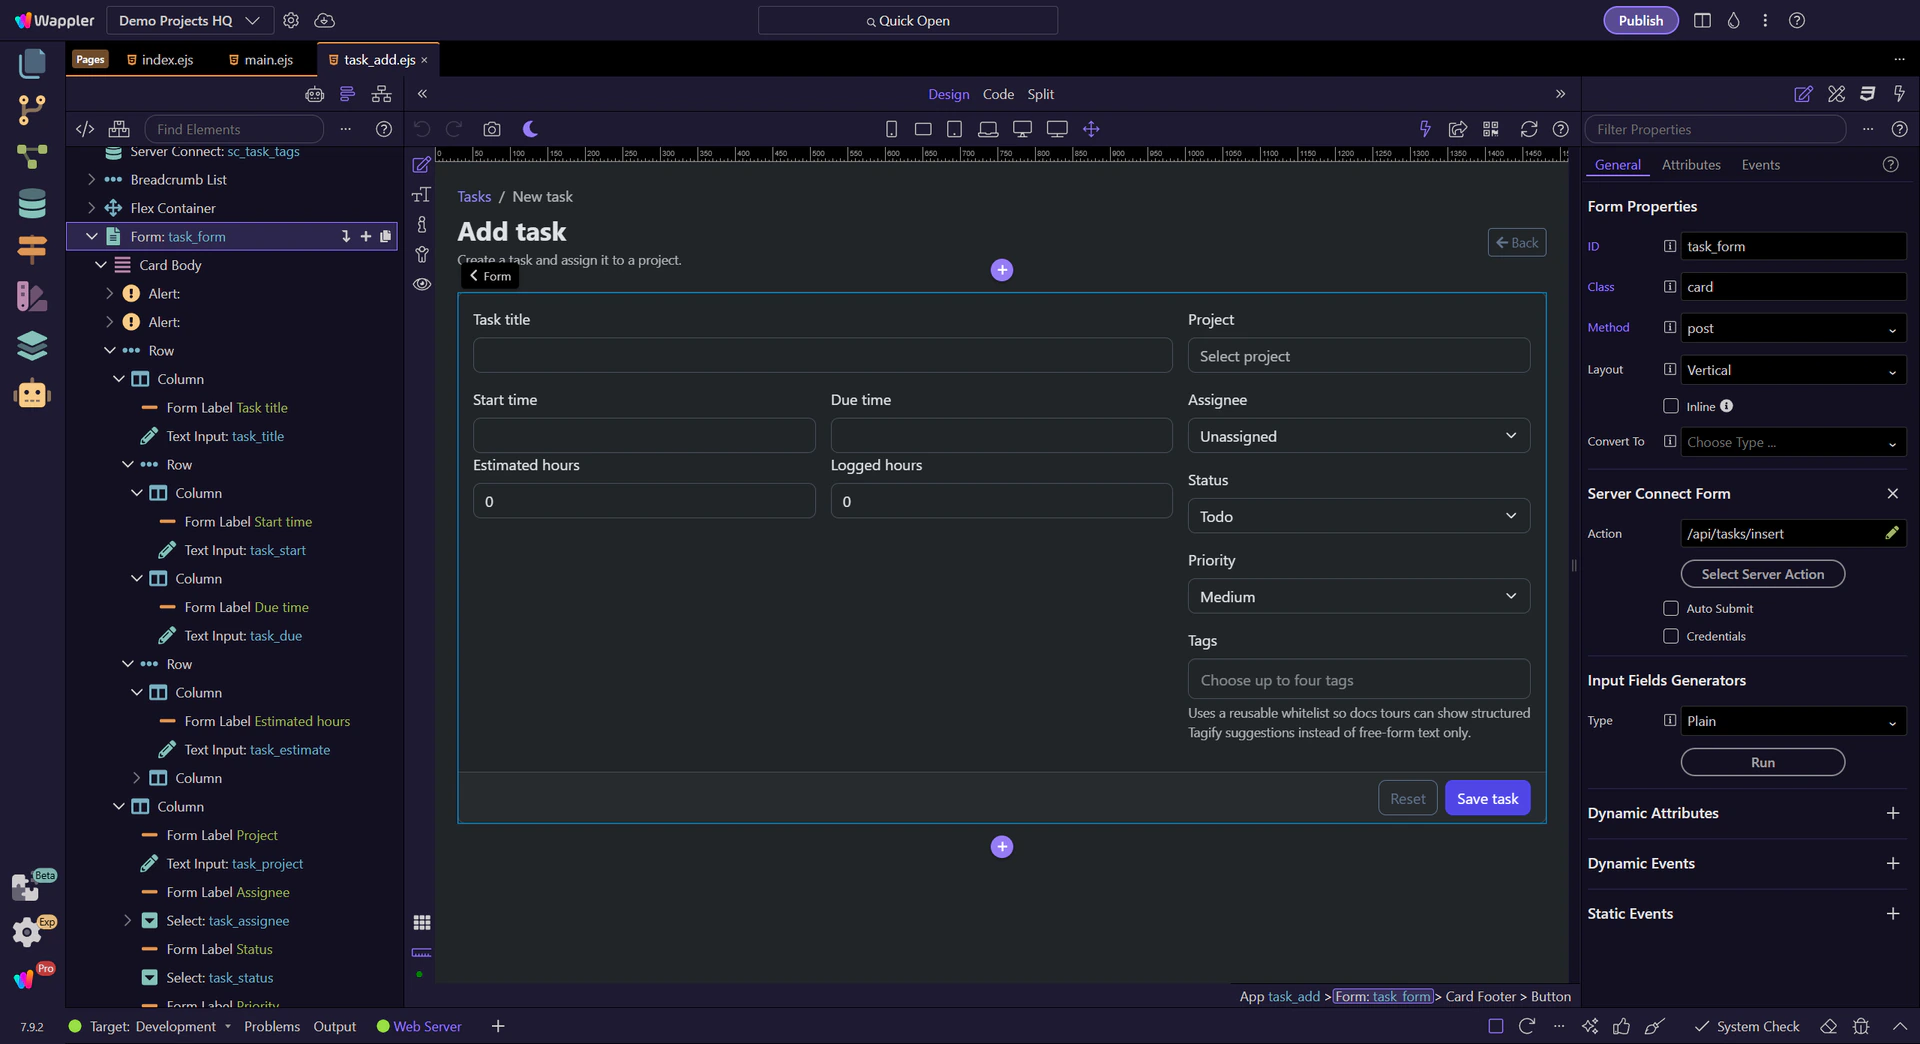
The same task form also exposes success, executing, and error states through task_form, which is why strong validation should be paired with clear submit feedback and real server-side checks. Use the focused App Connect Validator tour next if you want the field-by-field walkthrough in the same Demo Projects HQ page.