Notifications - Adding and General Notifications Usage
Using the Alerts, Notifications component for page visitor event feedback
We will show you how to display a notification when a form added on your page is completed and submitted successfully and triggers an email with the visitor entered information. Note that this is just an example of a single use case however the concept remains the same for any other event on your page as well as for any server action which you are using.
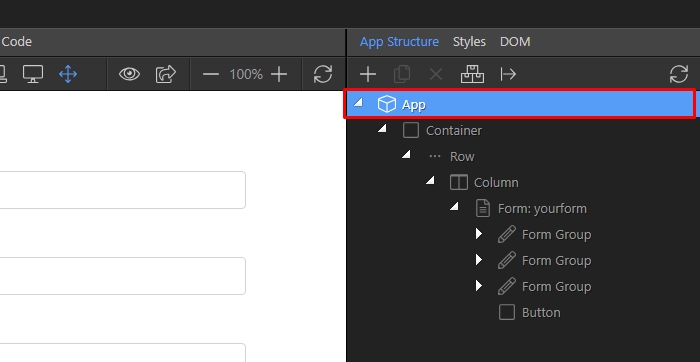
Step 1: First we have to add the Notifications Component to the page structure. Right click App in the App Structure panel:
Step 2: Open the Alerts menu:
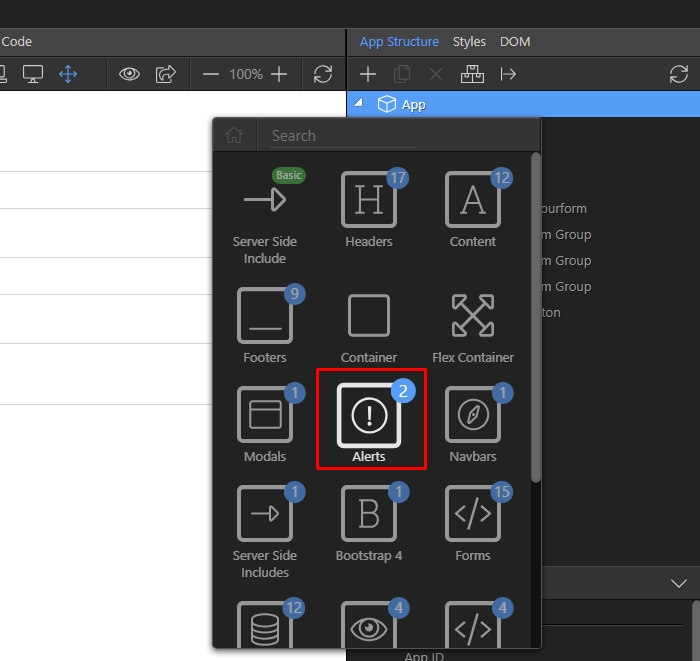
Step 3: And select Notifications:

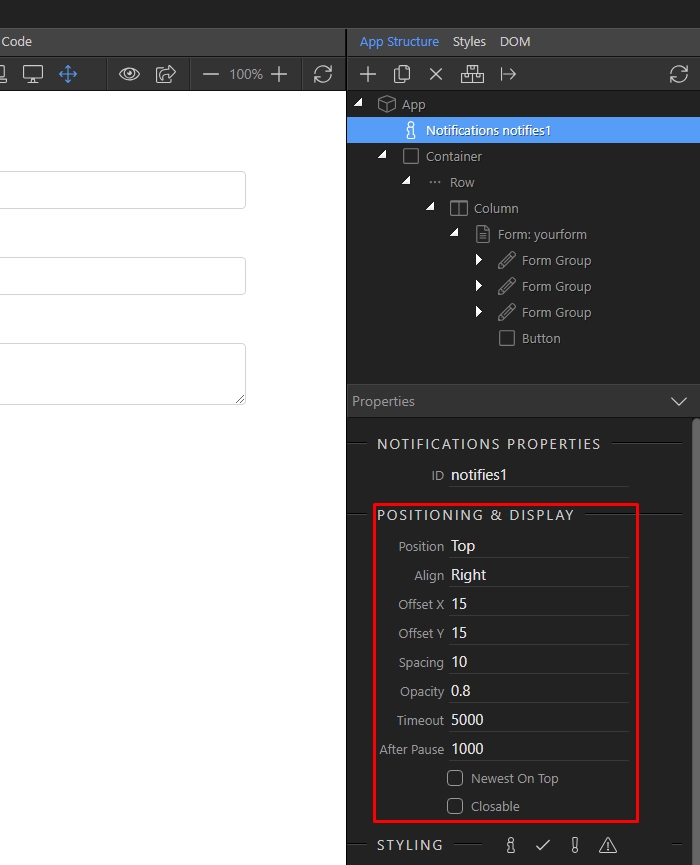
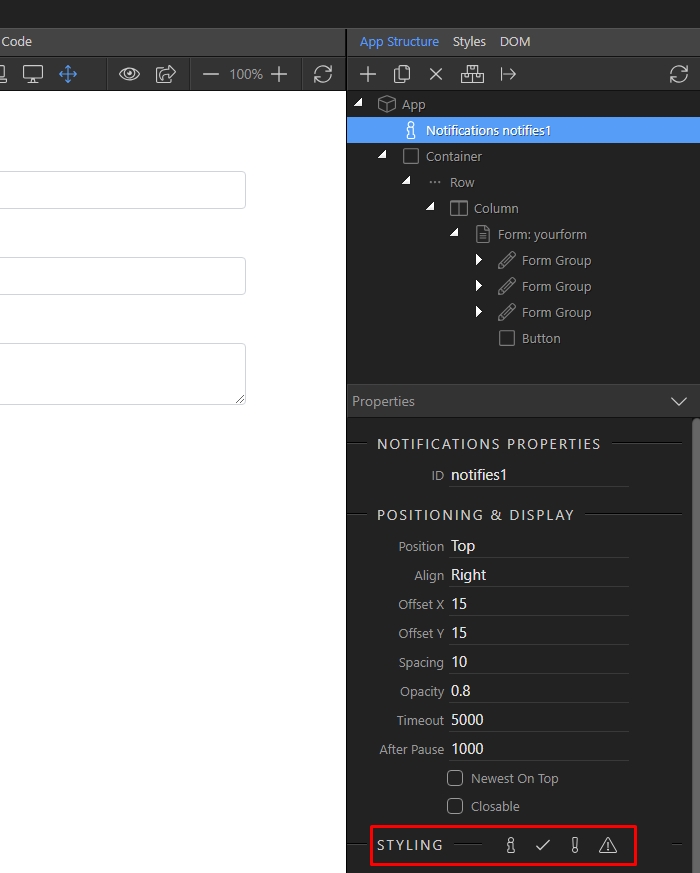
Step 4: In the properties panel you will find the Position and Display options for the Notifications component. Here you can setup the position, alignment, horizontal and vertical offsets, spacing and opacity options as well as the timeout for the notification. Enable the closable option if you need to show a close icon inside the notification:
Step 5: You can edit the default styling for the chosen notification component states - success, info, warning and danger:
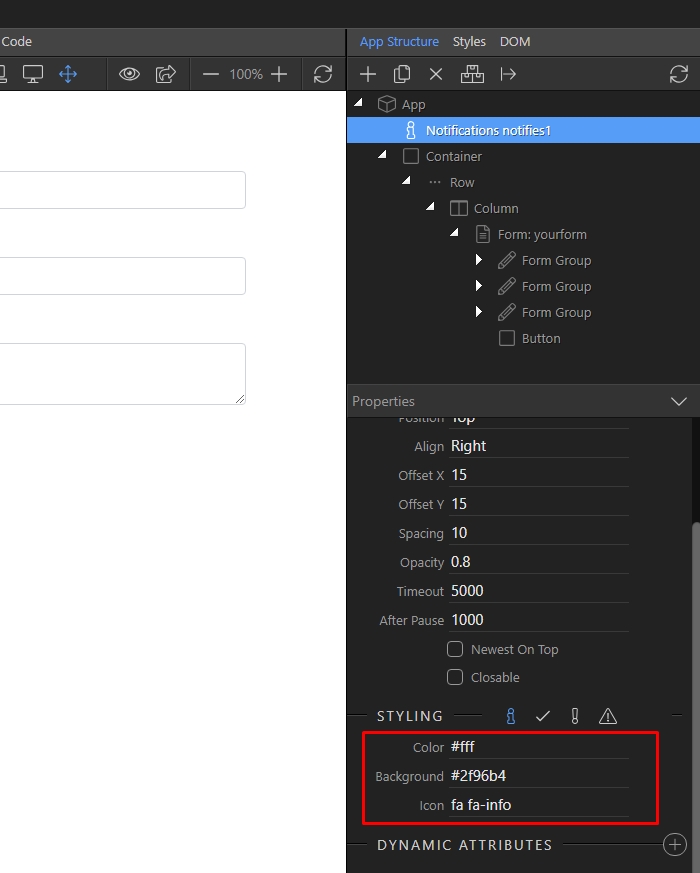
Step 6: Select one of the notification styles and setup the text color, background style or the icon. Note that the icons used here are standard font-awesome icons, which can therefore be swapped out for more suitable icons according to your needs:
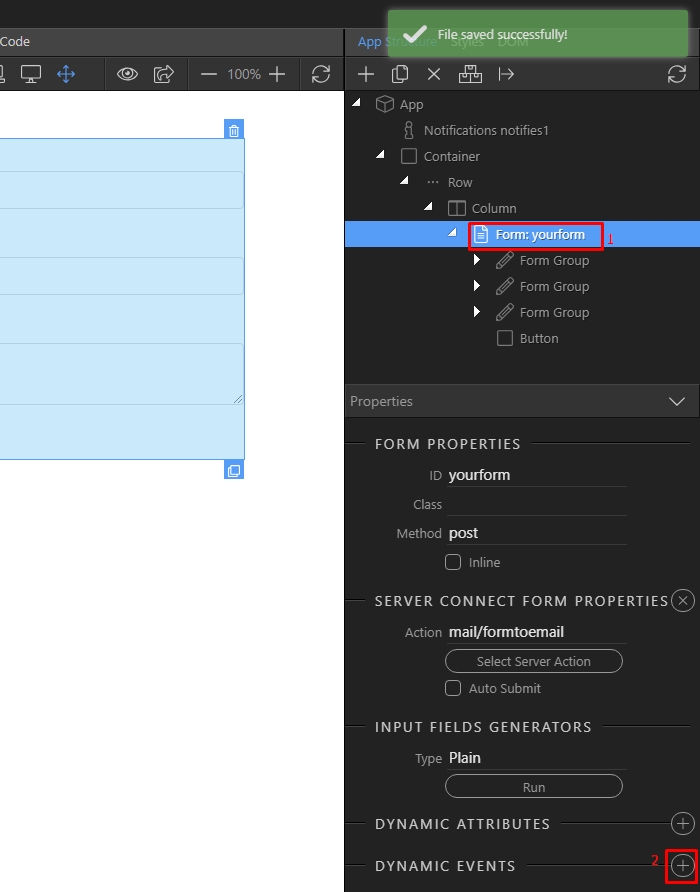
Step 7: Select the component which you want tracked to control what event should initiate the notification. In our use case it is a Server Connect form(1), which sends the visitor entered form details to an email. Once selected click(2) in order to assign a new dynamic event:
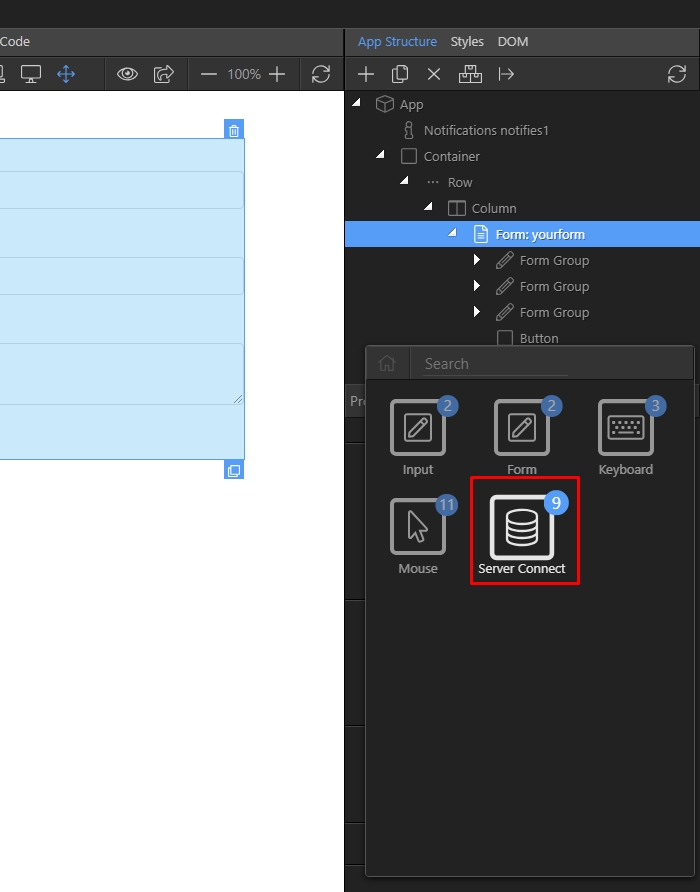
Step 8: Select server connect:
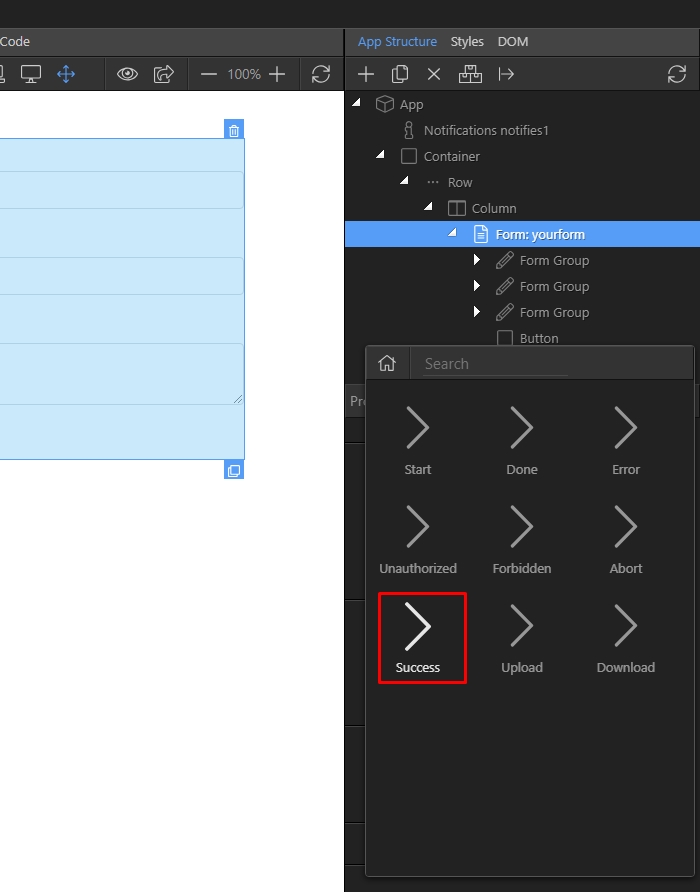
Step 9: And select “Success” to make your added notification show when the form submits successfully/ There are multiple events you might need to show a notification on. You can show different notifications on different dynamic events as well:
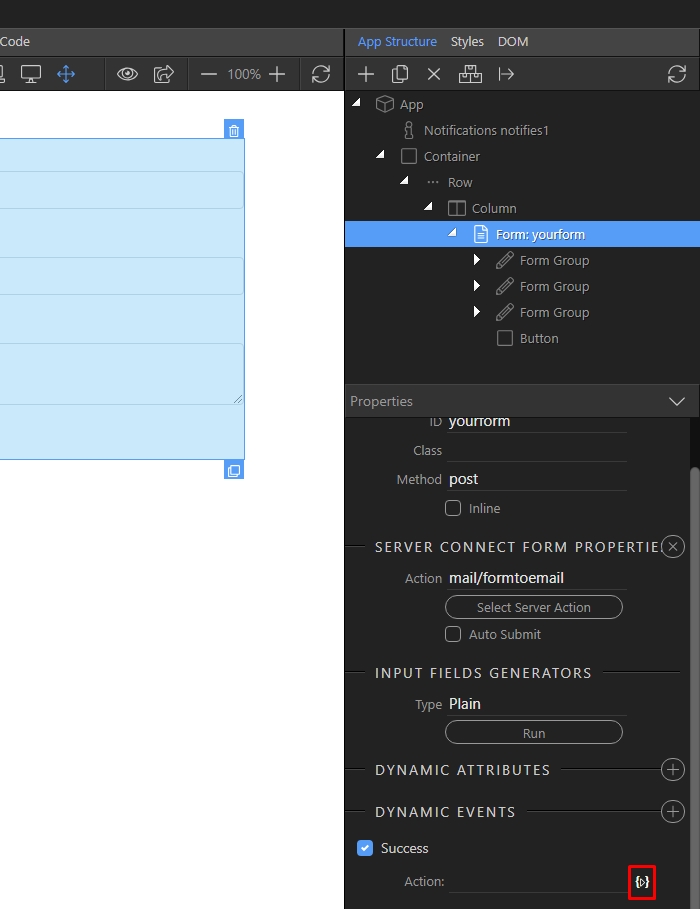
Step 10: Then click the highlighted icon to open the dynamic action picker:
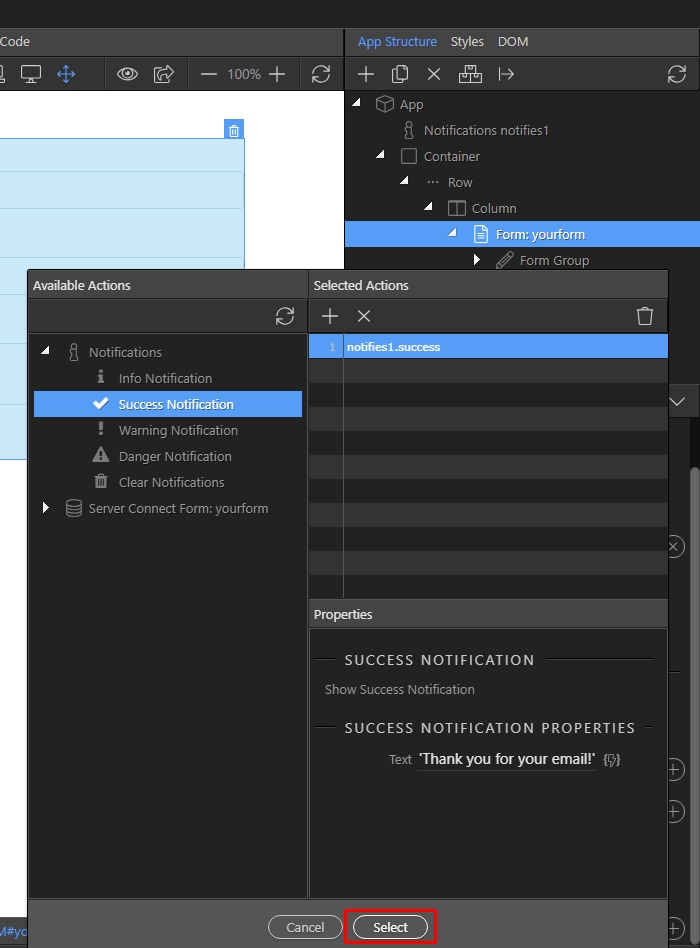
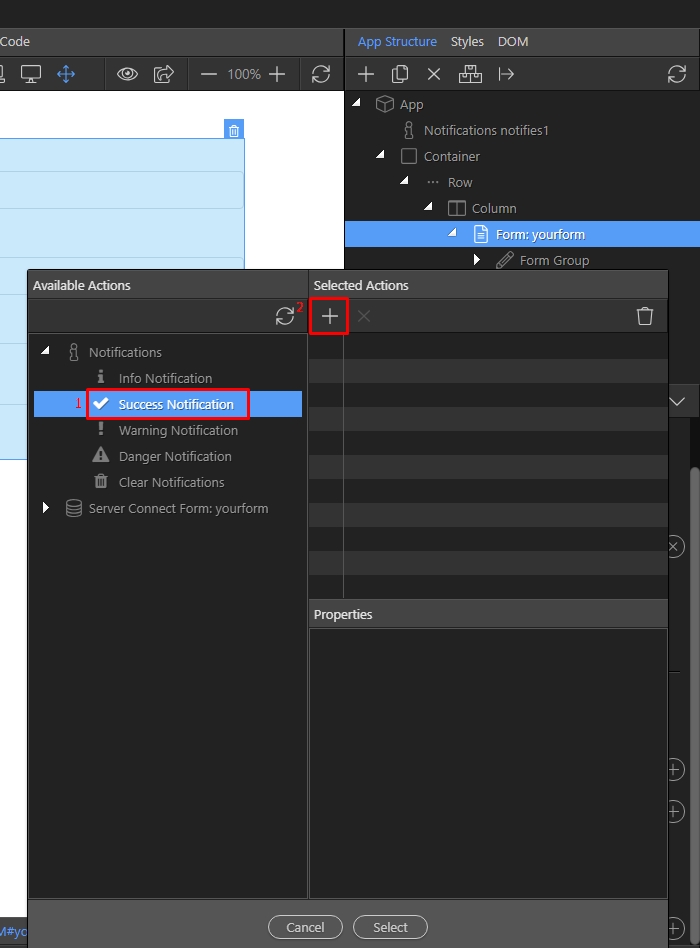
Step 11: Select the notification type you want to use(1) and click the + button(2):
Step 12 In the text you can either select a dynamic value, using the dynamic data picker, or enter a static text message. Note that static text must be wrapped in single quotes:

Step 13: Click Select, and you are done. When the form submits successfully it will now display your notification to the visitor: